Shop news

DIY: Handmade Owl Baby Shower Card

On Sunday I turn 30. For the past year, I've been trying to come to terms with this, as I'm still not quite sure where the last decade has gone.

Last week, I read a list of 10 things that no one tells us about turning 30. One of the items on the list was babies. No one warns us that we'll be bombarded with babies when we turn 30. In my case, I've actually been bombarded with babies since I got married almost six years ago, but I guess it's going to get even more intense now. Good thing I like babies, and I don't mind answering the age-old question -- Do you have children? 

No, we don't have them. Yes, we would like them, whenever God decides we're ready for them.

Moving on...

As I clearly have babies on the brain and I attended an owl-themed baby shower for my sister-in-law last week, I decided to make an owl baby shower card. Owls appear to be quite popular these days, and they work for baby girls and boys. This particular version of the card is for a little boy.

Here’s what you’ll need to join me in the card making fun!

A variety of colored card stock - In this case, pale blue, green, black, brown and orange.

An envelope

A cutting mat

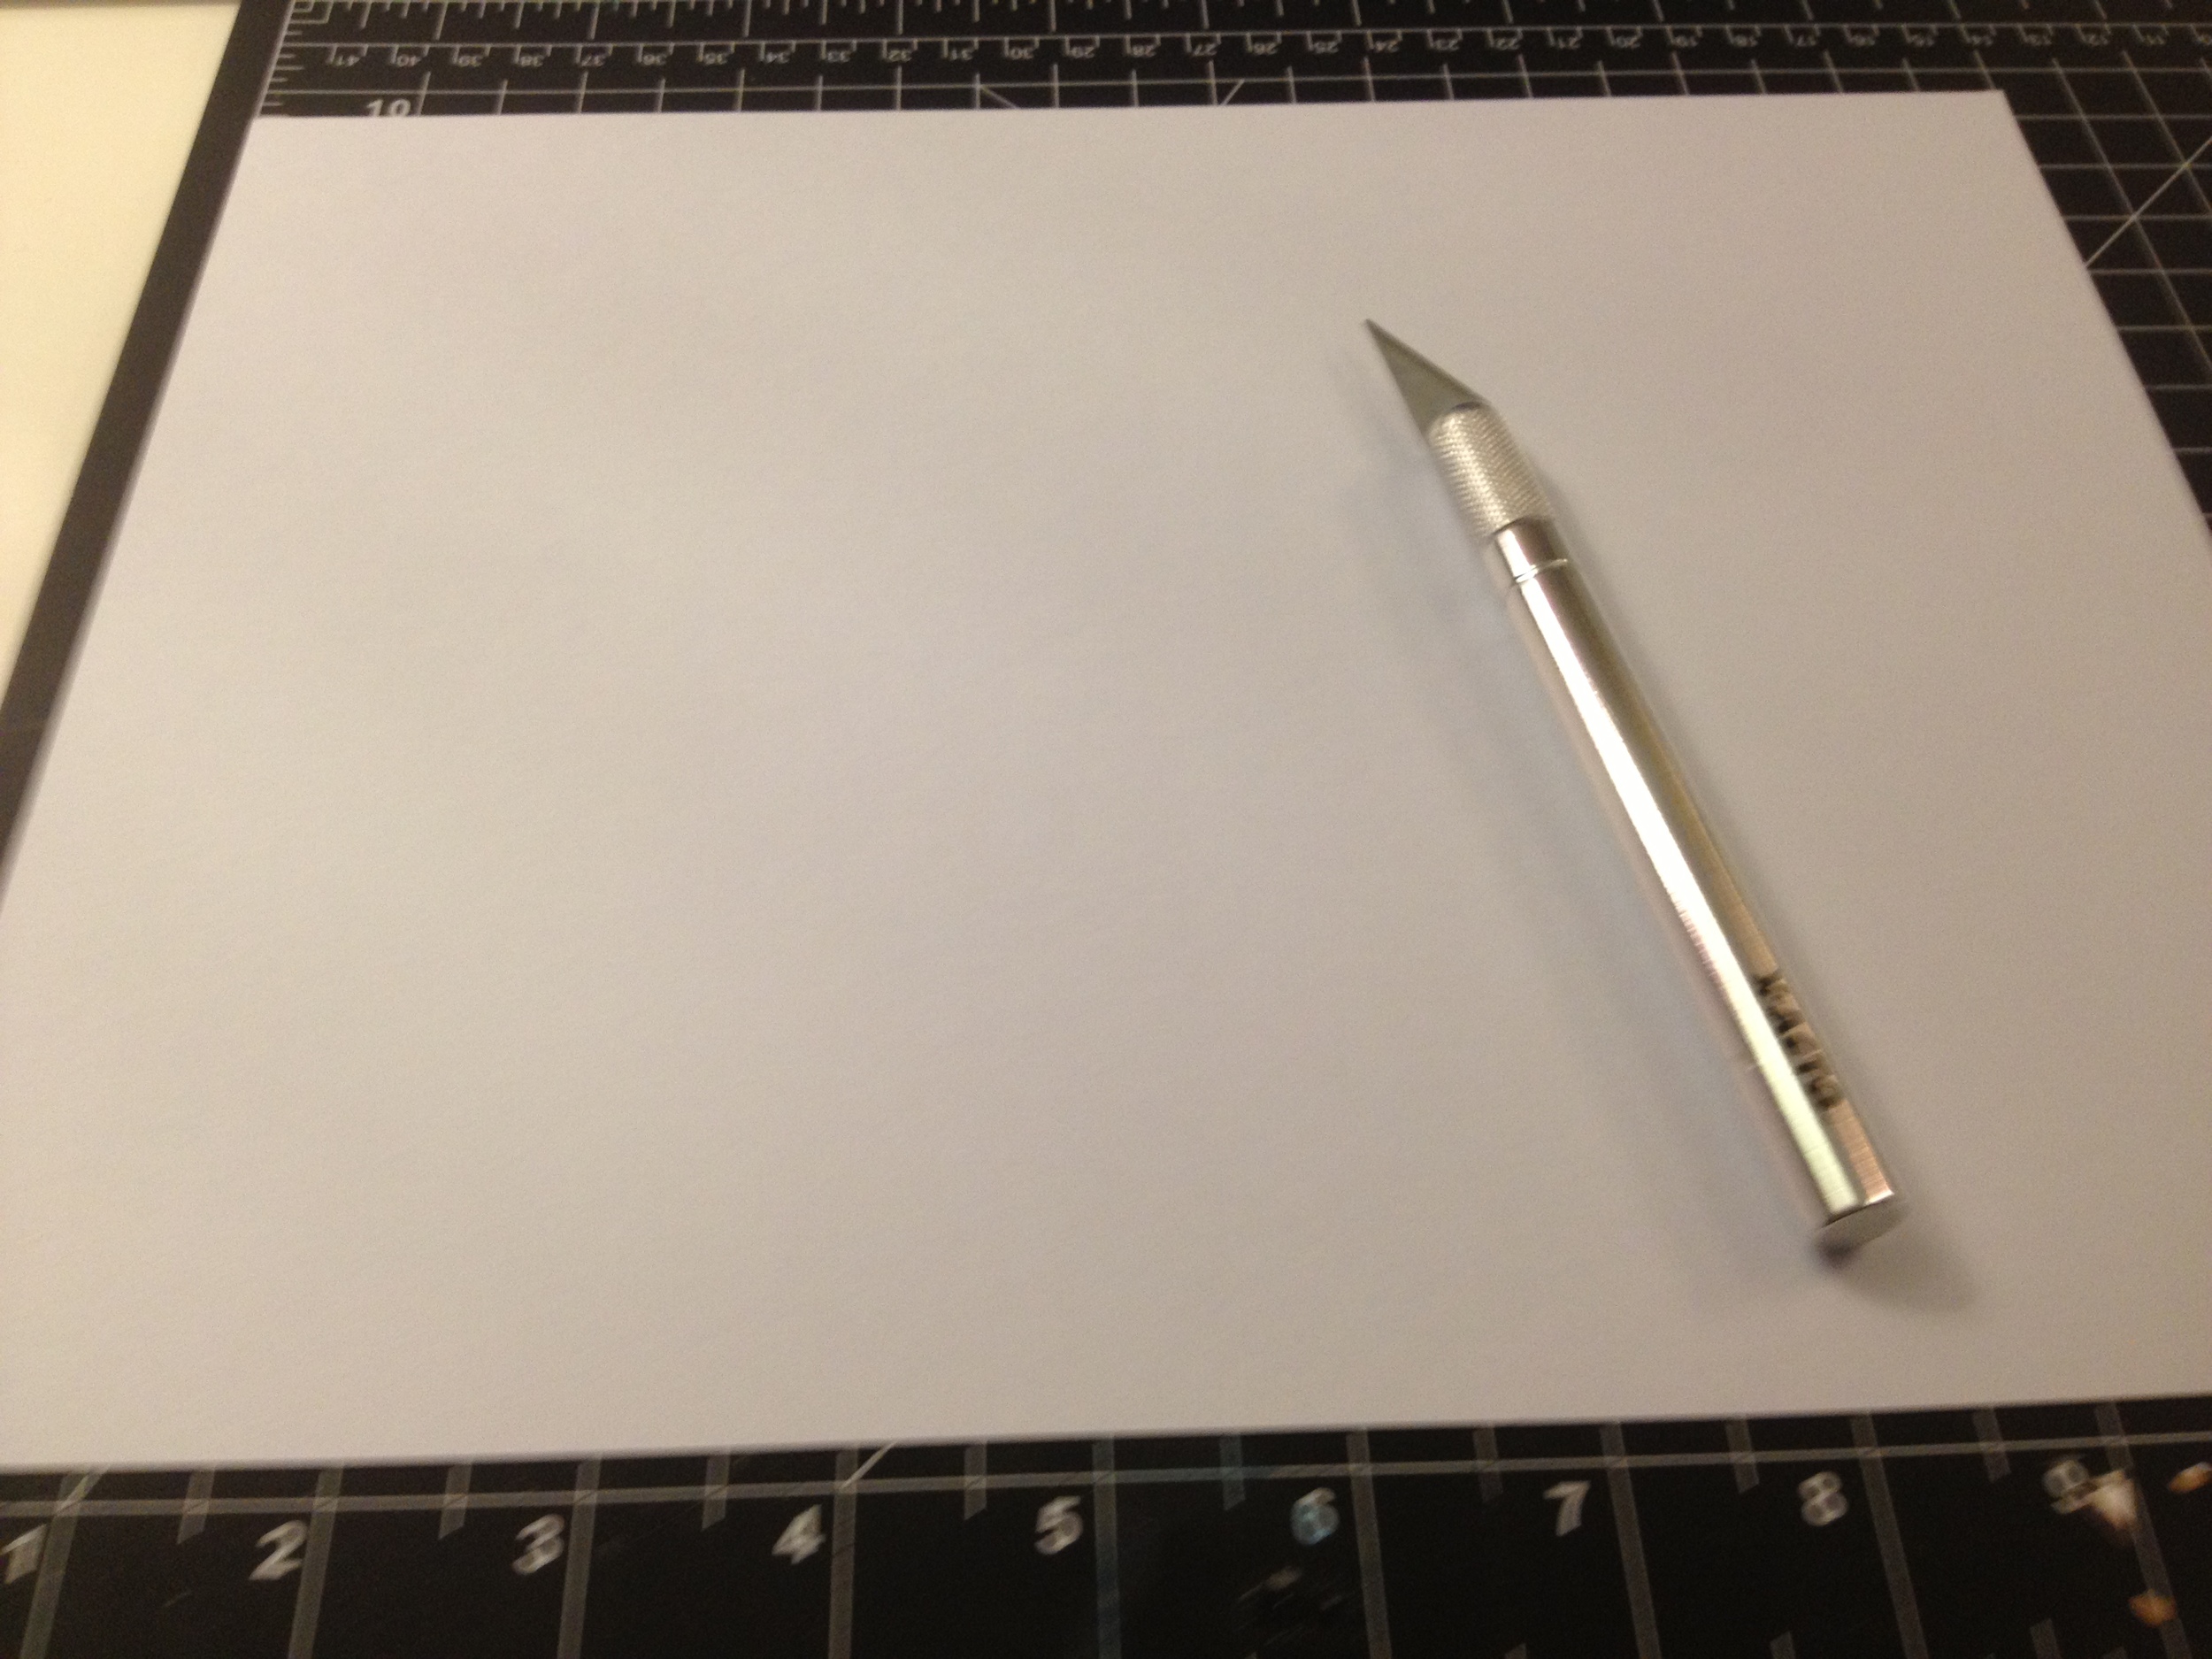
An Xacto knife

- A metal ruler

- Paper glue

- Basic scissors

- Embellishments of your choice

- Sticker letters

Start by using your mat to find the center of your card base (5.5 ” for this card). Then score it by running the knife lightly down the center once or twice. Fold in half.

step1


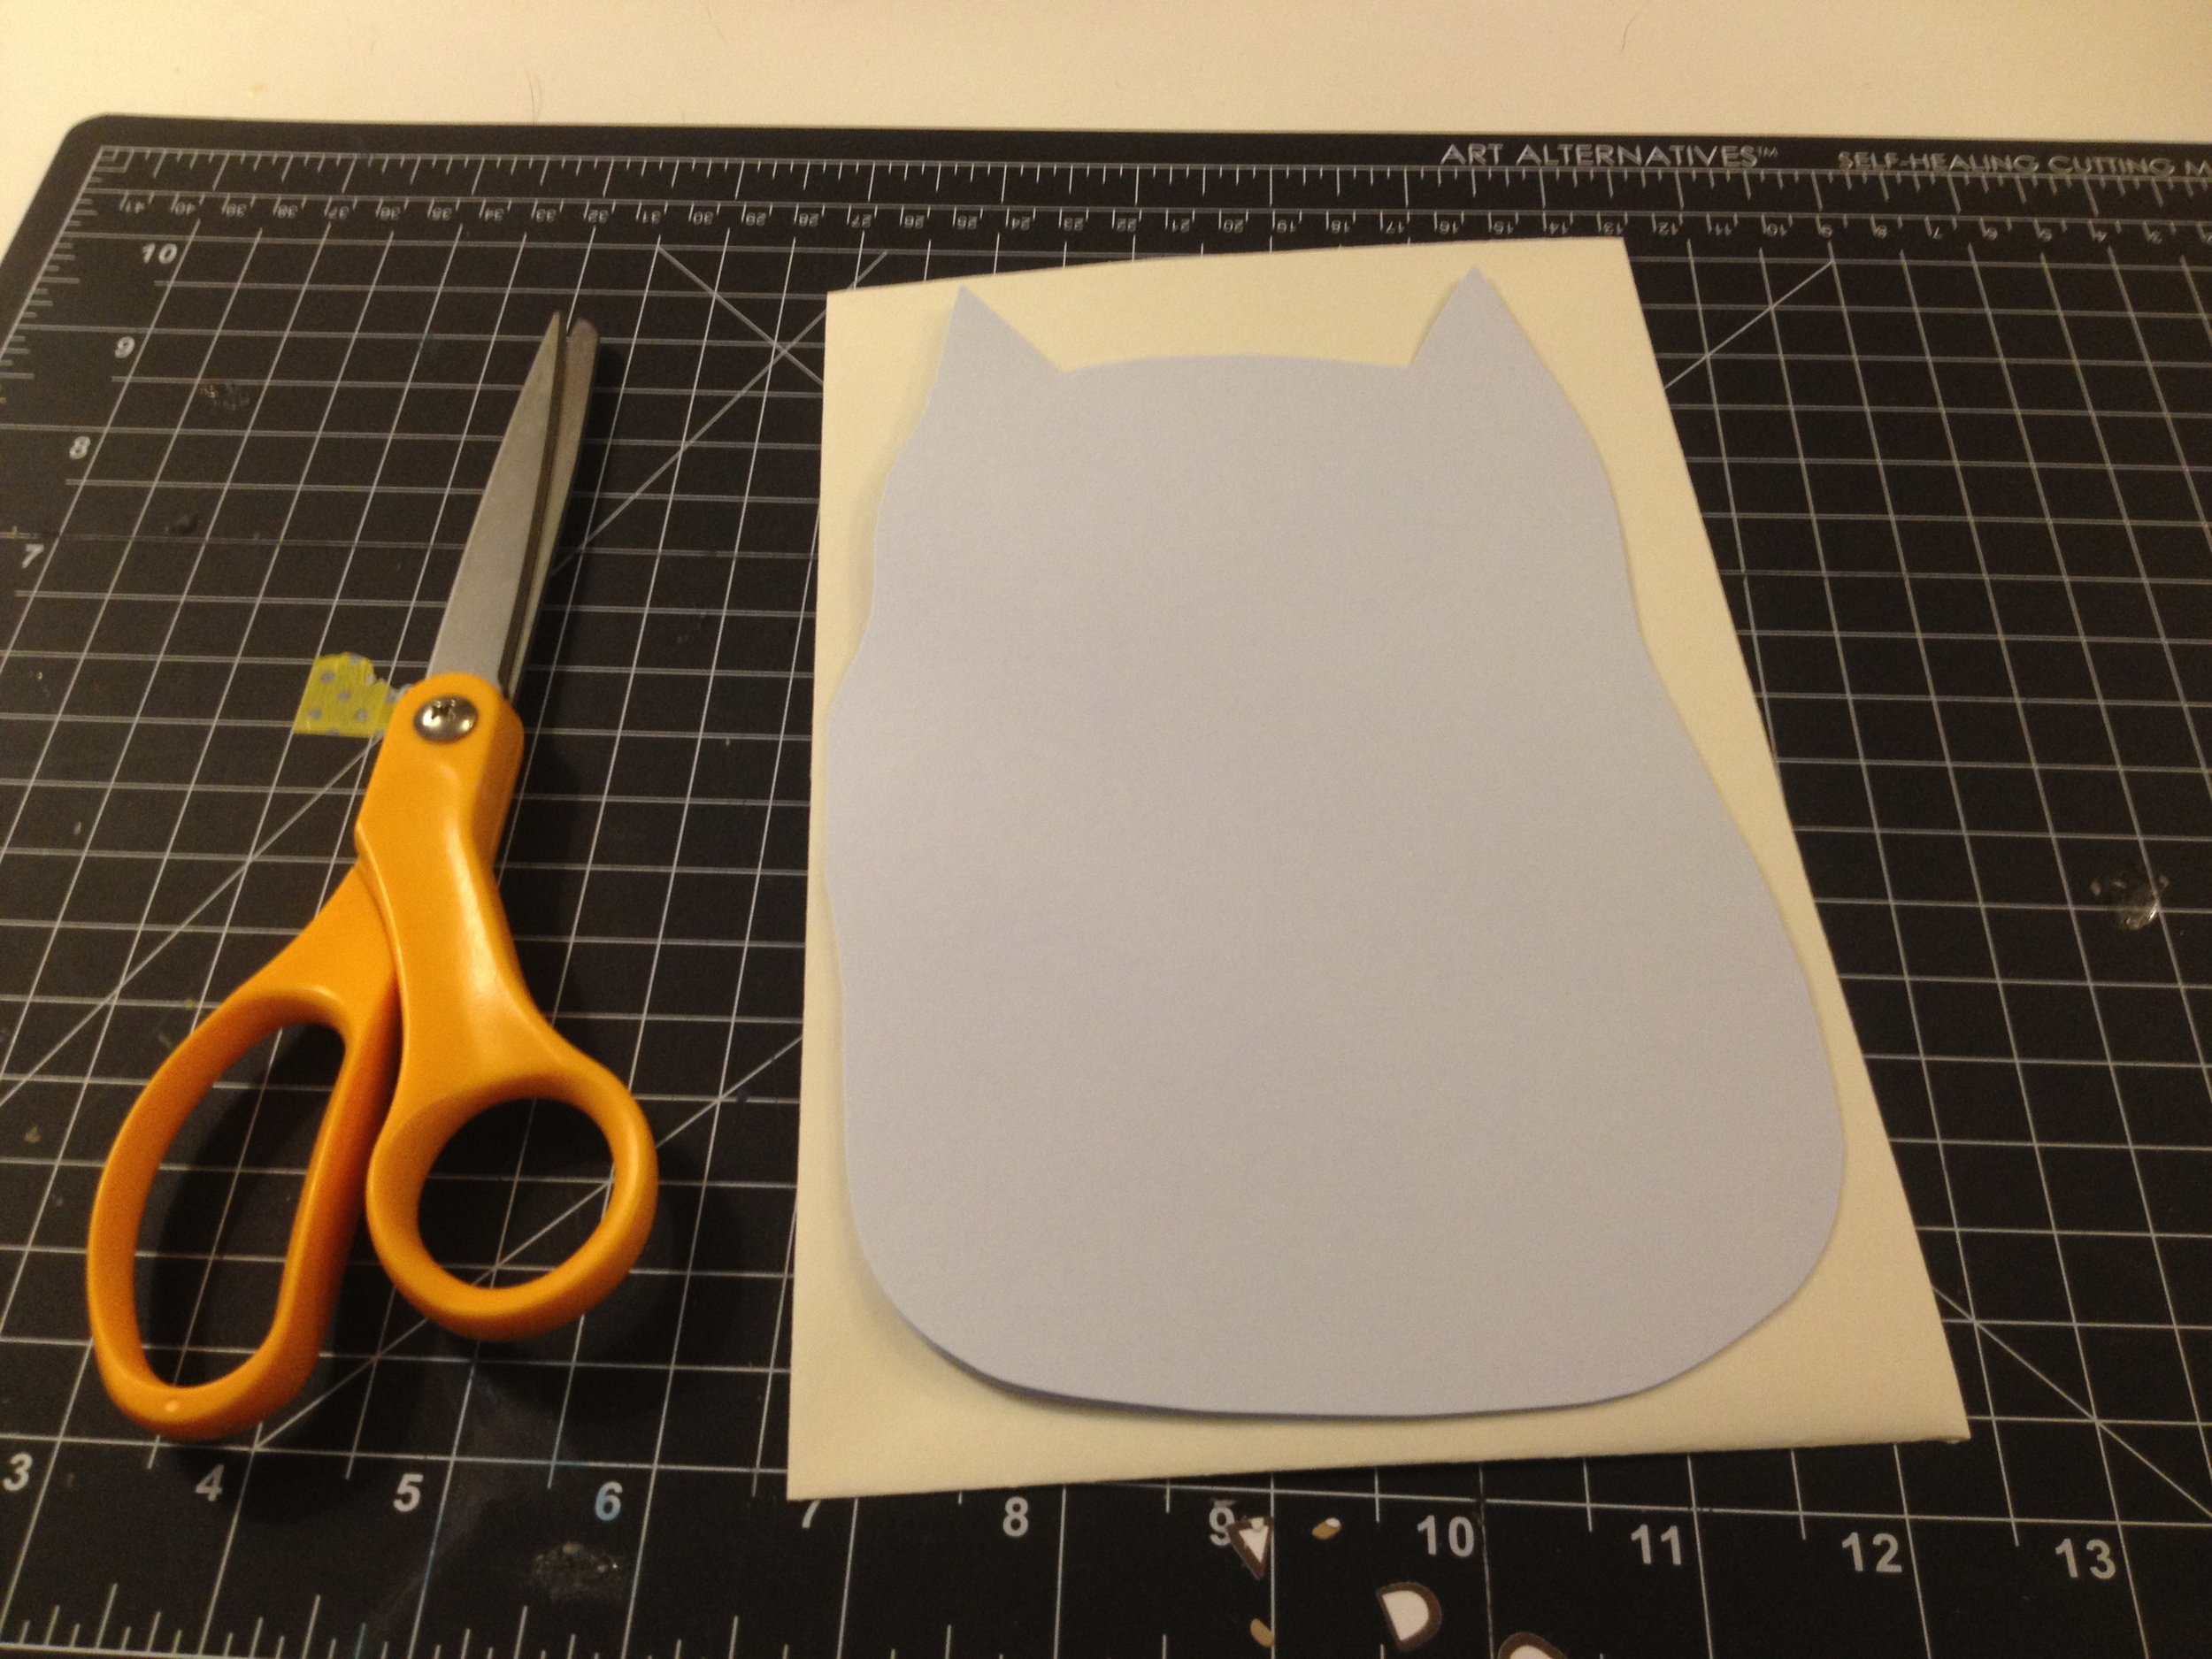
Cut out your mother owl shape, taking care not to cut too much off the folded side. I free-handed my owl, but you could trace your owl shape first, if you need a guide. Set your card base on top of the envelope to ensure the card will fit inside.

IMG_4181


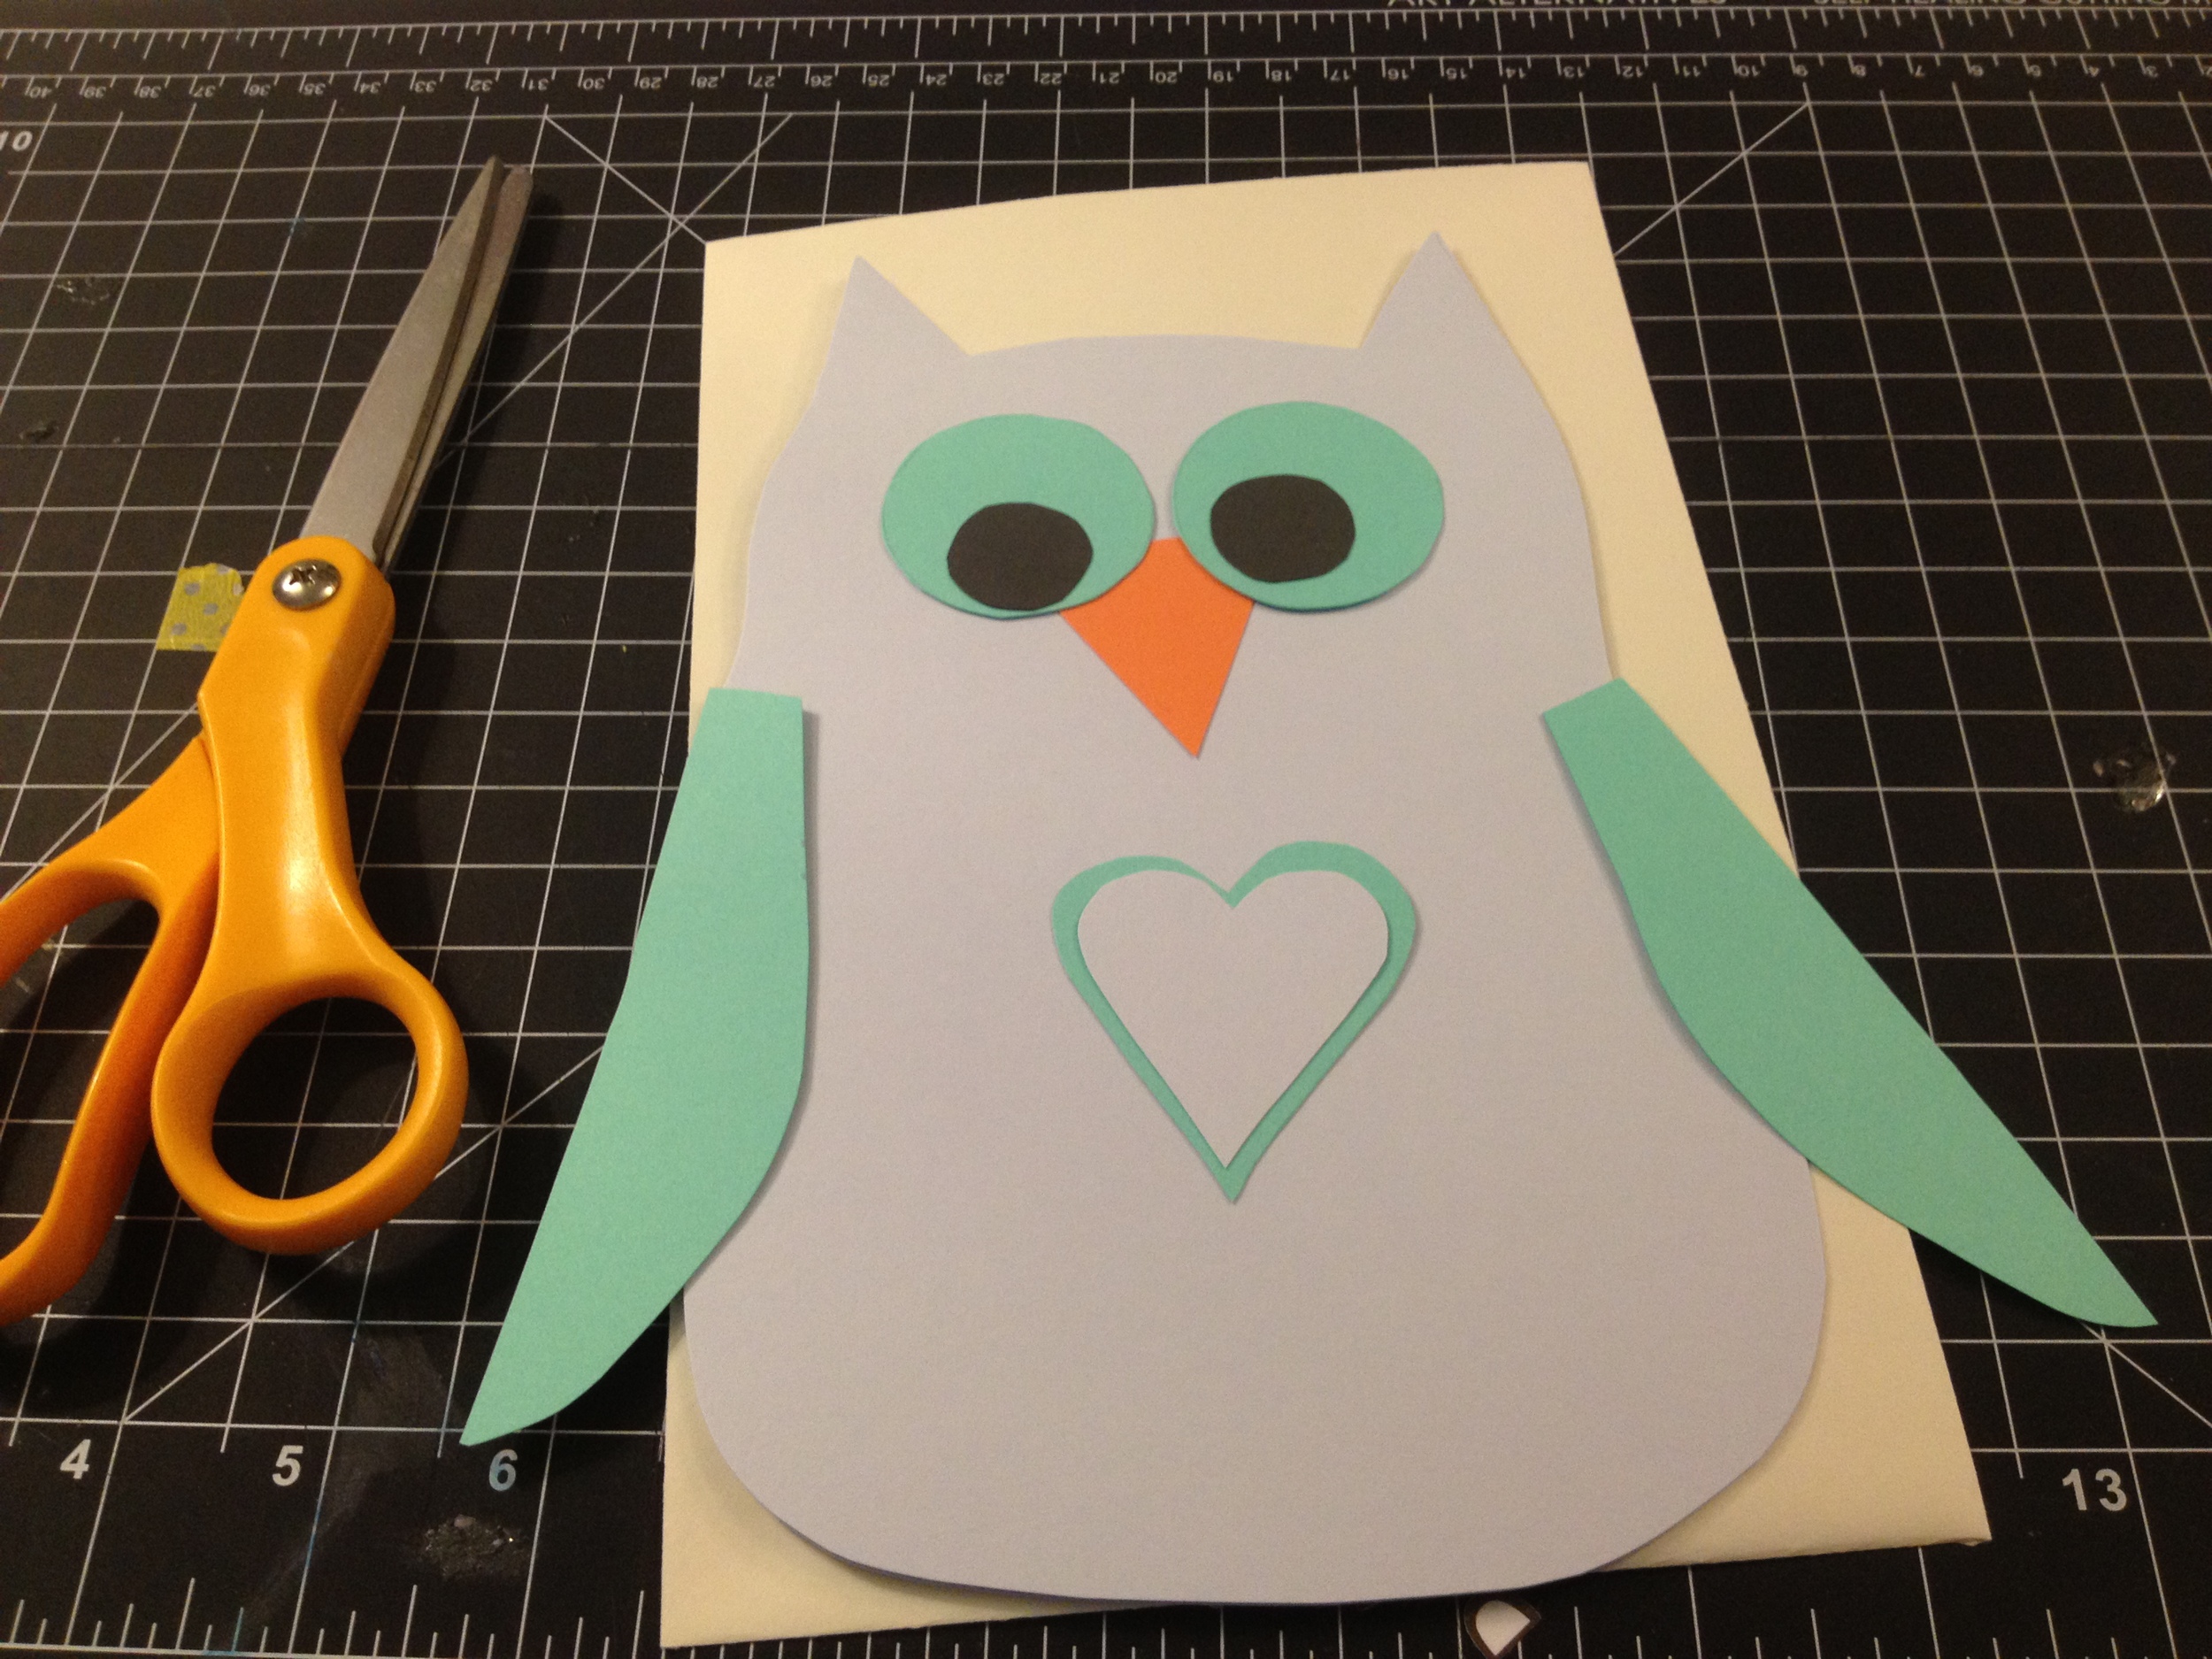
Cut out the following pieces: two circles (eyes - green), two smaller circles (pupils - black), one triangle (beak - orange), two hearts (one slightly smaller than the other - green and blue), two feet (orange) and two long half circles (wings - green). When I cut out two or more of the same shape, I free-hand the first one, and then use it to cut out the next one. This way I know they are all the same size.

step2


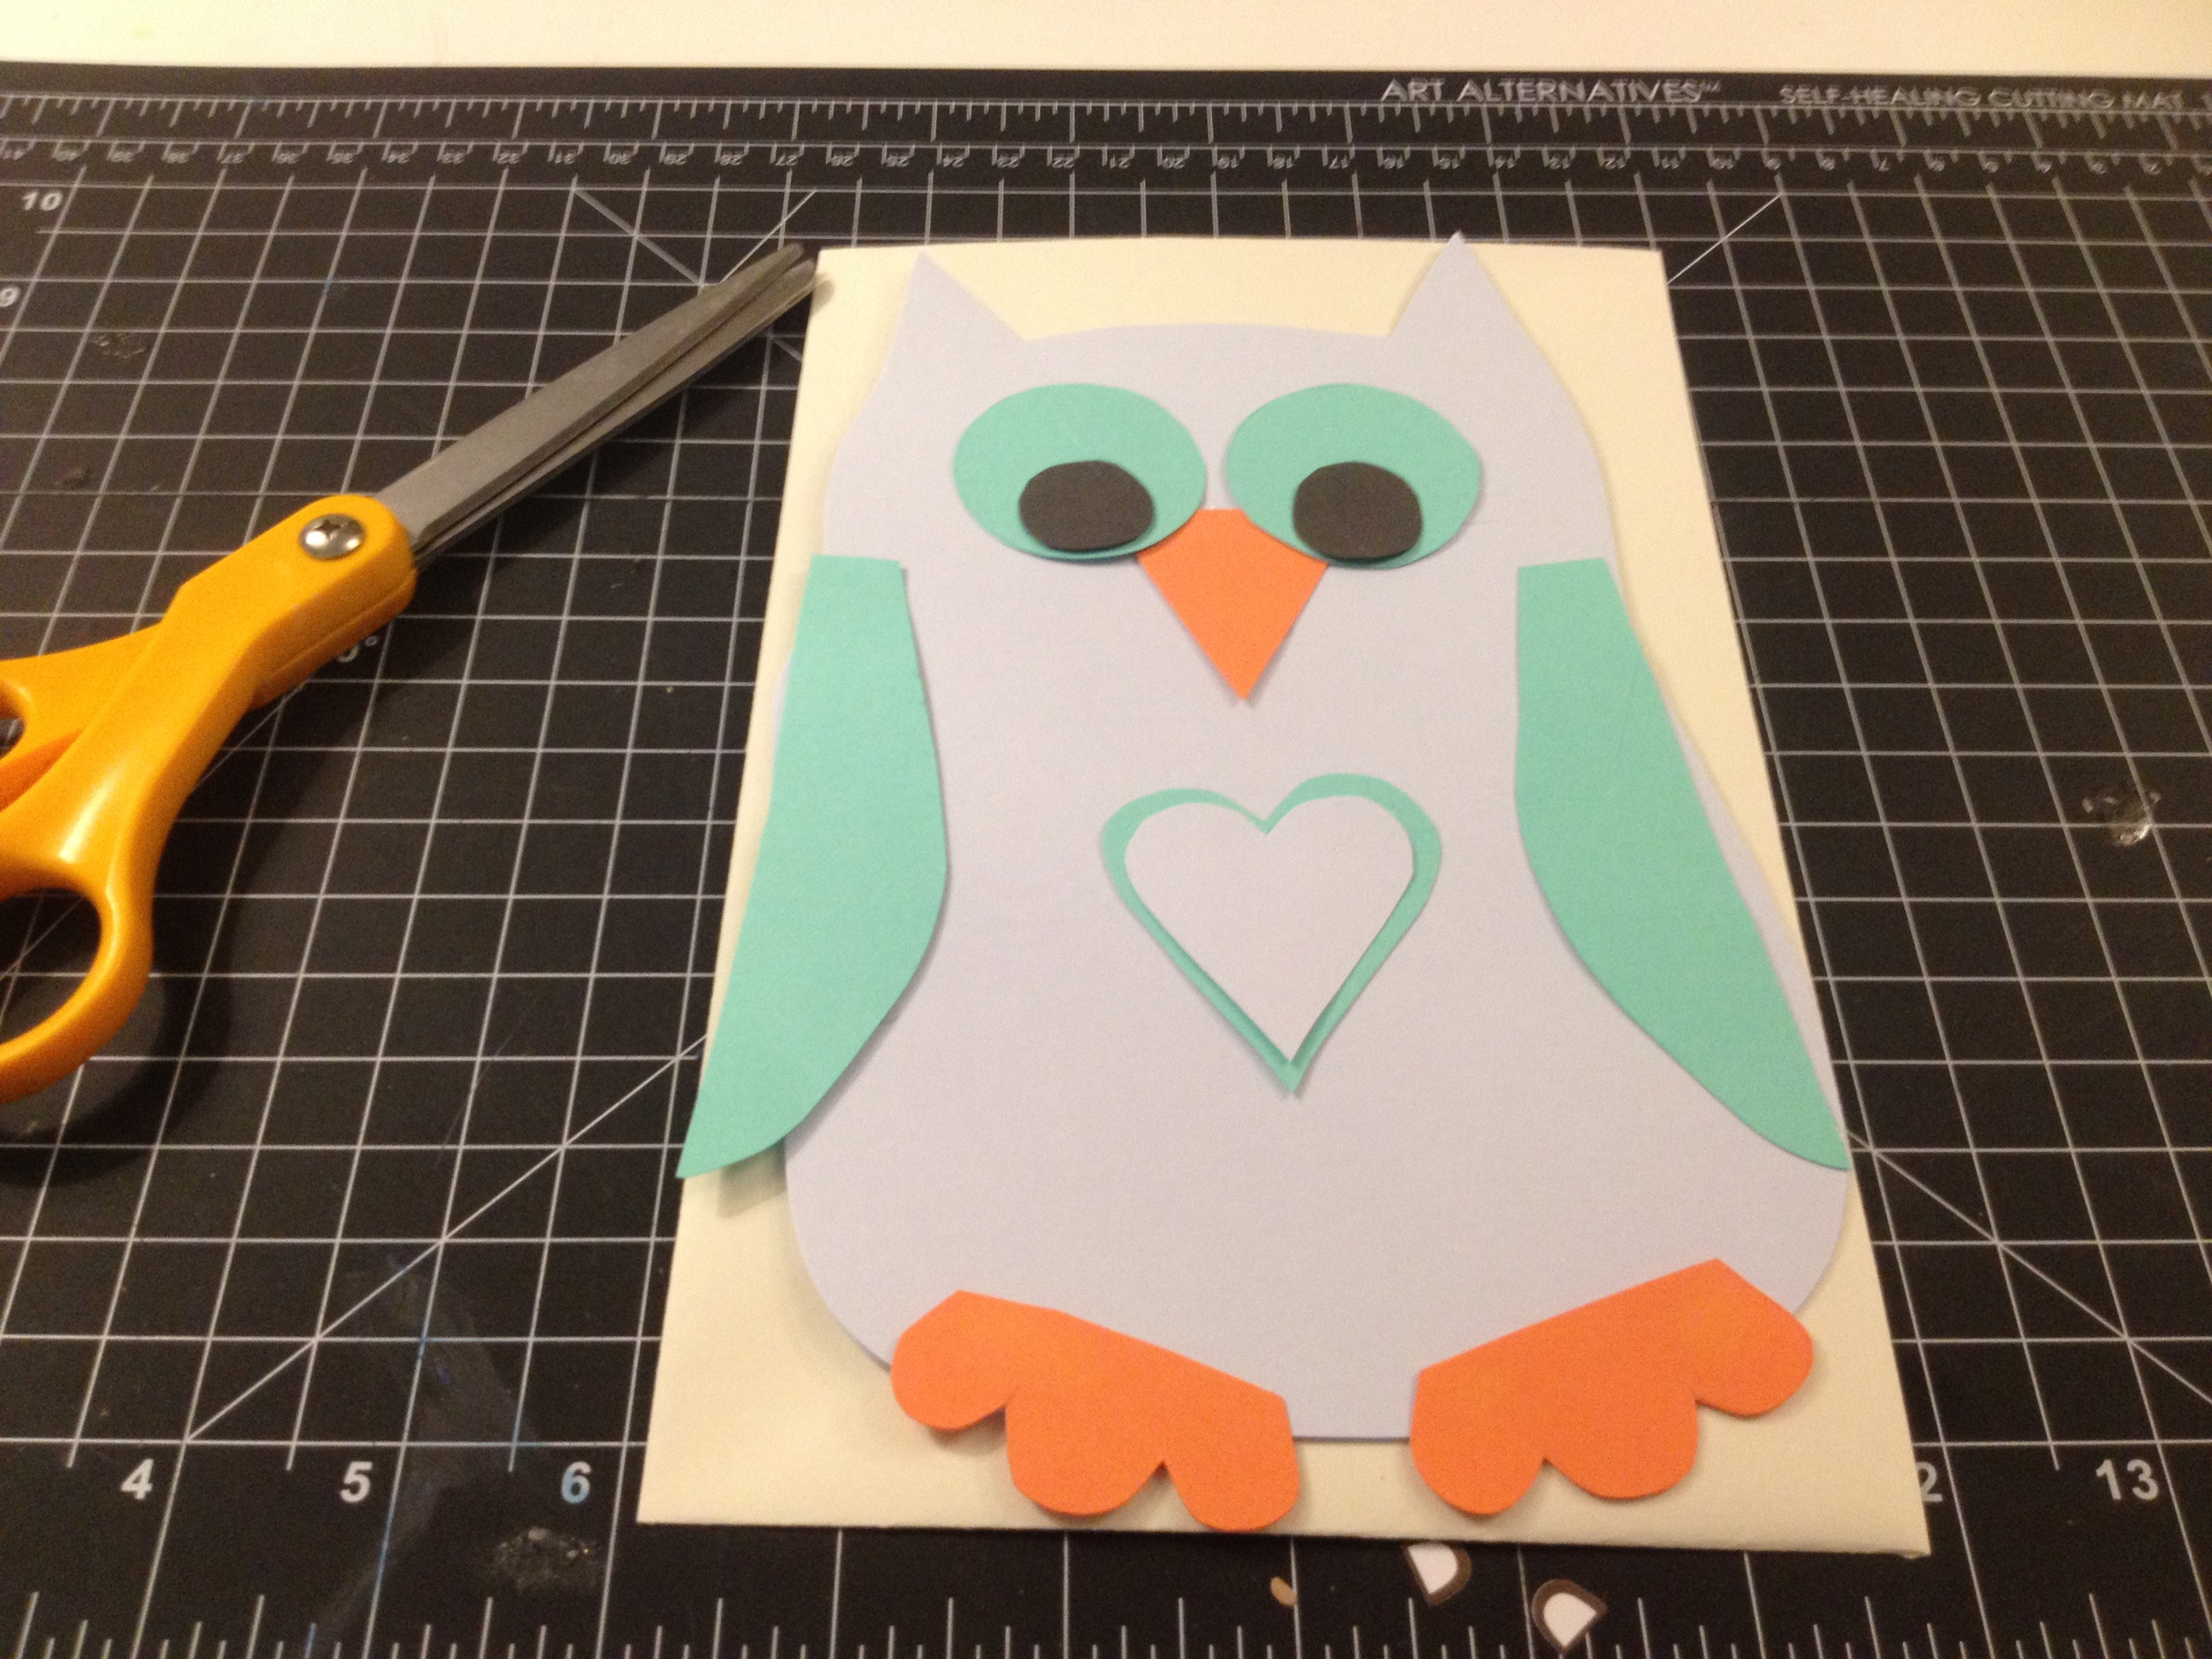
Glue each piece down, making sure they are all inside the perimeter of the envelope. Then, if you're like me, attach your feet...I almost forgot them!

step3

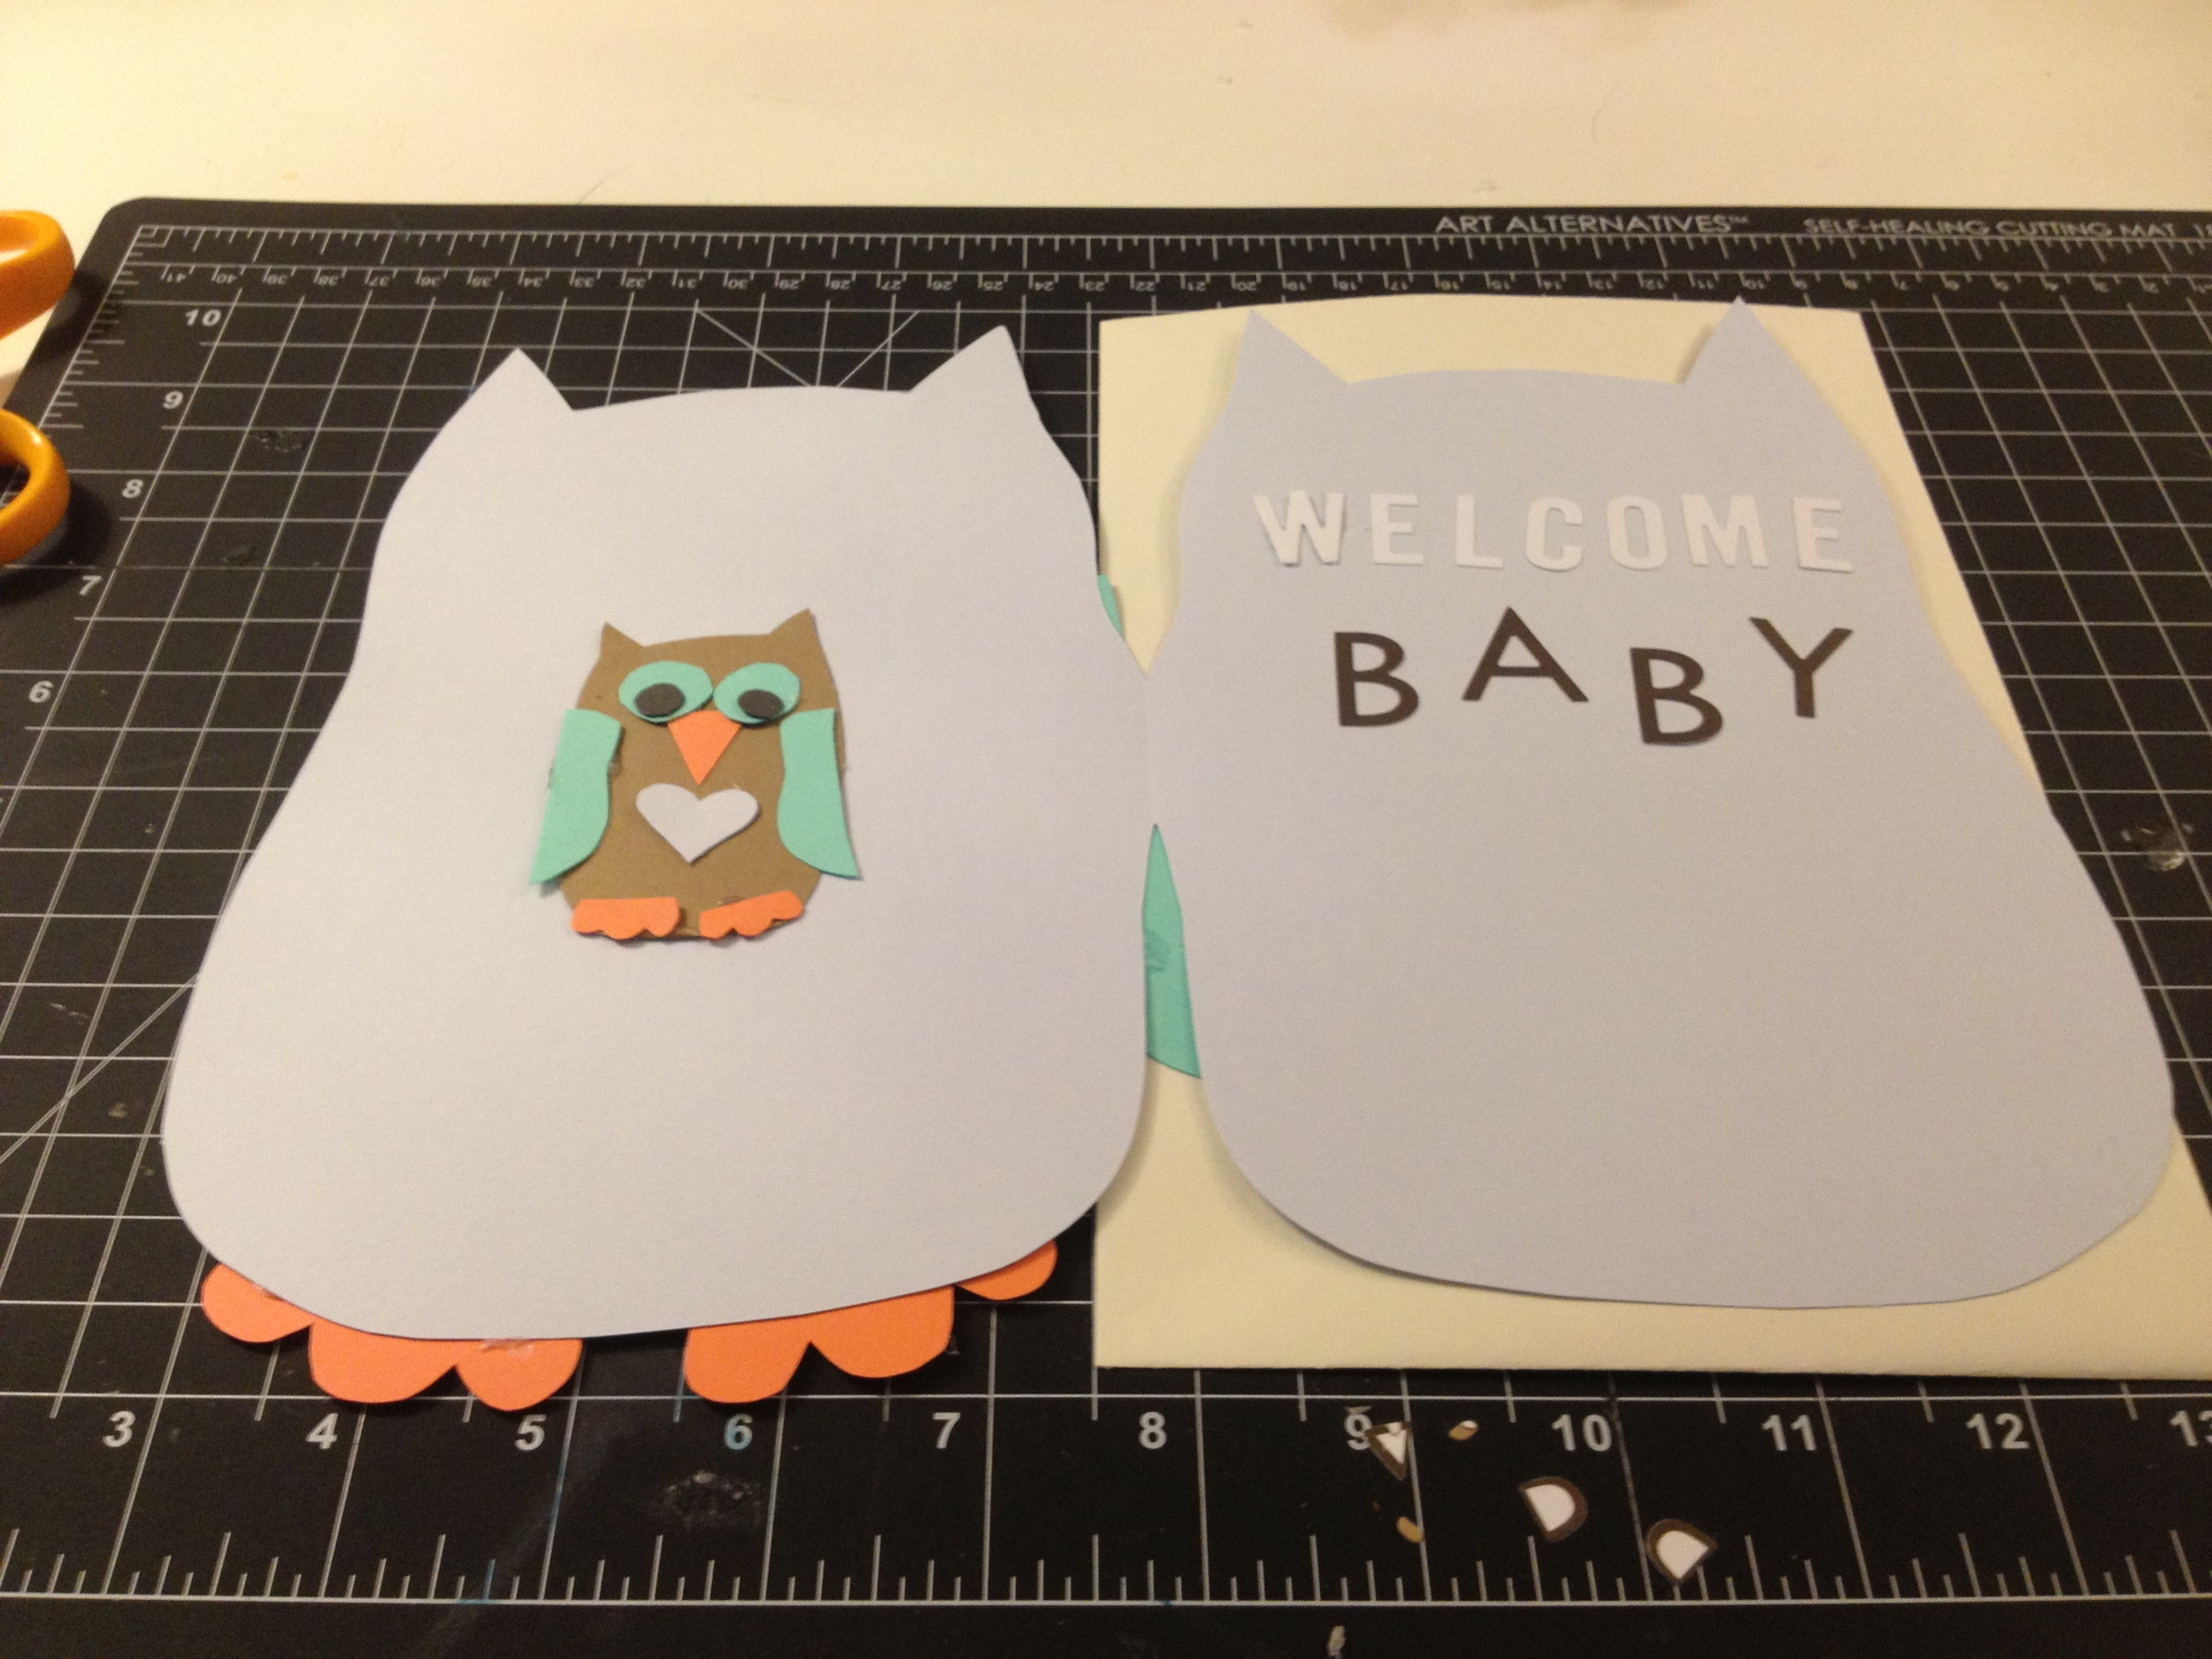
Next, open your card, and cut out the shapes again. Only this time, we're going to make them much smaller. This is your baby owl. For the baby, I chose to make a brown body, green eyes and wings and a blue heart. Glue down each piece.

On the opposite side, use your sticker letters to spell out your message. At this point, you could add embellishments -- rhinestones, glitter, more letters to spell out the baby's name -- the possibilities are endless! I loved the way this card turned out. Handmade cards are so much more personal and fun, don't you think?

step5

Like this card but don't think you can recreate it? Contact us, and we'll create one for you to purchase via our Etsy shop. The Owl Baby Shower Card is $3.50, plus shipping and handling.

DIY: Handmade Halloween Pumpkin Card


On Sunday, the weather turned, and all of a sudden, it feels like fall around here. Thanks to the slight chill in the air and the falling leaves, we've had Halloween on the brain. For that reason, I decided it was time to create a Halloween card. Although I love all of the Halloween motifs, I decided to make a pumpkin card.

Here’s what you’ll need to join me in the card making fun!


A variety of colored card stock - In this case, orange, black and green


An envelope


A cutting mat


An Xacto knife


- A metal ruler


- Paper glue


- Basic scissors


- Sticker letters

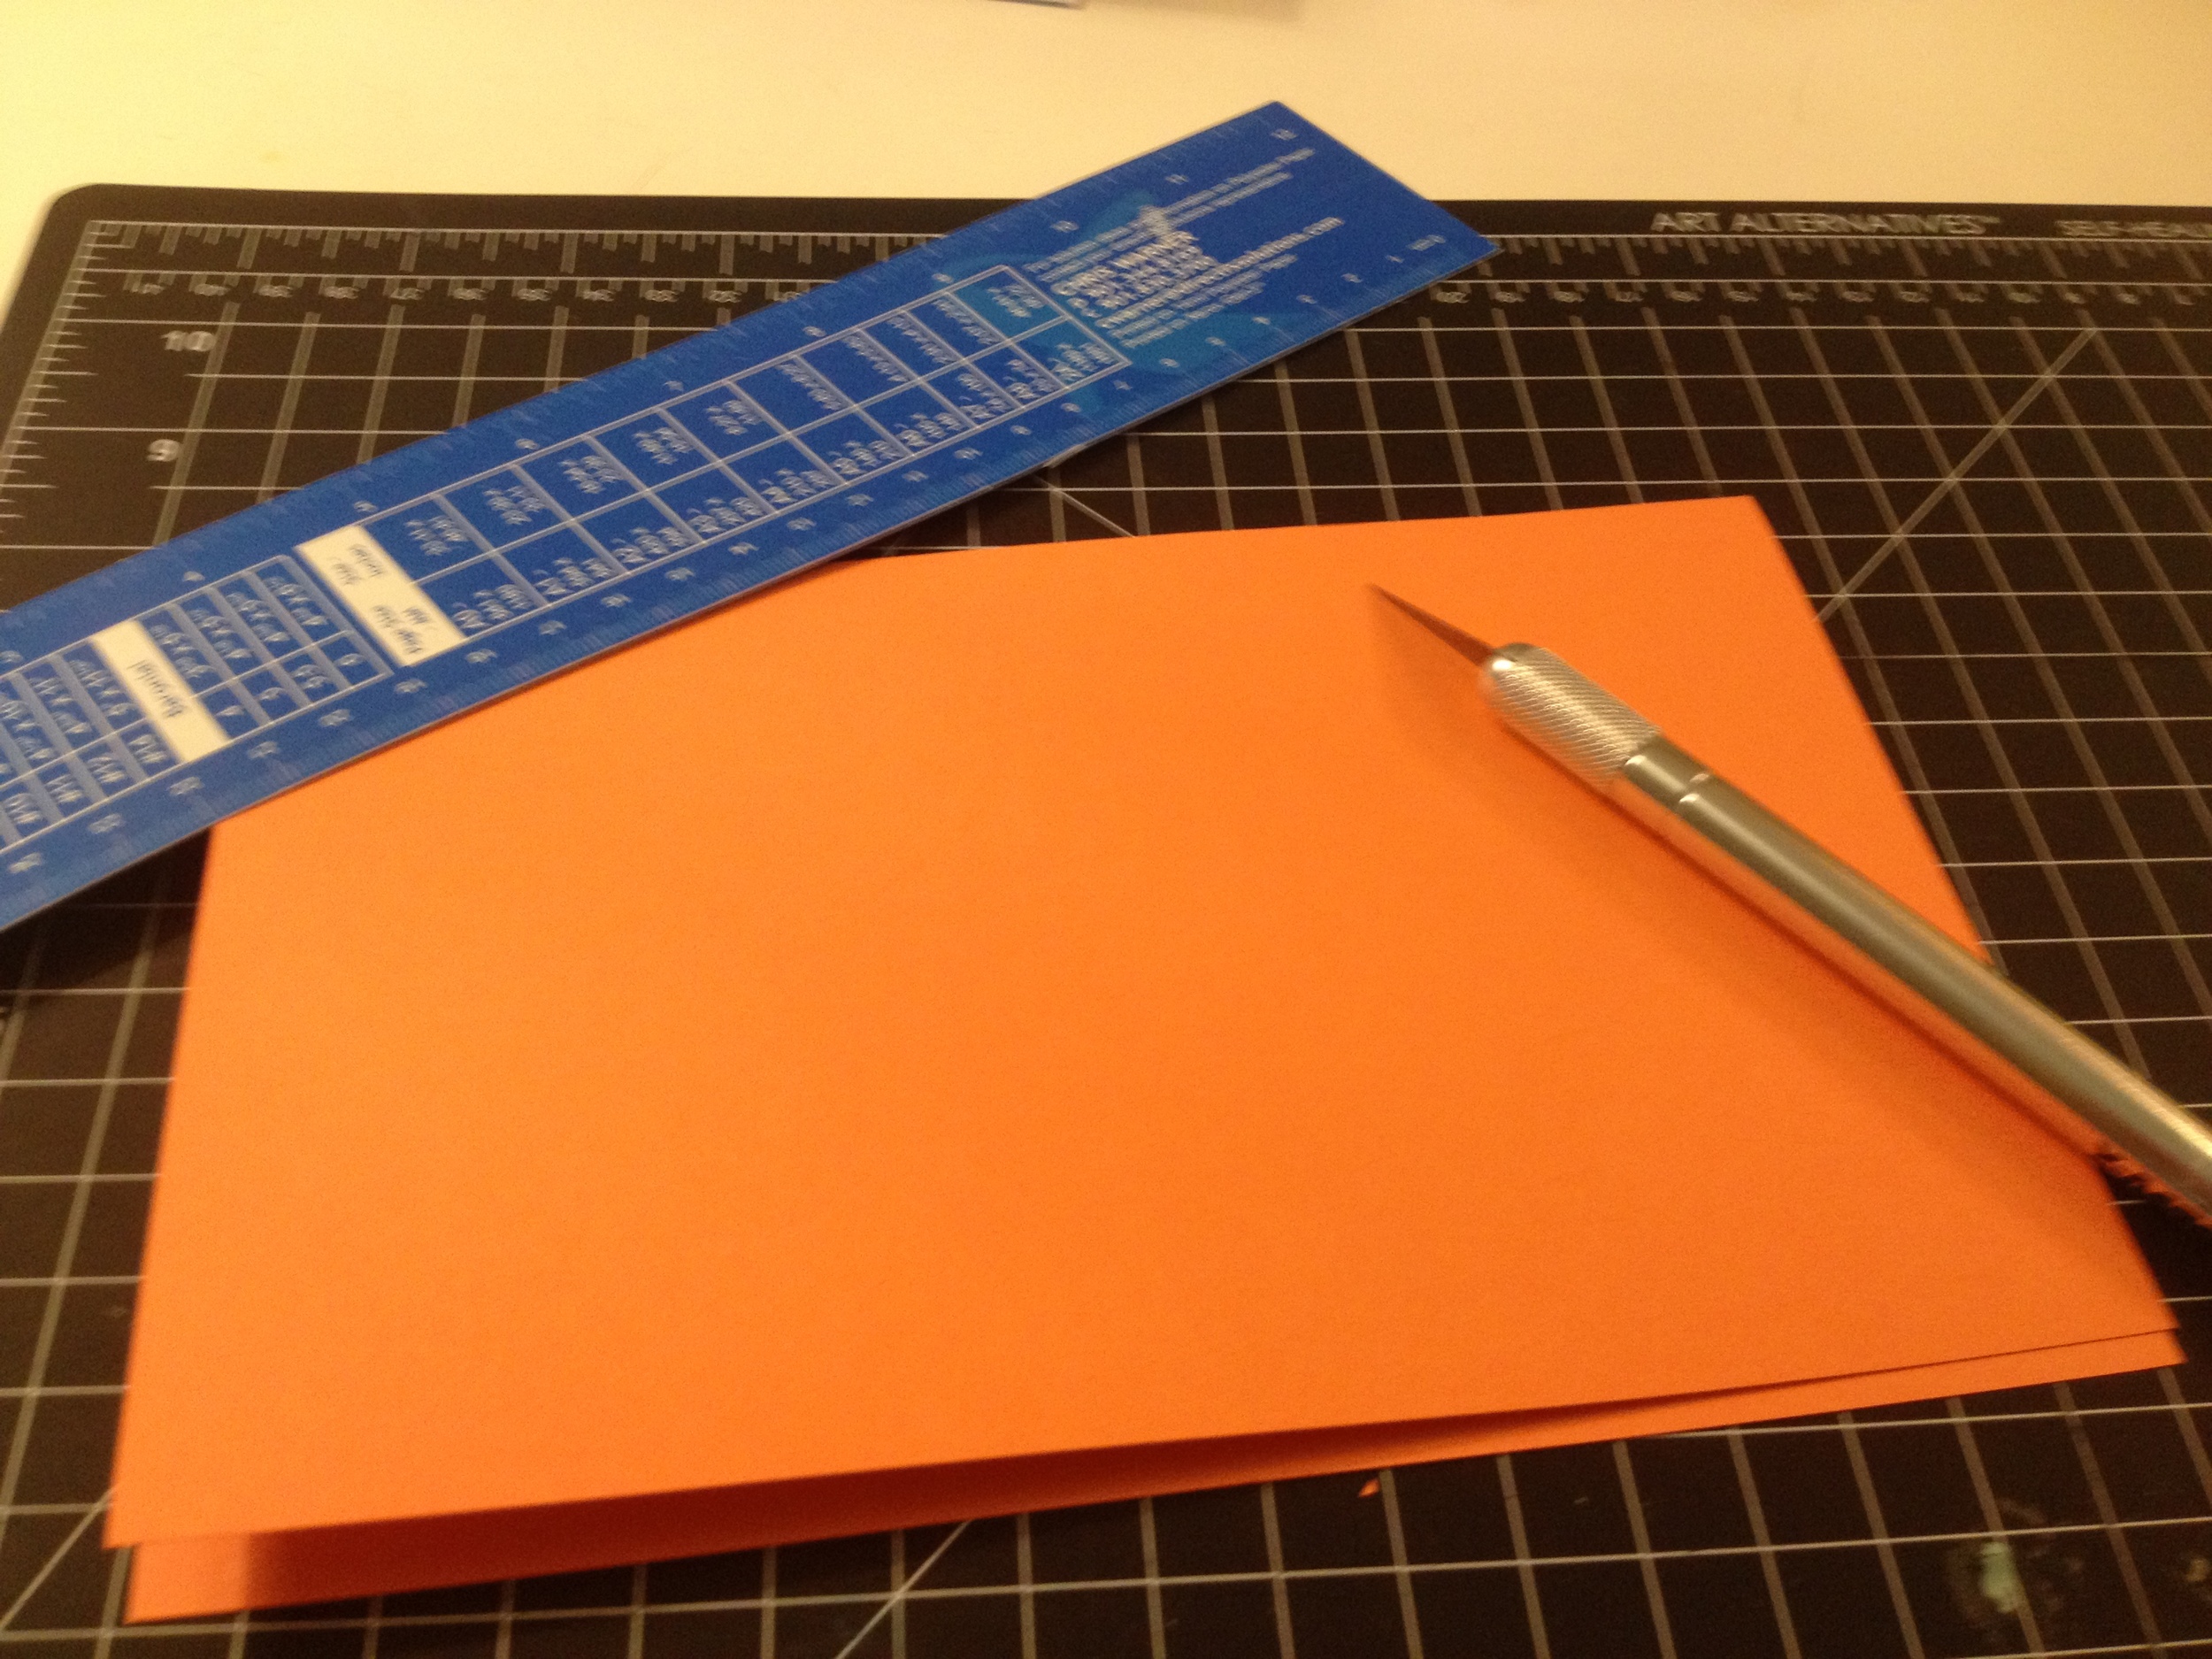
Start by using your mat to find the center of your card base (5.5 ” for this card). Then score it by running the knife lightly down the center once or twice. Fold in half.

step1

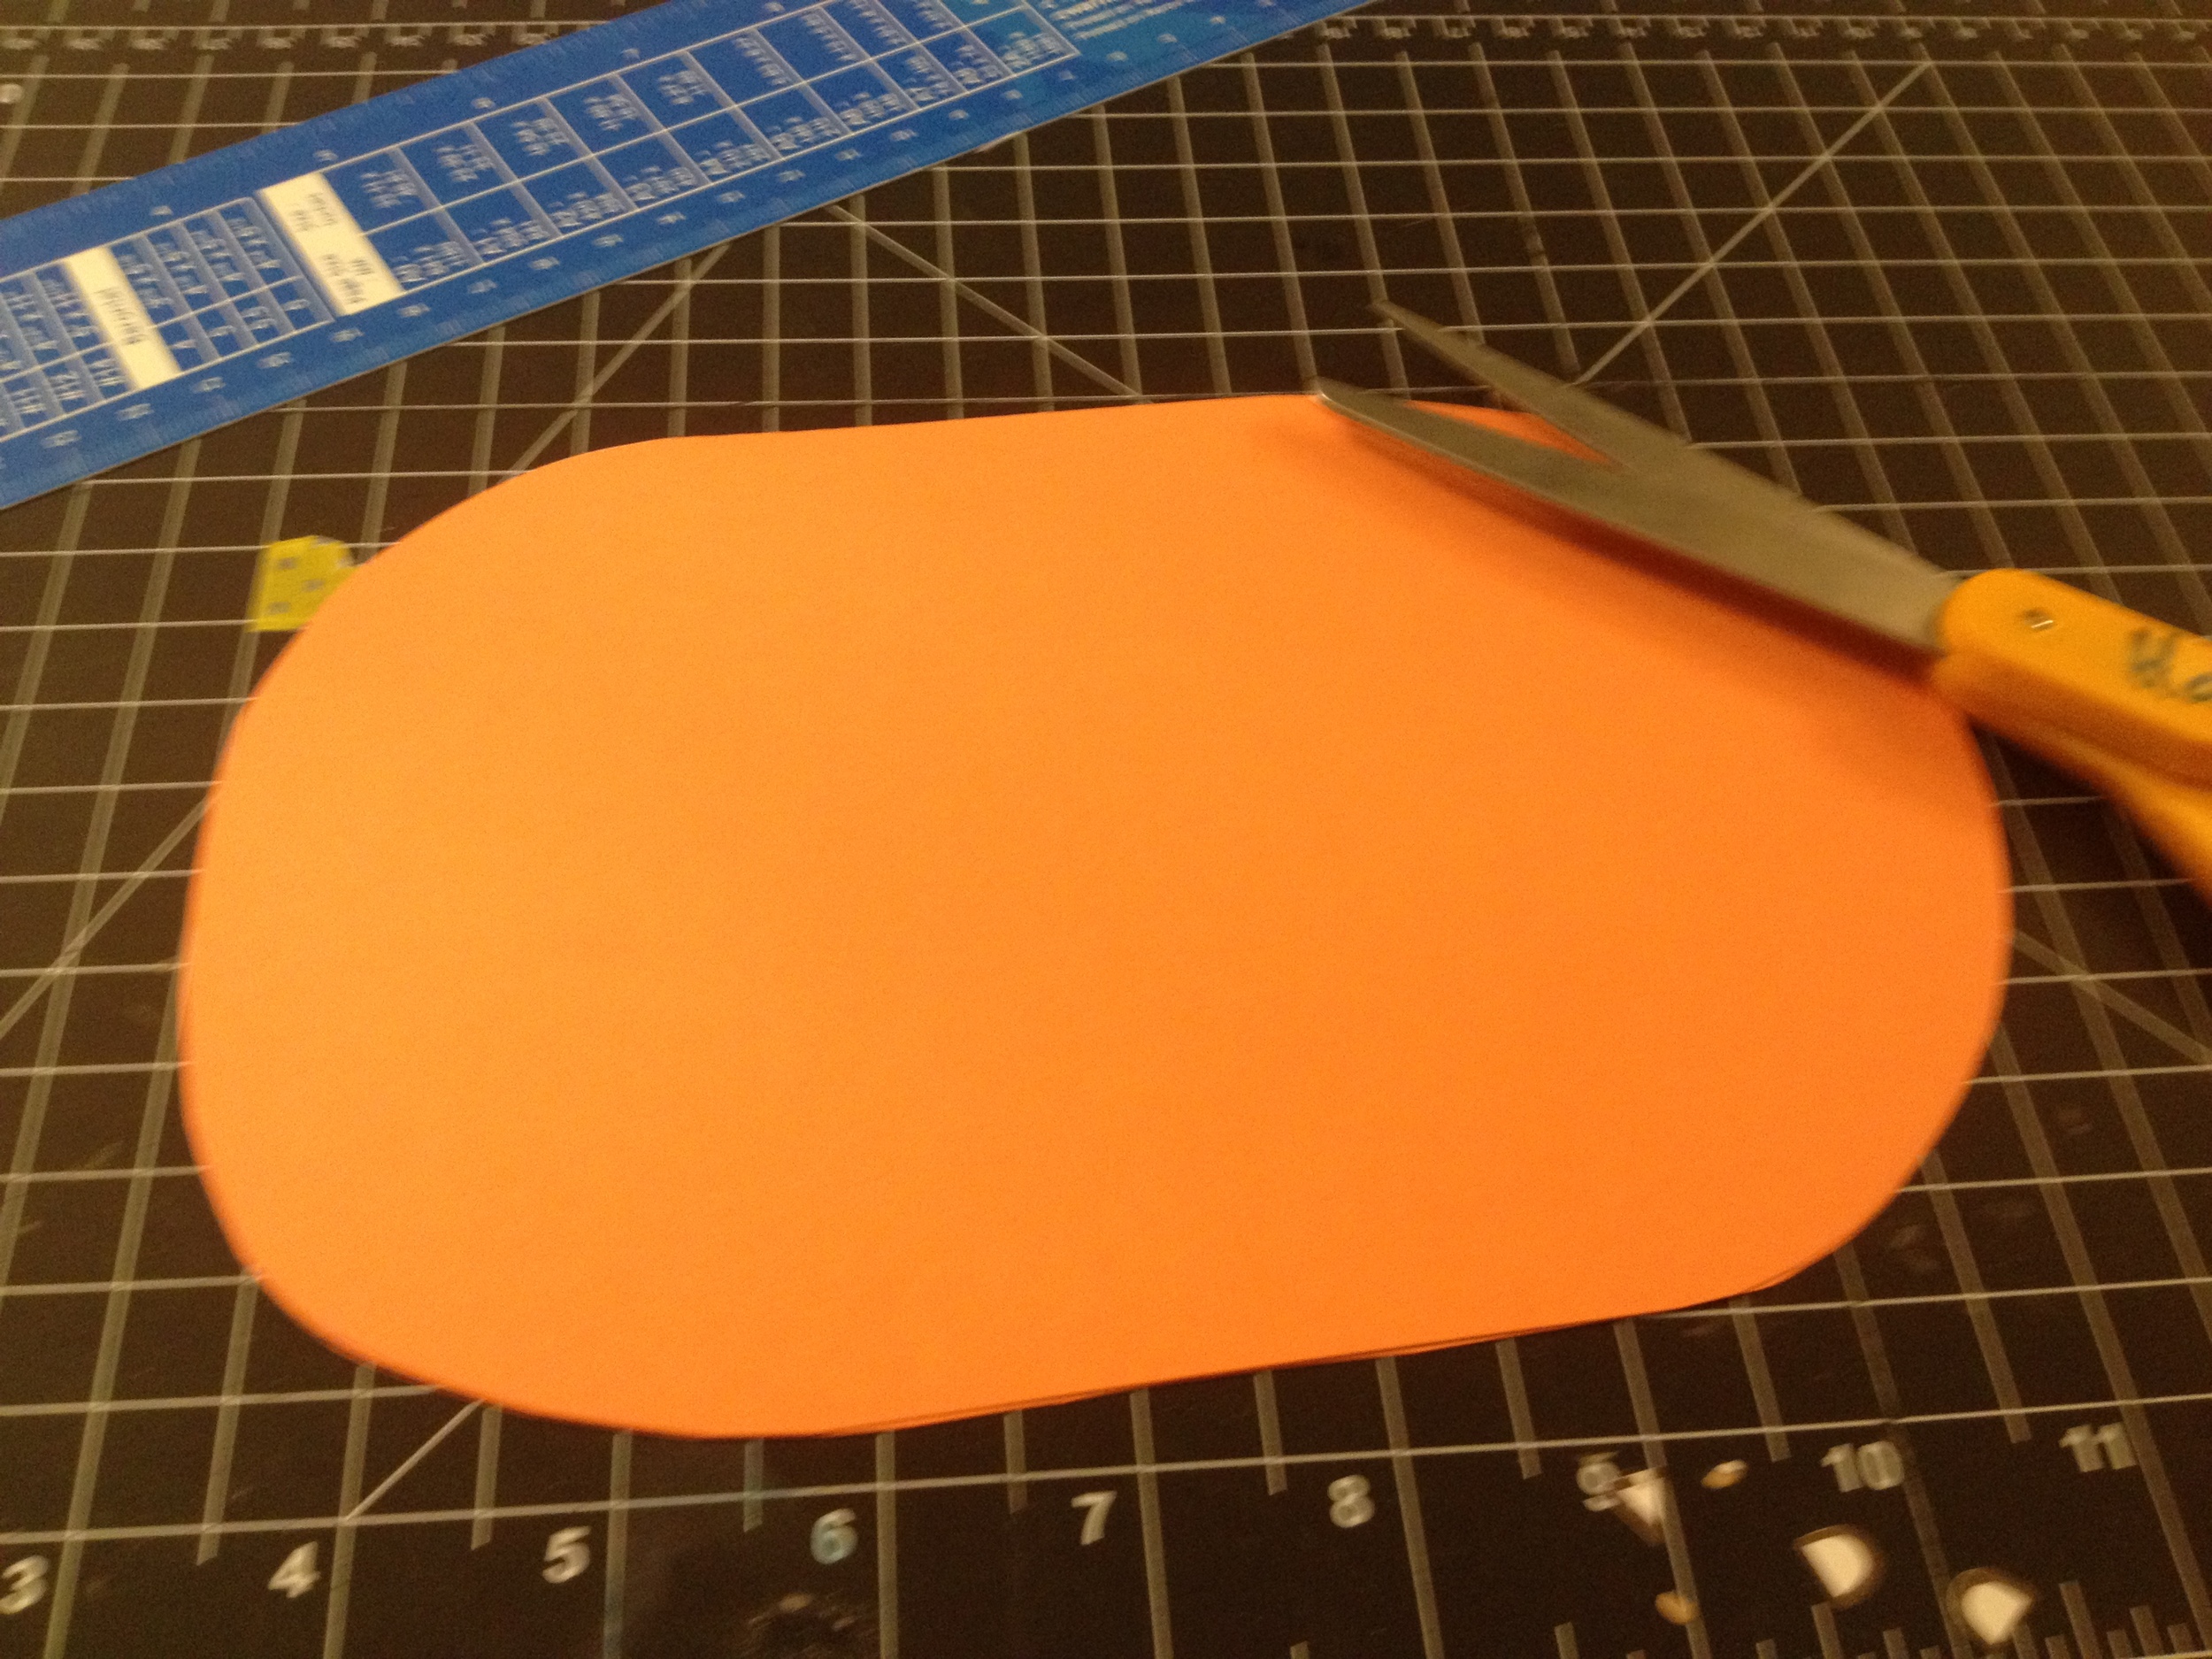
Using your scissors, round off the short sides of your card, taking care not to cut too much off the folded side.

step2

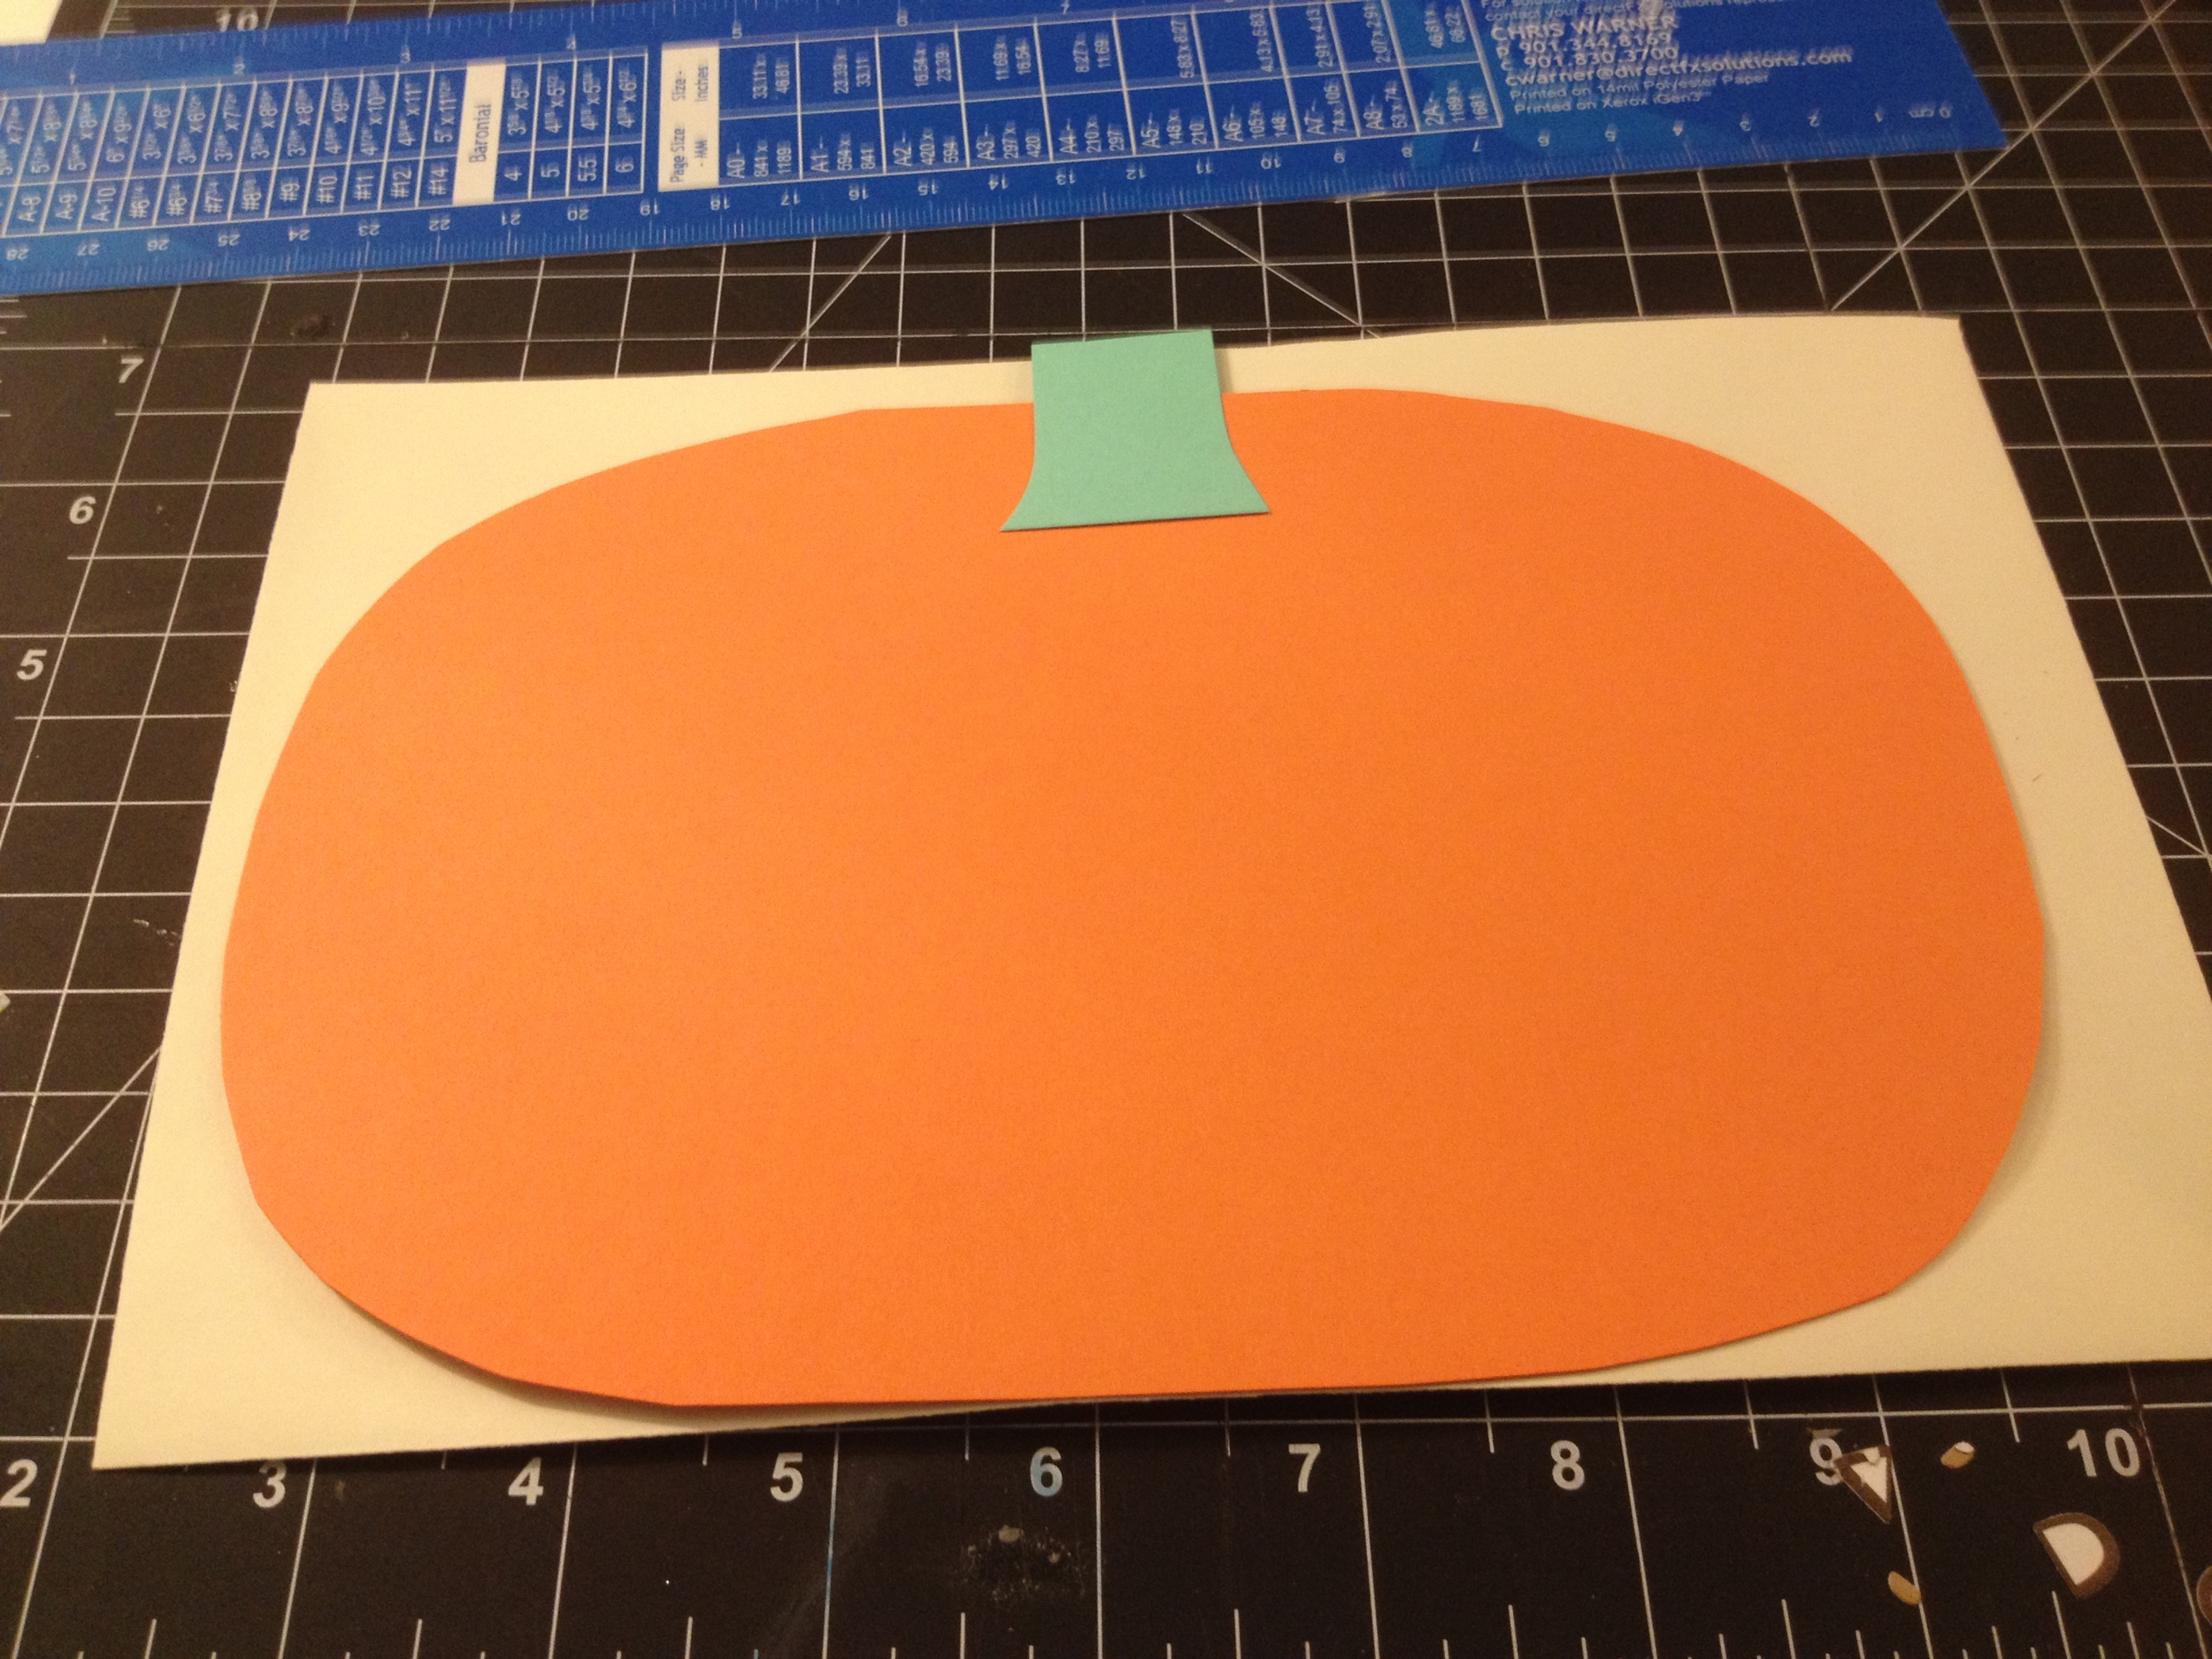
Grab your envelope, and made sure you leave enough room for your pumpkin's stalk. Glue the stalk to the card case.

step3

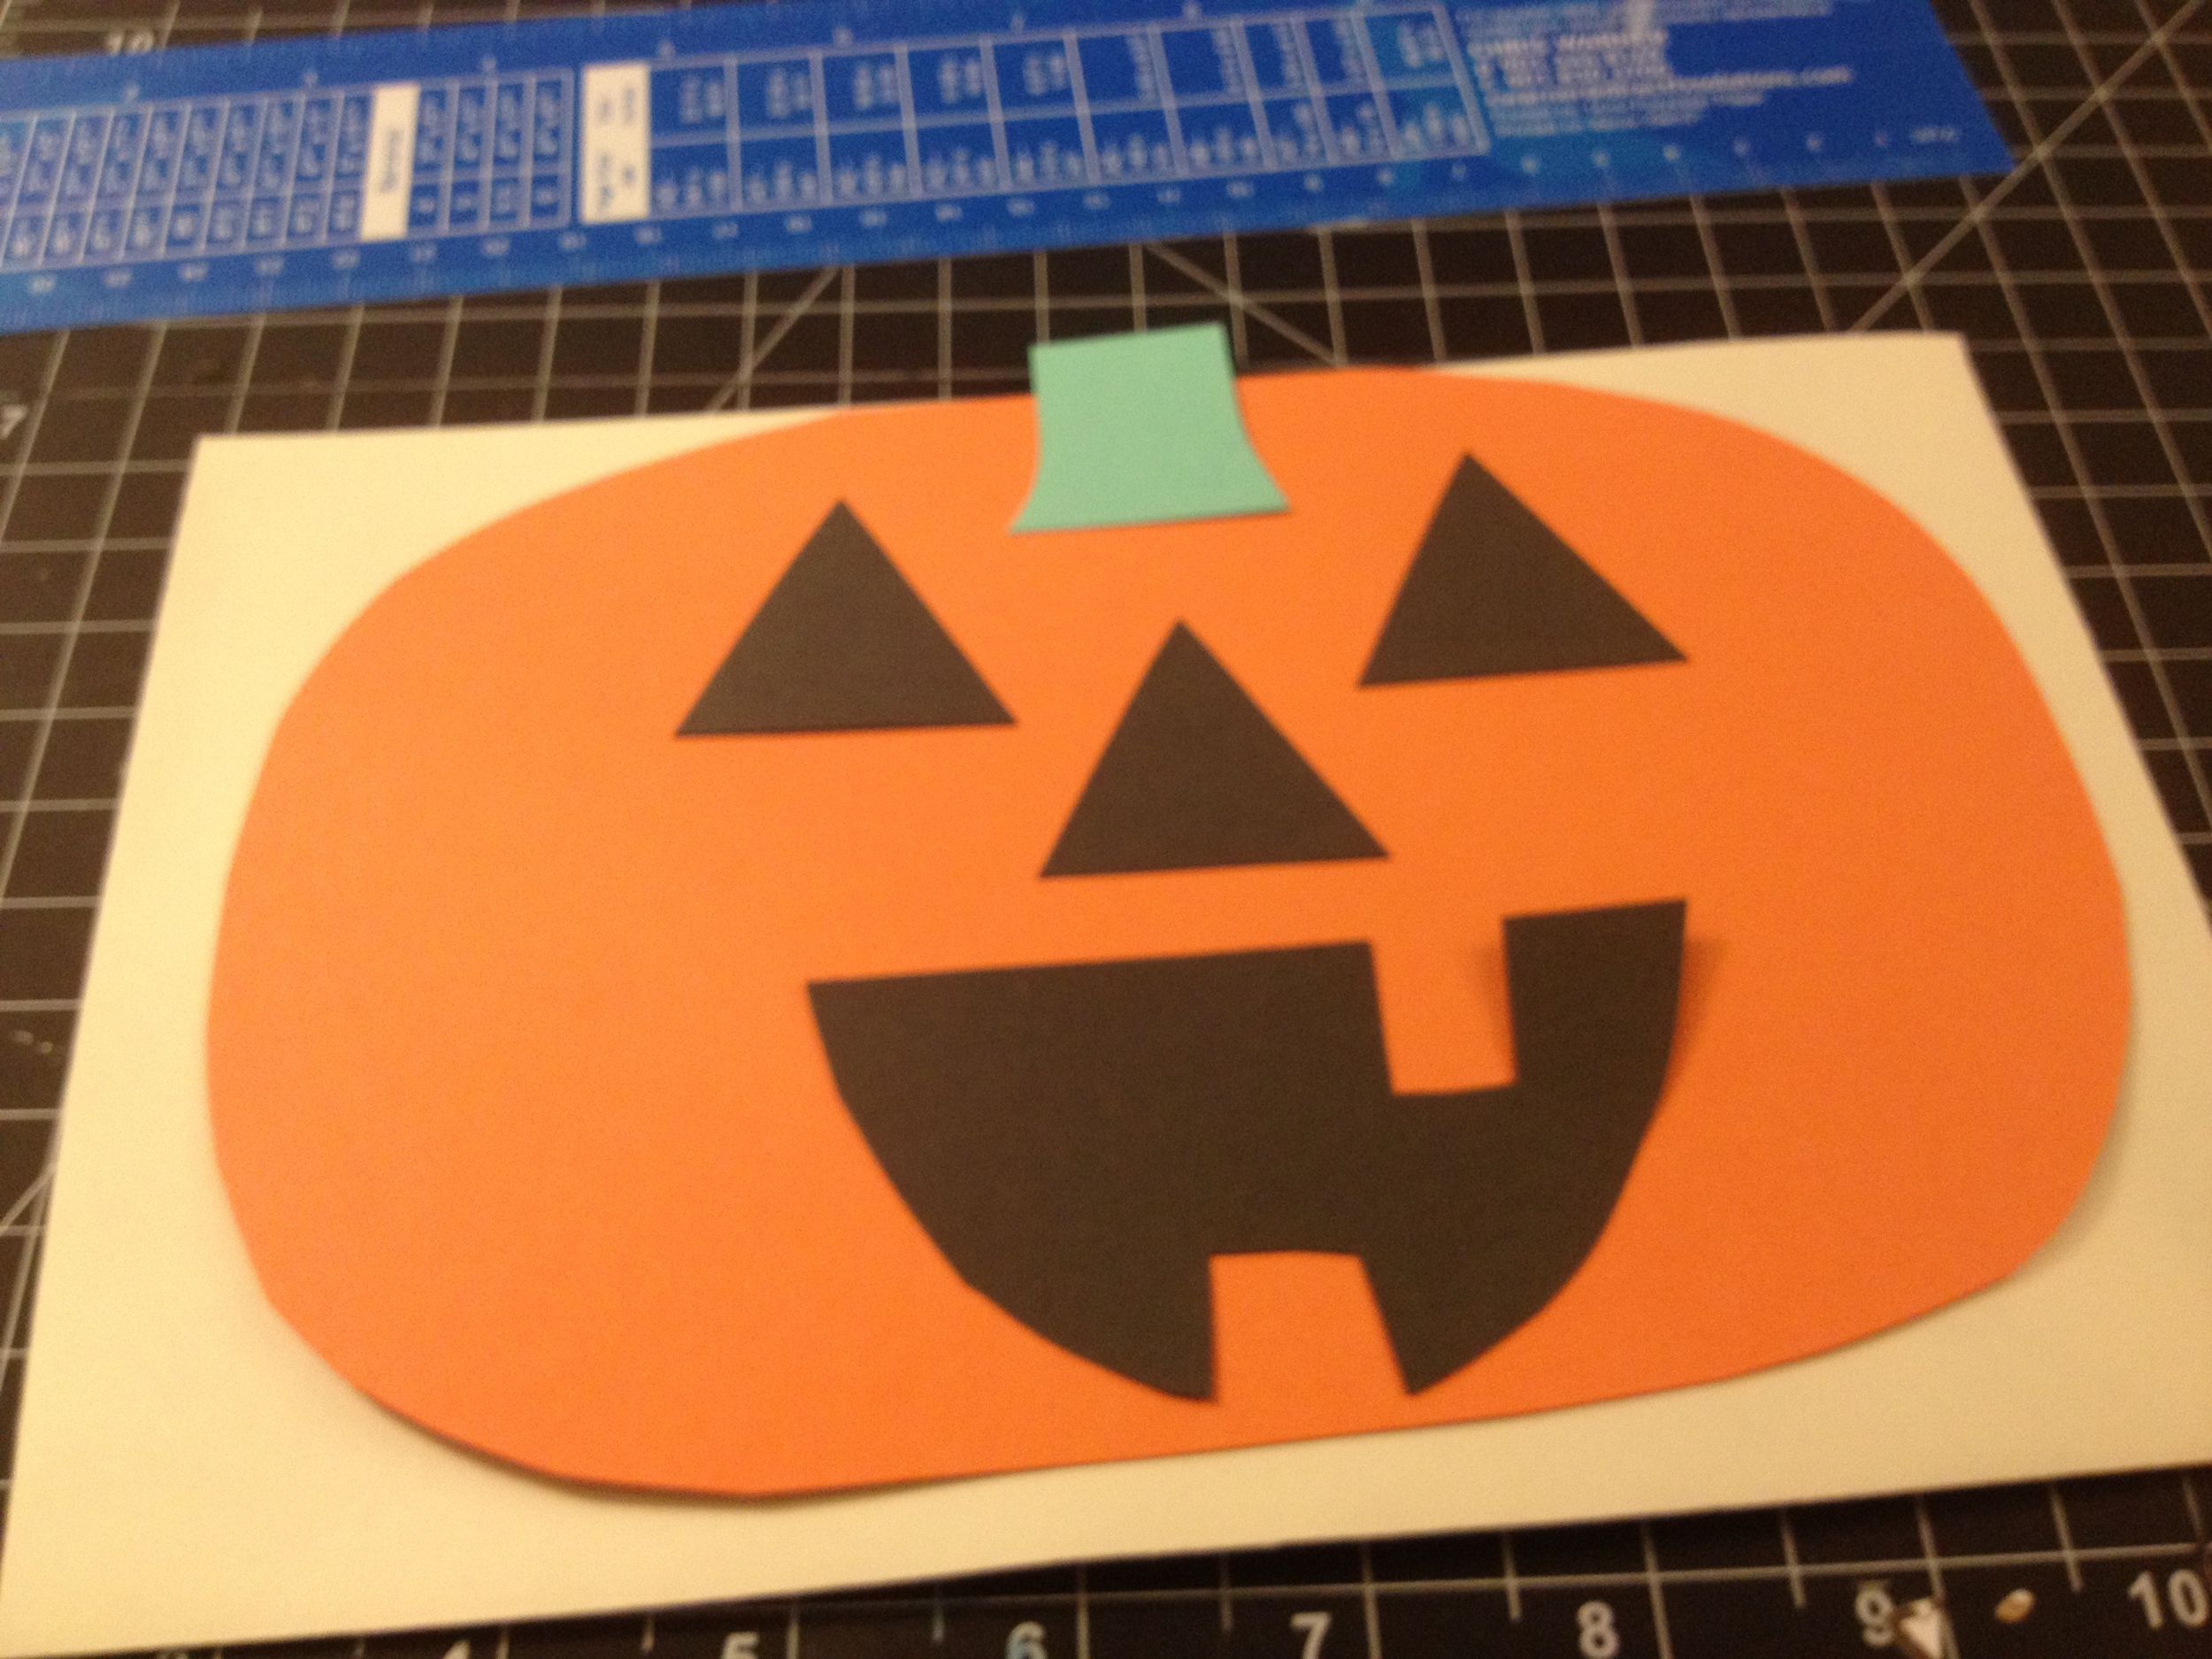
Cut out three triangles (your pumpkin's eyes and nose). I free-hand the first triangle, and then use it to cut out the other two. This way I know they are all the same size.  I also cut out a half circle for a mouth. If you want your pumpkin to have teeth, carefully cut two rectangles out of the half circle. Arrange your face to make sure everything fits nicely. Trim the pieces down if necessary.

step4

Once you're happy with your face, glue the triangles and half circle to your card base.

step5

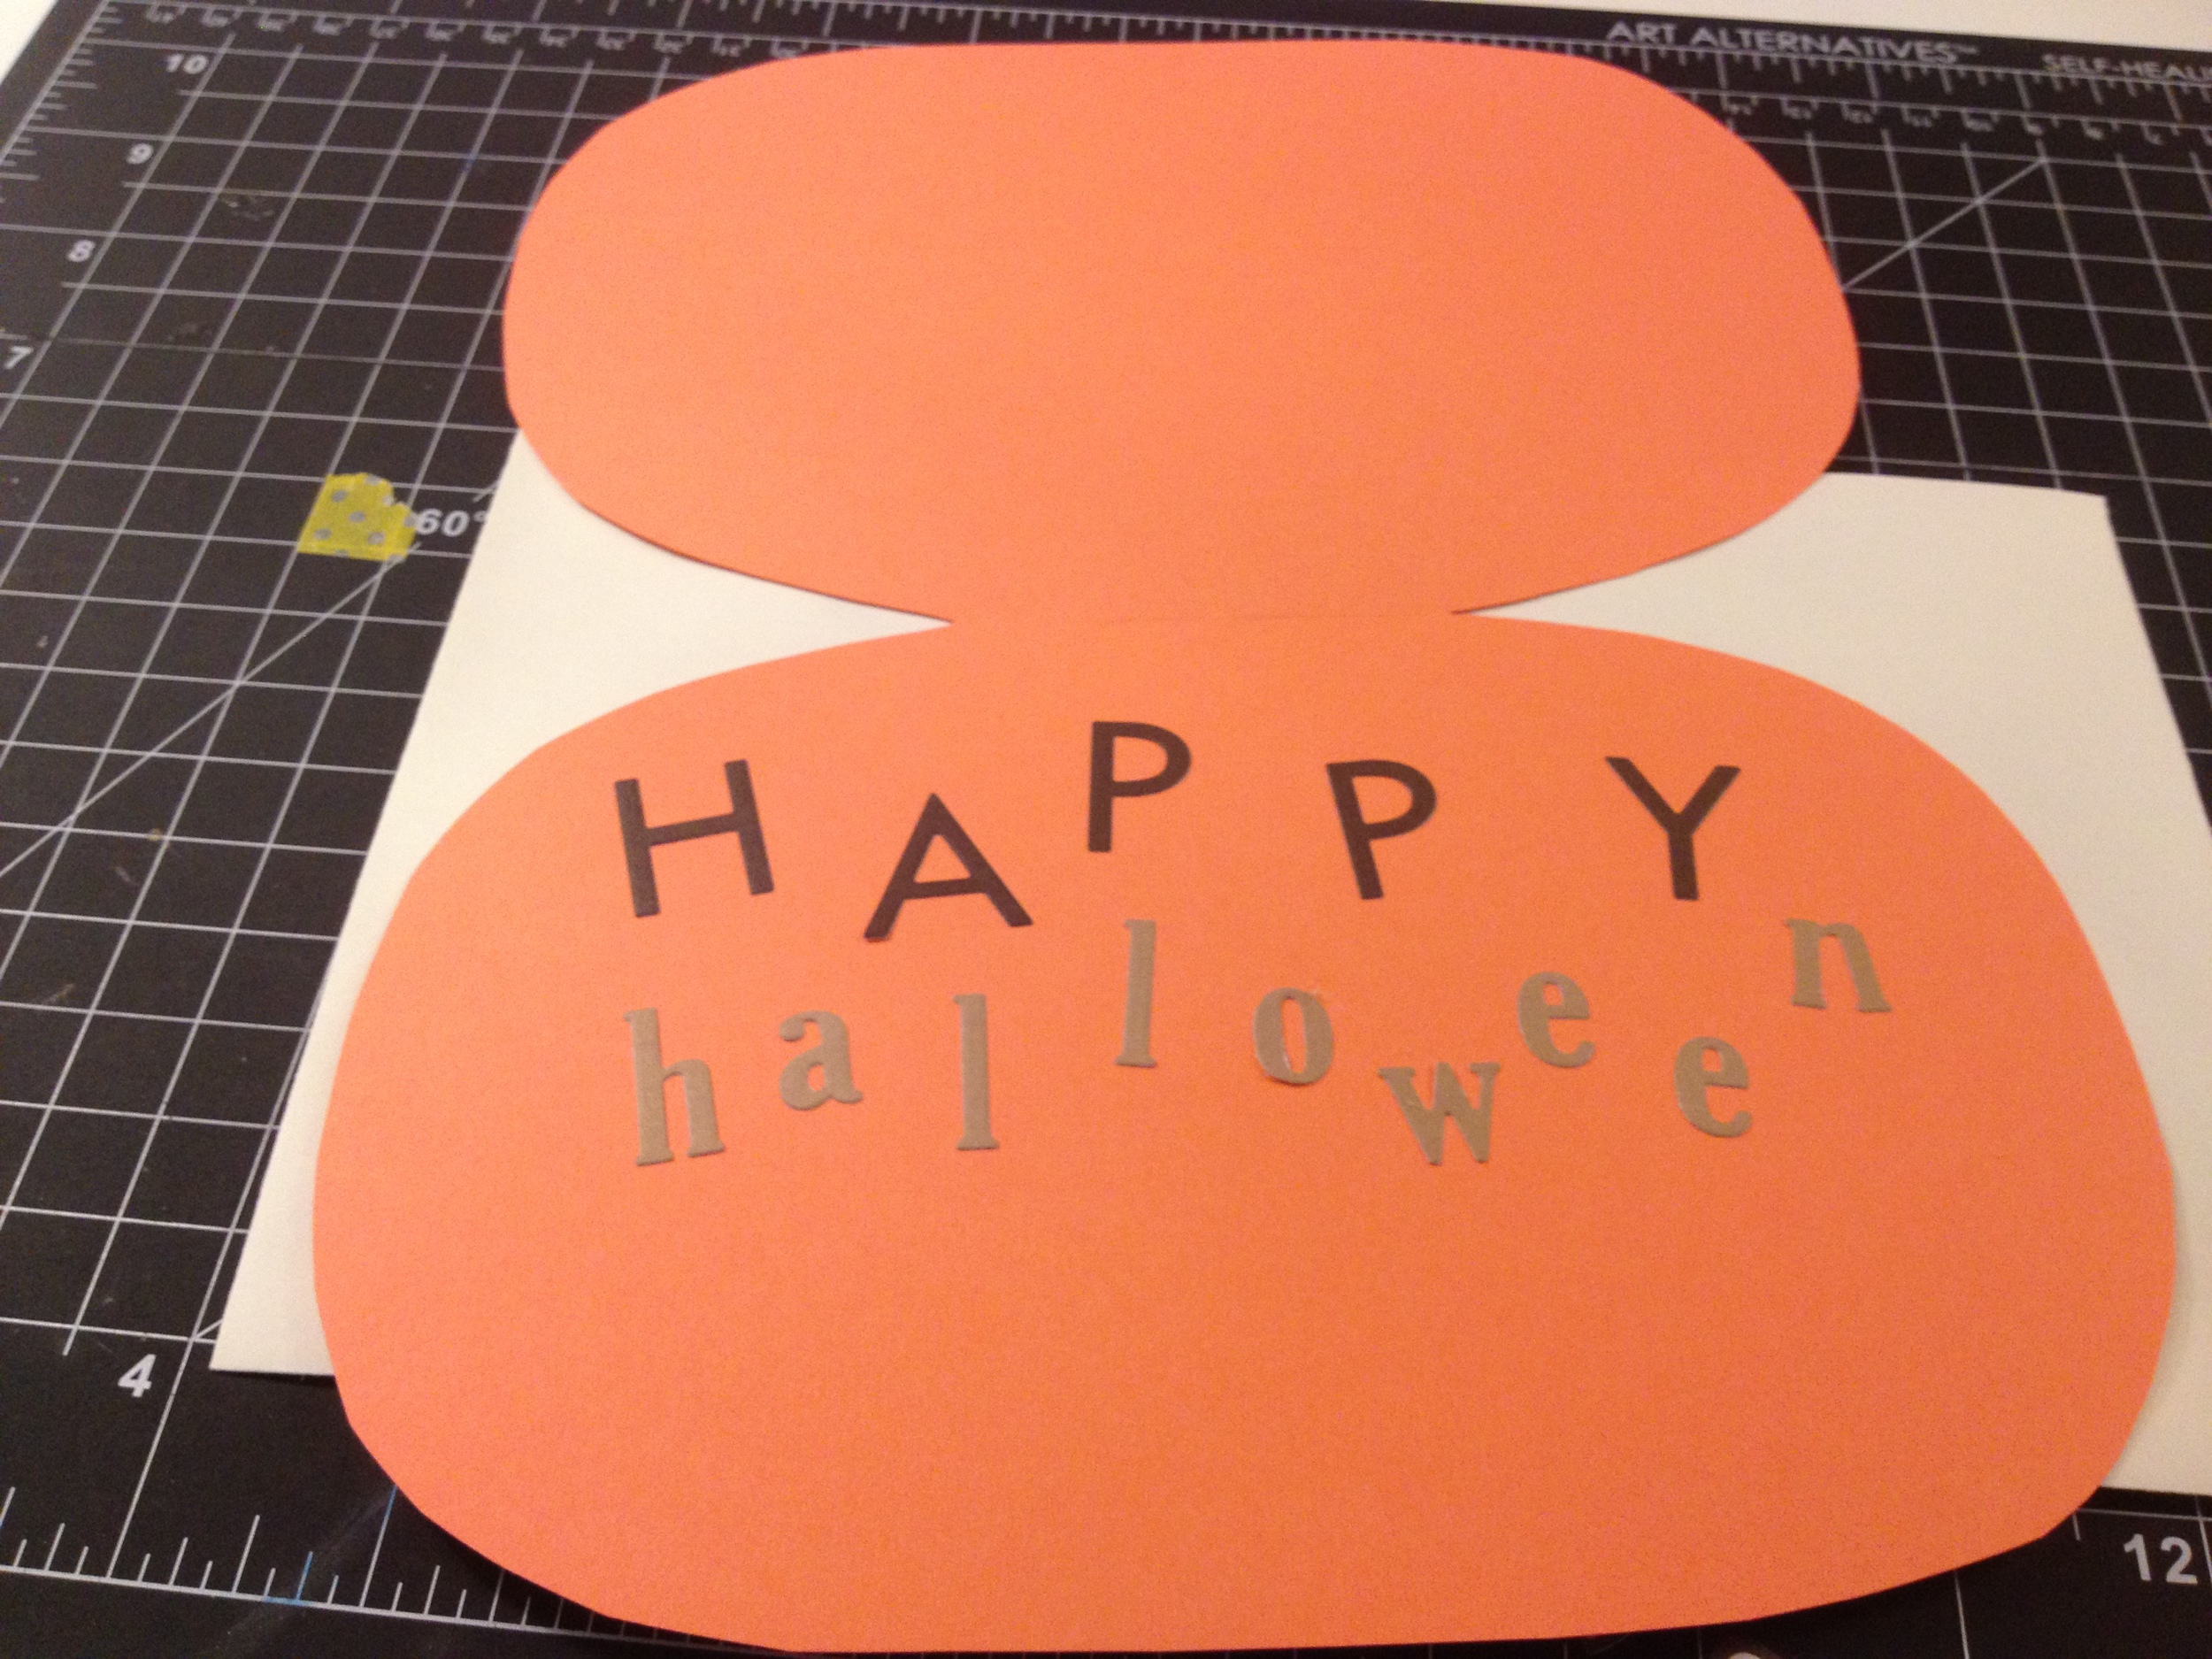
Open your card, and use your sticker letters to write a happy or spooky message. I chose a happy message for this particular card. Add your personal note, and you're ready to send a friend or family member some Halloween cheer!

step6

Like this card but don't think you can recreate it? Contact us, and we'll create one for you to purchase via our Etsy shop. The Halloween Pumpkin Card is $3.50, plus shipping and handling.
sneak peek #1: inside the studio

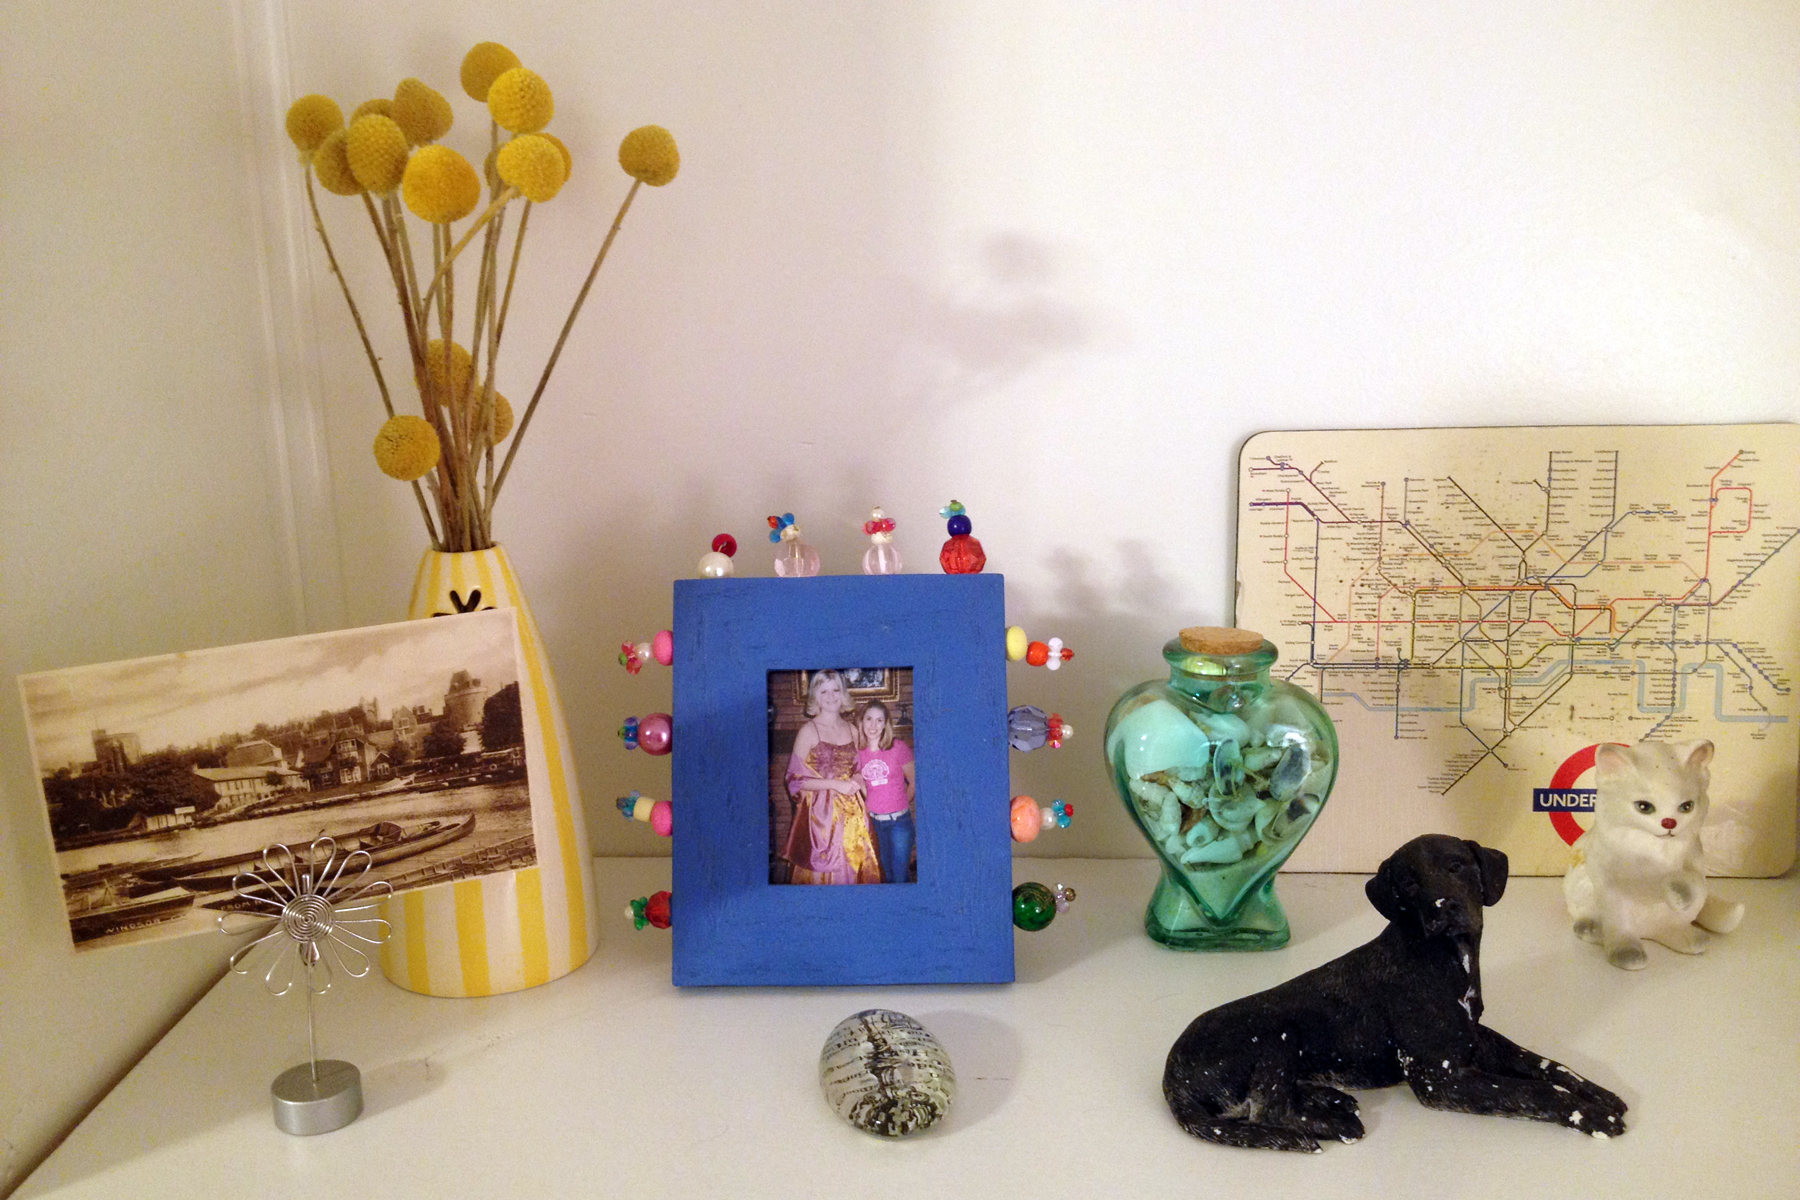
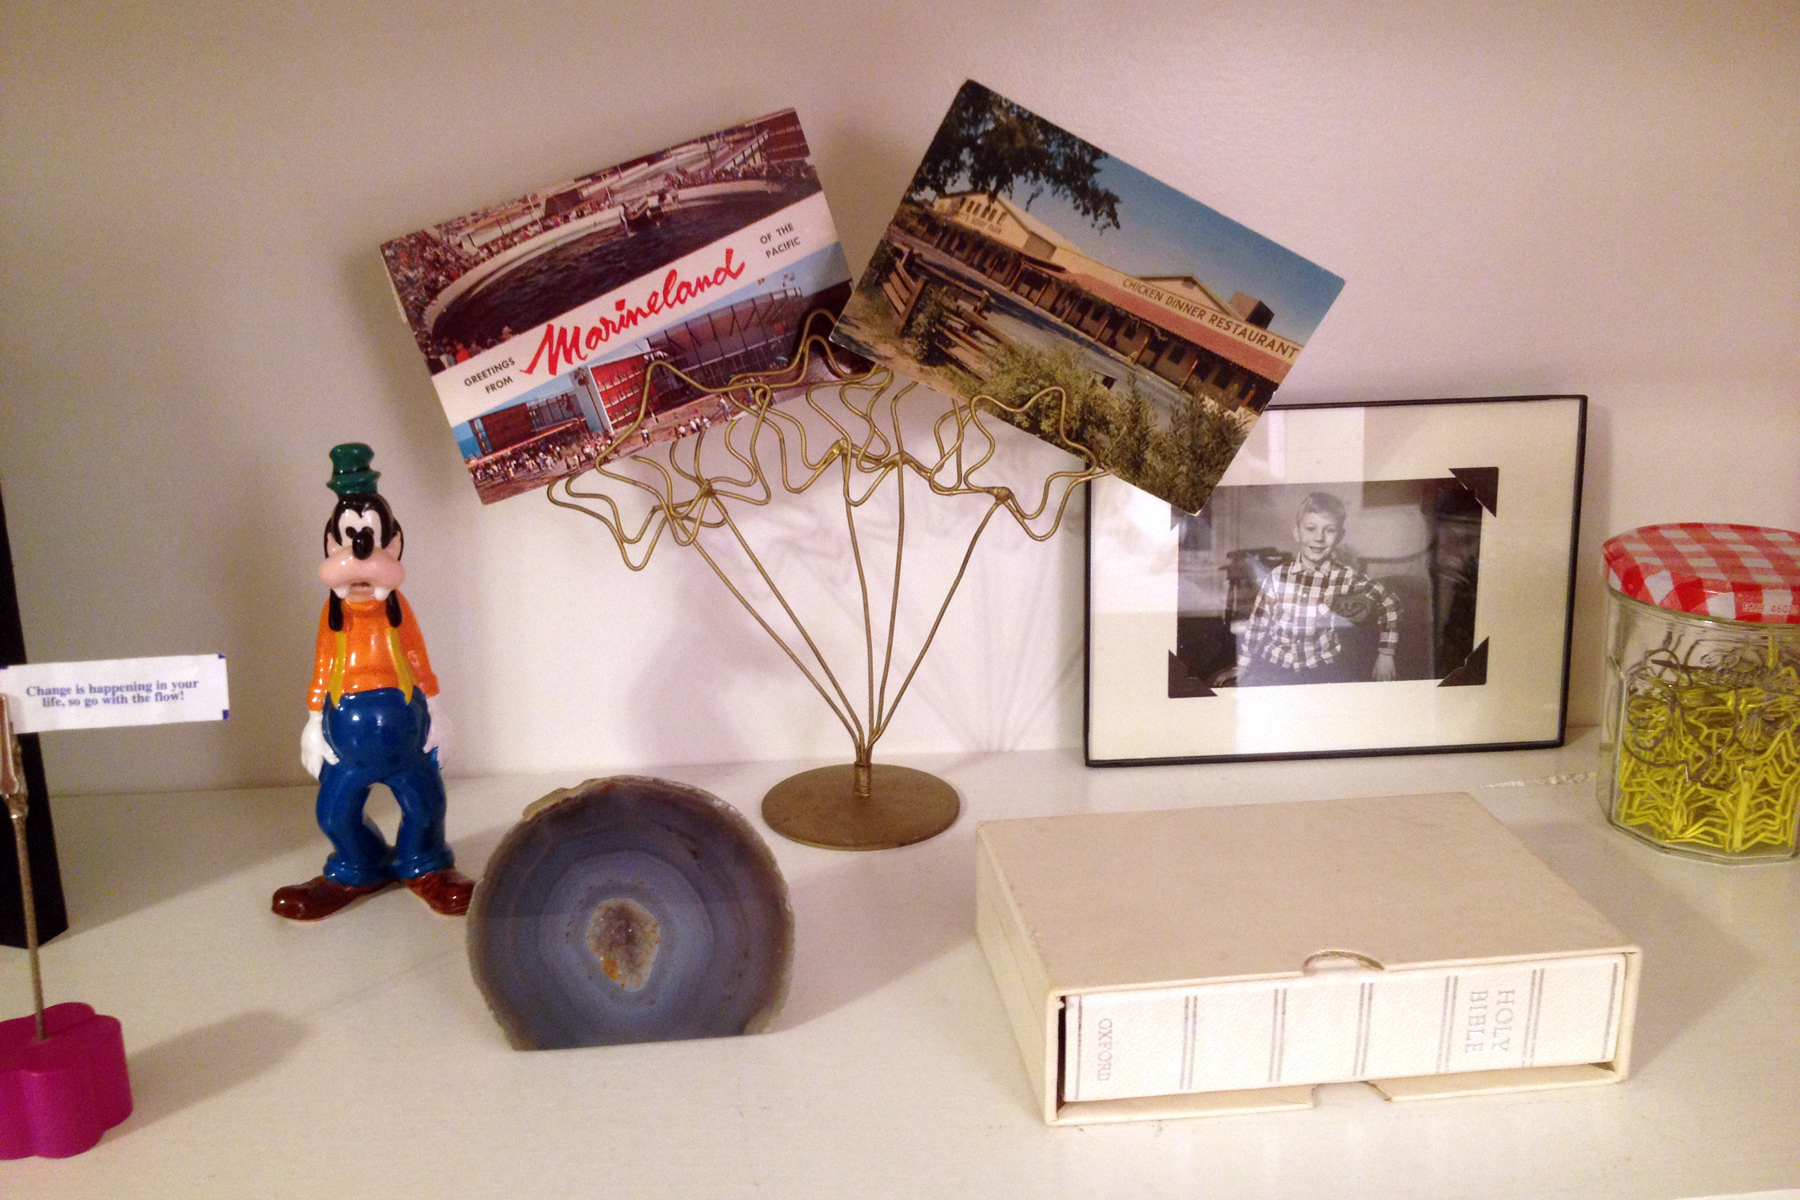
trinkets3 With only a few weeks under our belts, the new Gerald & Joan studio is most certainly a work in progress, but we're excited to finally have a dedicated work space that is solely designed for dreaming and creating.
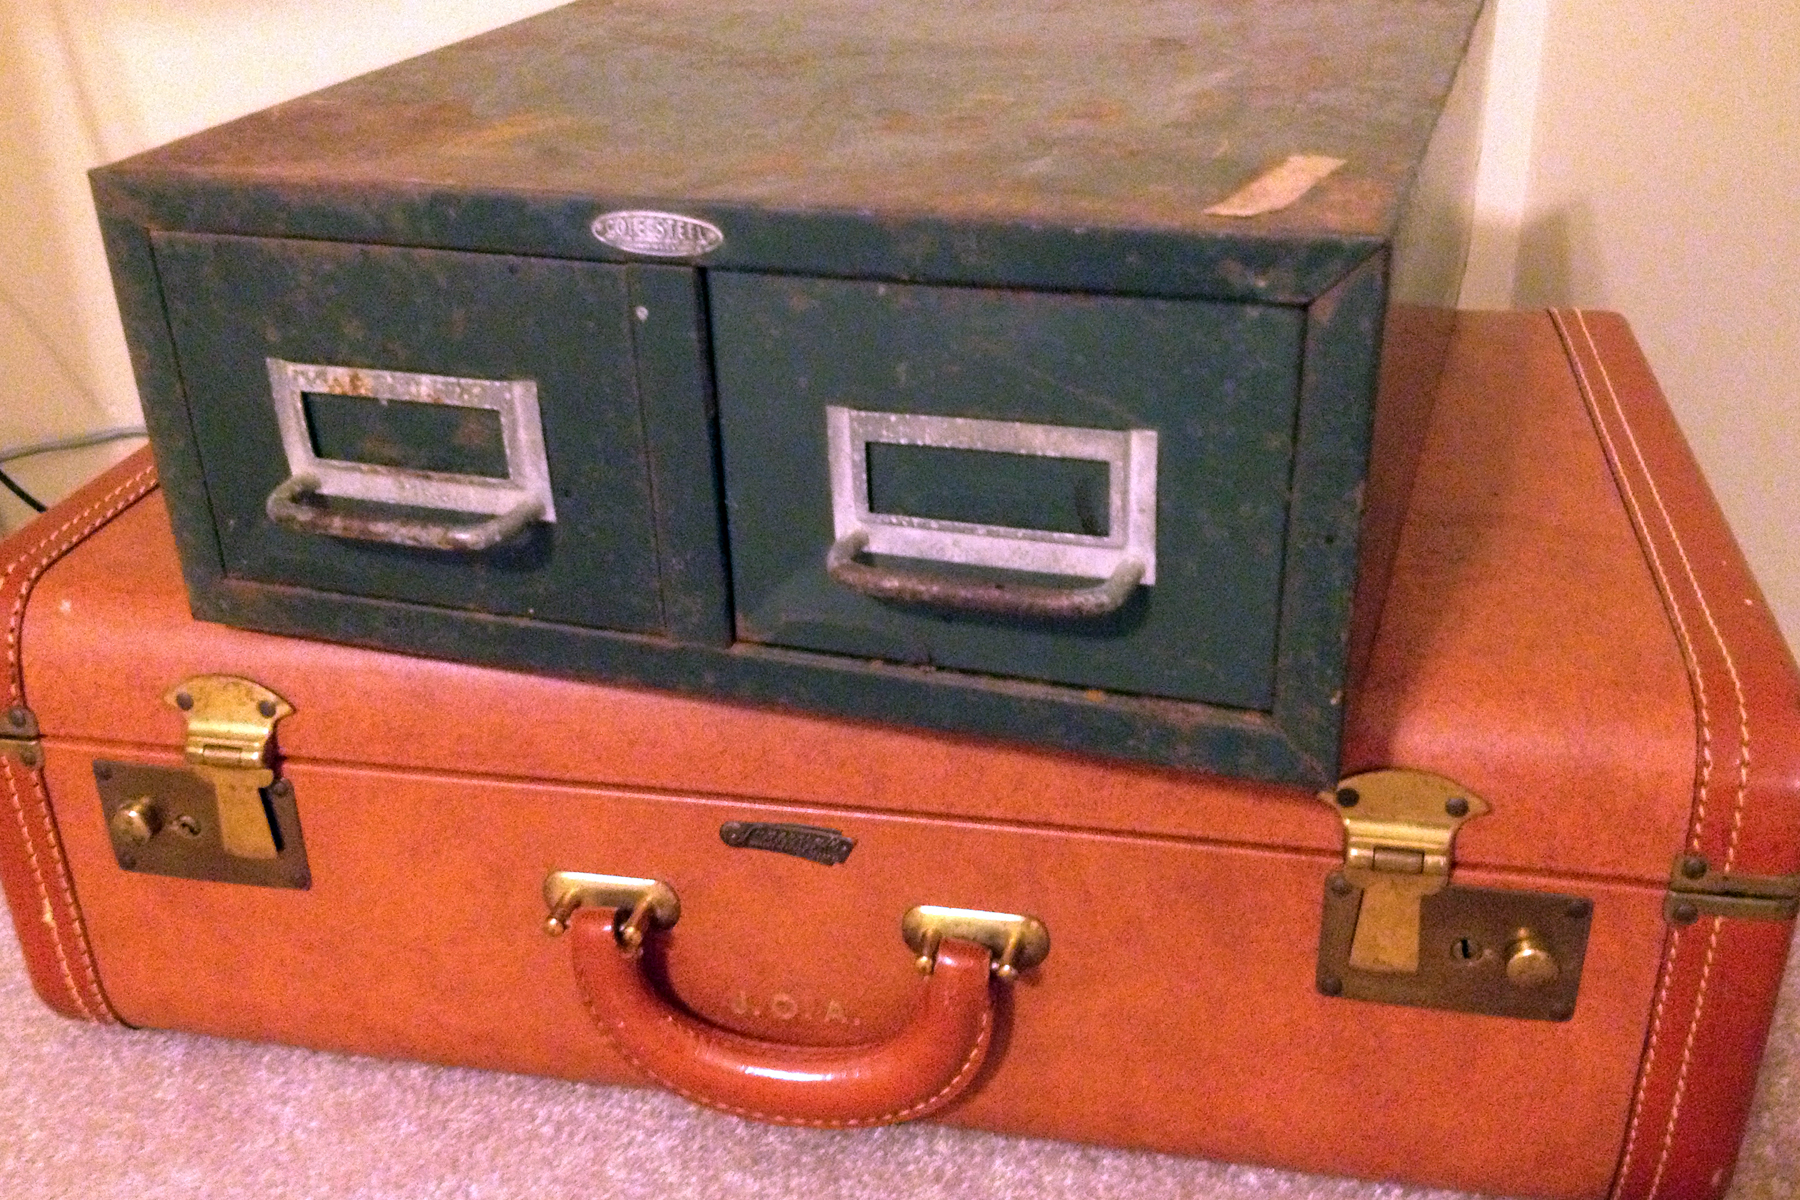
vintagecardcatalogandsuitcase

trinkets2

When we first saw this place, we immediately recognized its challenges -- it's an attic addition, so the ceilings have weird angles, it's warmer than the rest of the upstairs (a ceiling fan helps keep the temperatures down) and there isn't a window in the room itself (which explains the awful lighting in the photos). We knew it would never need to be a bedroom, which meant it could always be our dedicated room for building our creative endeavors, for making messes and for logging quiet time at our desks.

trinkets

gallerywall2

Despite its shortcomings, we fell for the space because it was situated at the back of the house in a place that could be closed off if we wanted to forget about work (or home). It also offered a separate staircase to the downstairs, two large built-in book cases and easy access to our home gym, which is located just past the studio in a slightly smaller room with a big window. To enjoy the natural light, I leave the door open during the day, but I don't spend time staring longingly out the window. It's a win-win.

gallery wall

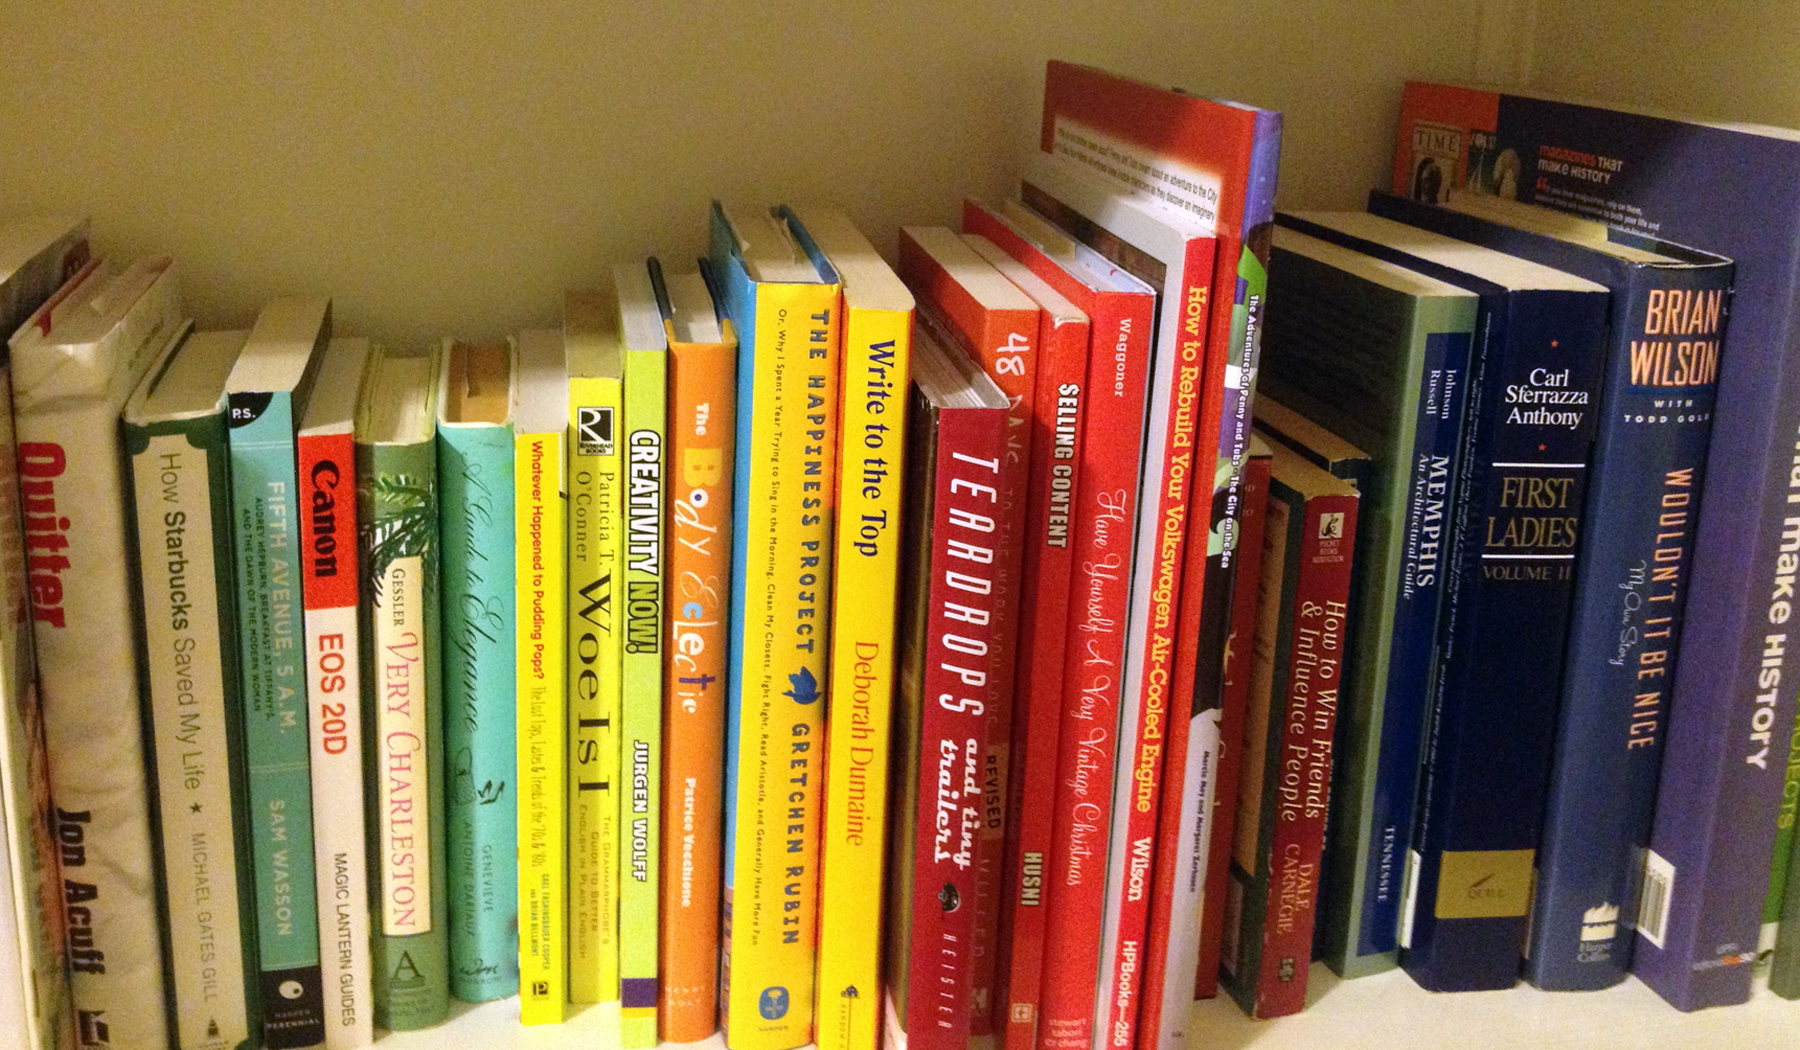
pretty books

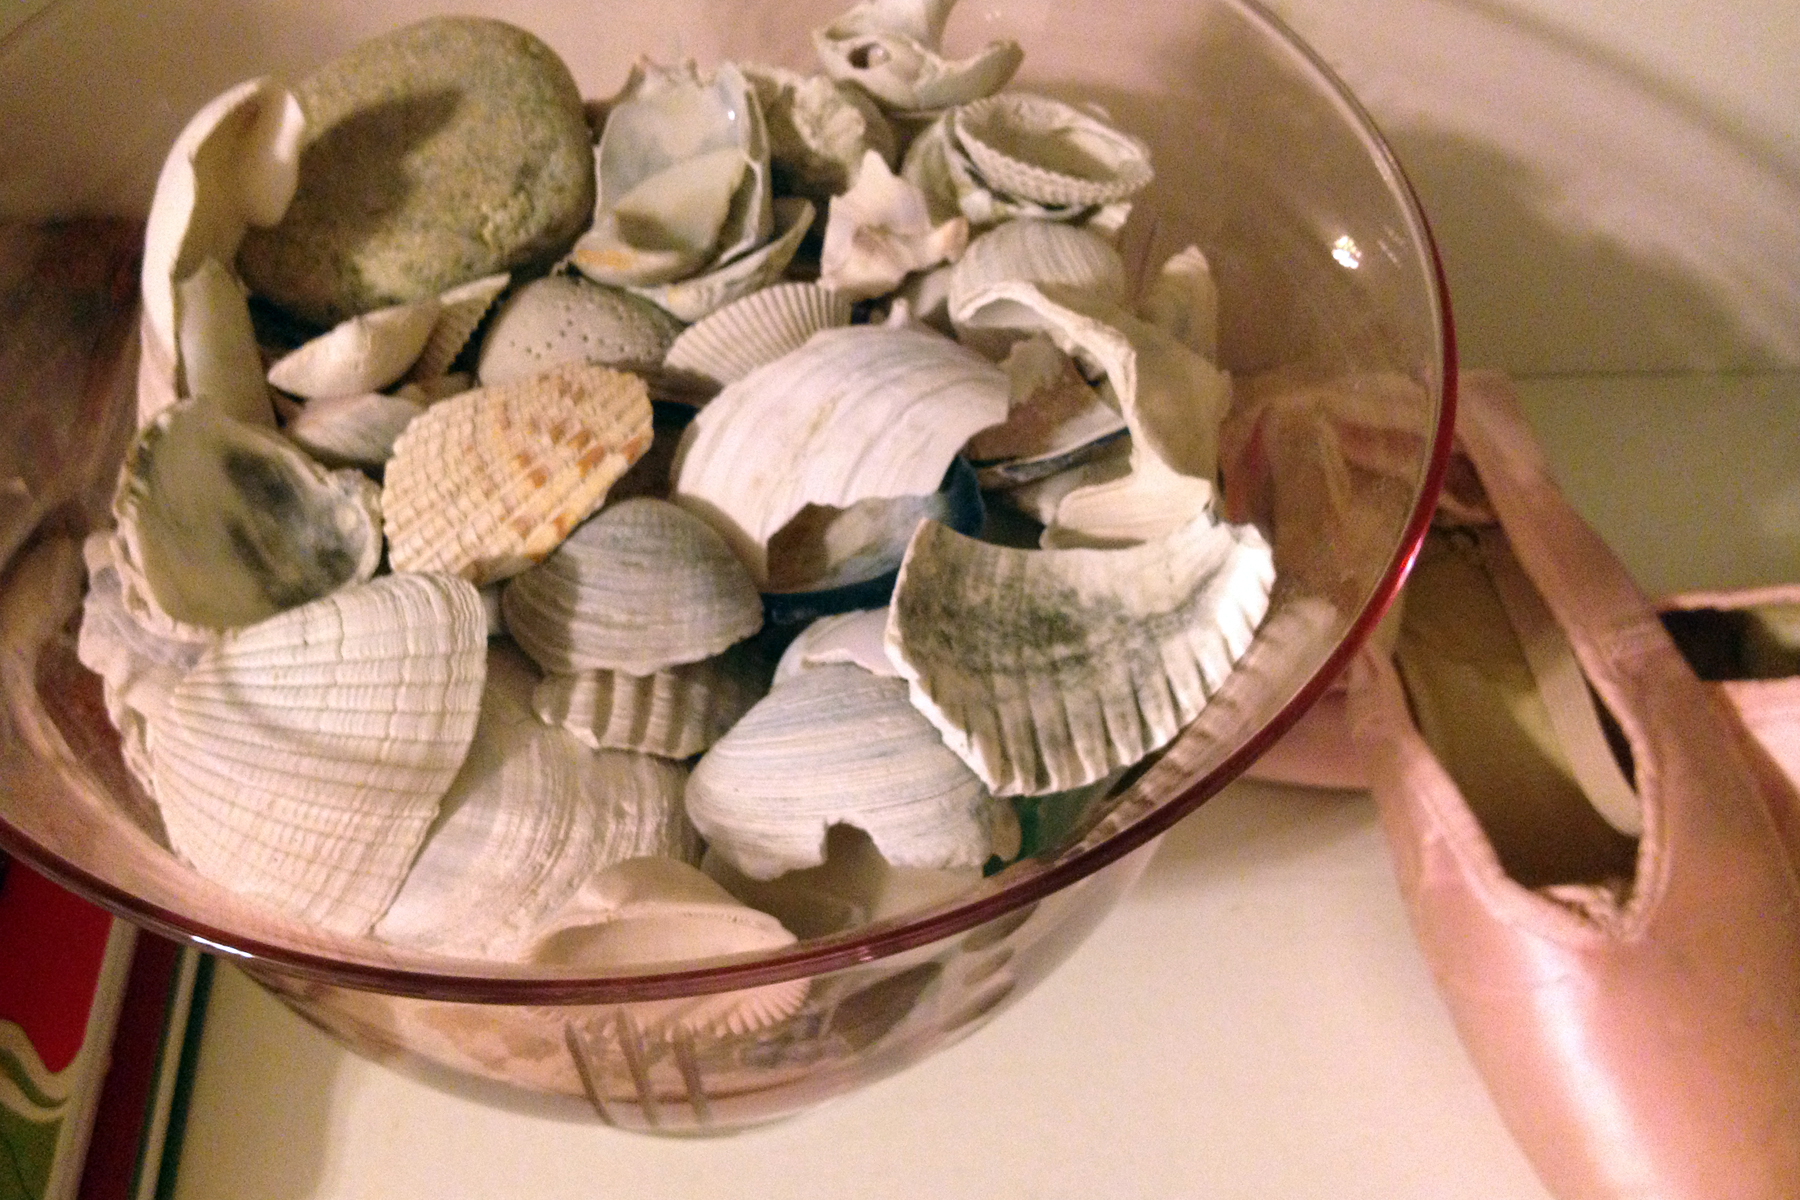
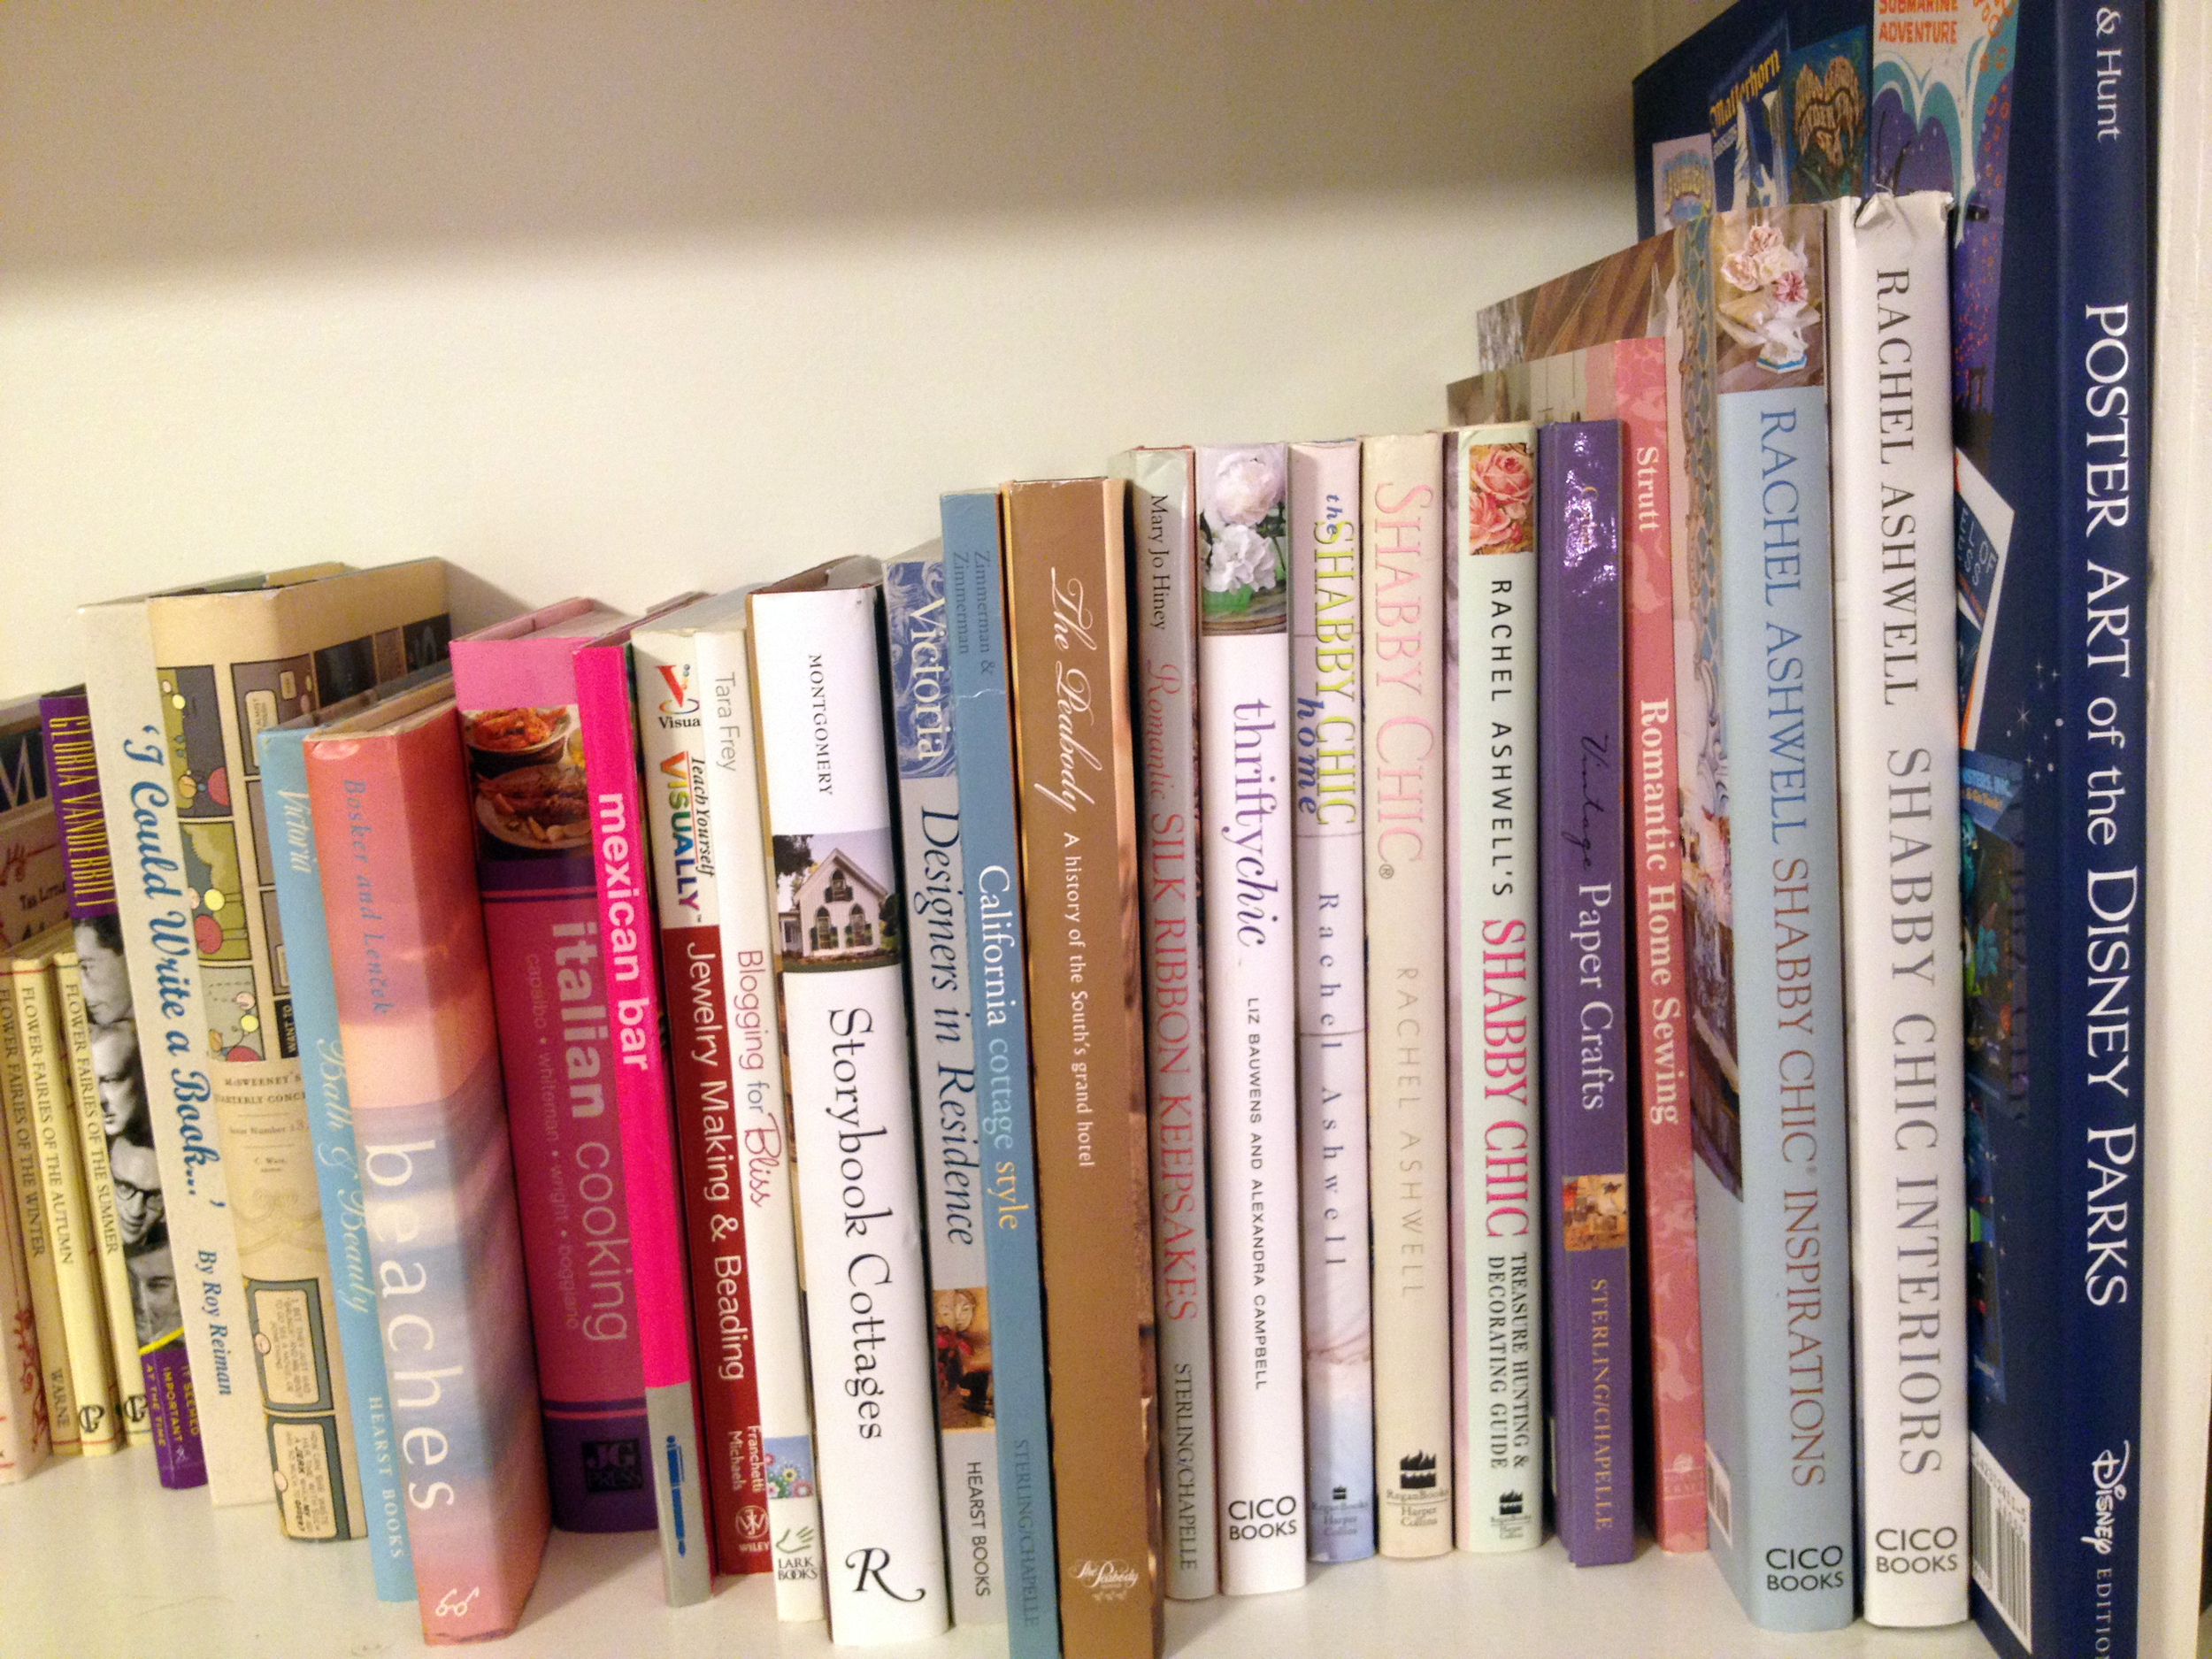
While the space itself is still coming together, it is anchored by a large white desk and the white built-in bookcases. The desk will hopefully stay clear of clutter (eventually!), and I have filled the bookcases with books, childhood trinkets, old photos and vintage postcards that are all designed to inspire. The bookcases are also the home of our samples and crafting materials, various awards, collections of shells and dried flowers and branches.

colorful books

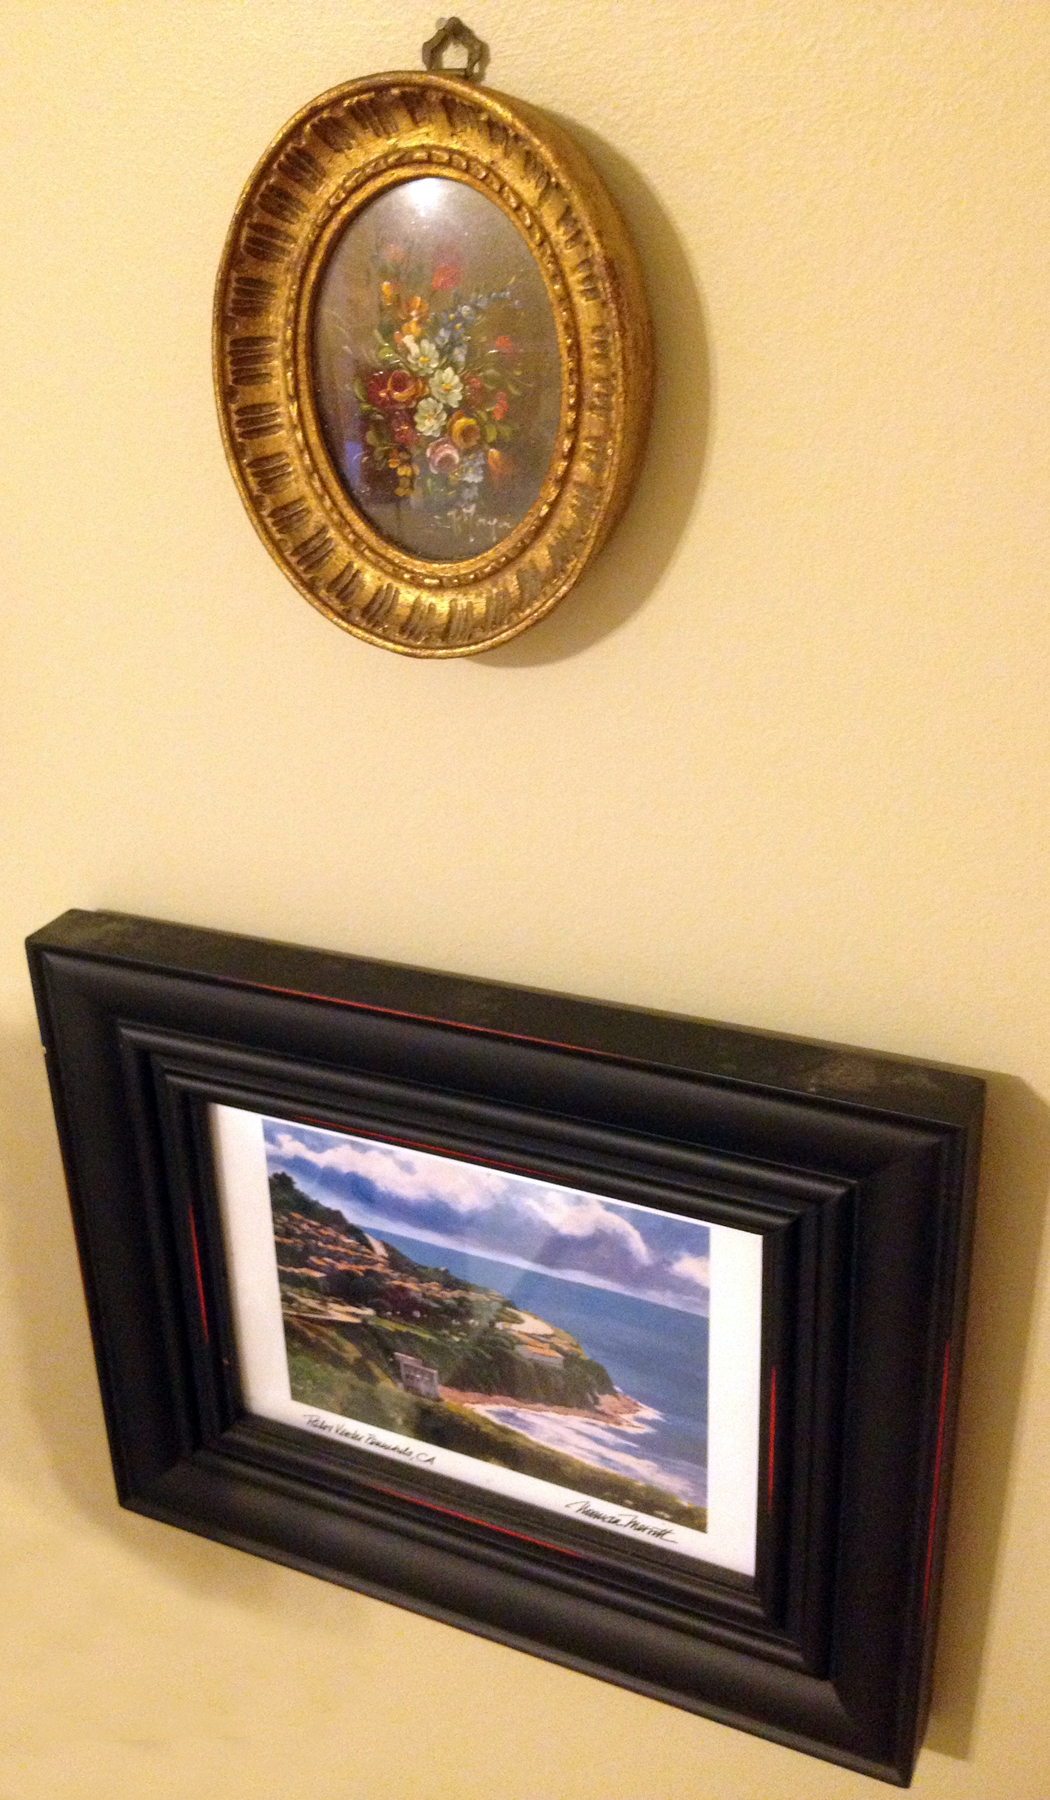
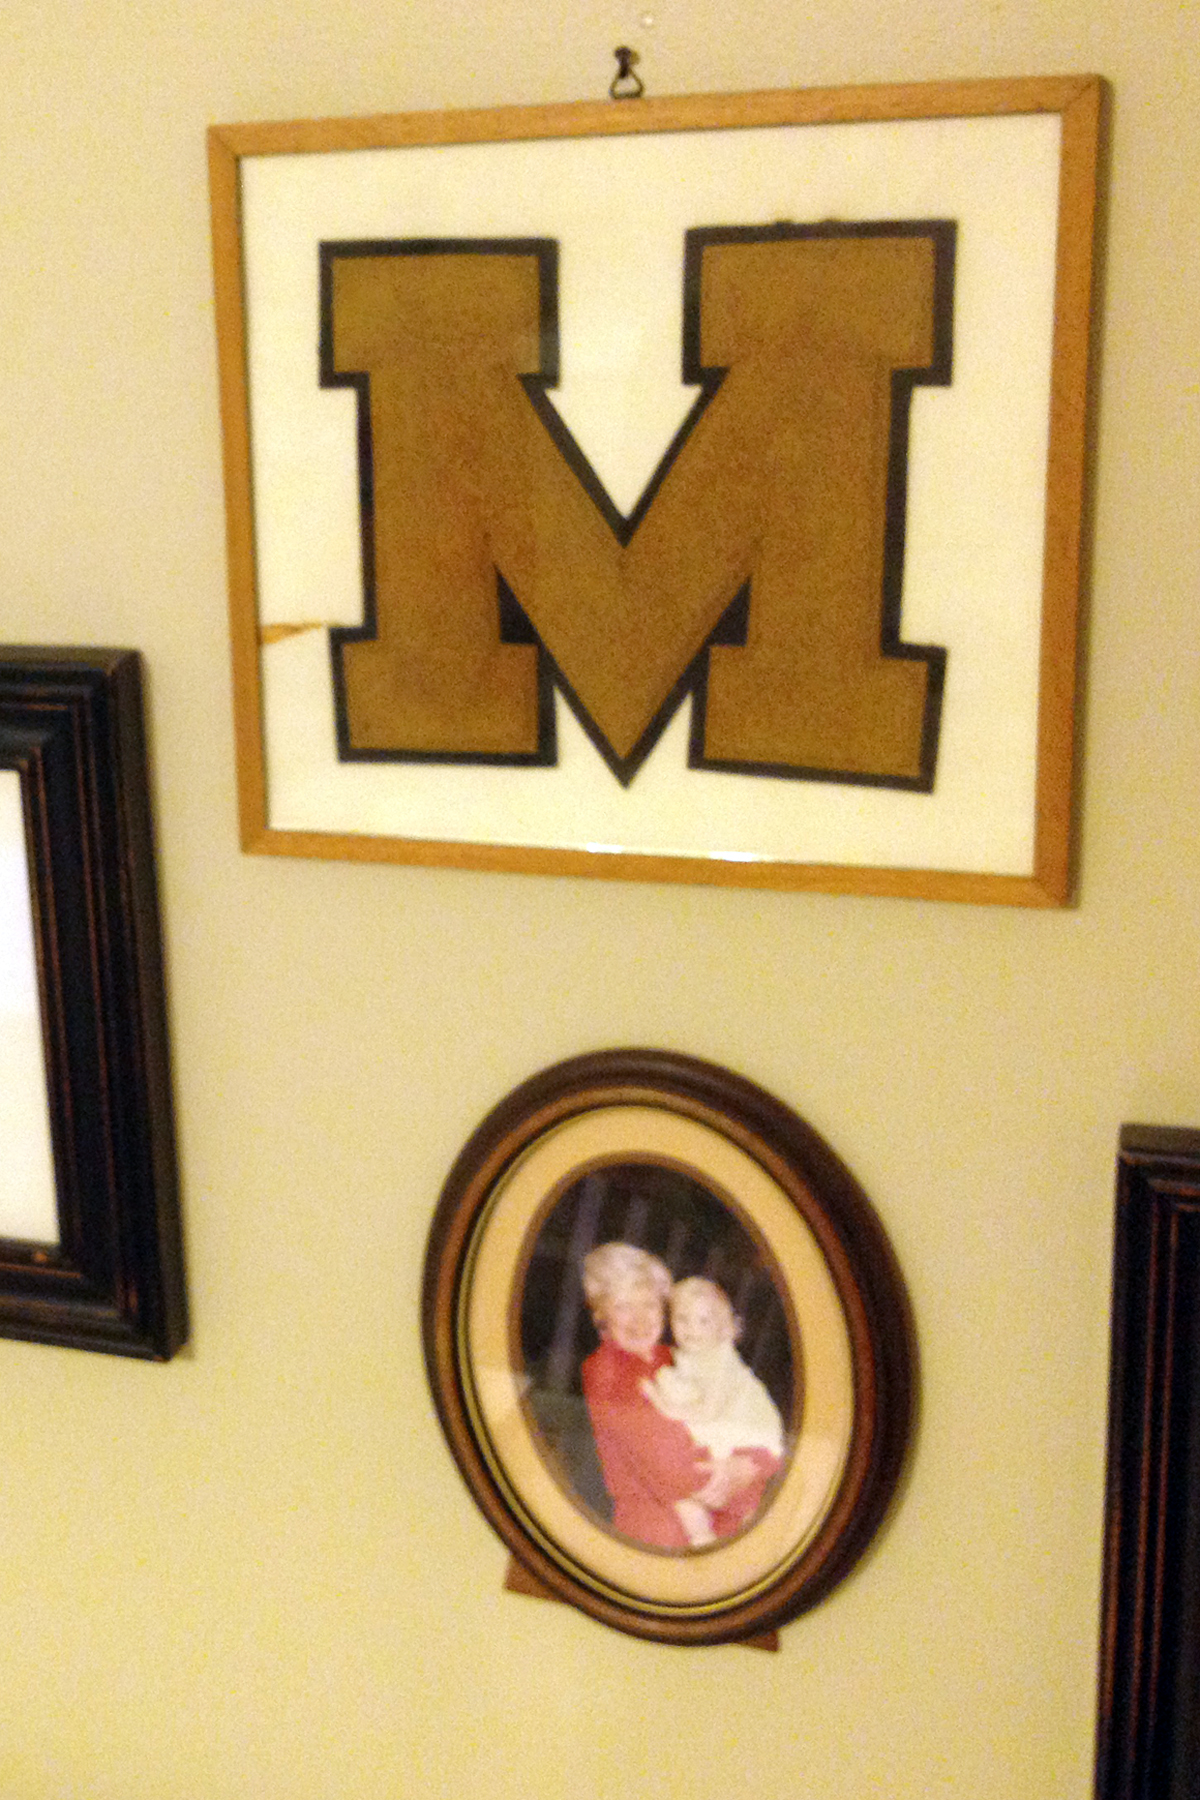
So far, we have created a gallery wall over the desk and hung vintage movie posters along the stairs. Over the next few months, we will add another desk, better lighting, some vintage and industrial storage solutions and more family photos and treasures to the gallery wall. We look forward to sharing another sneak peek when it all starts to come together. In the meantime, we're thoroughly enjoying our new space!

Gerald & Joan Shot By Amy Hutchison Photography

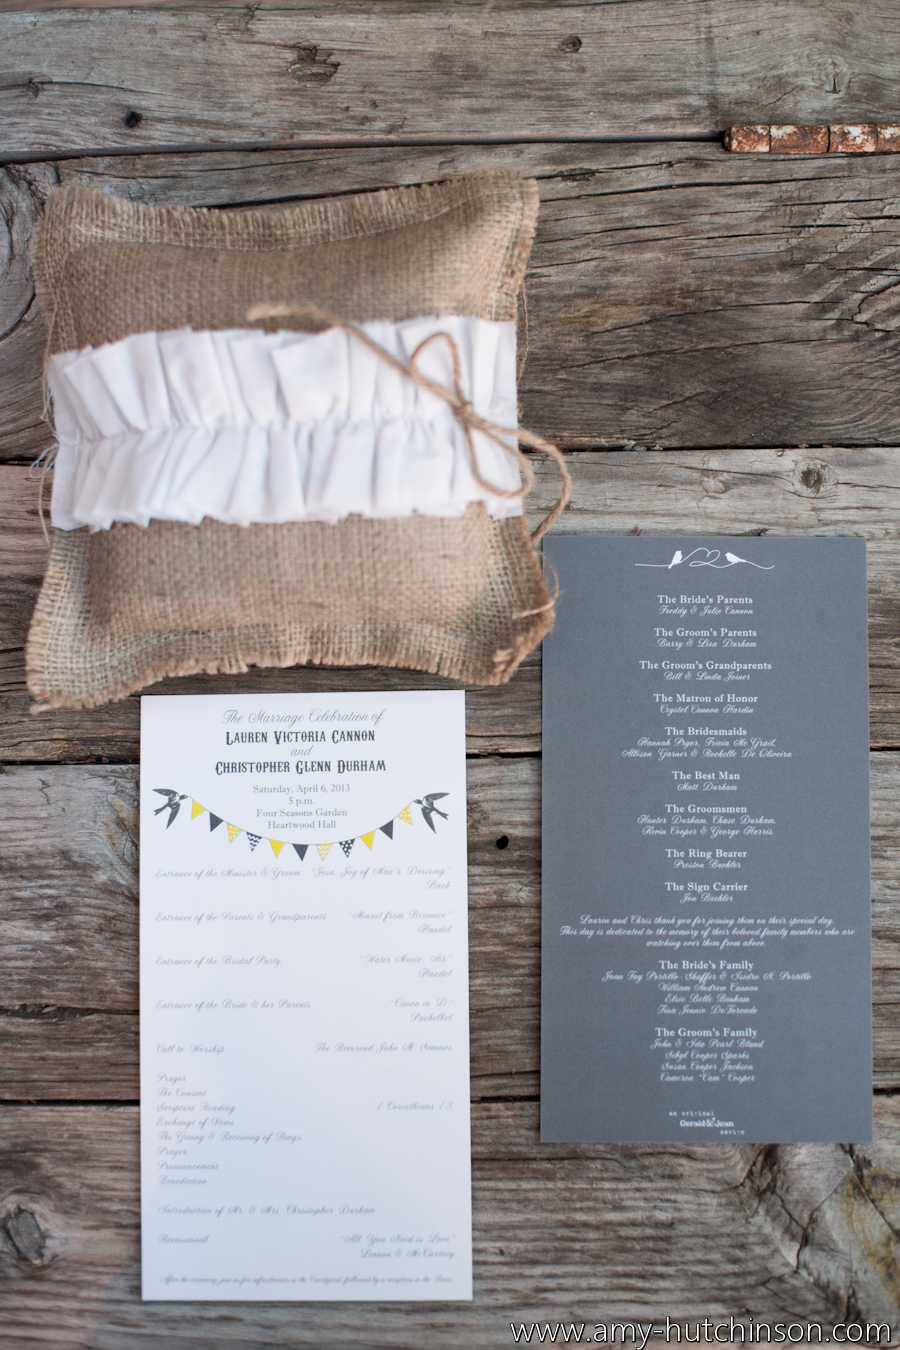
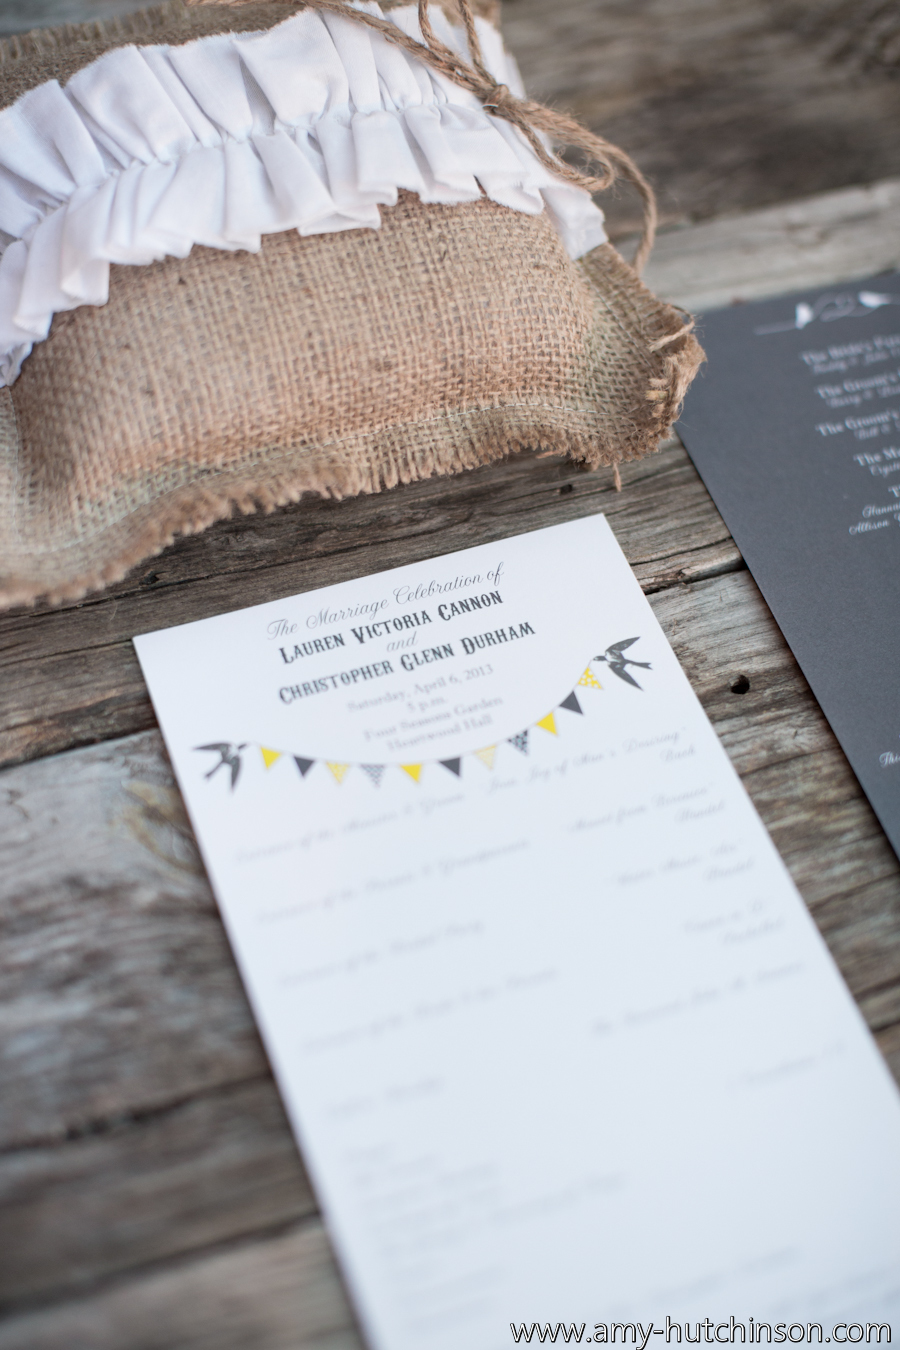
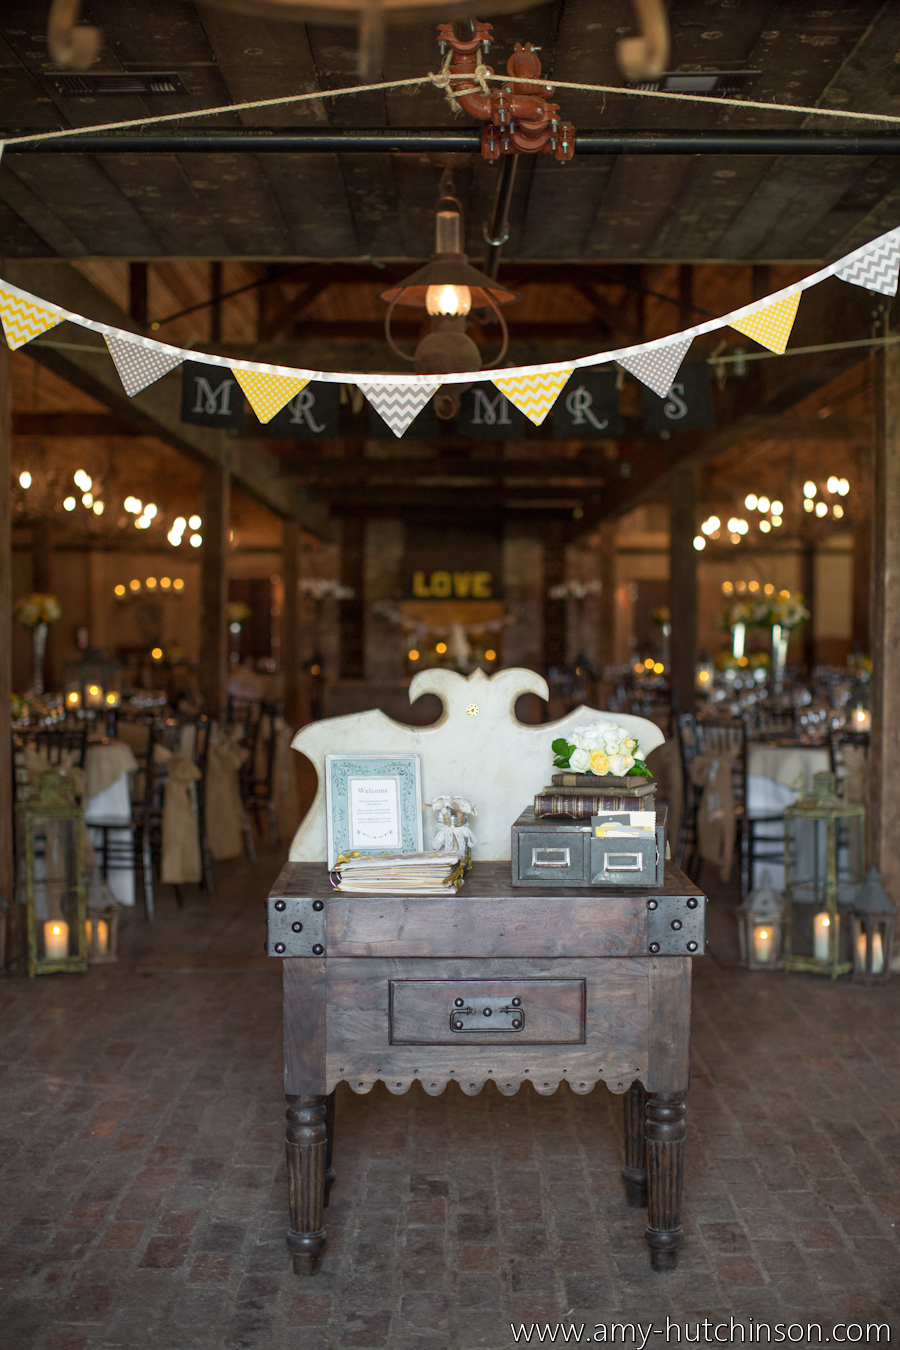
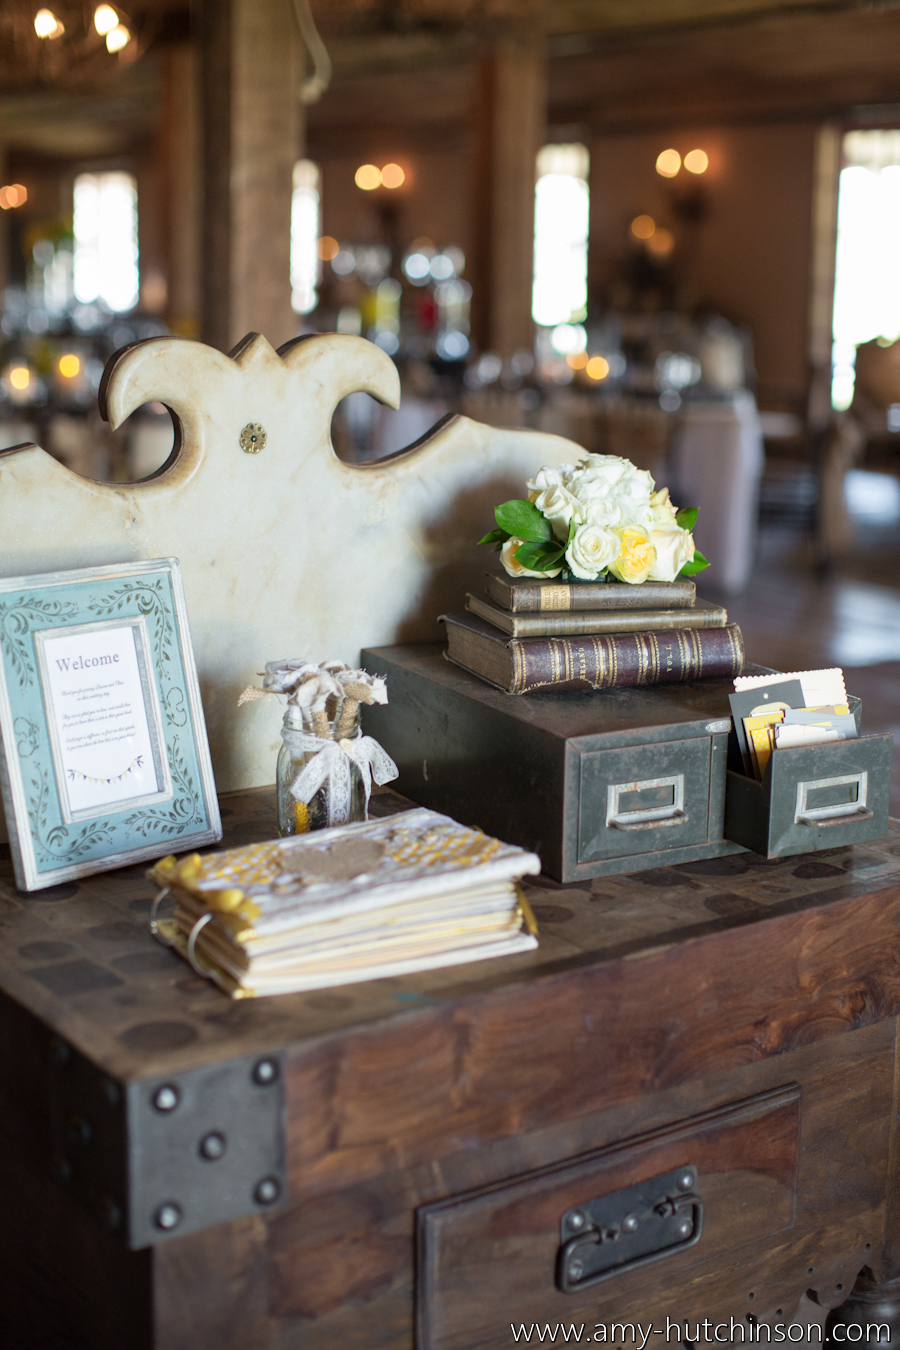
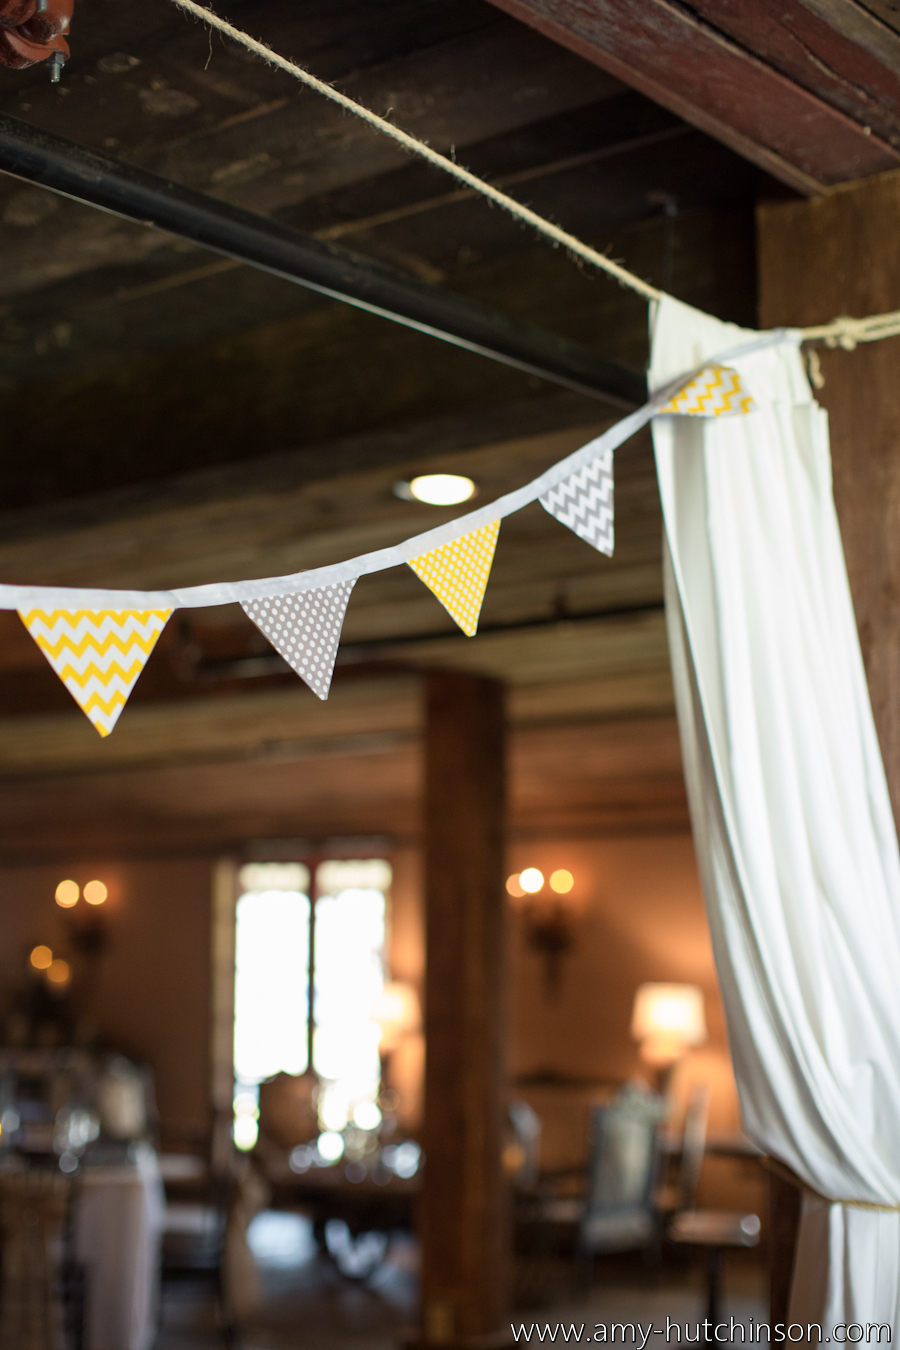
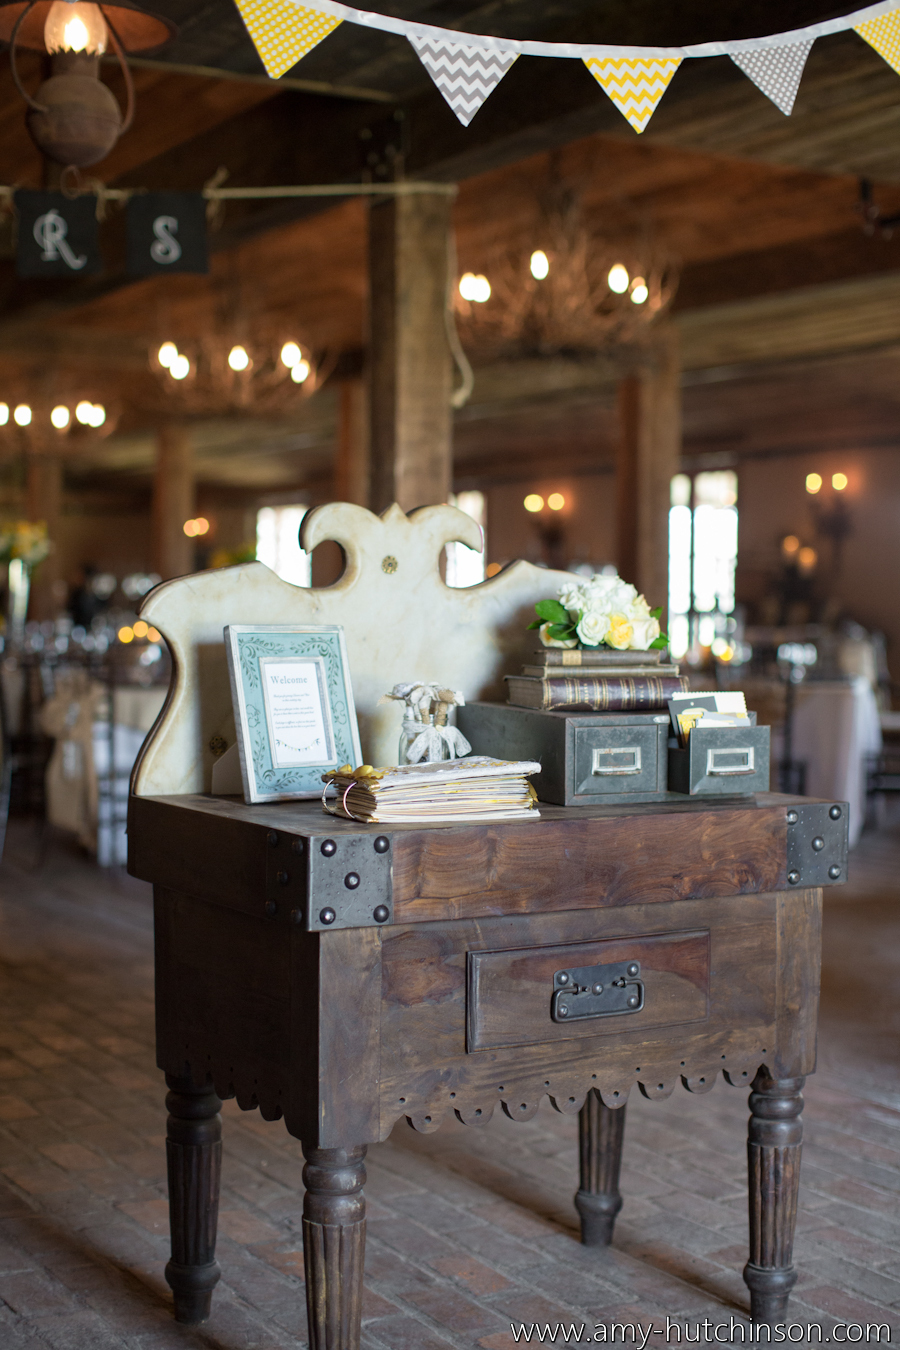
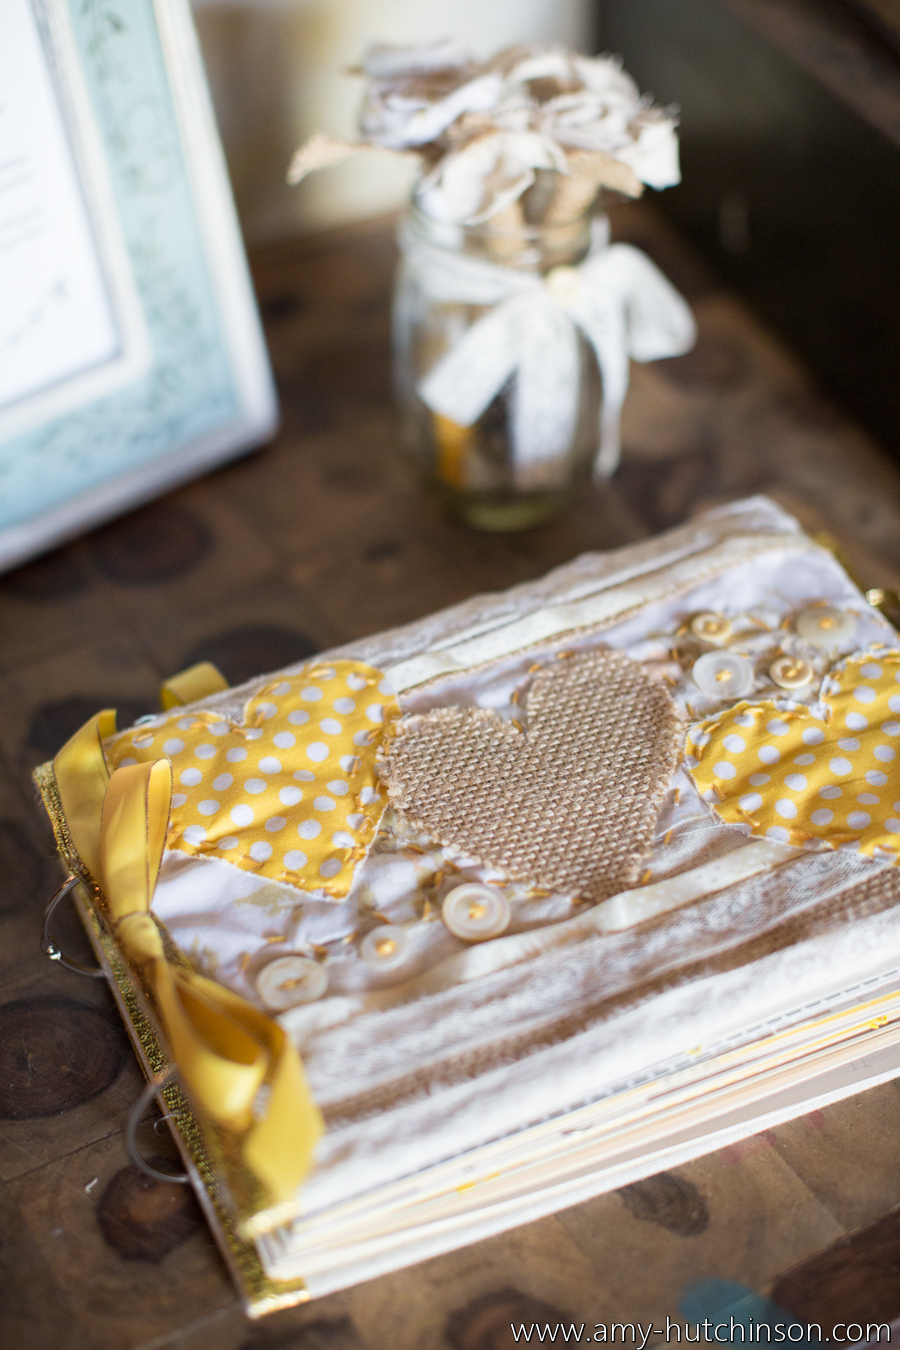
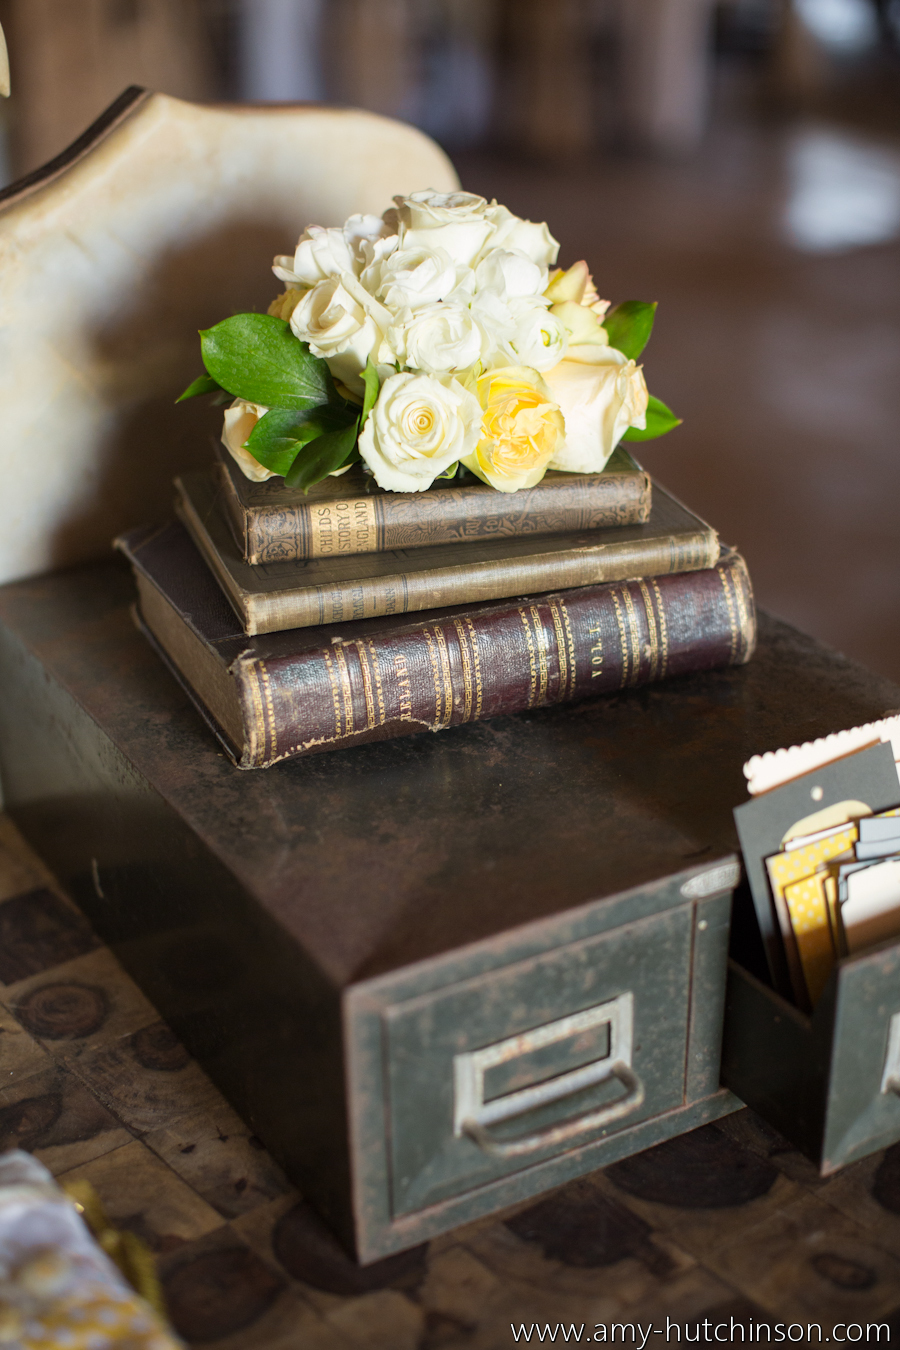
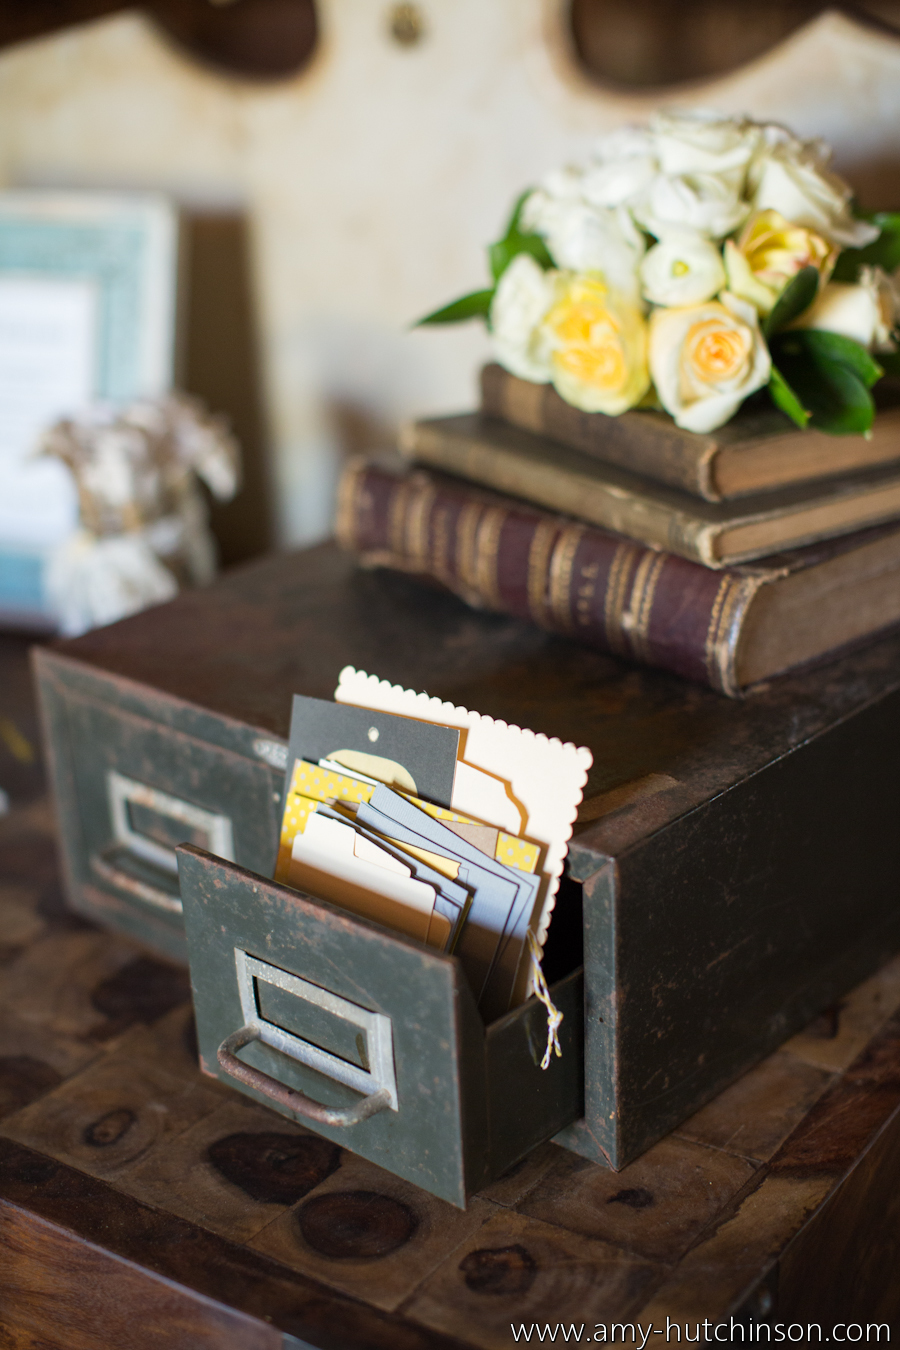
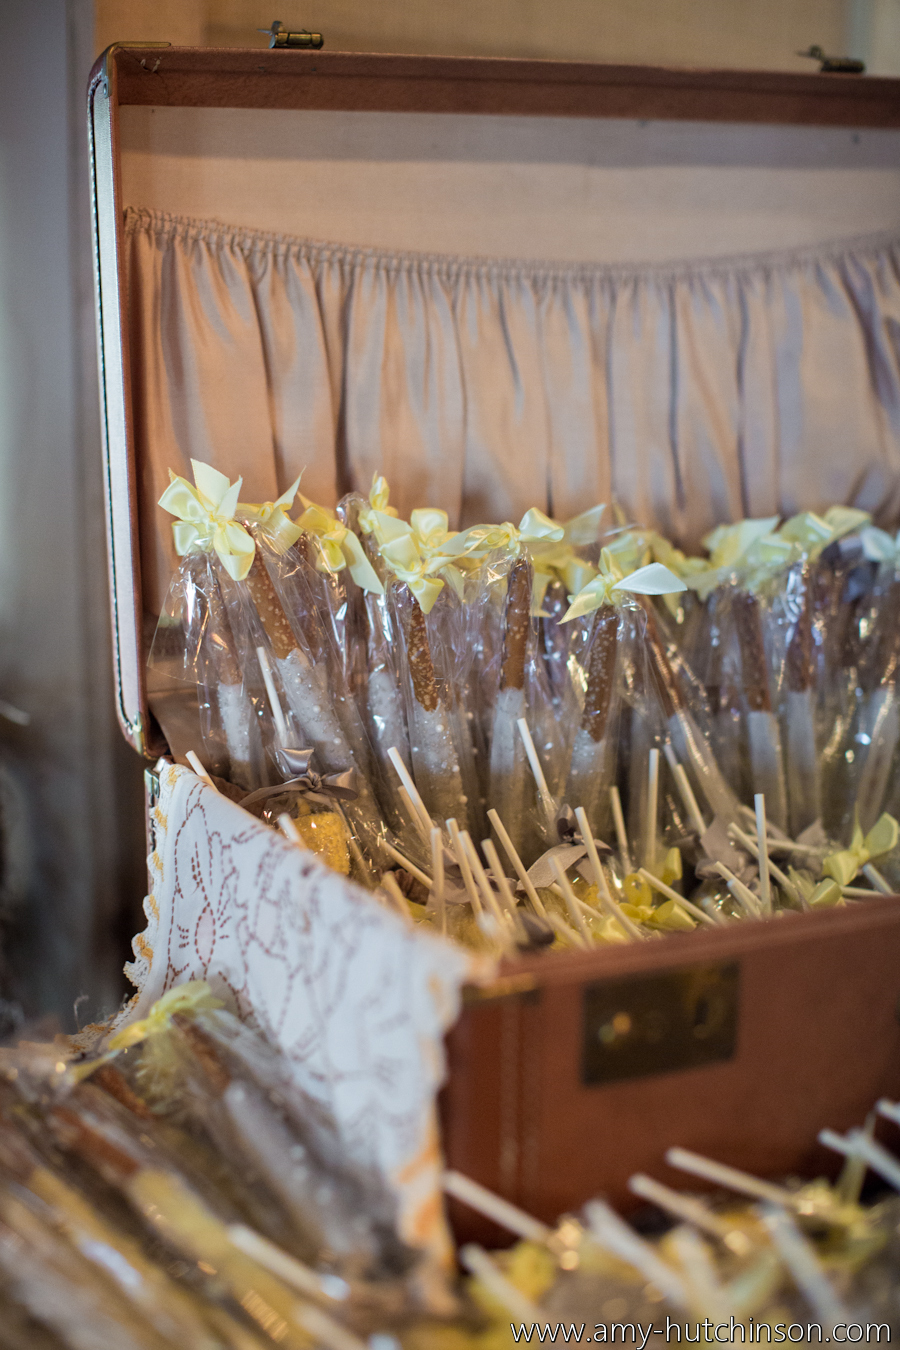
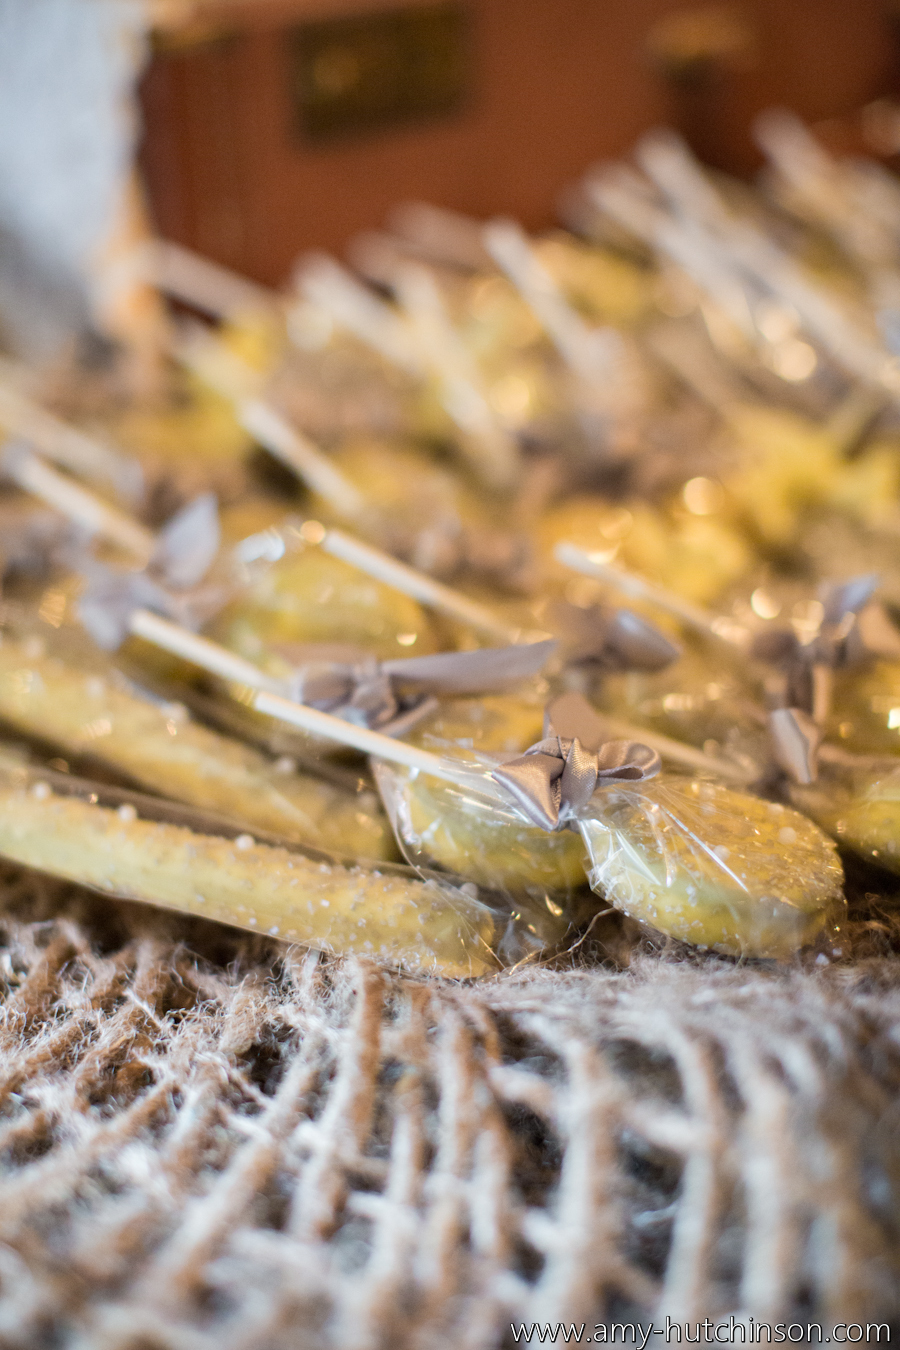
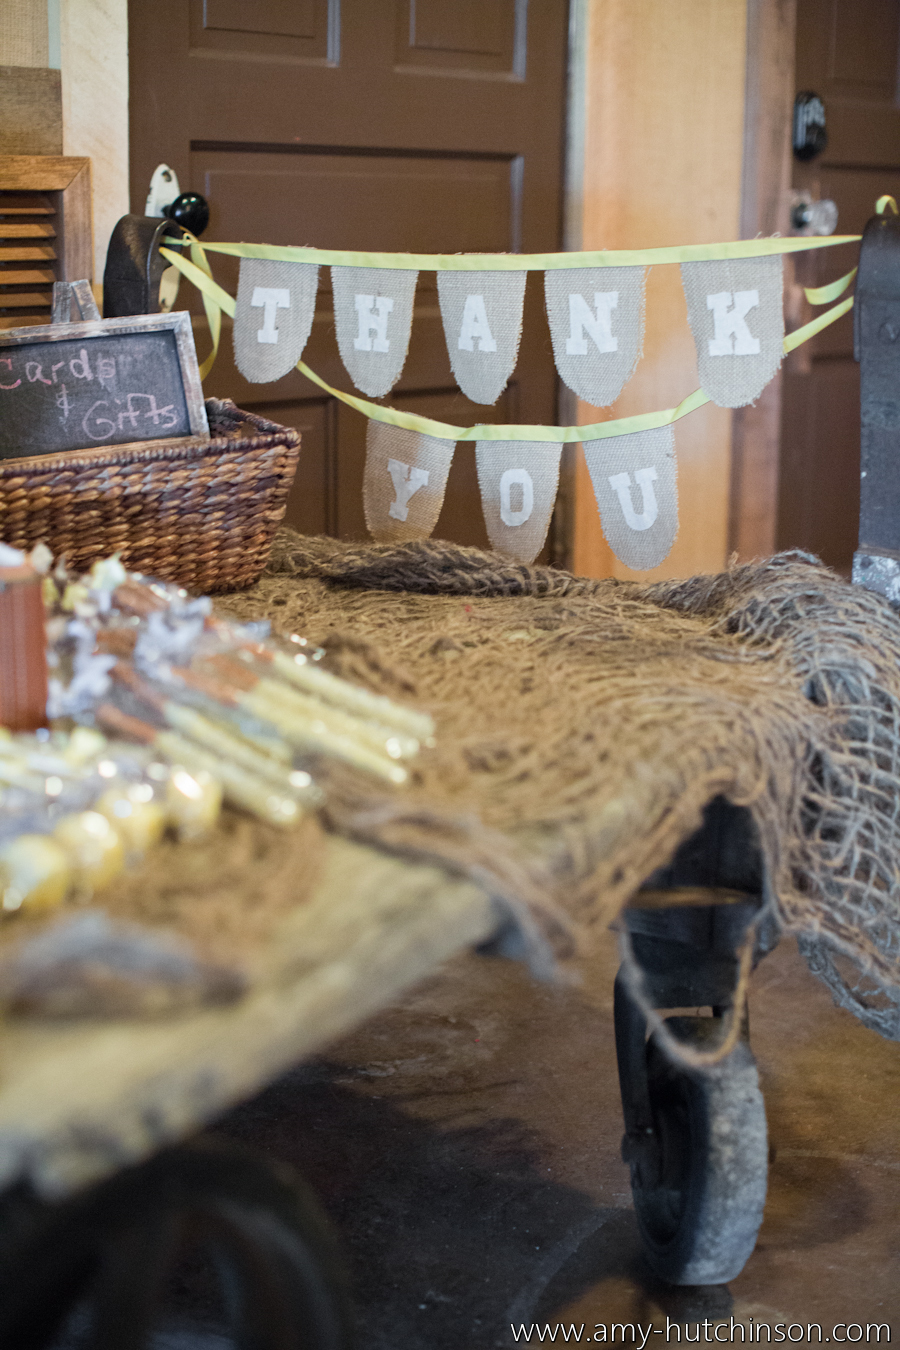
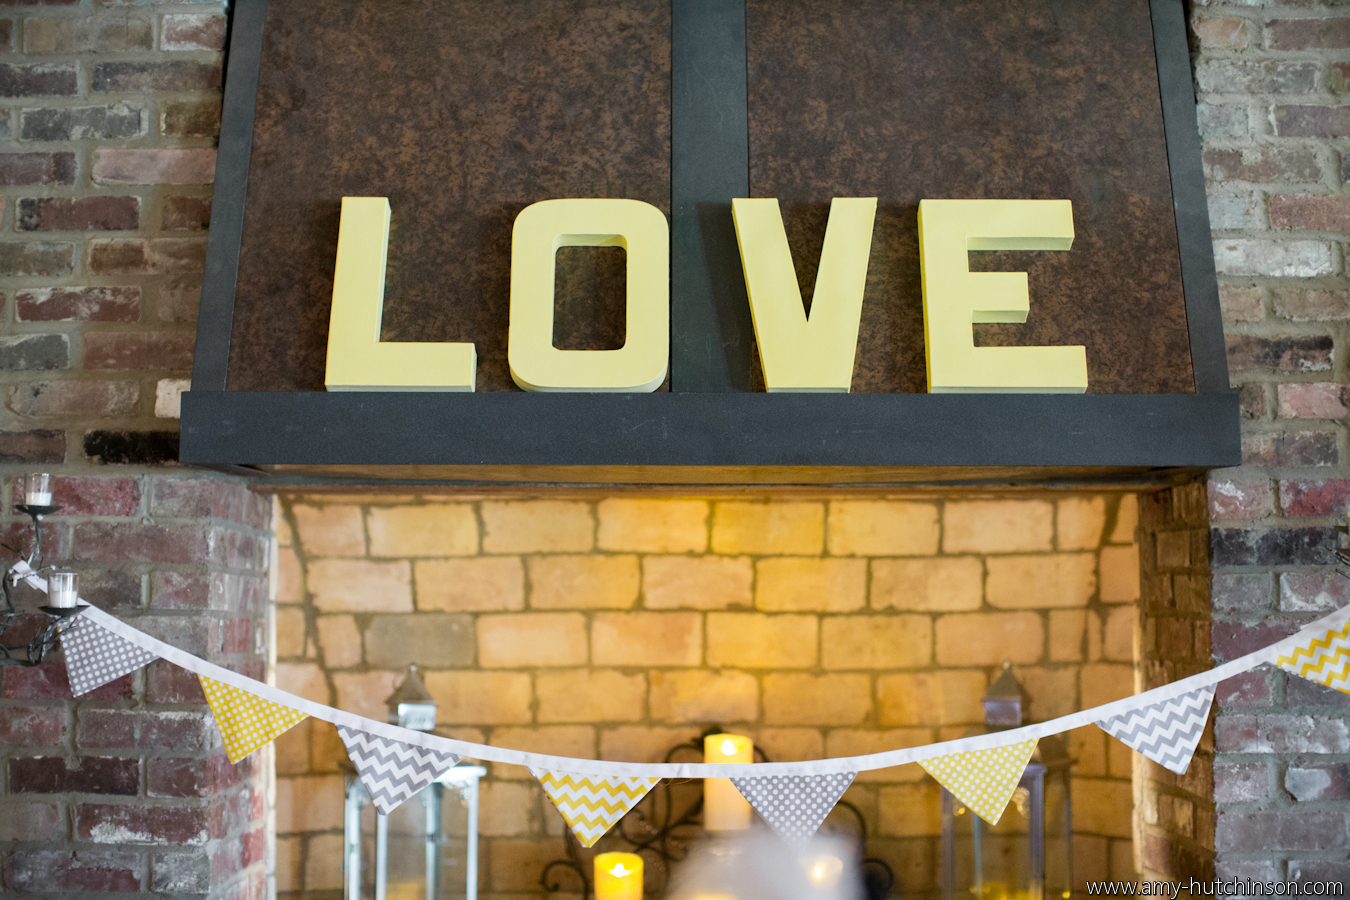
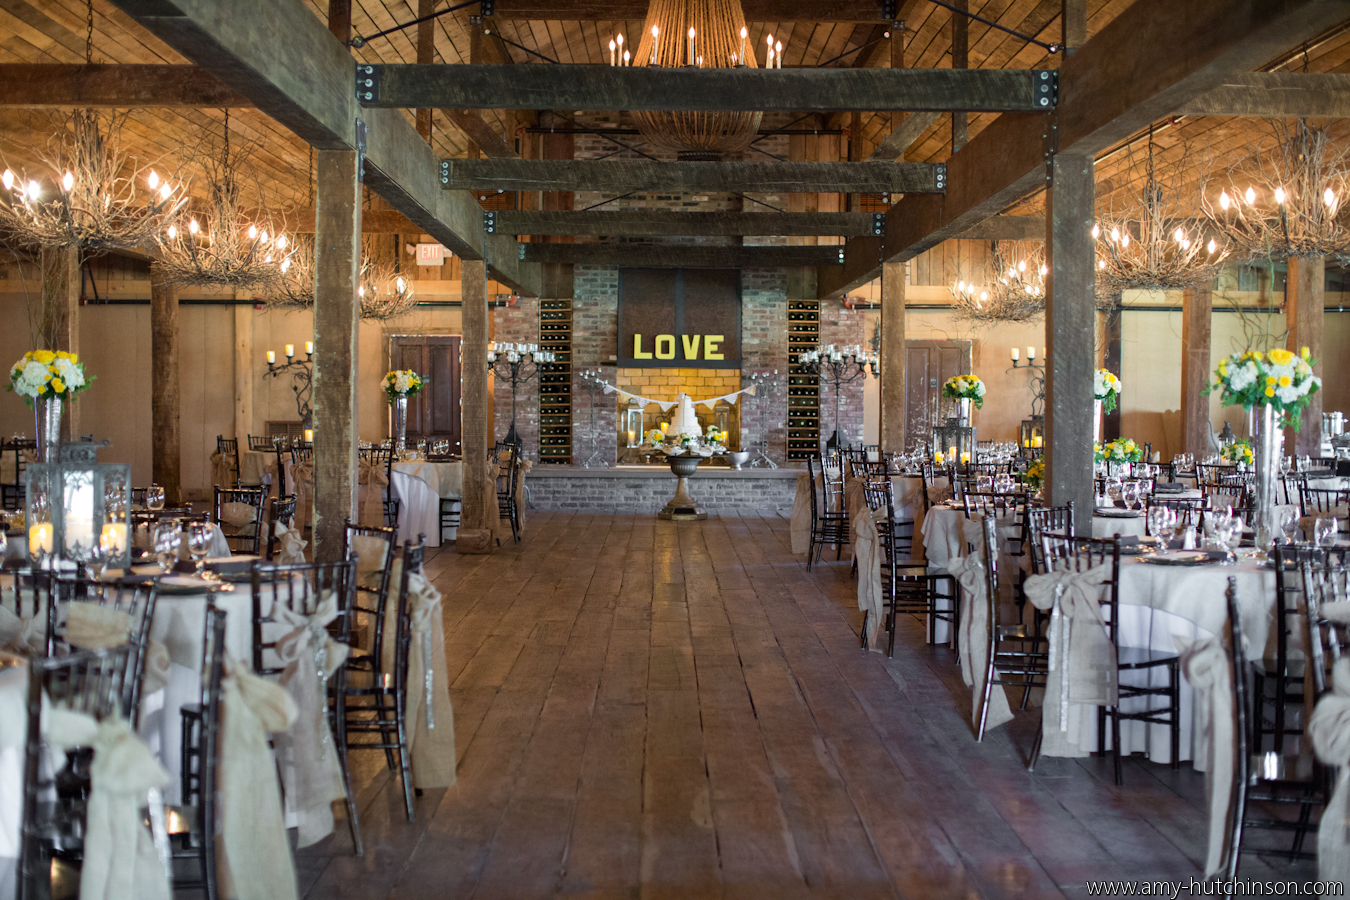
Amy Hutchison shot Chris and Lauren's wedding. If you read our Monday post about the feature on Rustic Wedding Chic, then you've seen her talent firsthand. In addition to being a fabulous photographer, she was also kind enough to share photos of our work to use on our future marketing materials. Aren't they amazing? Cannon_Durham_Amy_Hutchinson_Photography_amyhutchinsondurham115
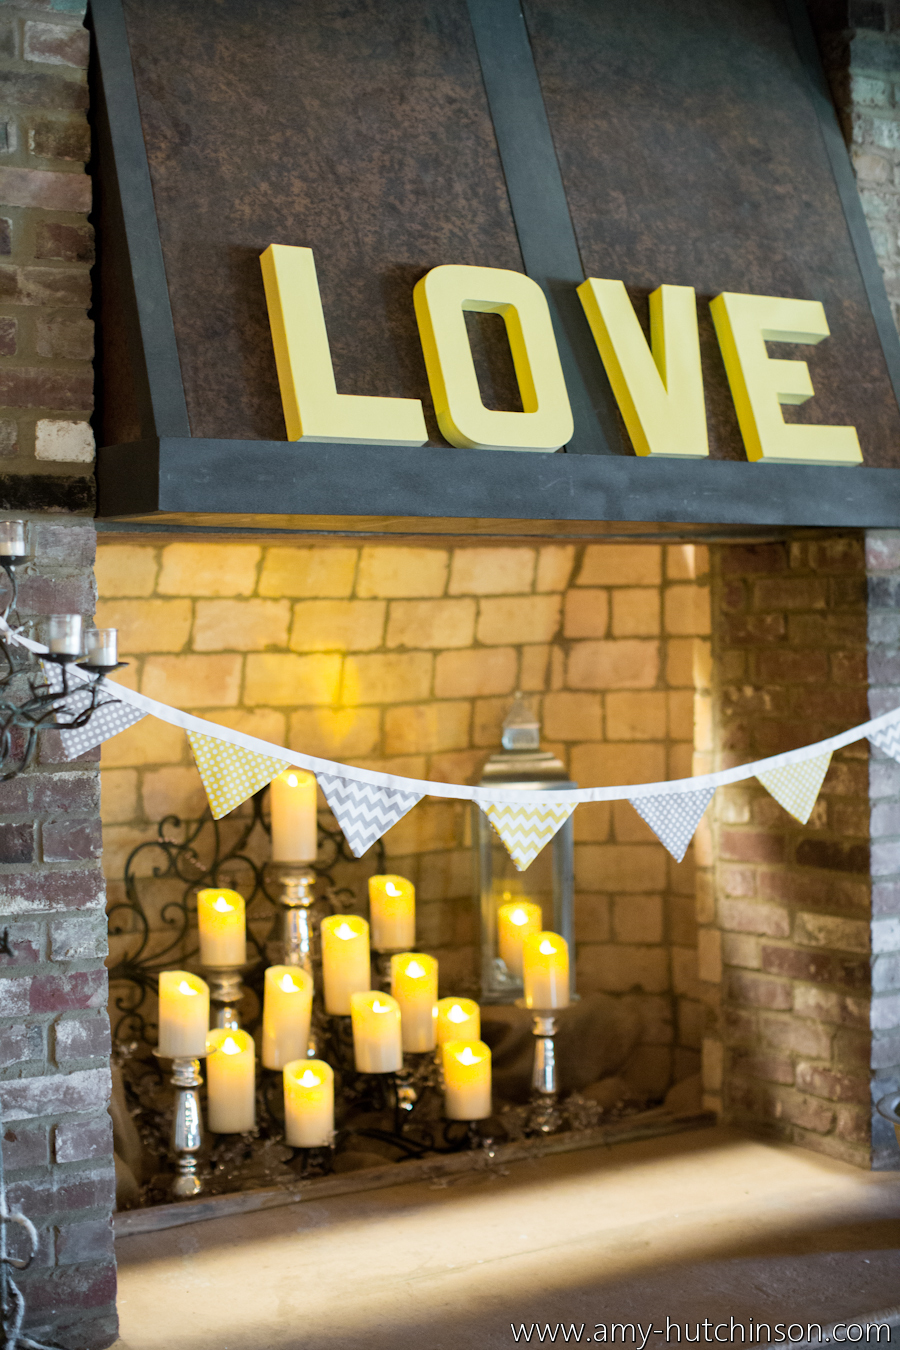
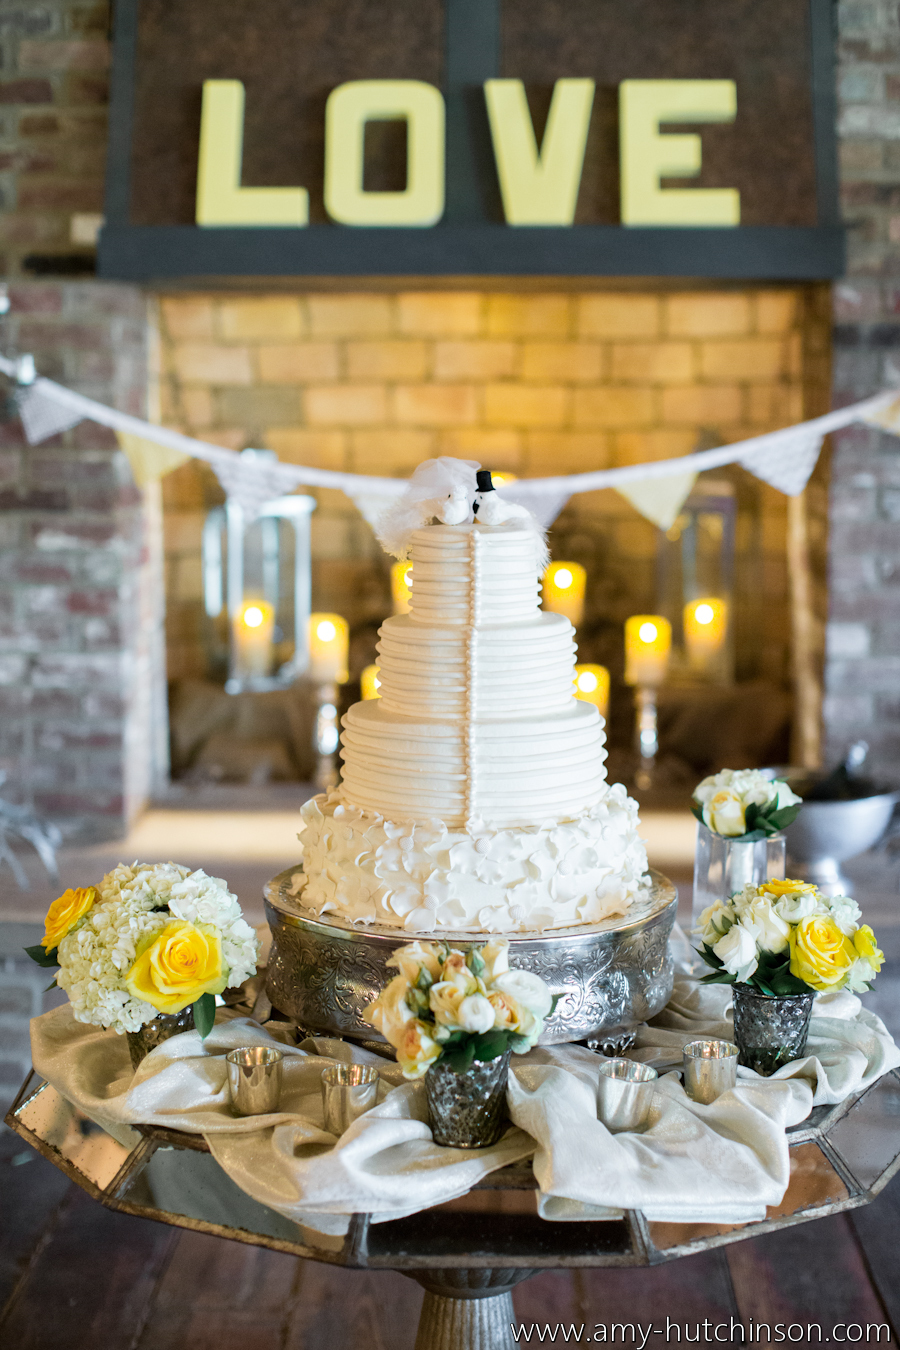
Cannon_Durham_Amy_Hutchinson_Photography_amyhutchinsondurham117

Cannon_Durham_Amy_Hutchinson_Photography_amyhutchinsondurham167

Cannon_Durham_Amy_Hutchinson_Photography_amyhutchinsondurham168

Cannon_Durham_Amy_Hutchinson_Photography_amyhutchinsondurham169

Cannon_Durham_Amy_Hutchinson_Photography_amyhutchinsondurham170

Cannon_Durham_Amy_Hutchinson_Photography_amyhutchinsondurham171

Cannon_Durham_Amy_Hutchinson_Photography_amyhutchinsondurham172

Cannon_Durham_Amy_Hutchinson_Photography_amyhutchinsondurham173

Cannon_Durham_Amy_Hutchinson_Photography_amyhutchinsondurham174

Cannon_Durham_Amy_Hutchinson_Photography_amyhutchinsondurham175

Cannon_Durham_Amy_Hutchinson_Photography_amyhutchinsondurham176

Cannon_Durham_Amy_Hutchinson_Photography_amyhutchinsondurham195

Cannon_Durham_Amy_Hutchinson_Photography_amyhutchinsondurham192

Cannon_Durham_Amy_Hutchinson_Photography_amyhutchinsondurham178

Cannon_Durham_Amy_Hutchinson_Photography_amyhutchinsondurham180

Cannon_Durham_Amy_Hutchinson_Photography_amyhutchinsondurham189

Cannon_Durham_Amy_Hutchinson_Photography_amyhutchinsondurham187

Cannon_Durham_Amy_Hutchinson_Photography_amyhutchinsondurham188

Gerald & Joan offers a variety of services and goods, including event planning and styling, vintage sourcing, handmade guest books and pretty paper goods. To learn more about our work, click here.

Click here to shop the collection.