On Sunday I turn 30. For the past year, I've been trying to come to terms with this, as I'm still not quite sure where the last decade has gone.
Last week, I read a list of 10 things that no one tells us about turning 30. One of the items on the list was babies. No one warns us that we'll be bombarded with babies when we turn 30. In my case, I've actually been bombarded with babies since I got married almost six years ago, but I guess it's going to get even more intense now. Good thing I like babies, and I don't mind answering the age-old question -- Do you have children?
No, we don't have them. Yes, we would like them, whenever God decides we're ready for them.
Moving on...
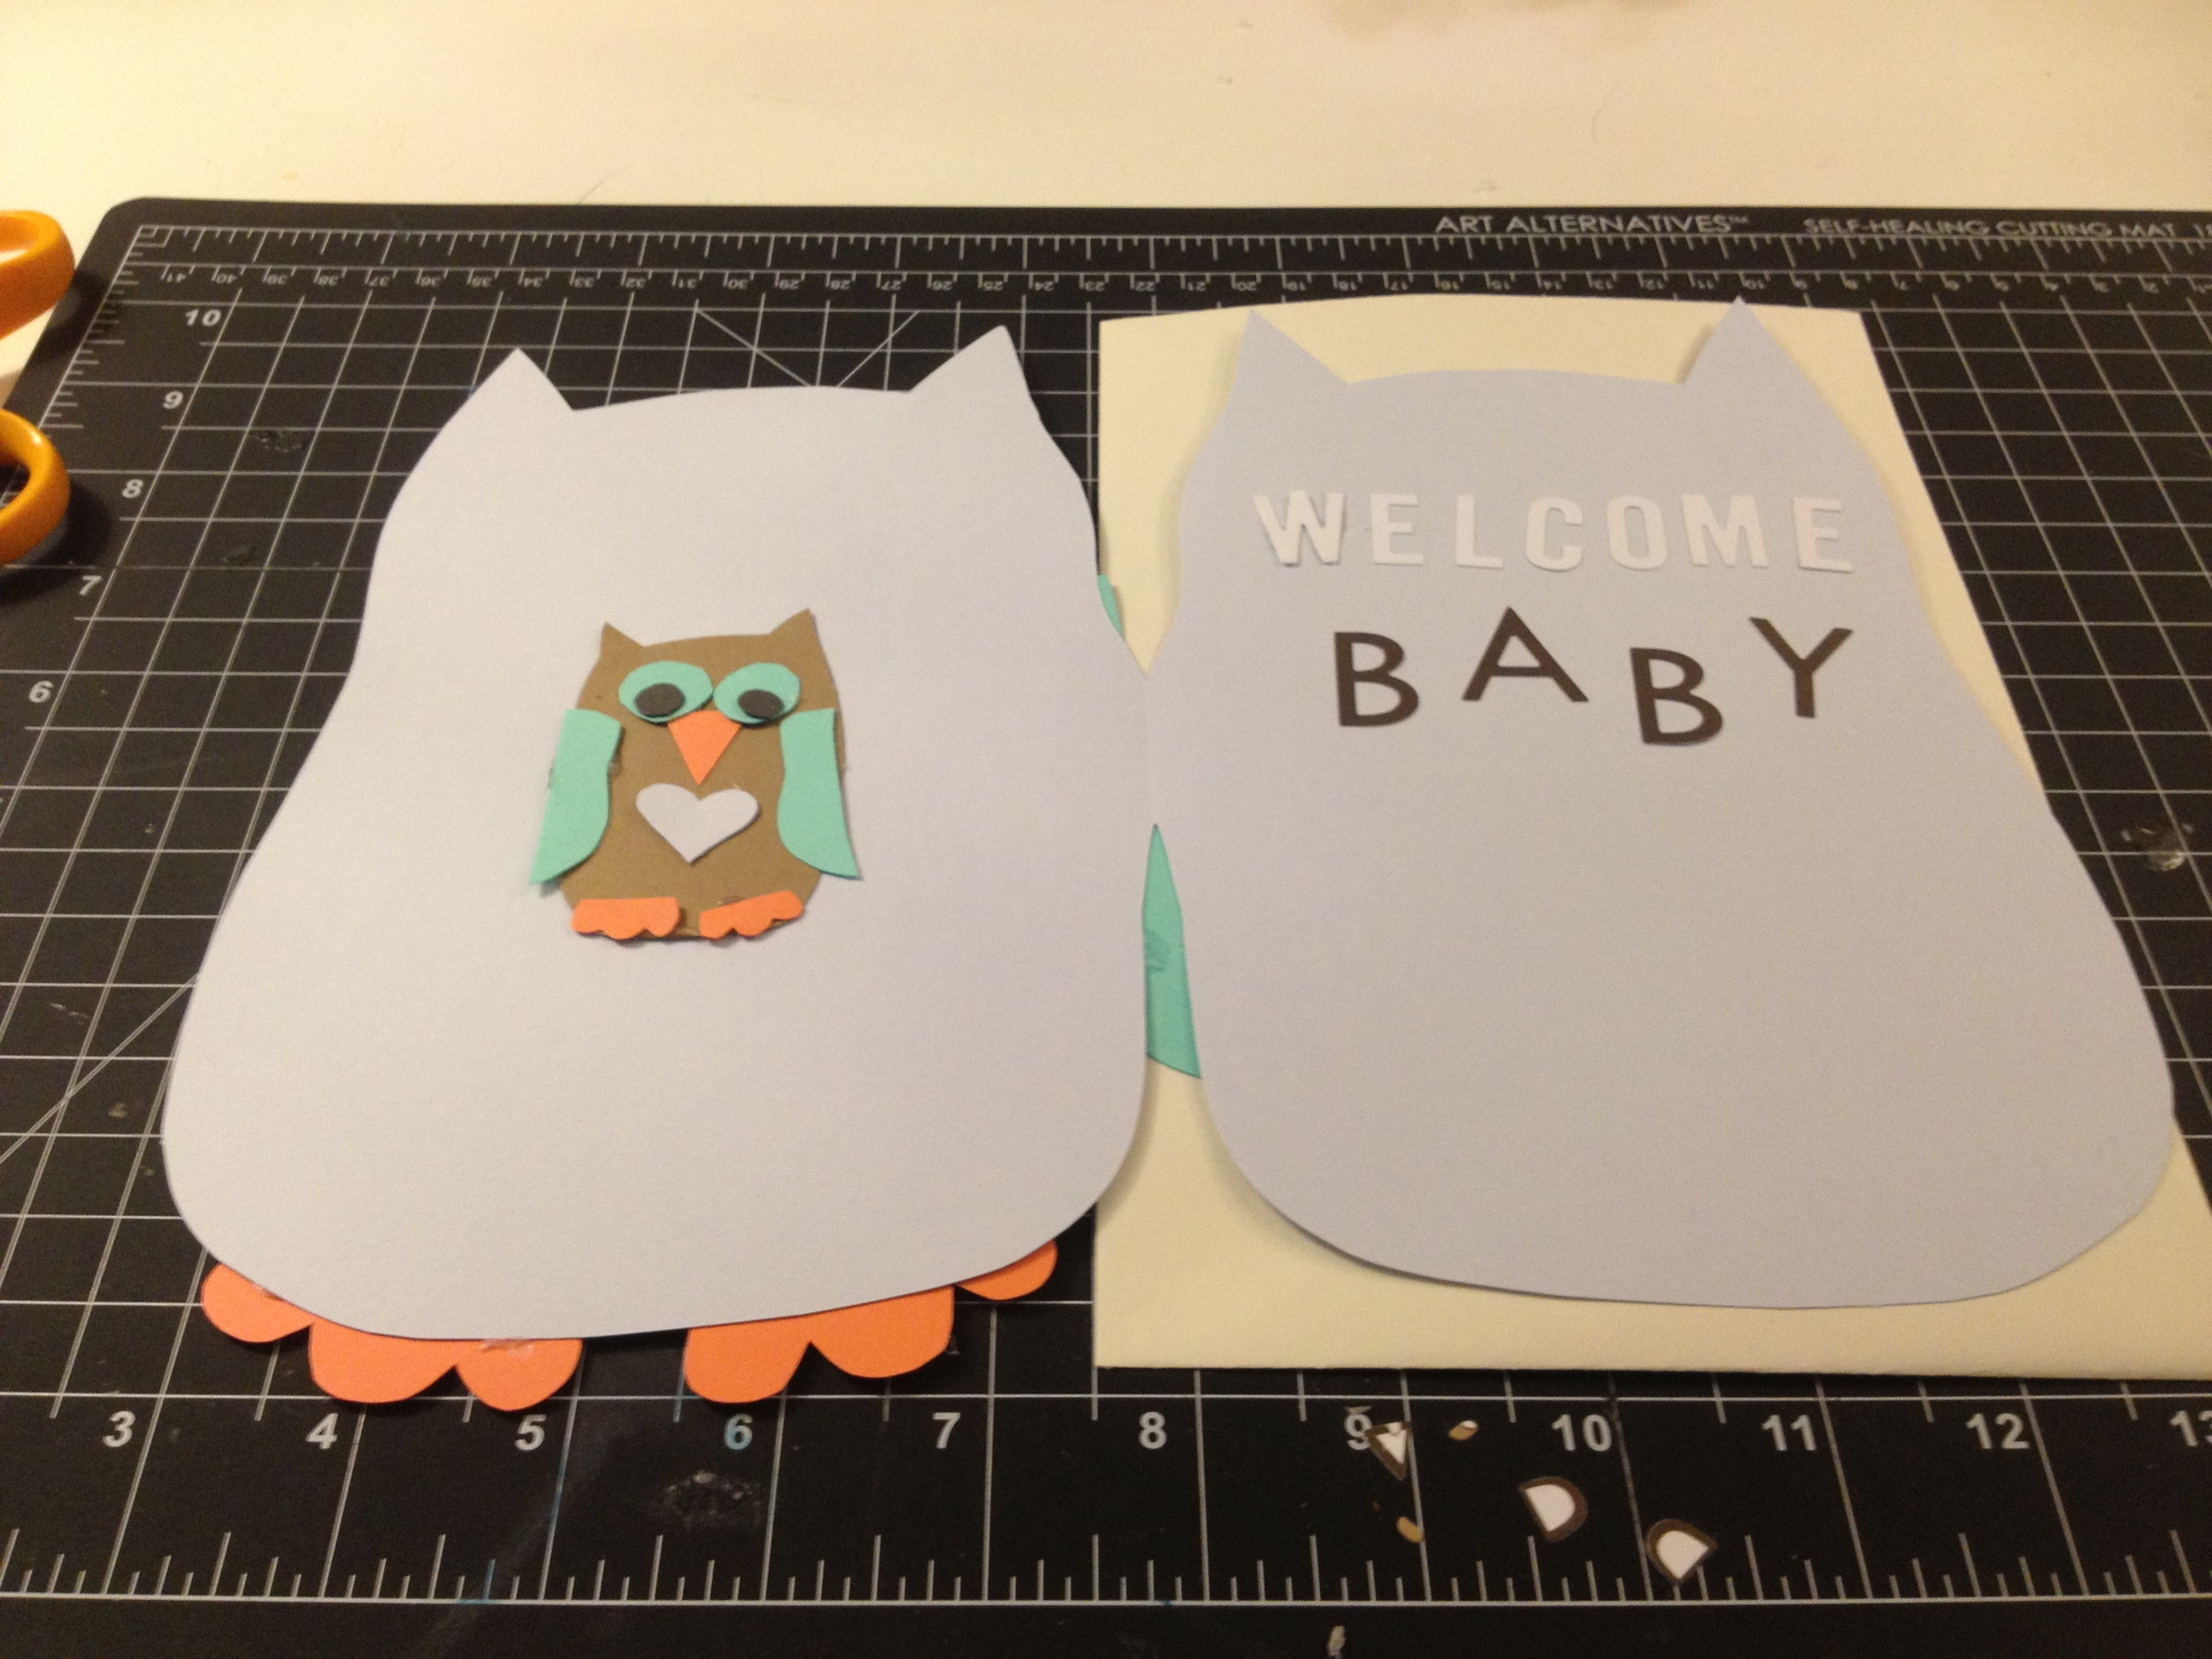
As I clearly have babies on the brain and I attended an owl-themed baby shower for my sister-in-law last week, I decided to make an owl baby shower card. Owls appear to be quite popular these days, and they work for baby girls and boys. This particular version of the card is for a little boy.
Here’s what you’ll need to join me in the card making fun!
- A variety of colored card stock - In this case, pale blue, green, black, brown and orange.
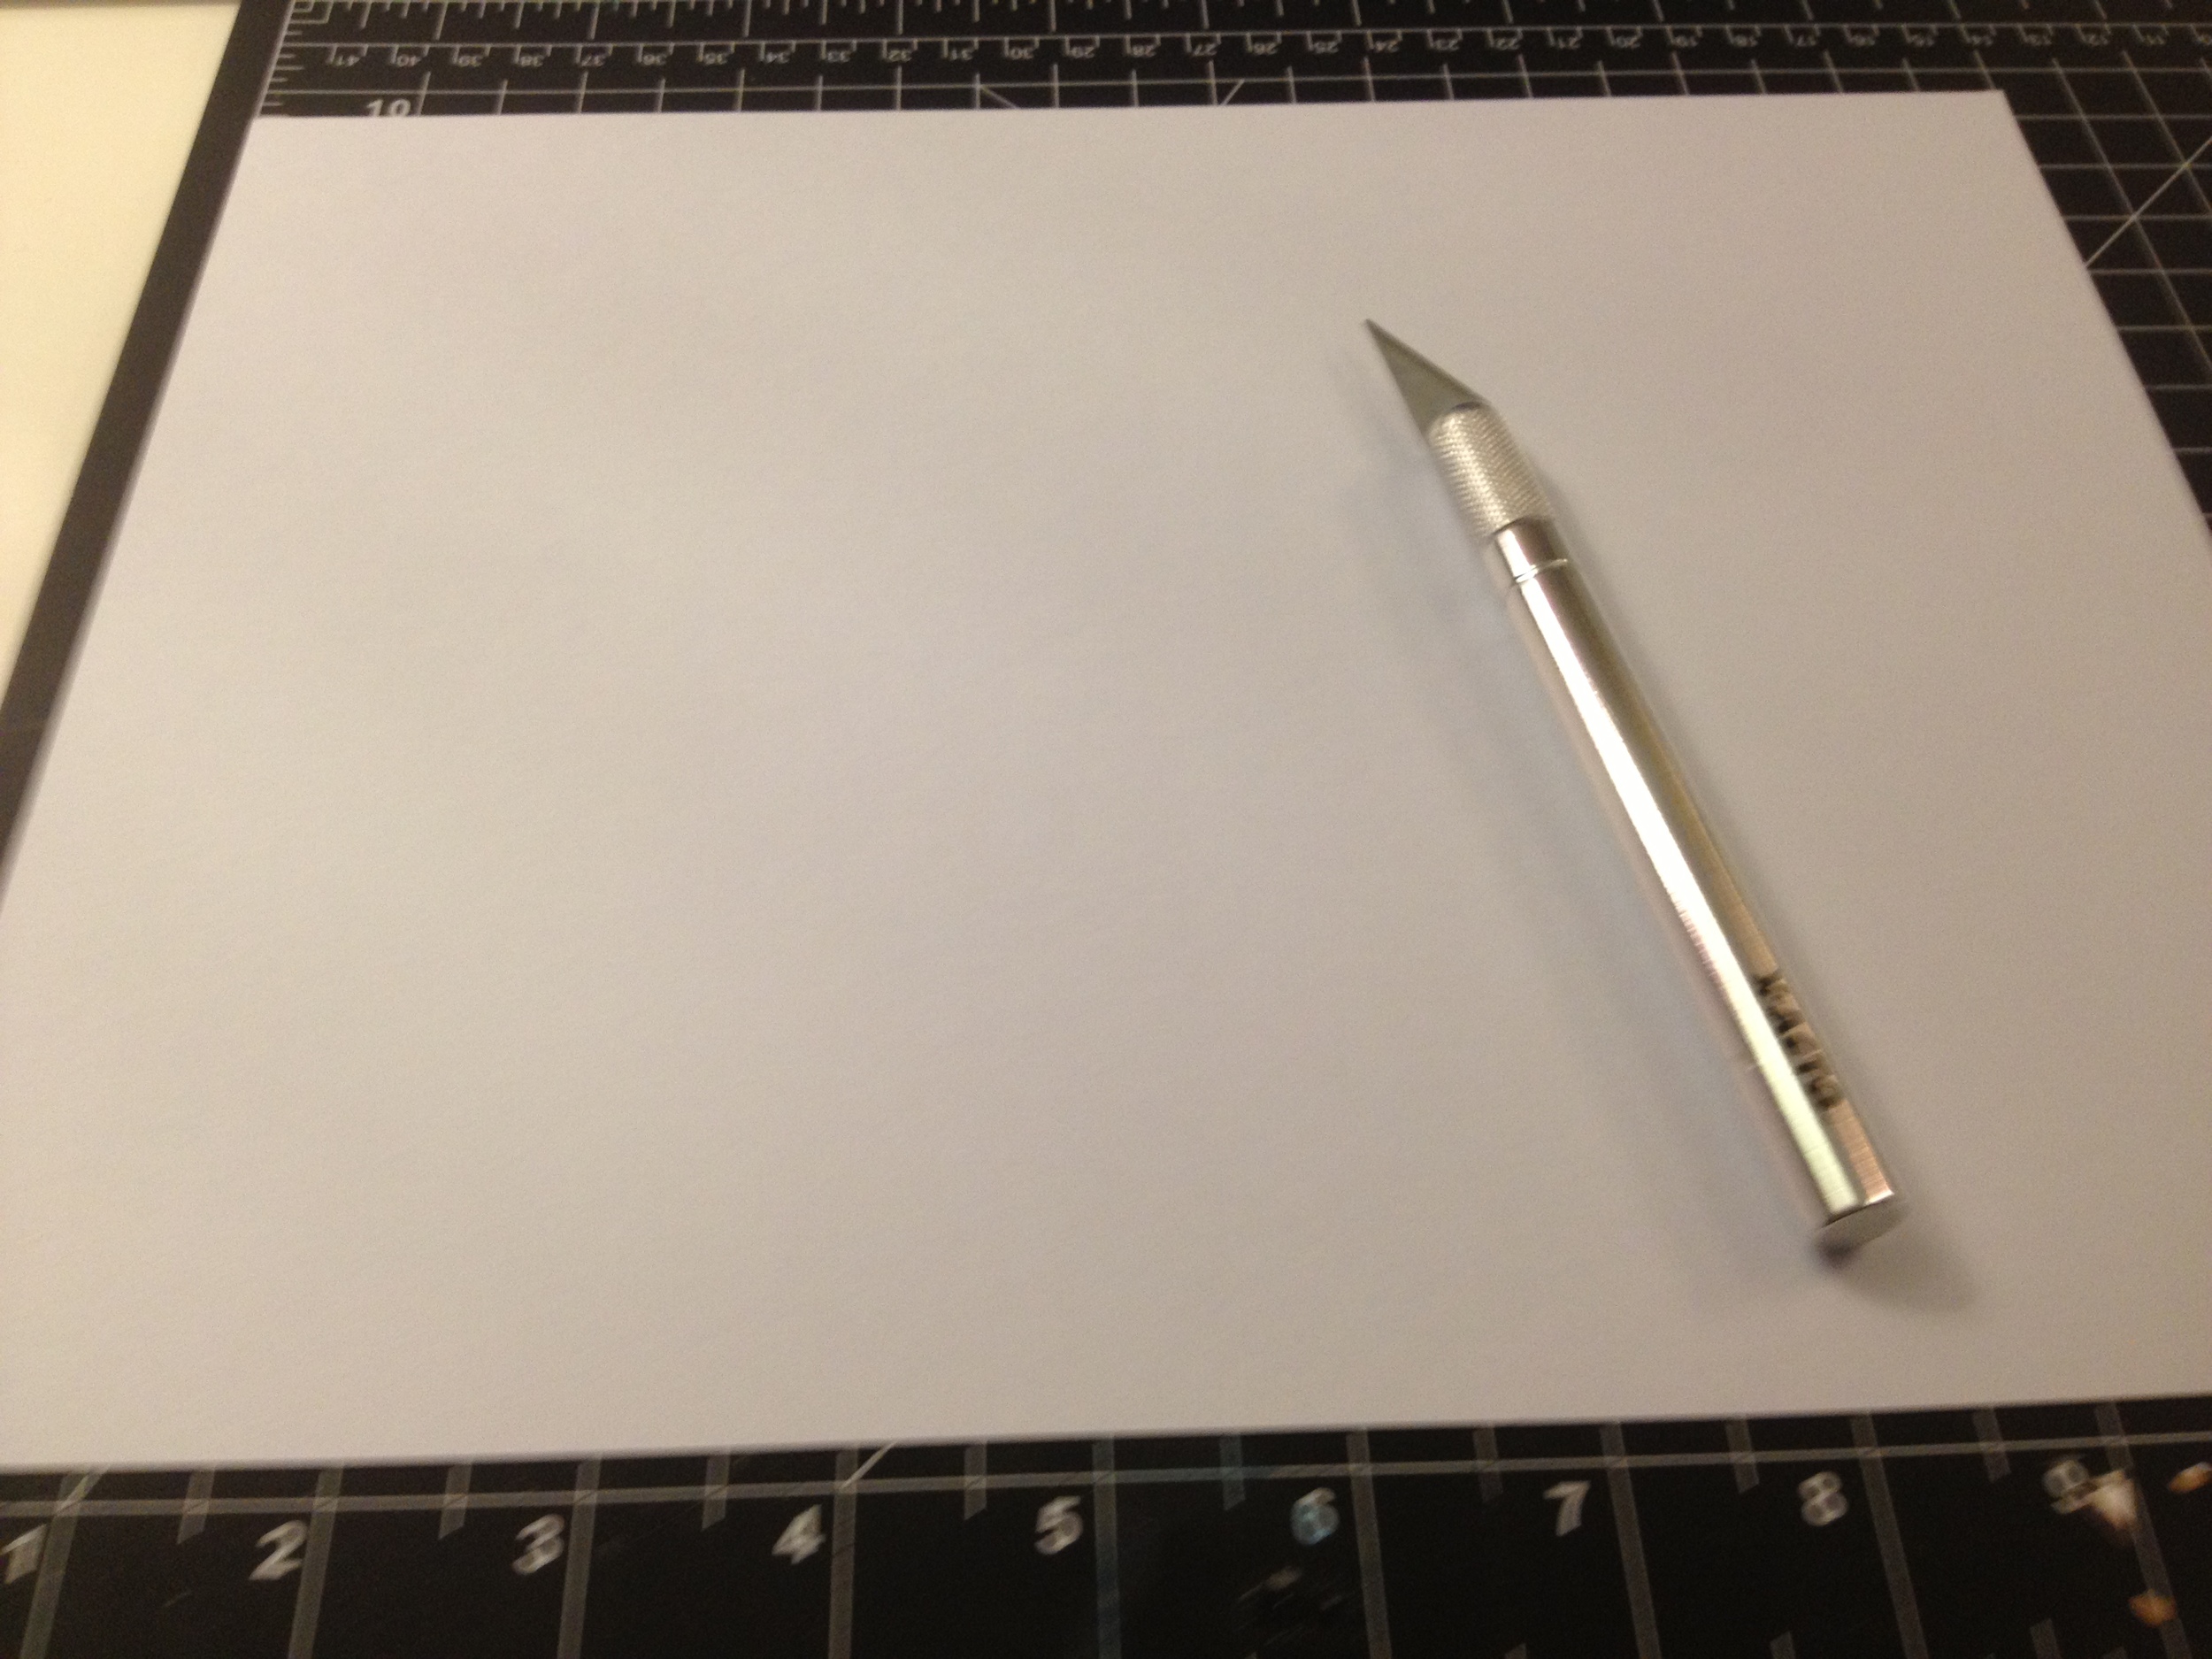
- A metal ruler
- Paper glue
- Basic scissors
- Embellishments of your choice
- Sticker letters
Start by using your mat to find the center of your card base (5.5 ” for this card). Then score it by running the knife lightly down the center once or twice. Fold in half.
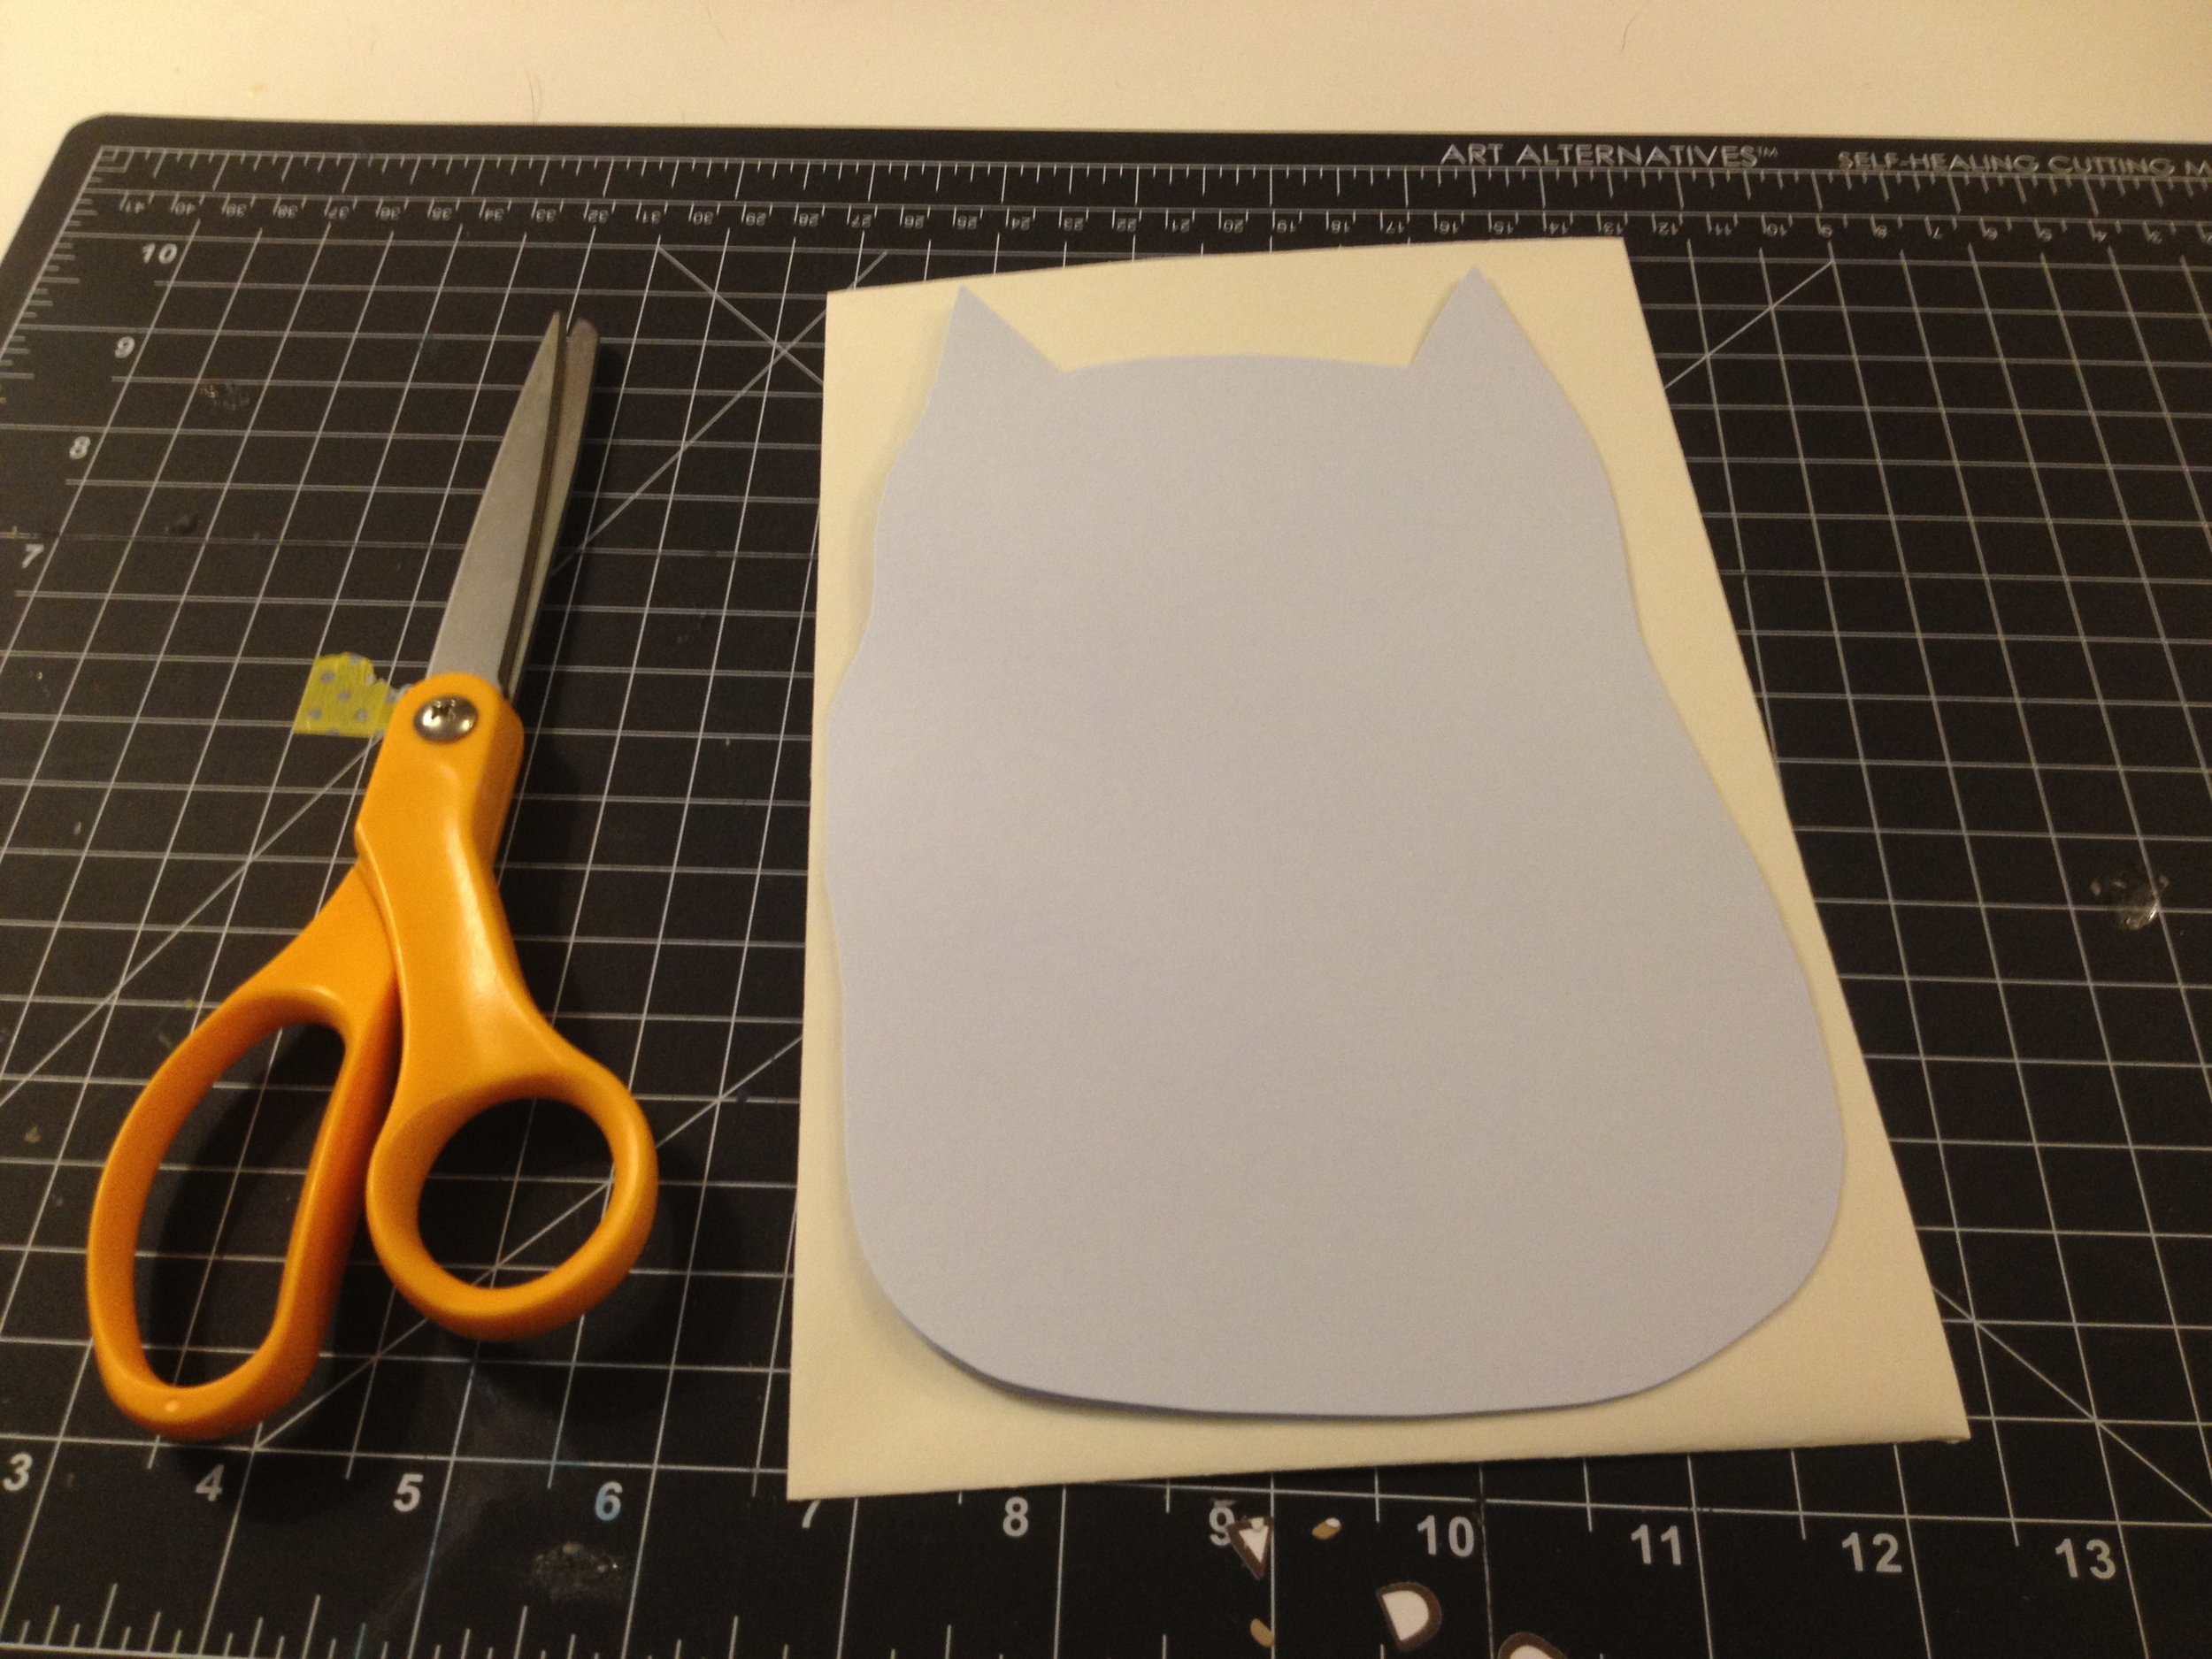
Cut out your mother owl shape, taking care not to cut too much off the folded side. I free-handed my owl, but you could trace your owl shape first, if you need a guide. Set your card base on top of the envelope to ensure the card will fit inside.
Cut out the following pieces: two circles (eyes - green), two smaller circles (pupils - black), one triangle (beak - orange), two hearts (one slightly smaller than the other - green and blue), two feet (orange) and two long half circles (wings - green). When I cut out two or more of the same shape, I free-hand the first one, and then use it to cut out the next one. This way I know they are all the same size.
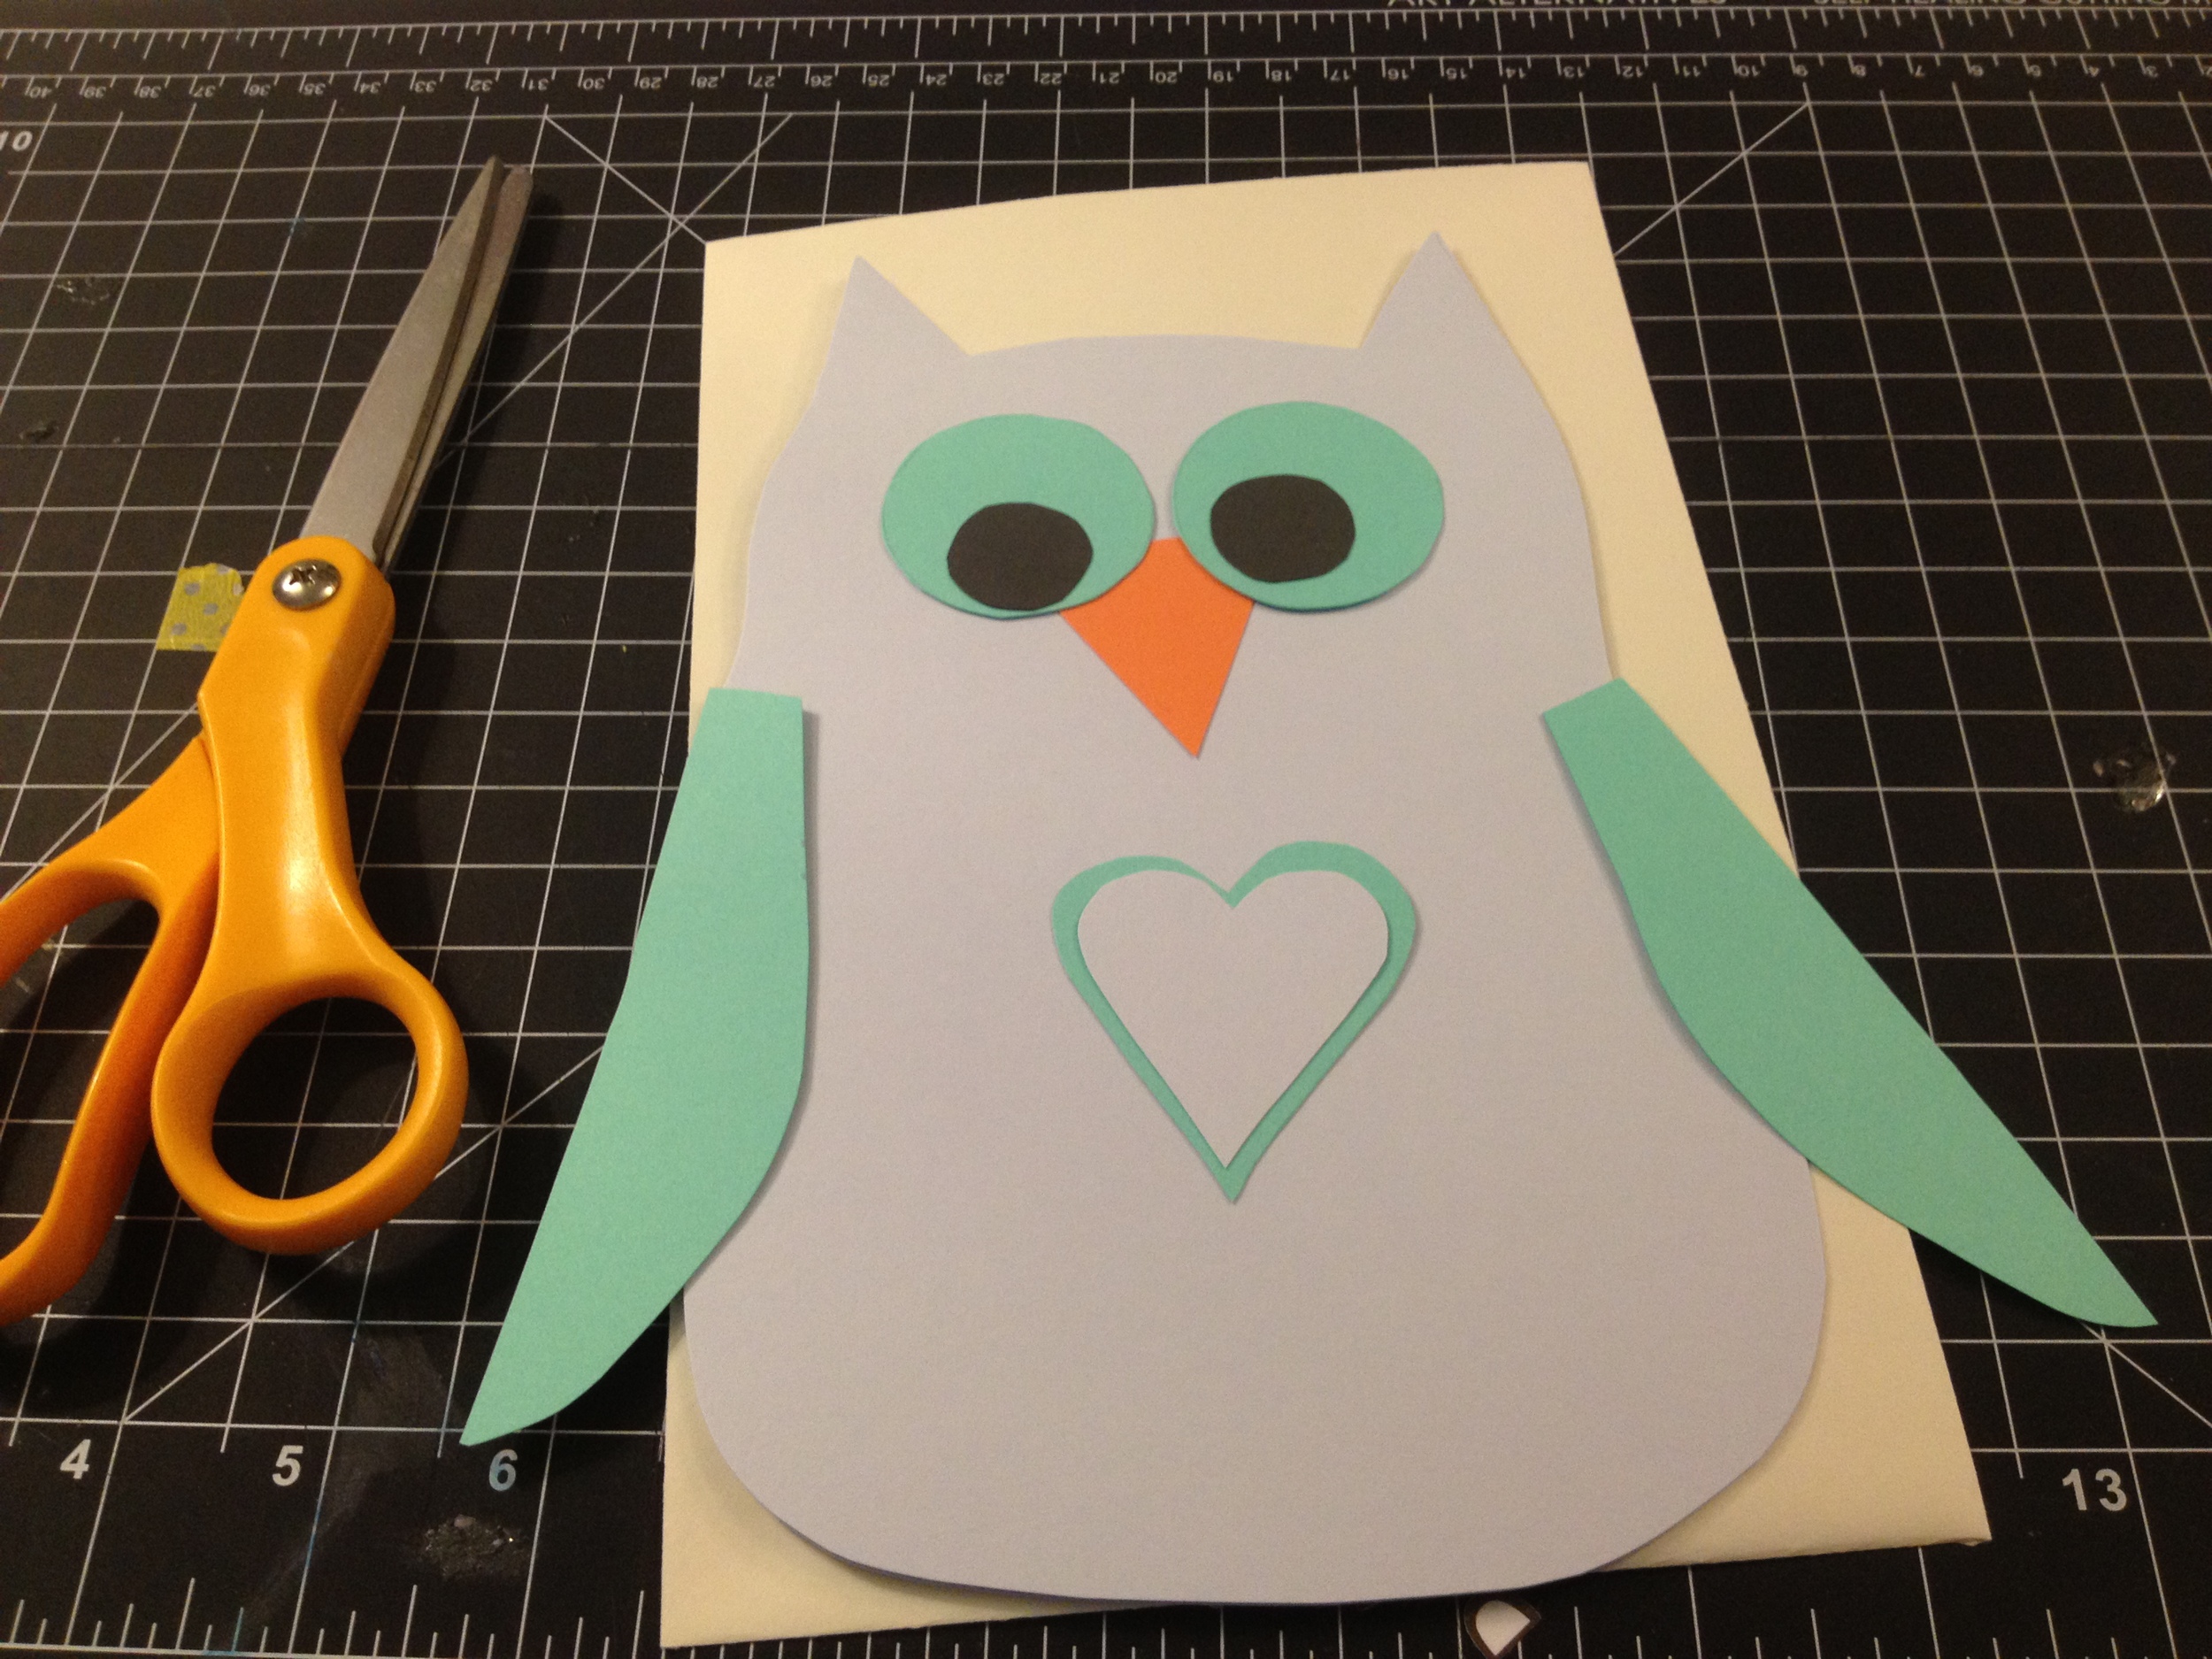
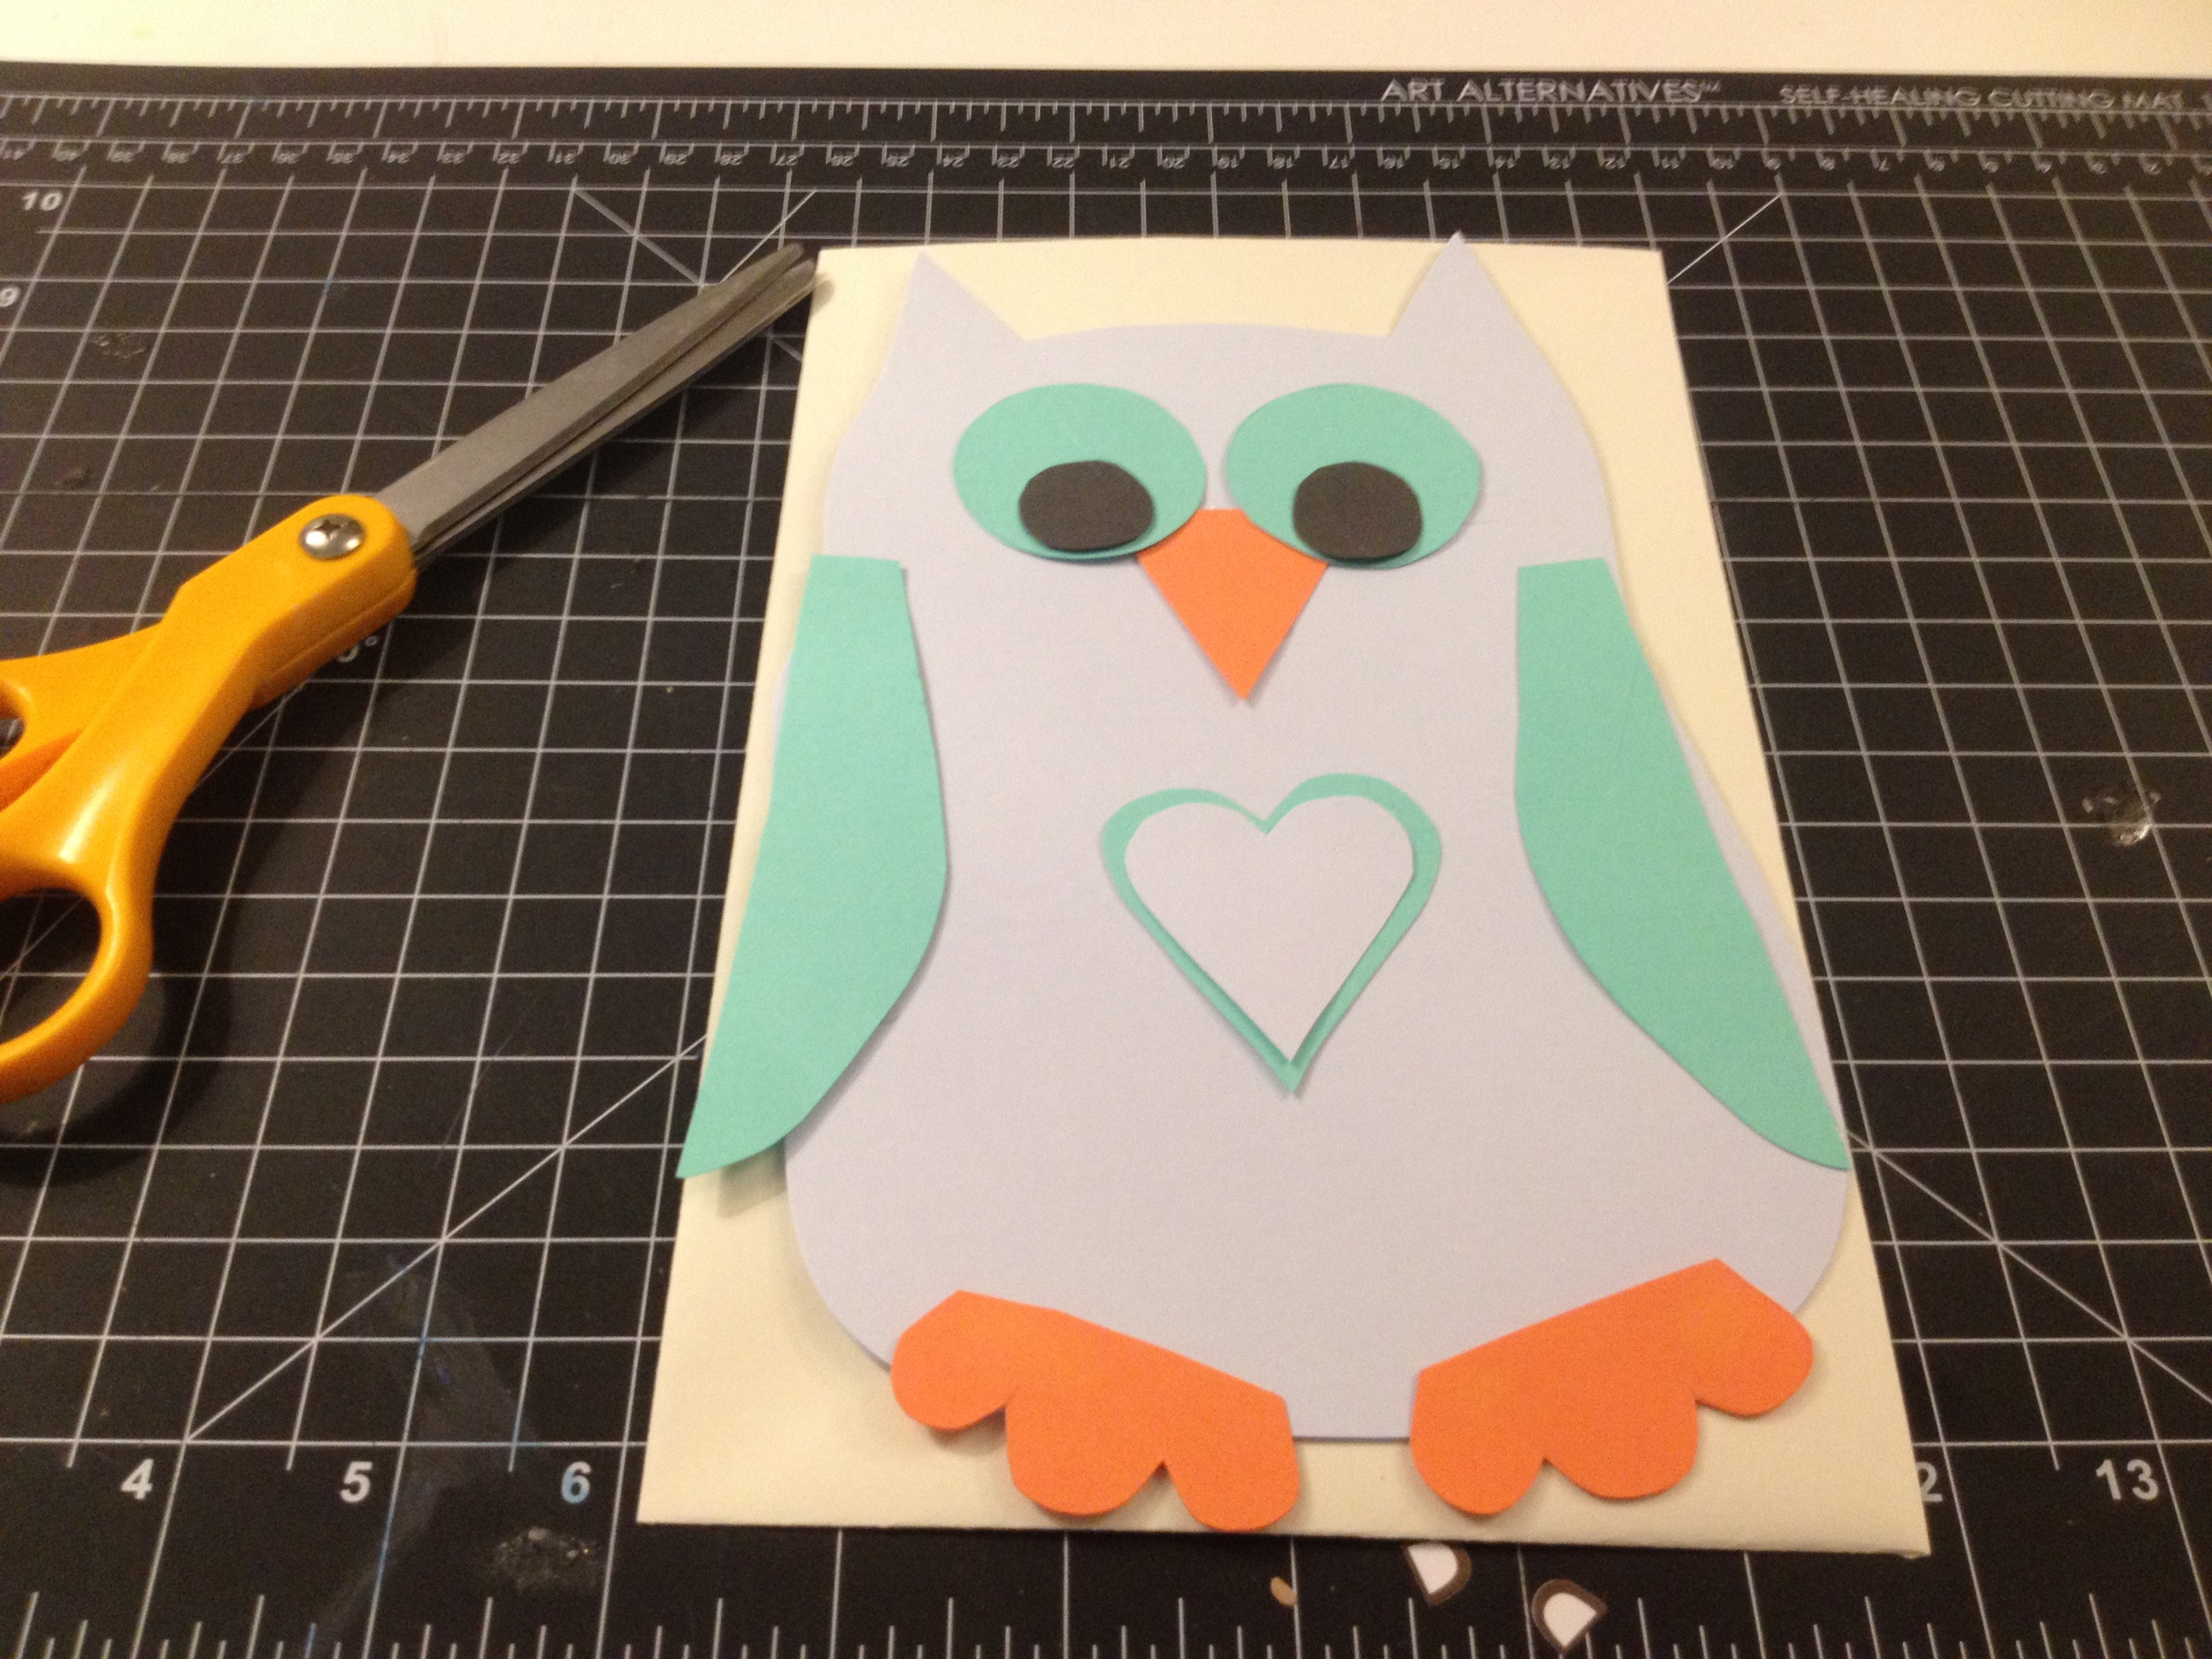
Glue each piece down, making sure they are all inside the perimeter of the envelope. Then, if you're like me, attach your feet...I almost forgot them!
Next, open your card, and cut out the shapes again. Only this time, we're going to make them much smaller. This is your baby owl. For the baby, I chose to make a brown body, green eyes and wings and a blue heart. Glue down each piece.
On the opposite side, use your sticker letters to spell out your message. At this point, you could add embellishments -- rhinestones, glitter, more letters to spell out the baby's name -- the possibilities are endless! I loved the way this card turned out. Handmade cards are so much more personal and fun, don't you think?
Like this card but don't think you can recreate it? Contact us, and we'll create one for you to purchase via our Etsy shop. The Owl Baby Shower Card is $3.50, plus shipping and handling.