DIY halloween card

DIY: Halloween Candy Corn Card

Do you know someone who needs a little Halloween cheer? This card might not be quite as sweet as candy corn itself, but it is sure to bring a smile your loved one's face. Isn't that what all holidays are really about? We think so! Here's what you'll need to make our Halloween Candy Corn Card:

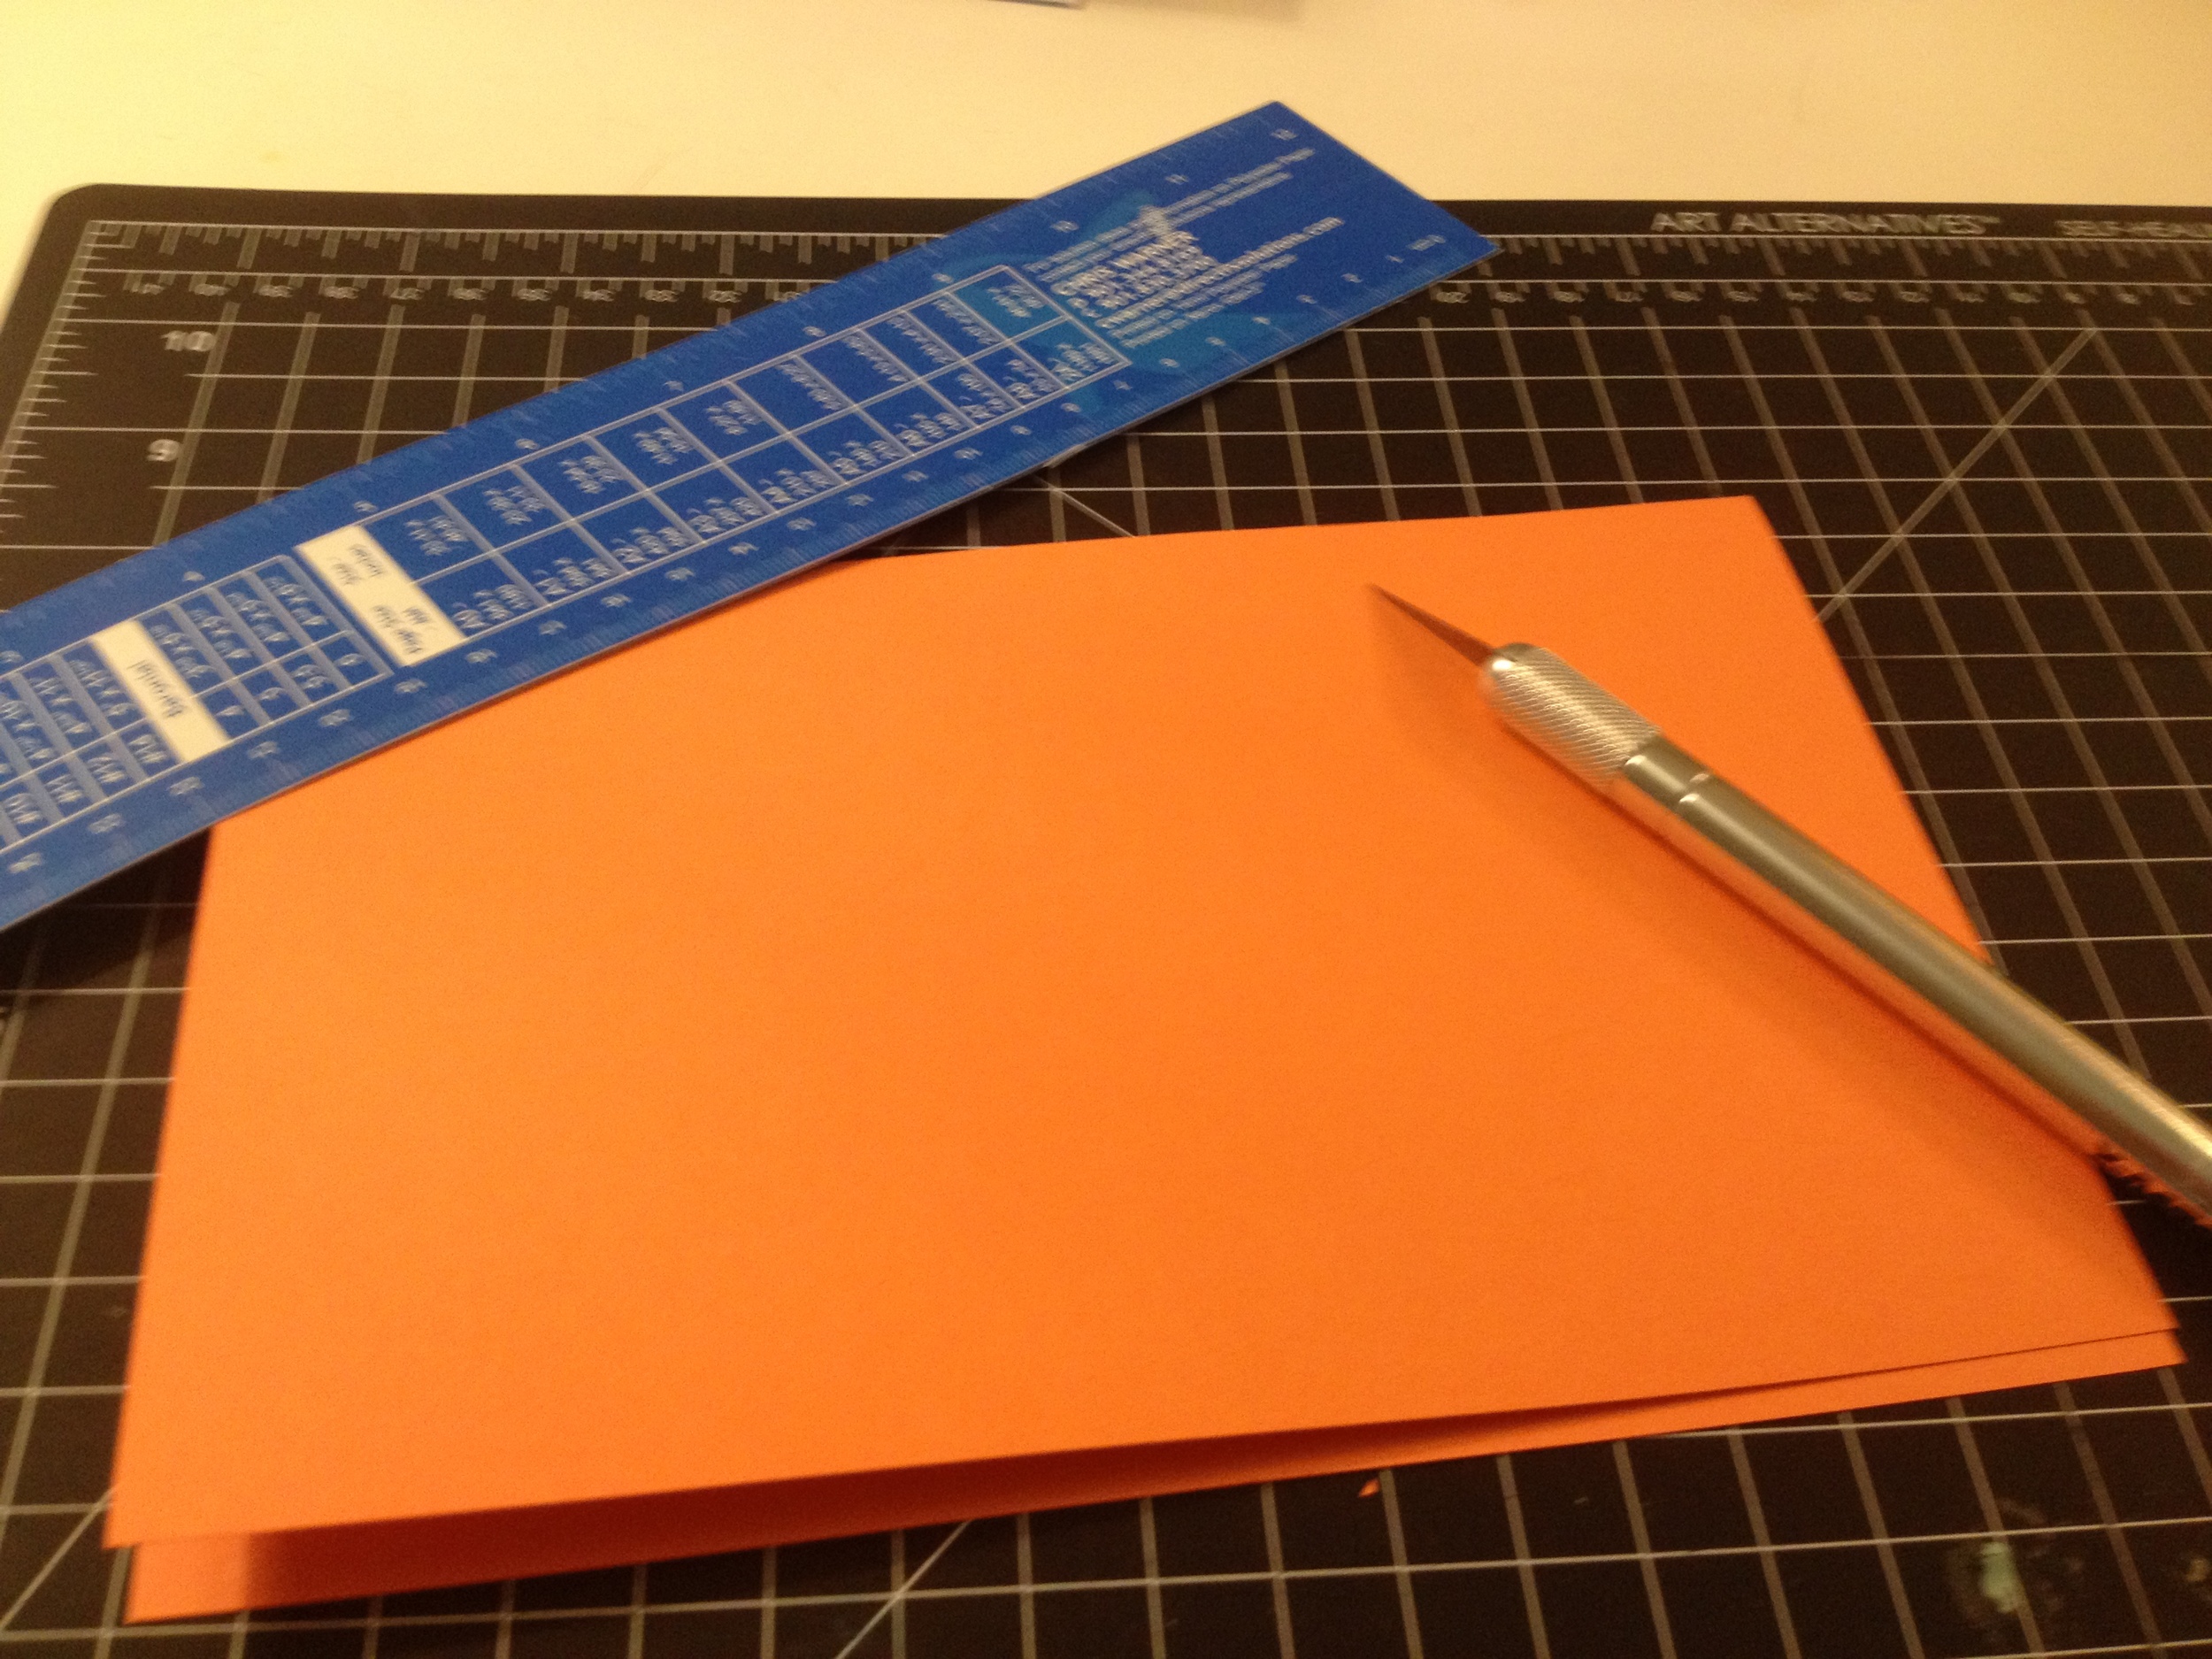
- Orange, yellow and white/cream card stock - An envelope A cutting mat An Xacto knife - A metal ruler - A pencil and eraser - Paper glue - Basic scissors - Sticker letters

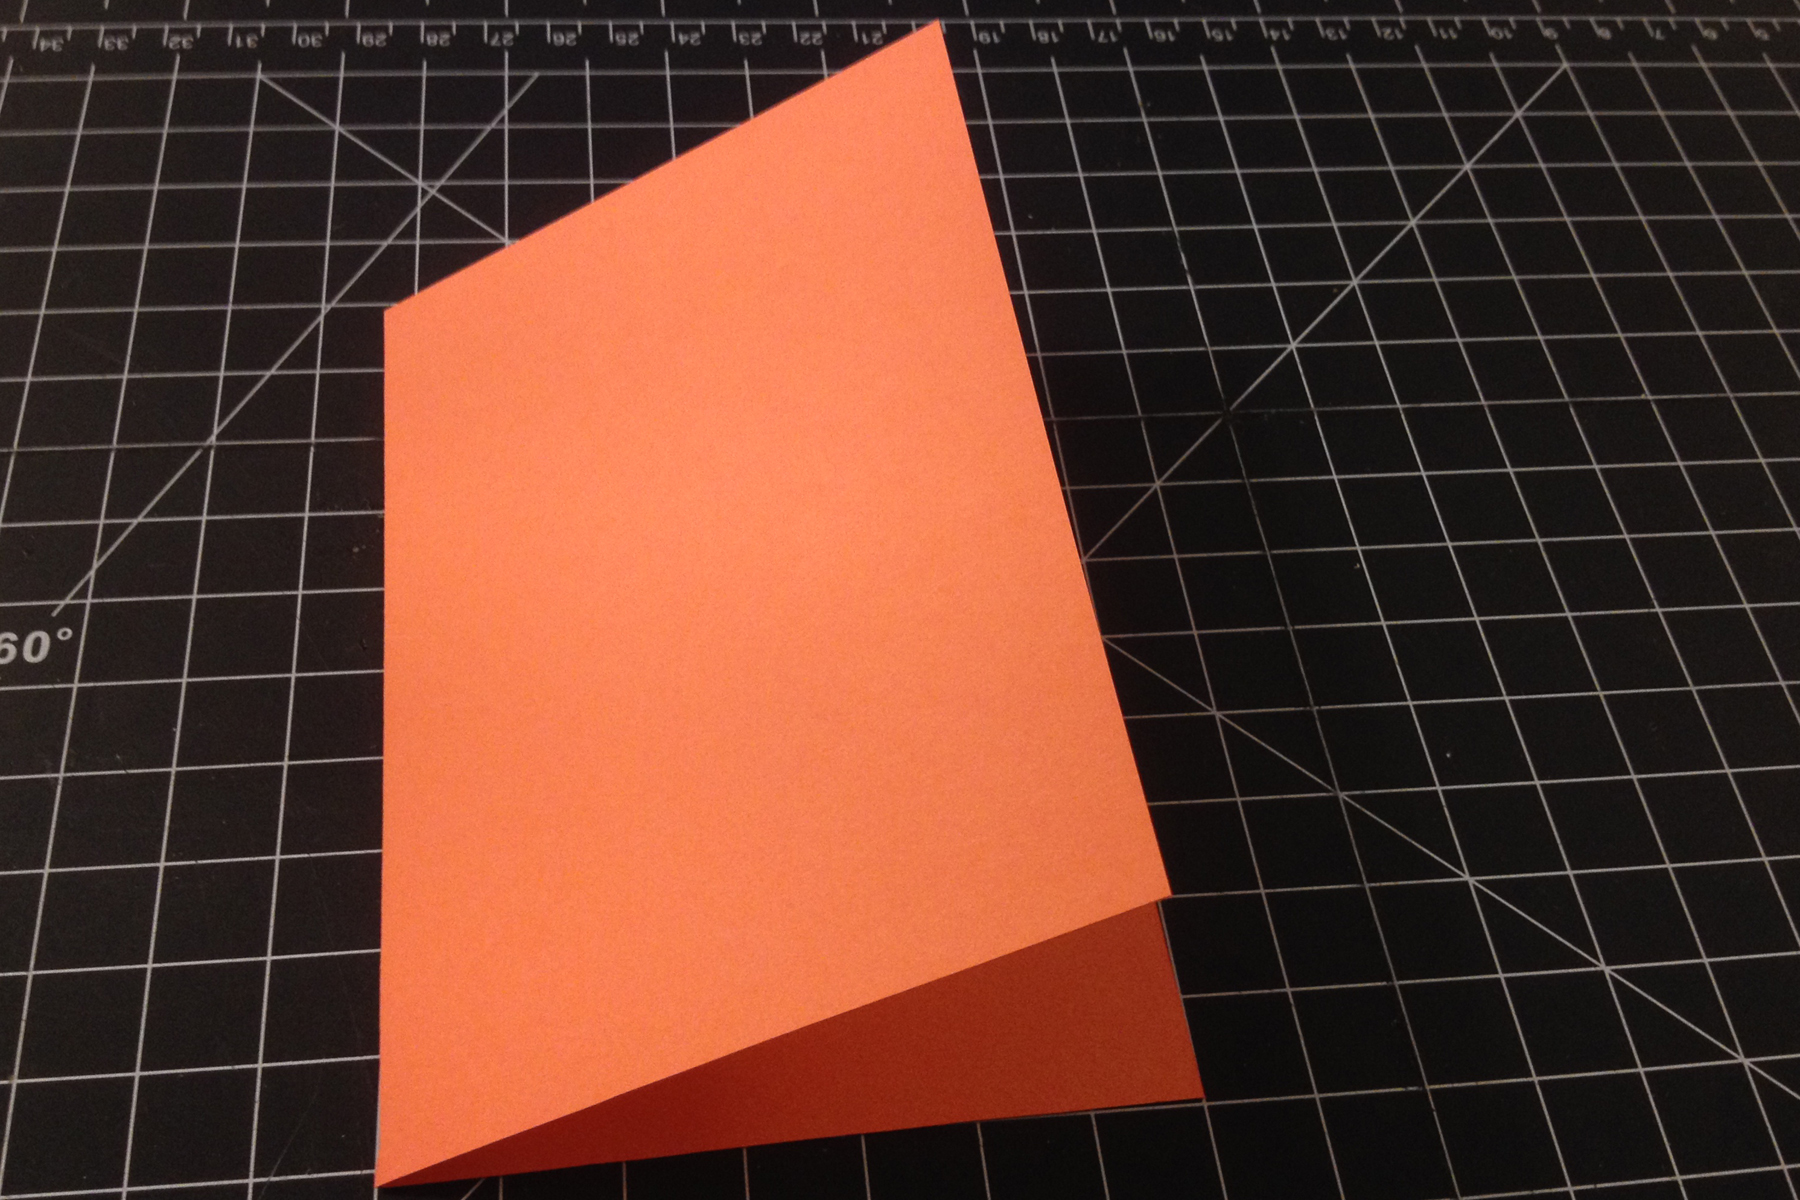
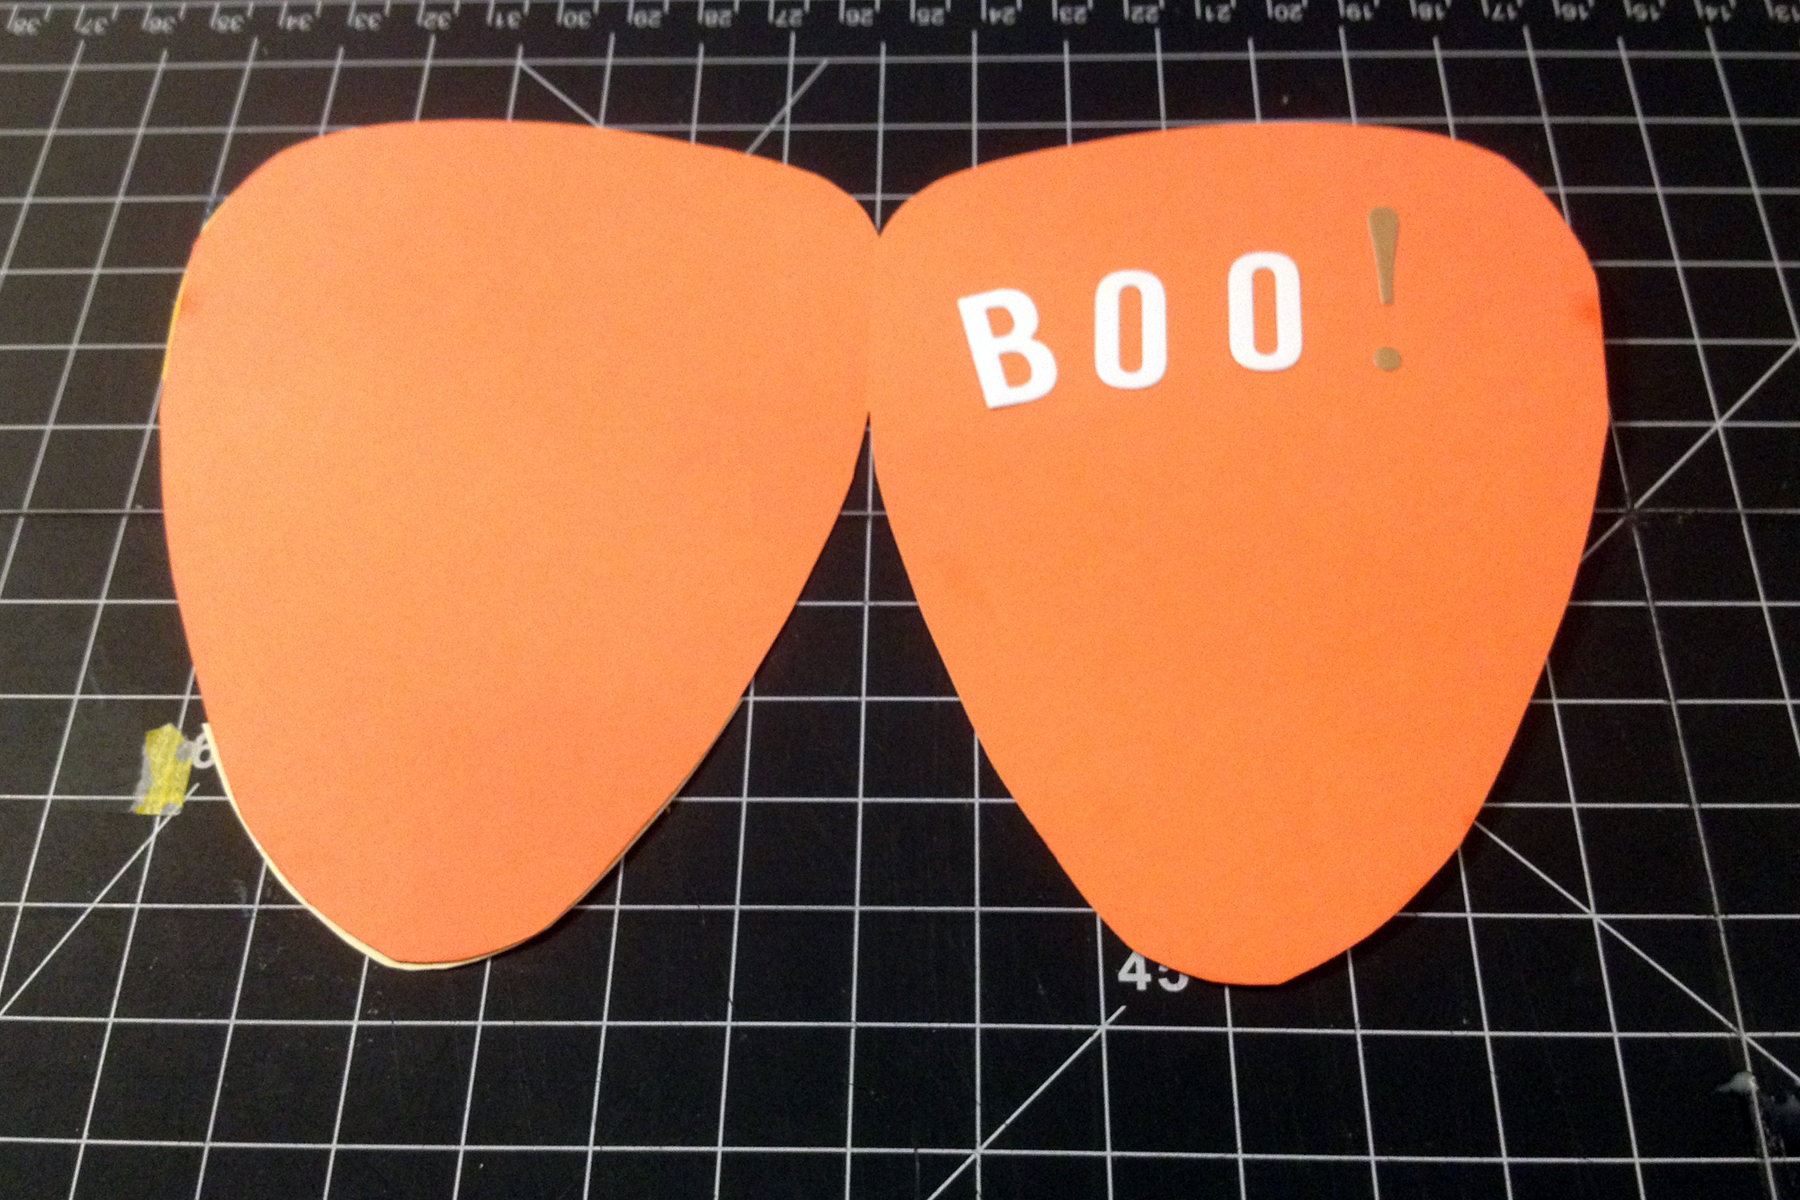
Start by using your mat to find the center of your card base (3.5 ” for this card). Then score it by running the knife lightly down the center once or twice. Fold in half.

step1

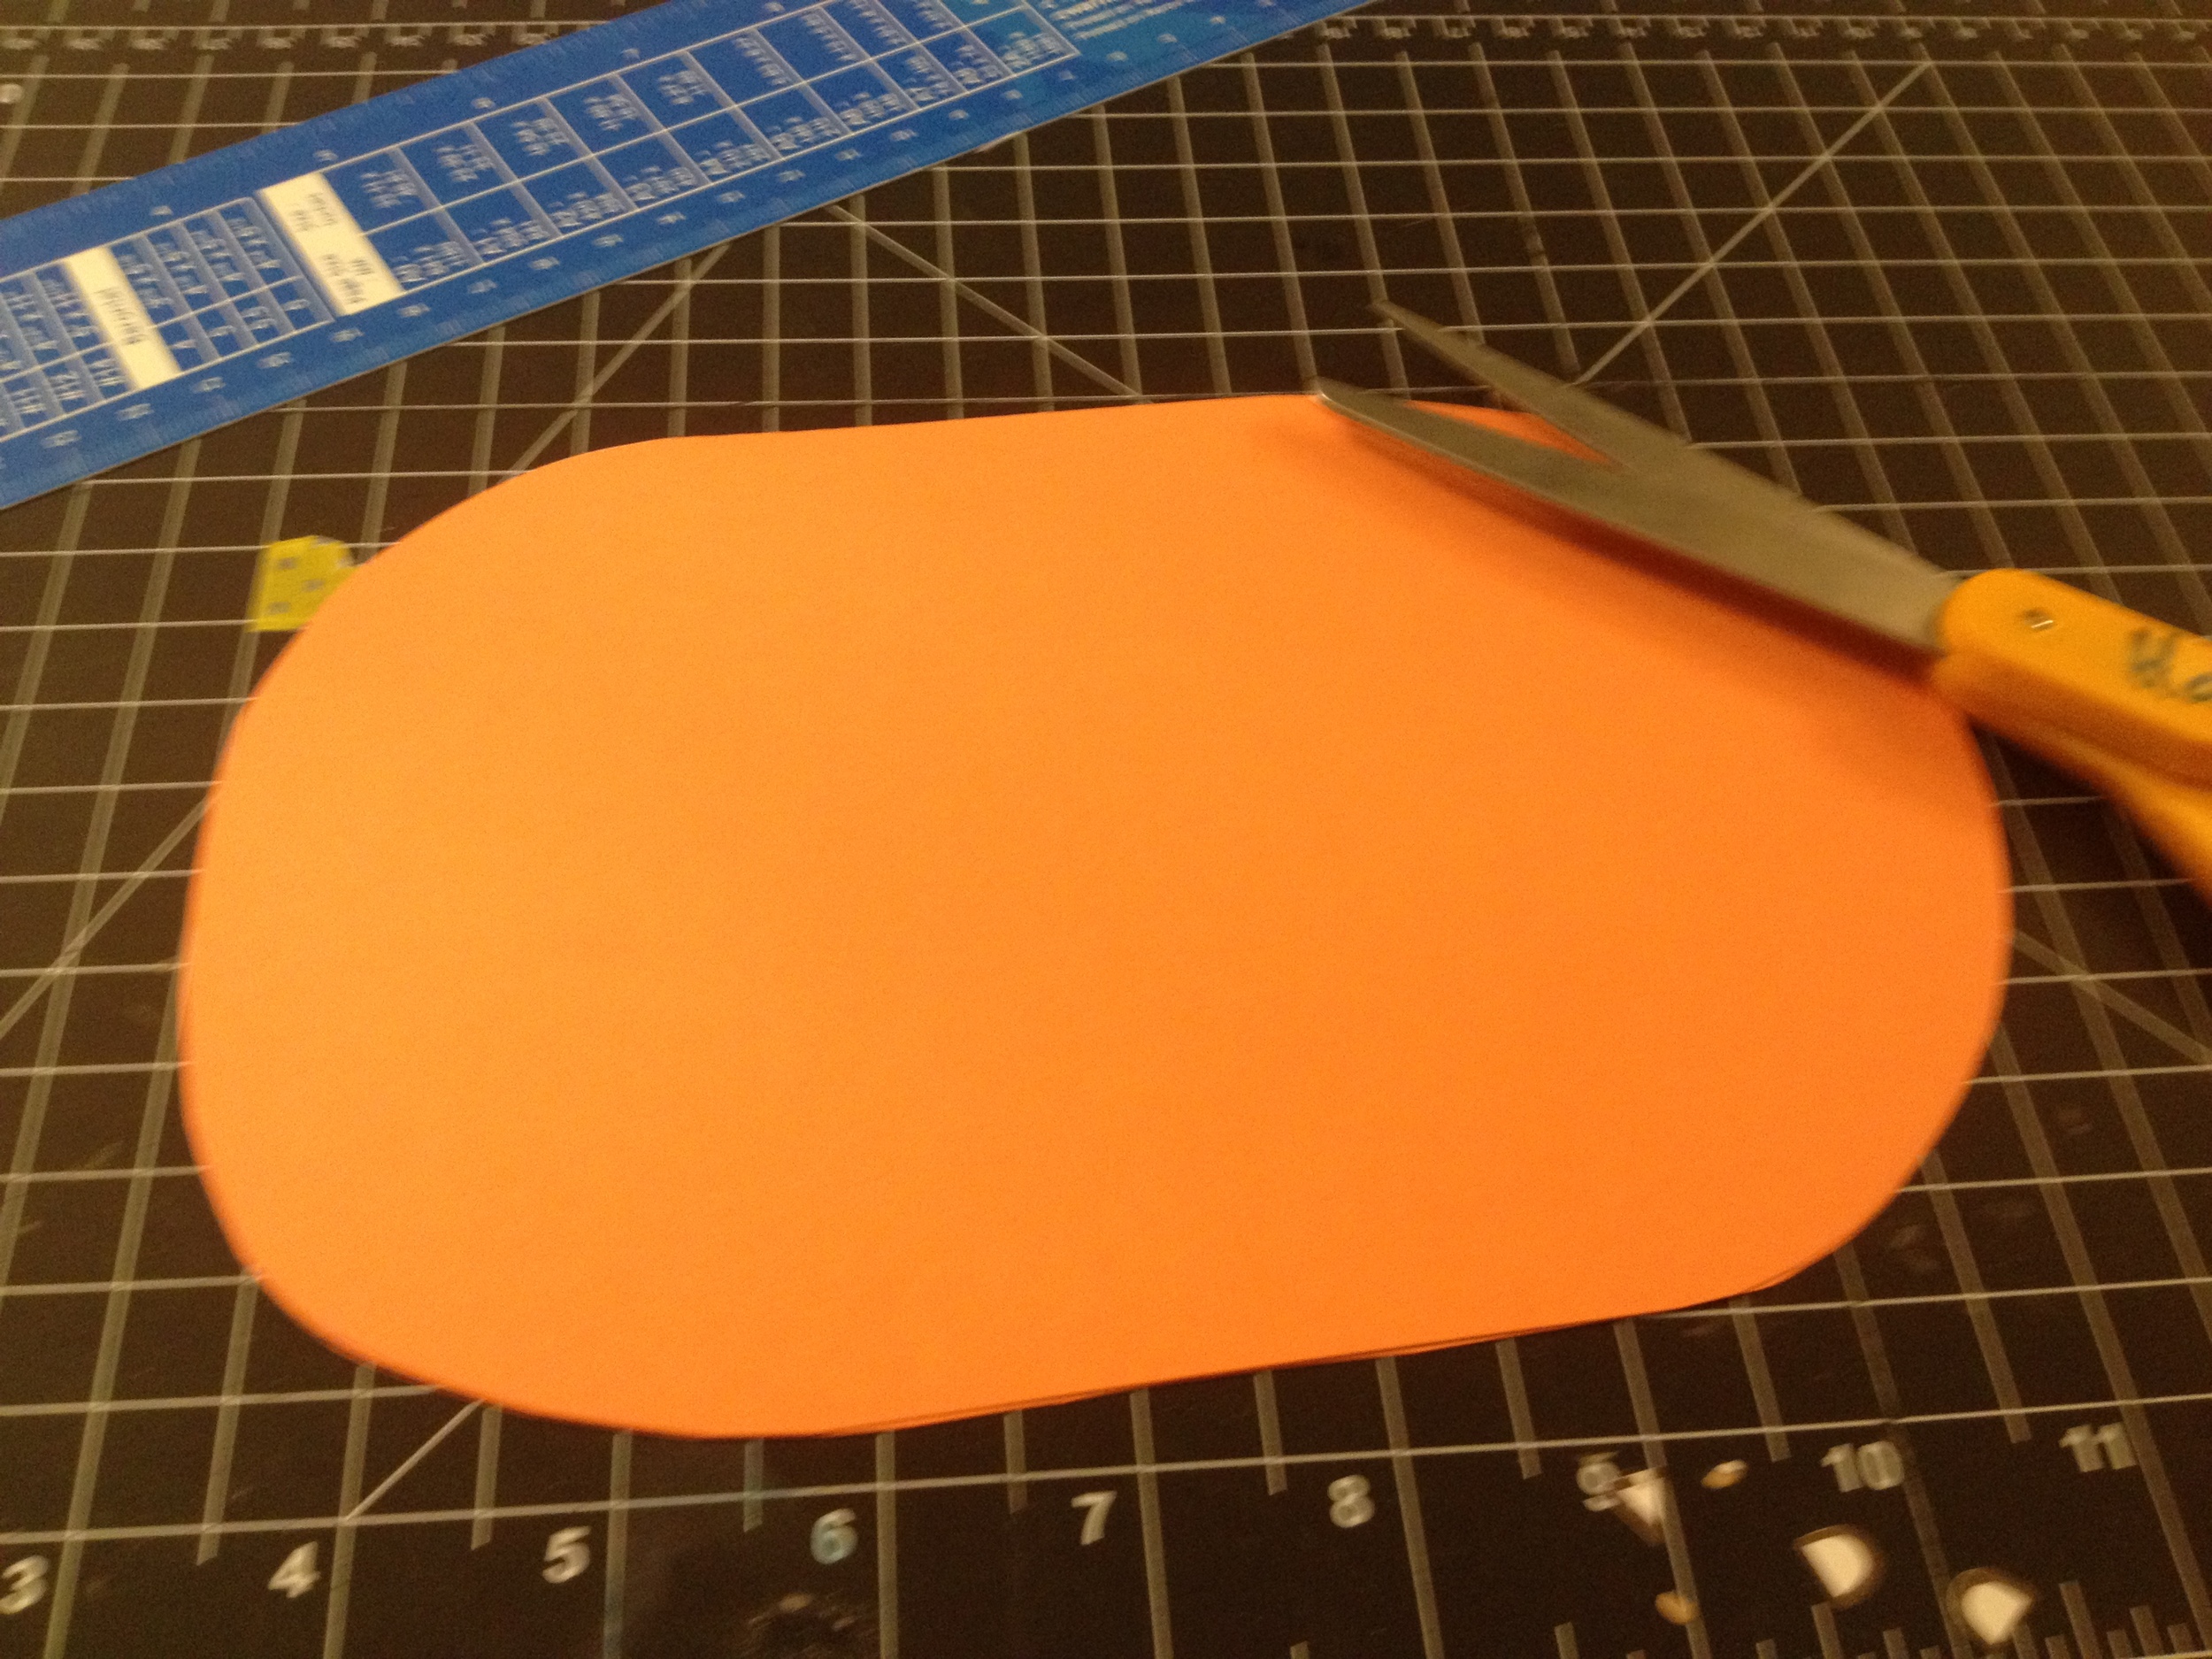
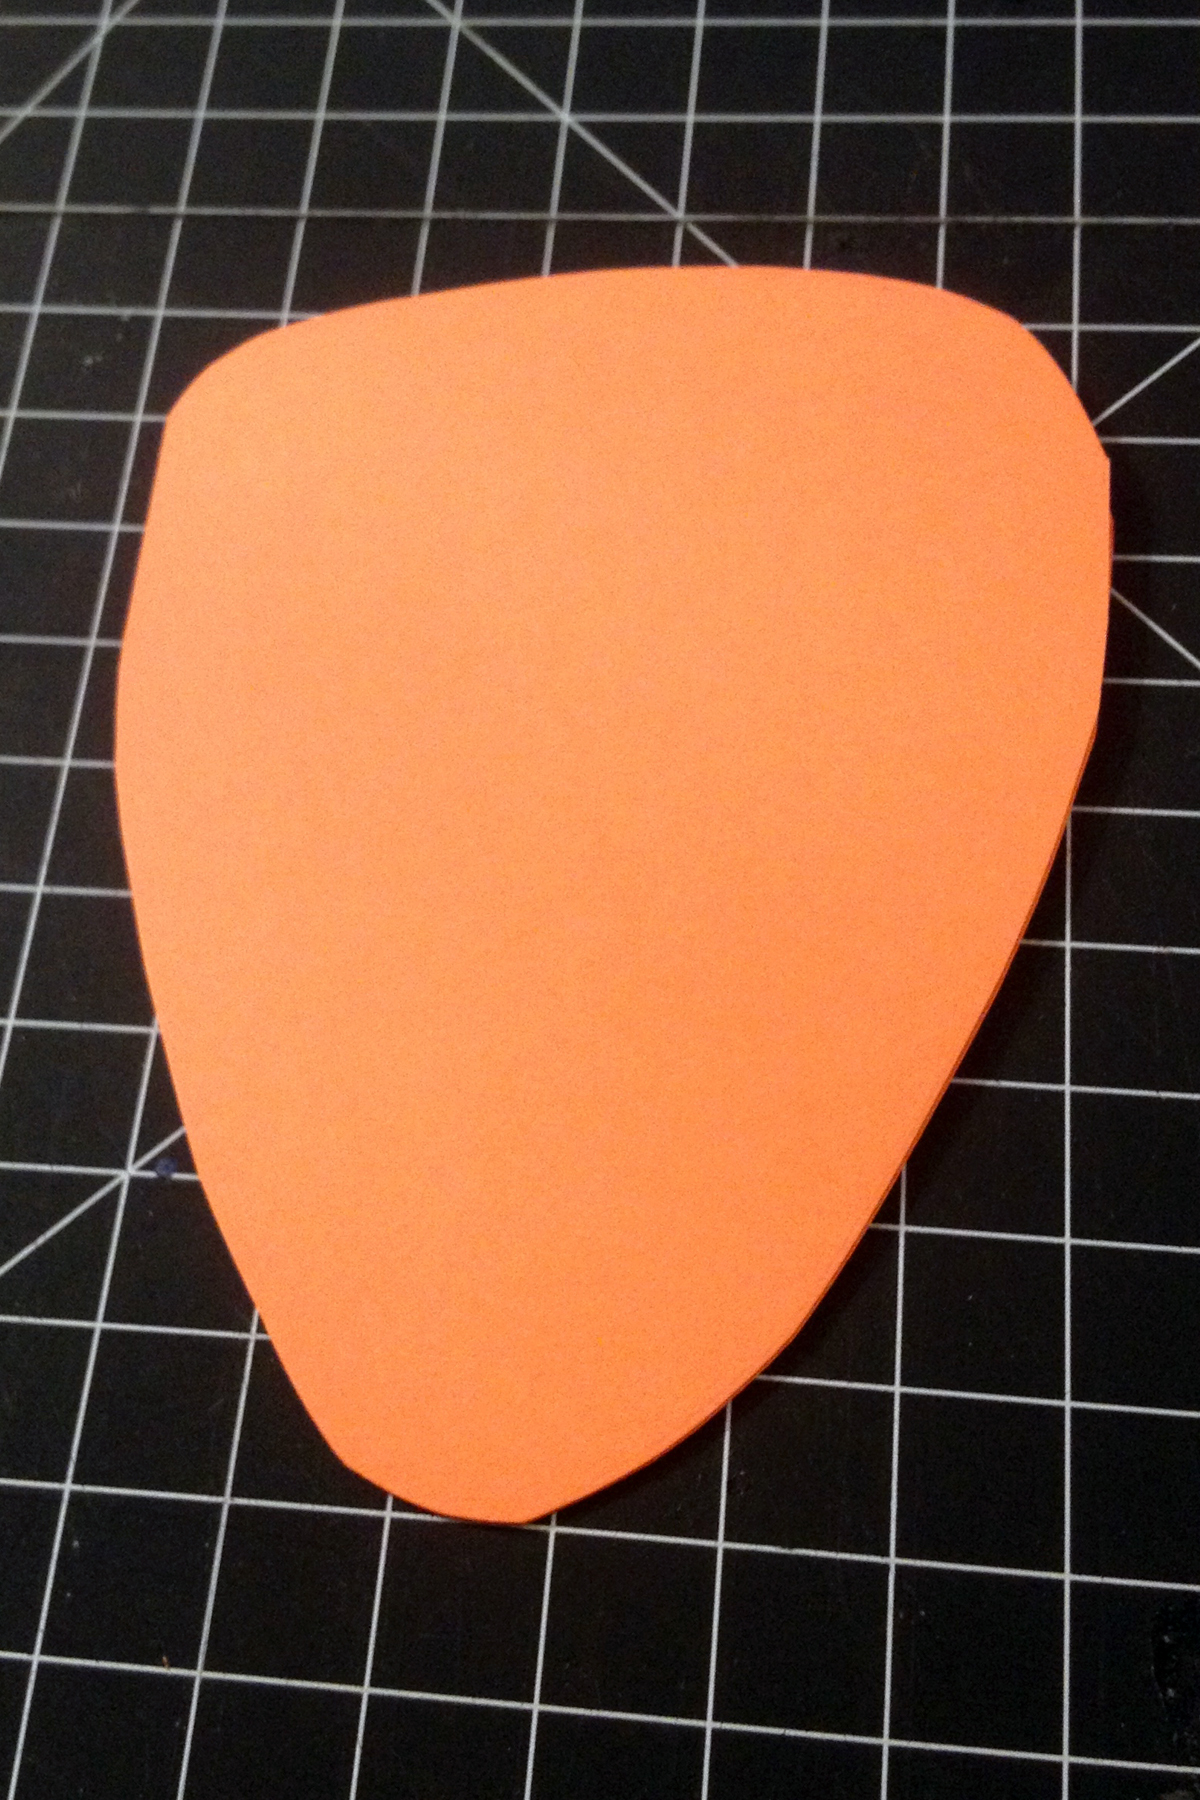
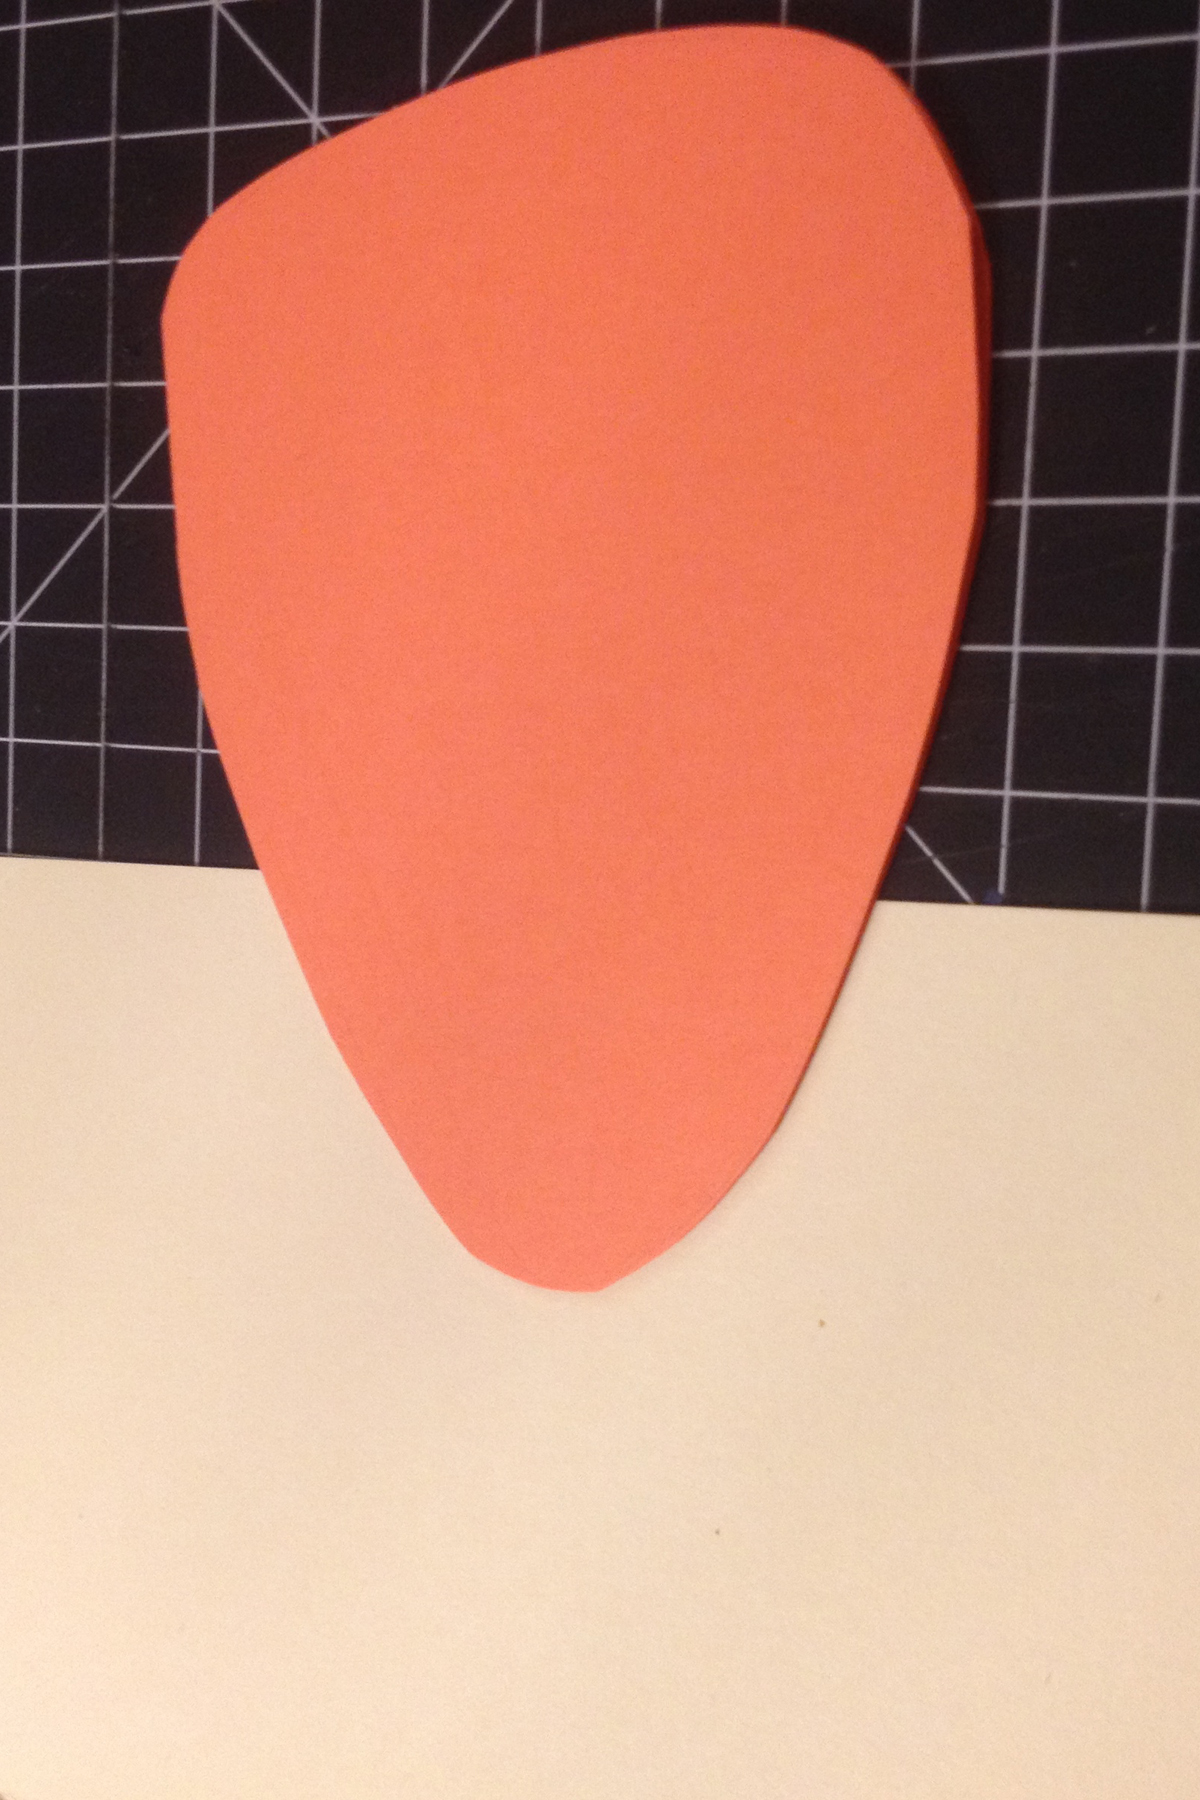
Cut out your candy corn shape, taking care not to cut too much off the folded side. I free-handed my card, but you could trace the shape first, if you need a guide. It's a good idea to set your card base on top of the envelope to ensure the card will fit inside.

step 2


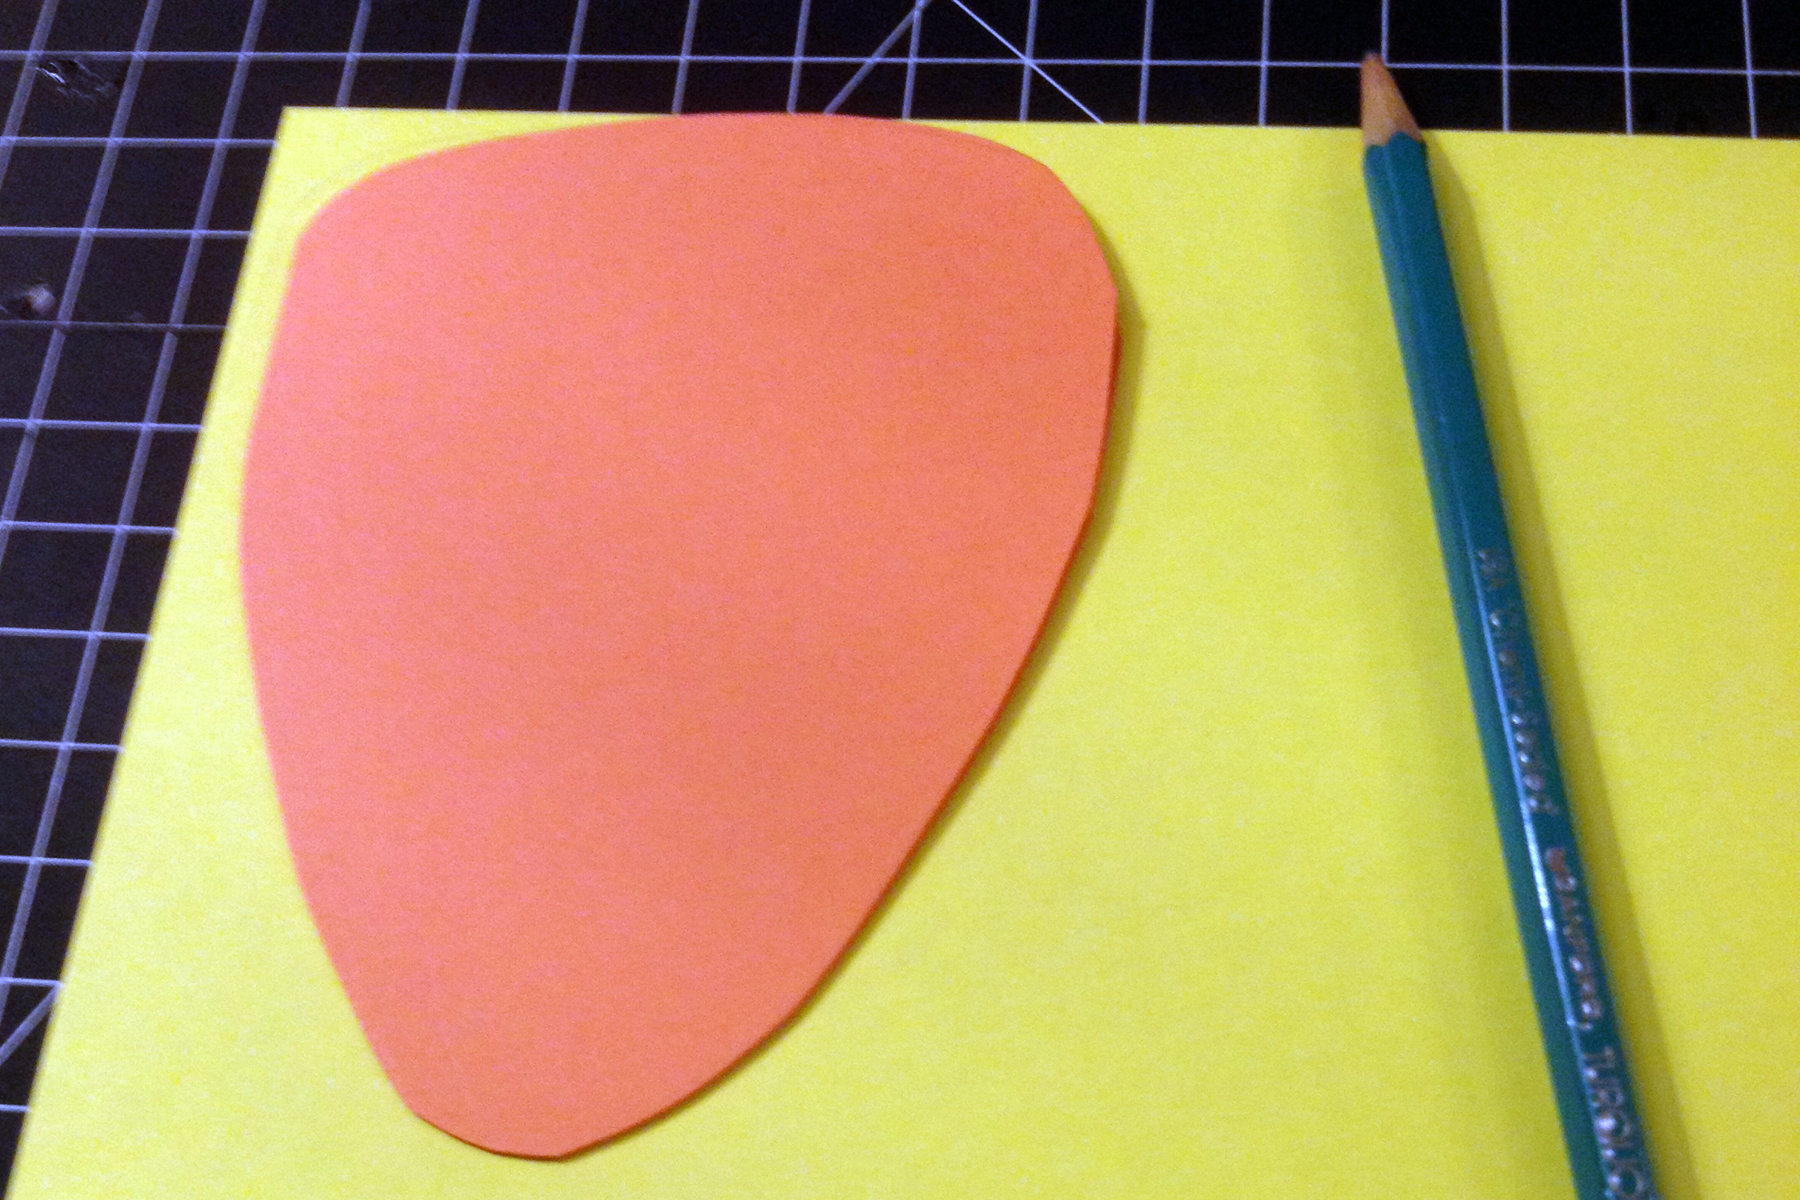
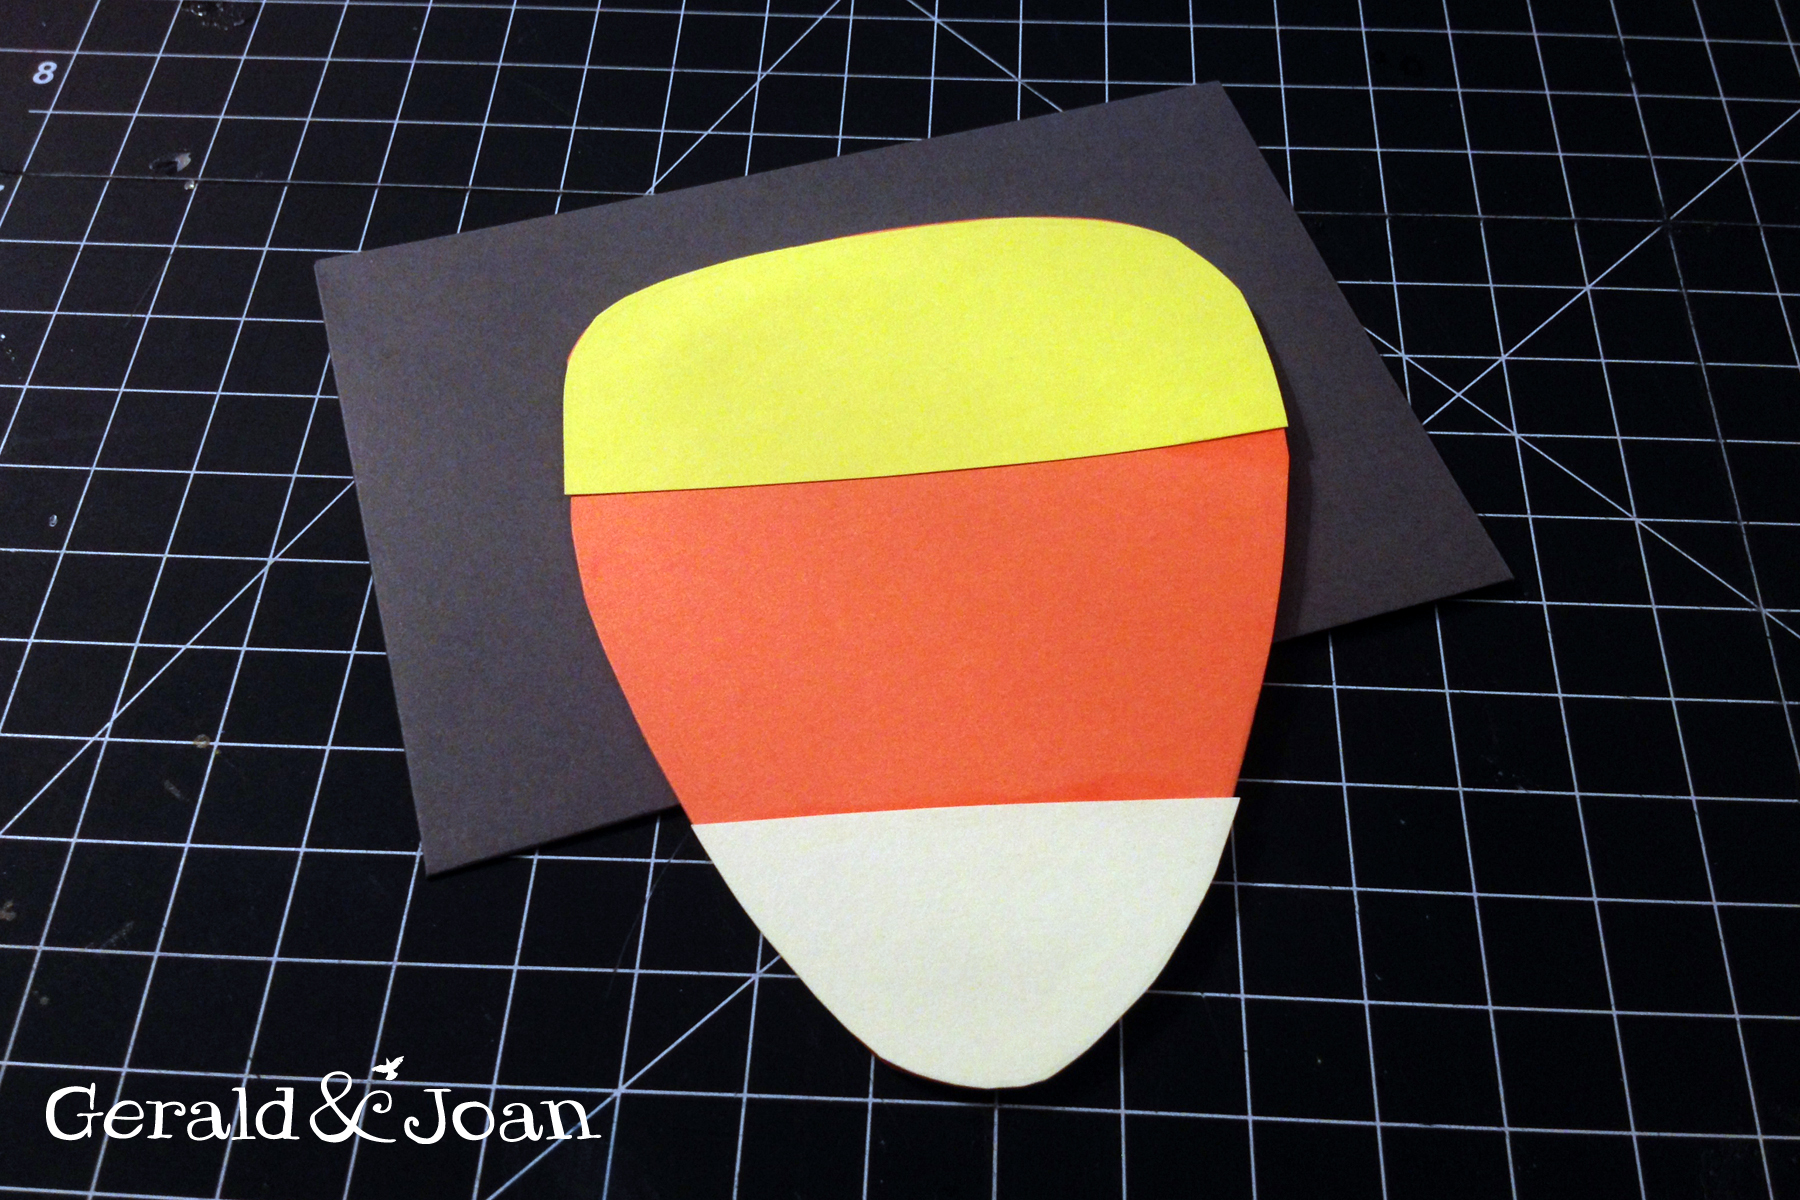
Set your card base on top of your yellow sheet of card stock. Starting about one-third of the way from the top of the candy corn, begin tracing the shape. You will go around the top of the candy corn to approximately one-third of the way down the other side. Move your card base and draw a horizontal line from one endpoint to the other. Cut out your shape.

step3

Next, set the end of your candy corn card (again, about one-third of the card should be traced) on the cream card stock. Trace around the end. Then move the card base and draw a horizontal line from endpoint to endpoint. Cut out the shape.

step4

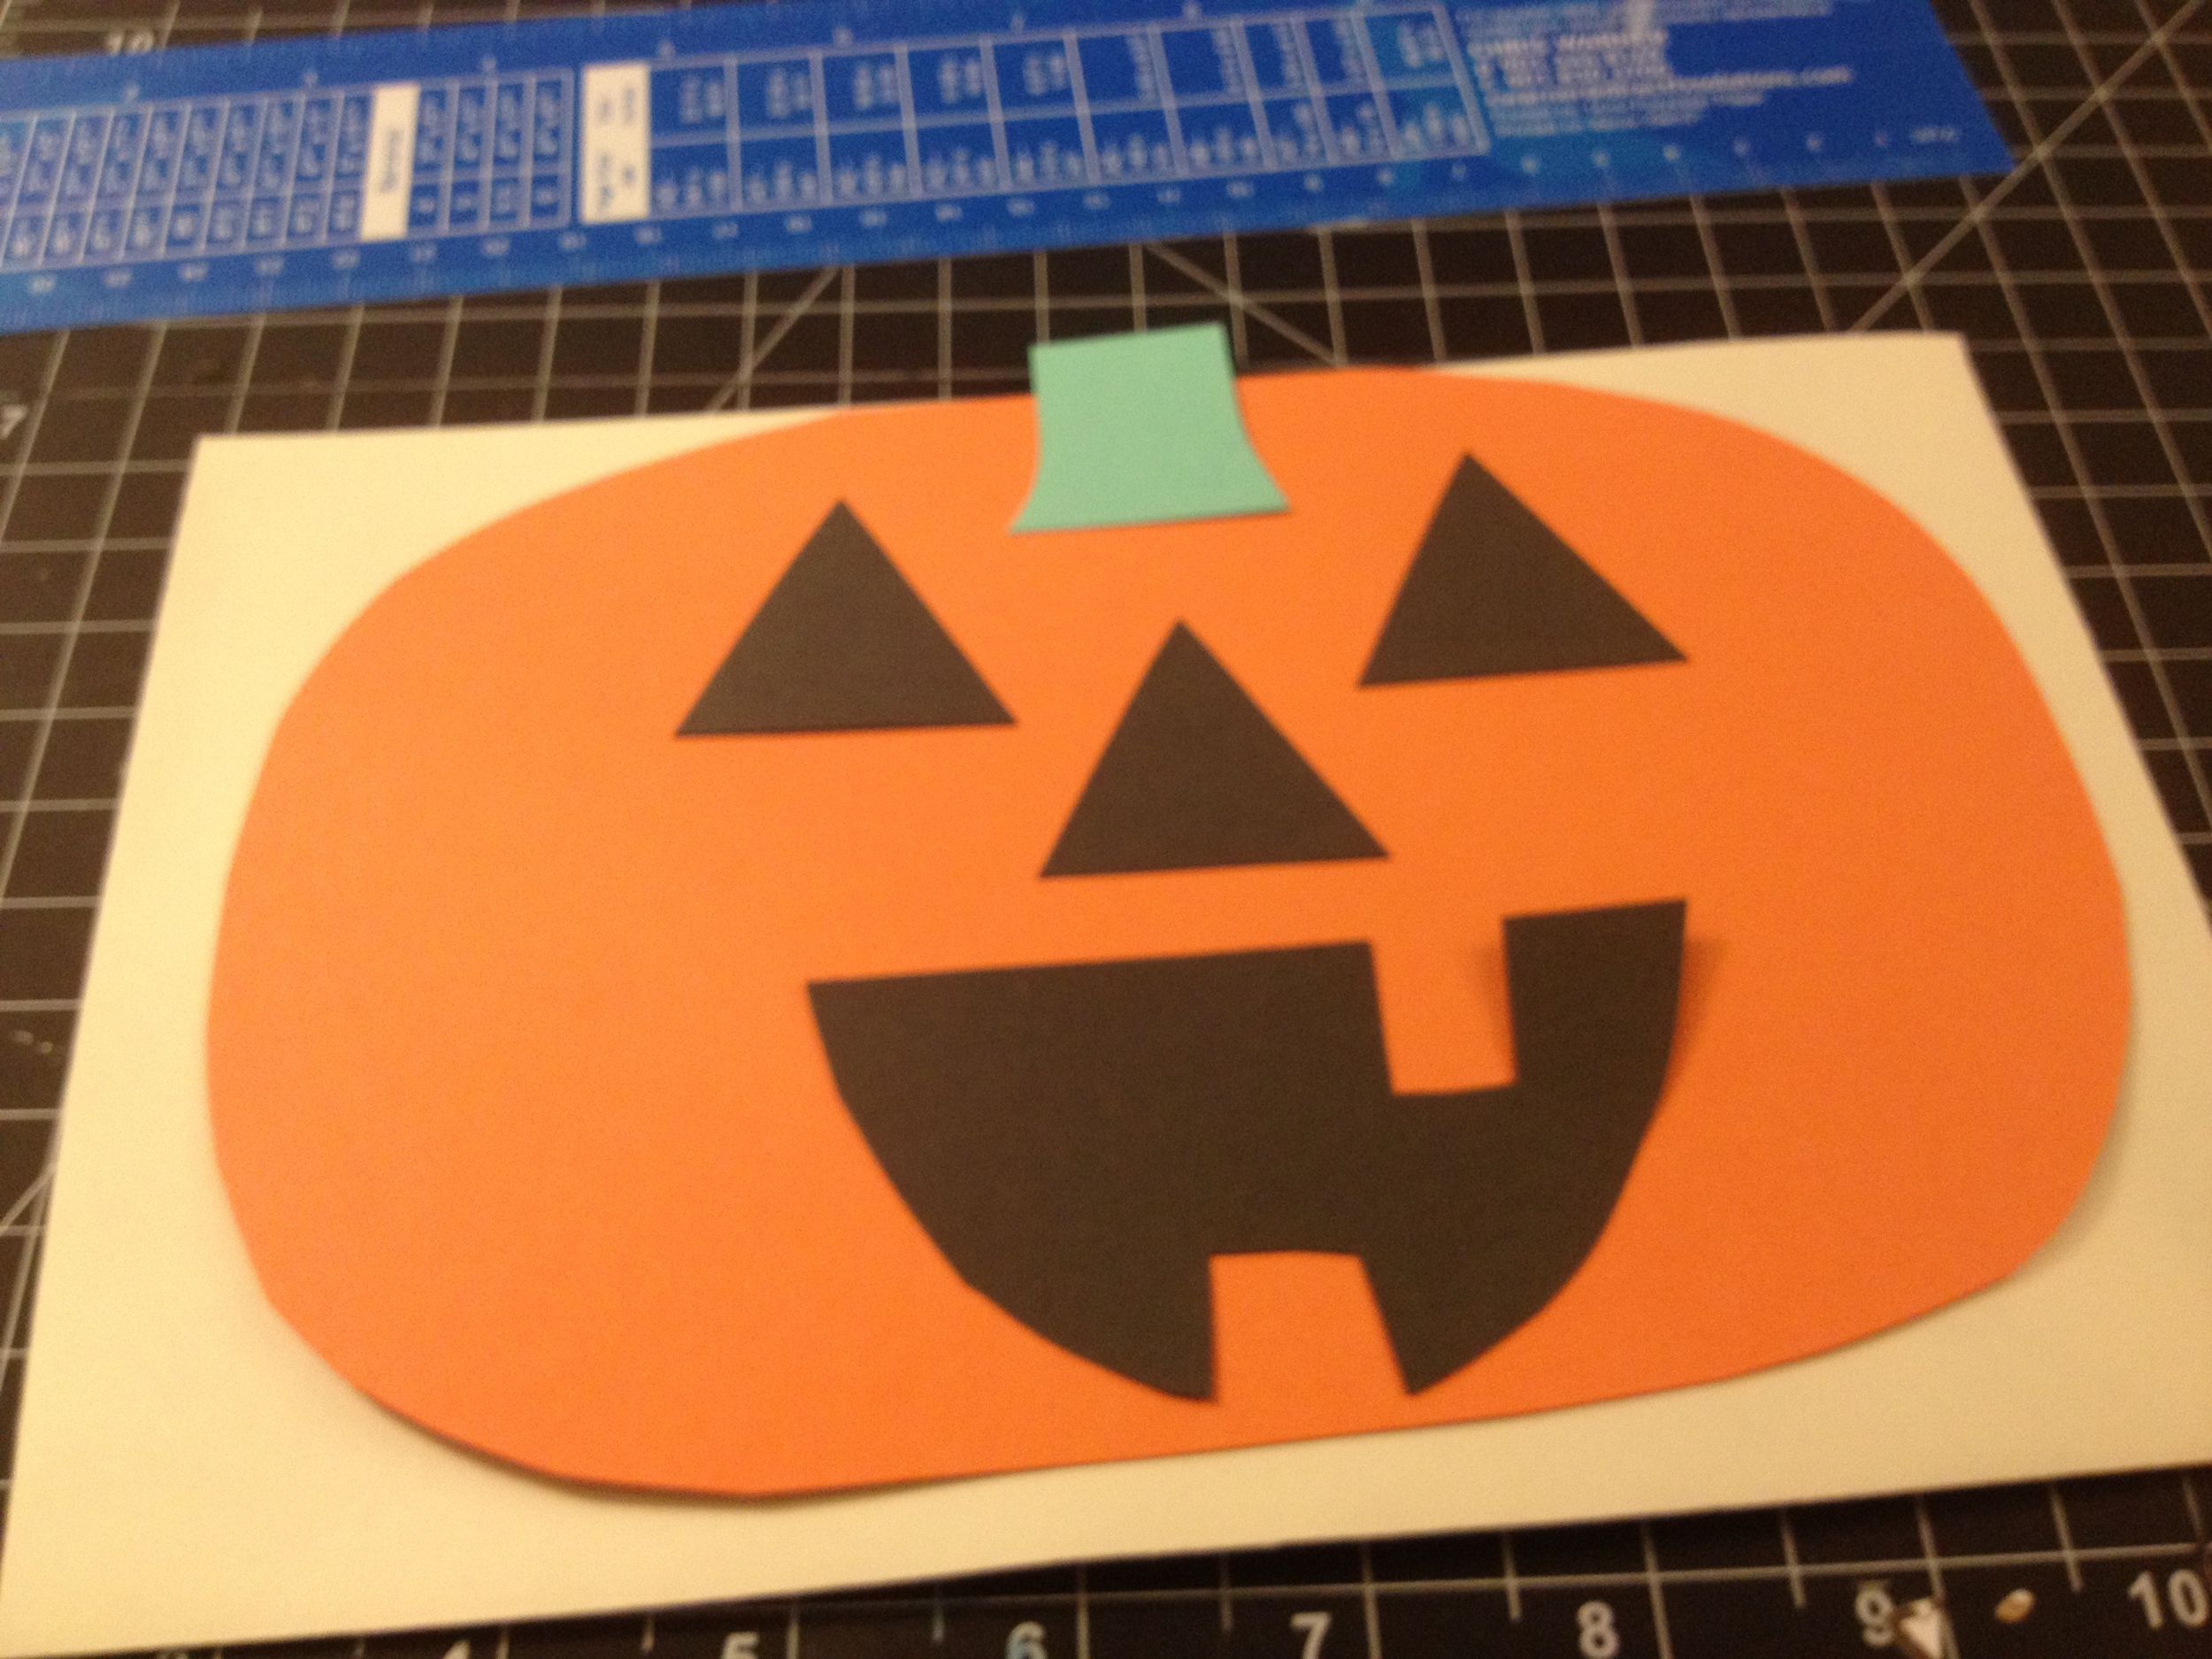
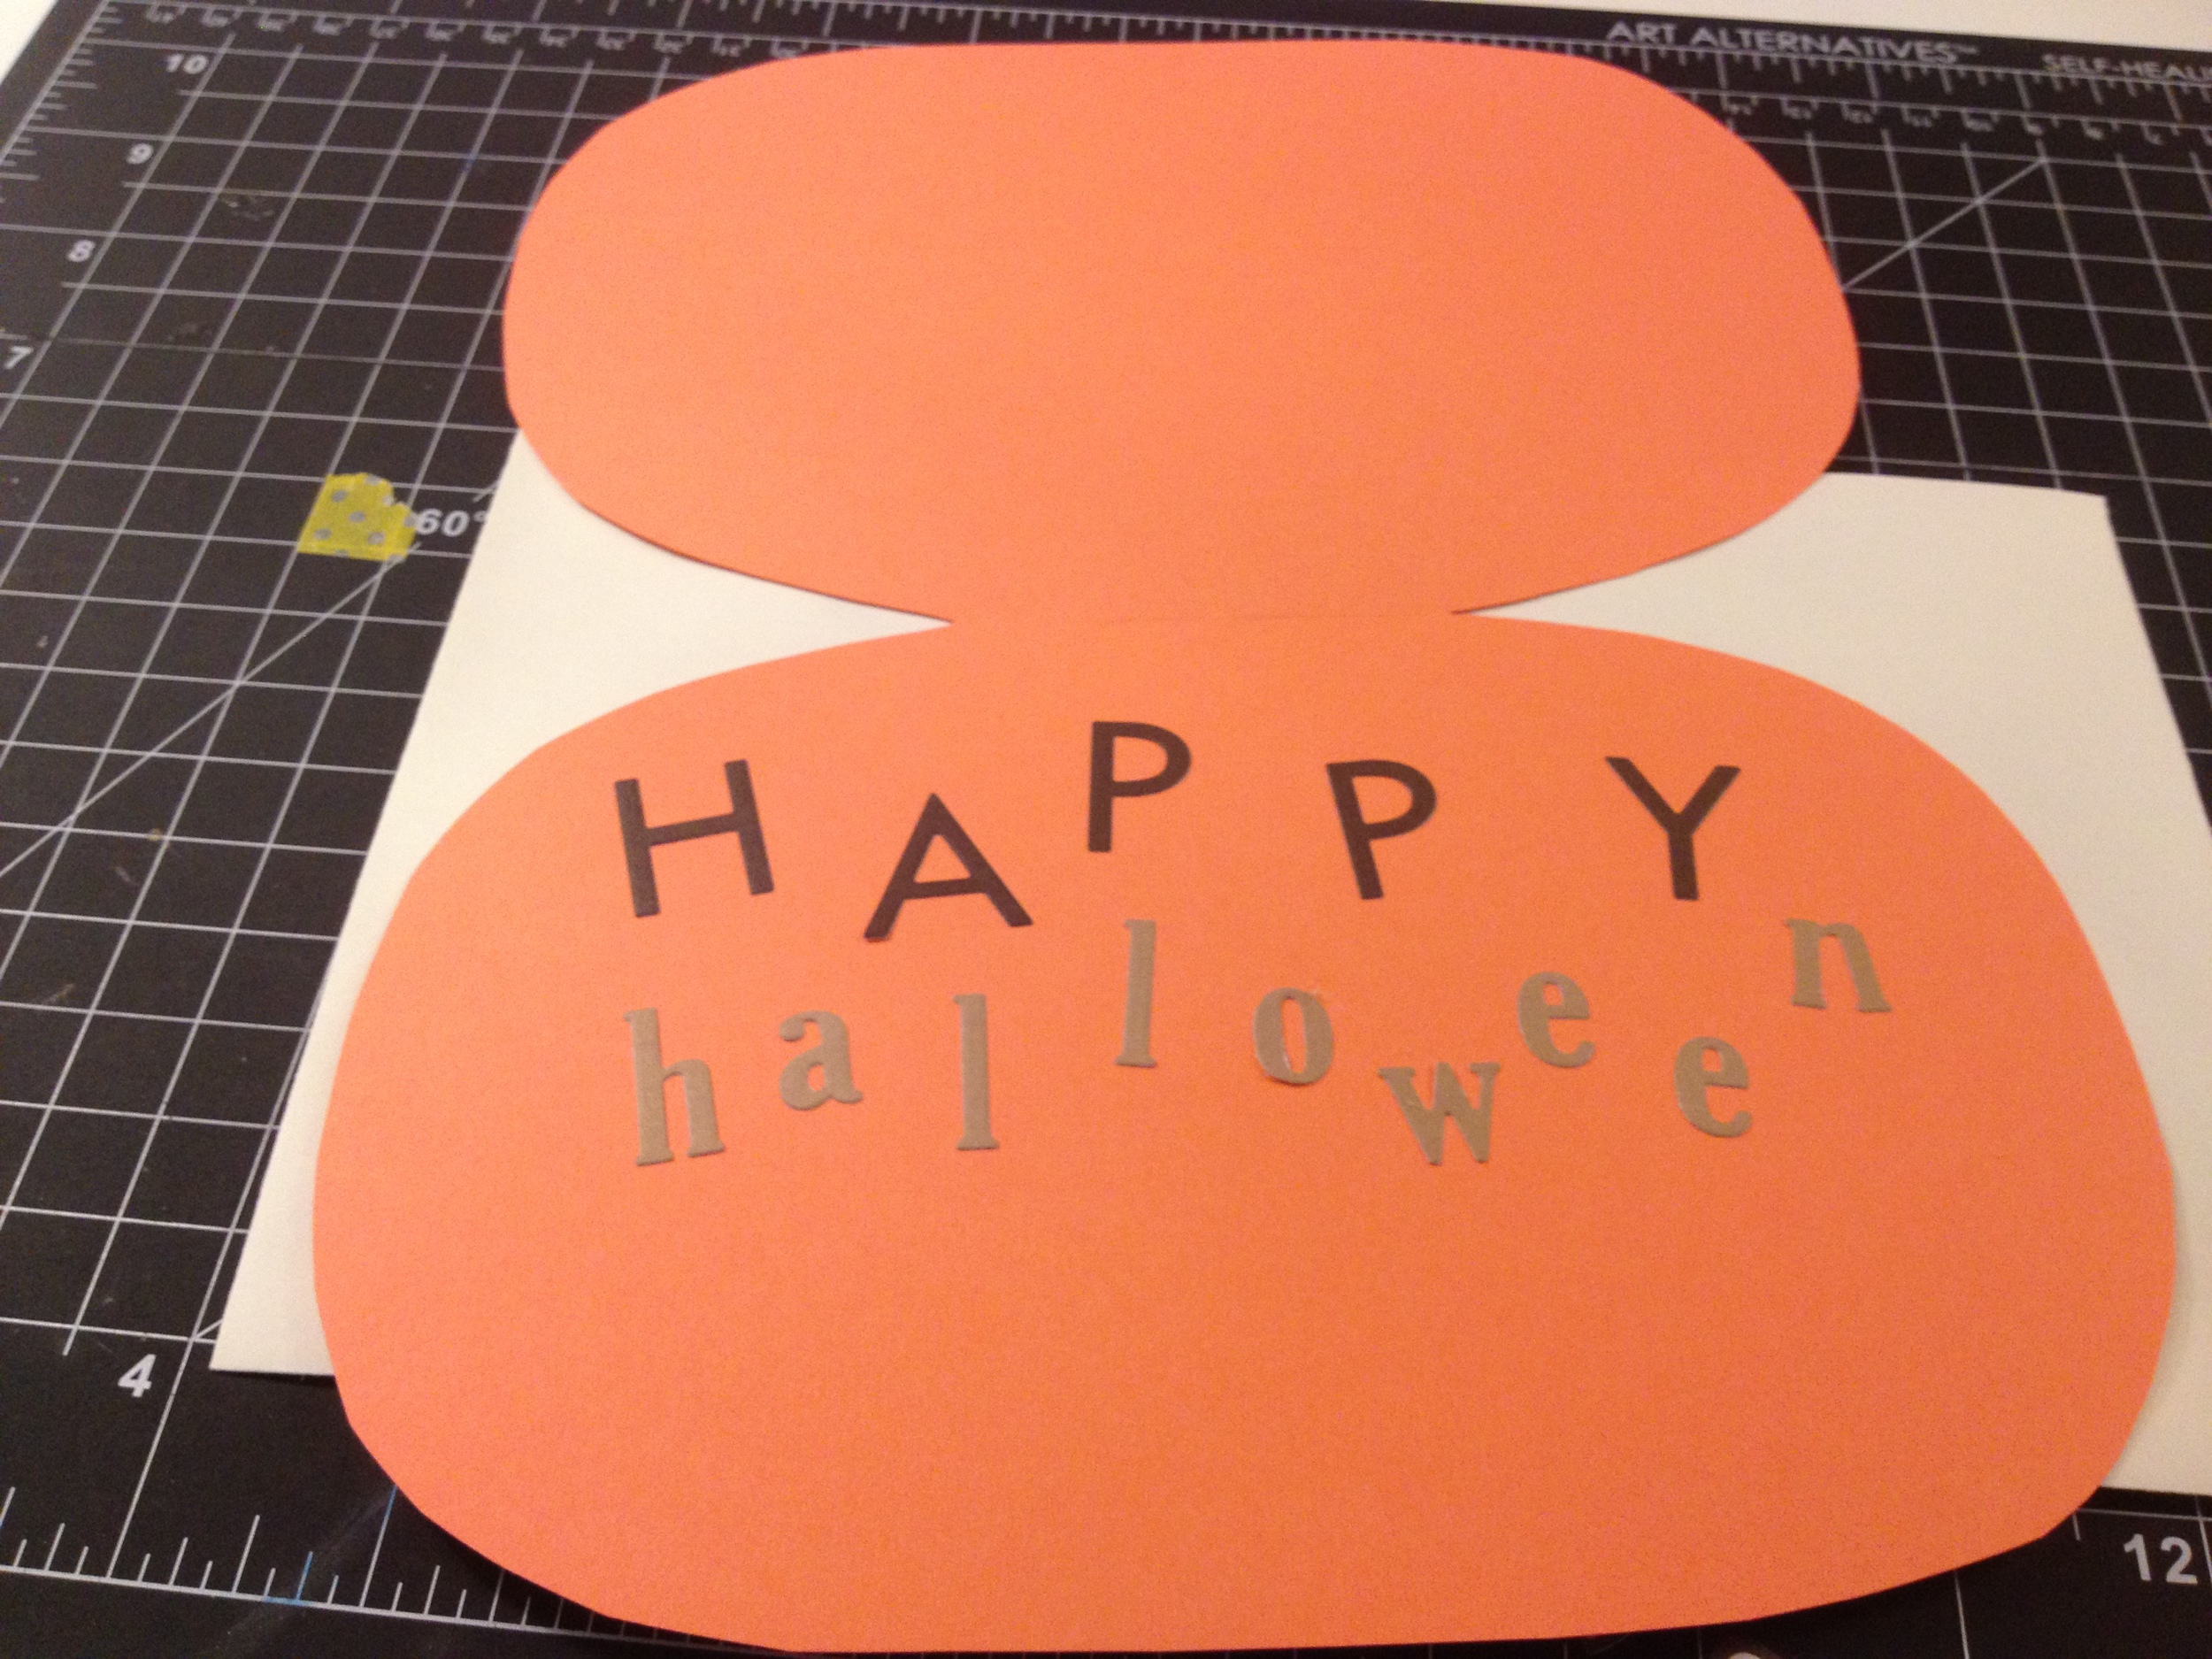
Use your letter stickers to write a sweet or spooky message on the inside of the card.

step5

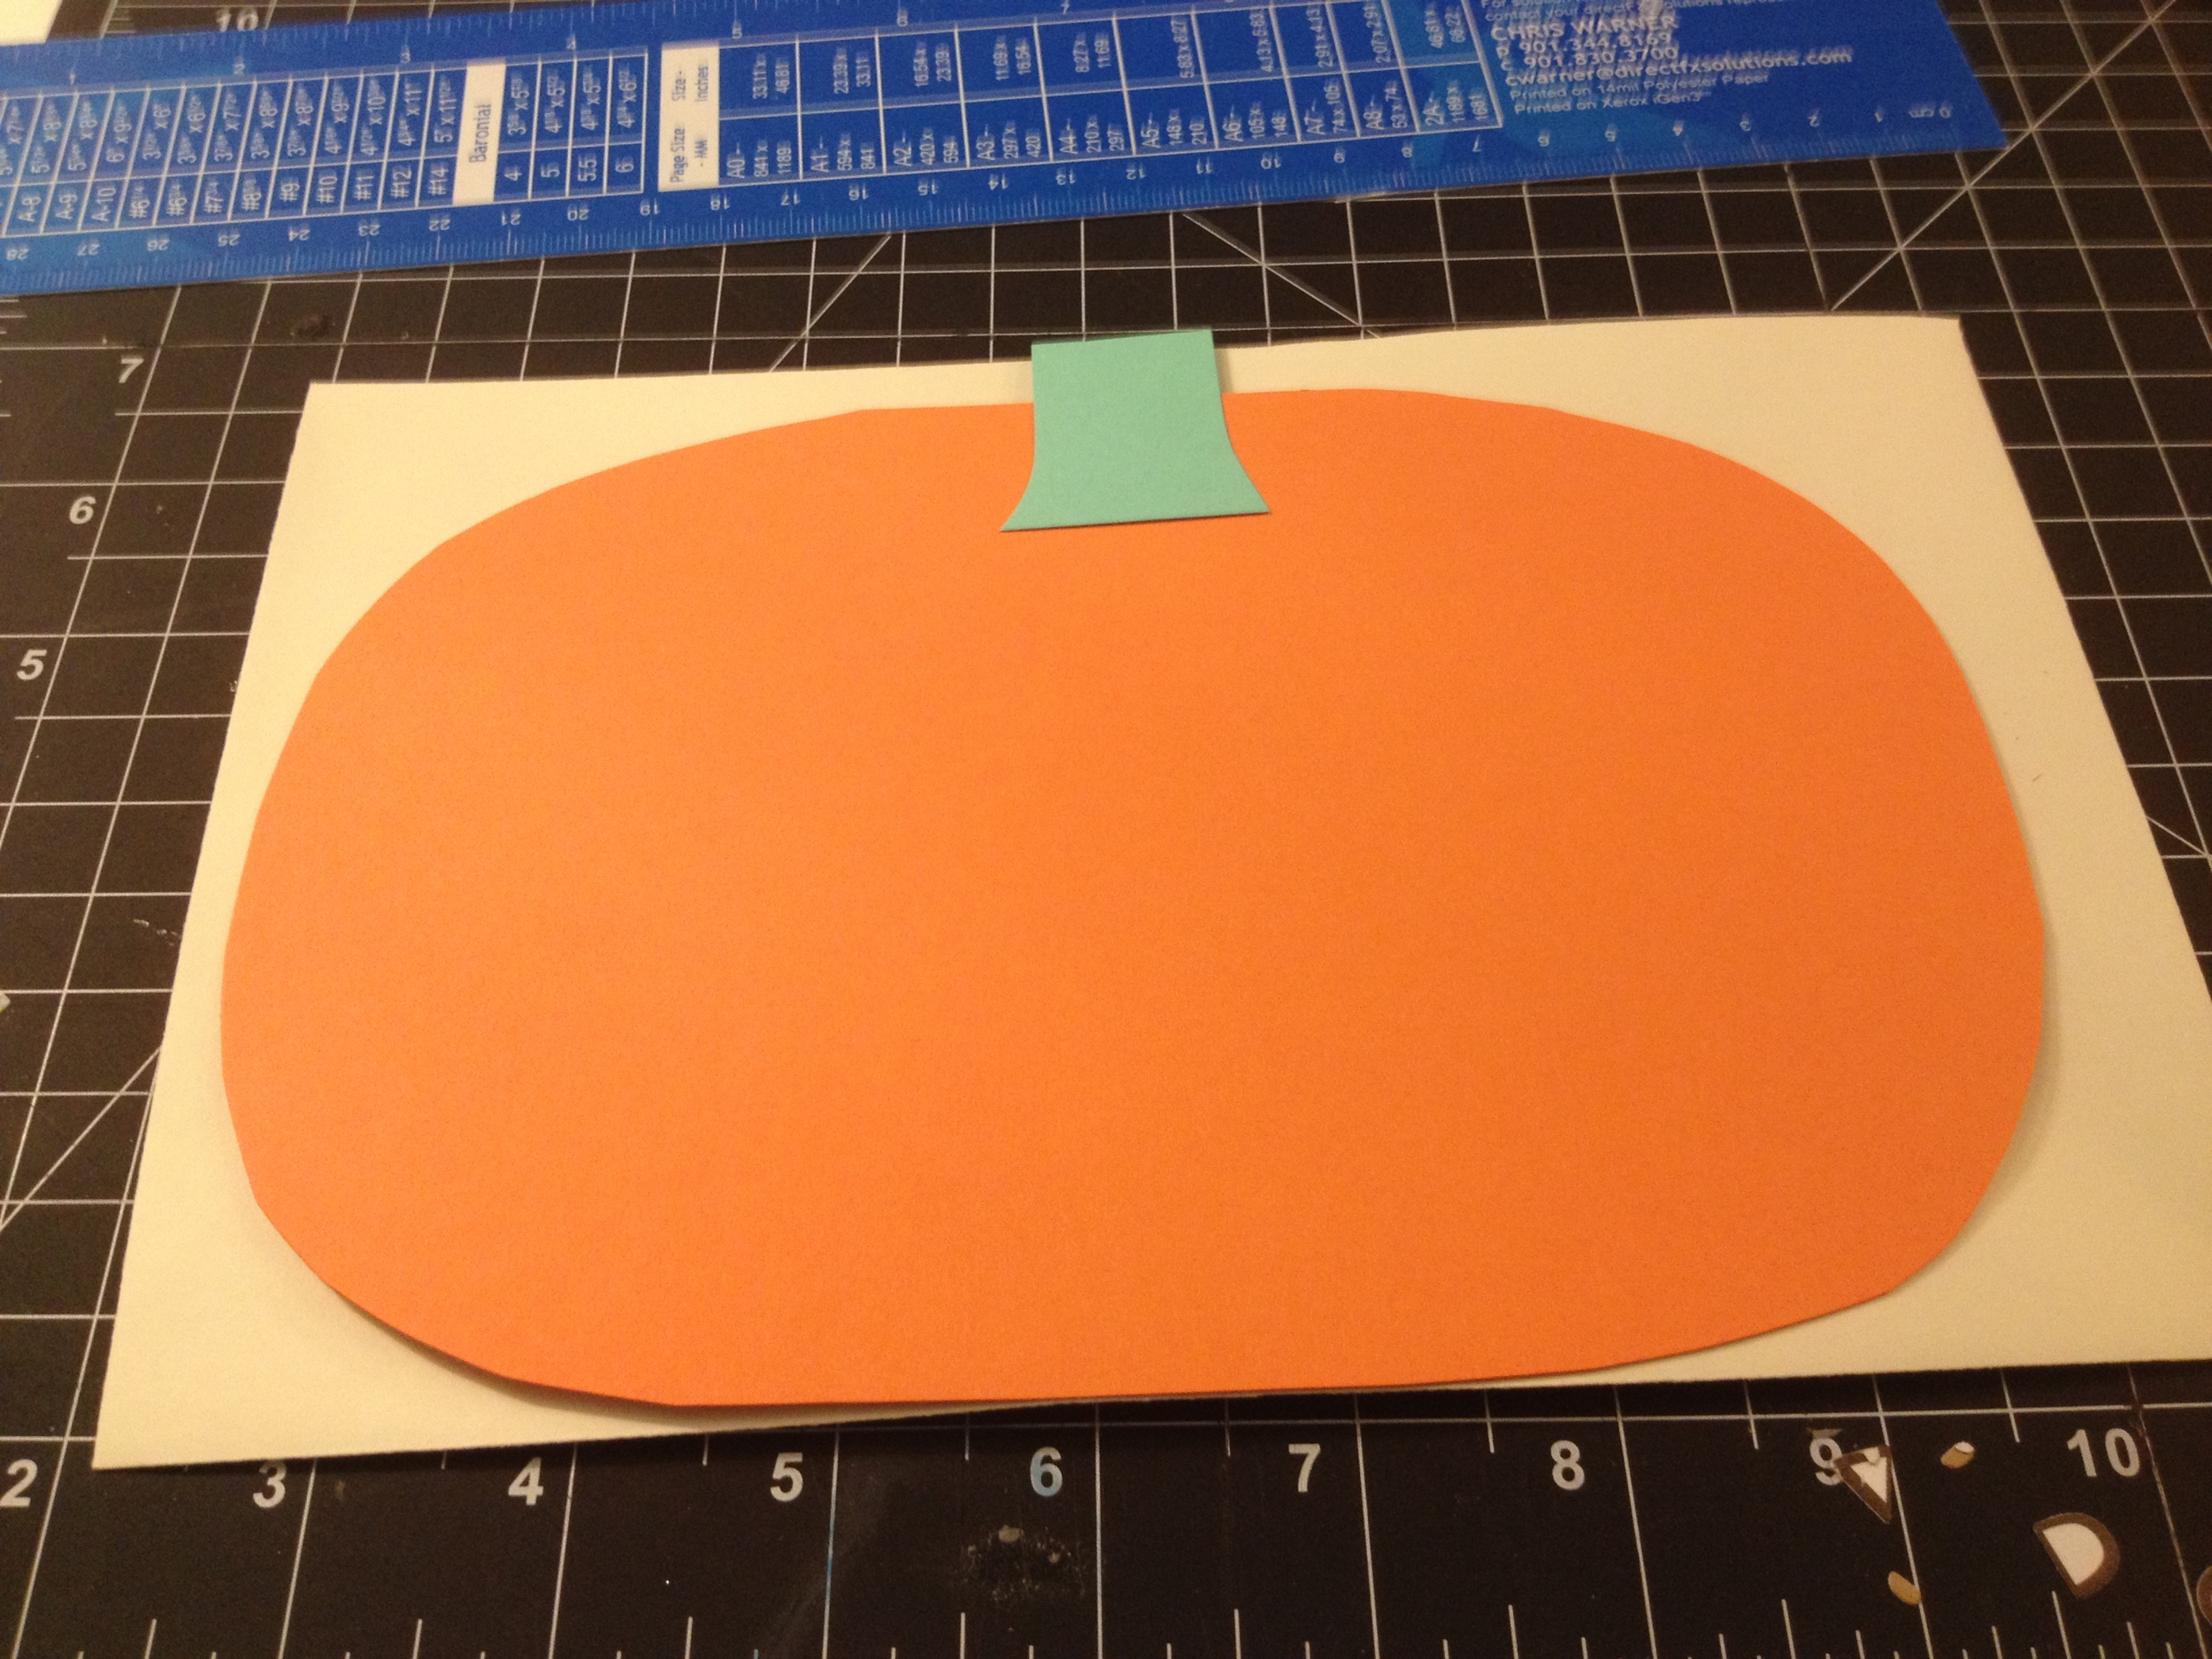
Set your yellow and cream parts on the card base. You can trim them up as needed. Once you're happy with the way they look, glue them to the card base. Then, write a personal message inside your card, stick it in an envelope (I chose spooky gray) and surprise someone with a Halloween treat!

step6

Happy Halloween, everyone!

DIY: Handmade Halloween Pumpkin Card


On Sunday, the weather turned, and all of a sudden, it feels like fall around here. Thanks to the slight chill in the air and the falling leaves, we've had Halloween on the brain. For that reason, I decided it was time to create a Halloween card. Although I love all of the Halloween motifs, I decided to make a pumpkin card.

Here’s what you’ll need to join me in the card making fun!


A variety of colored card stock - In this case, orange, black and green


An envelope


A cutting mat


An Xacto knife


- A metal ruler


- Paper glue


- Basic scissors


- Sticker letters

Start by using your mat to find the center of your card base (5.5 ” for this card). Then score it by running the knife lightly down the center once or twice. Fold in half.

step1

Using your scissors, round off the short sides of your card, taking care not to cut too much off the folded side.

step2

Grab your envelope, and made sure you leave enough room for your pumpkin's stalk. Glue the stalk to the card case.

step3

Cut out three triangles (your pumpkin's eyes and nose). I free-hand the first triangle, and then use it to cut out the other two. This way I know they are all the same size.  I also cut out a half circle for a mouth. If you want your pumpkin to have teeth, carefully cut two rectangles out of the half circle. Arrange your face to make sure everything fits nicely. Trim the pieces down if necessary.

step4

Once you're happy with your face, glue the triangles and half circle to your card base.

step5

Open your card, and use your sticker letters to write a happy or spooky message. I chose a happy message for this particular card. Add your personal note, and you're ready to send a friend or family member some Halloween cheer!

step6

Like this card but don't think you can recreate it? Contact us, and we'll create one for you to purchase via our Etsy shop. The Halloween Pumpkin Card is $3.50, plus shipping and handling.