DIY

The Beginning of our Family Gallery Wall

Ever since we bought our first house almost six years ago, we wanted to create a family gallery wall. The wall never materialized at our first house, but it was at the top of our to-do list when we moved into our new house at the end of August.

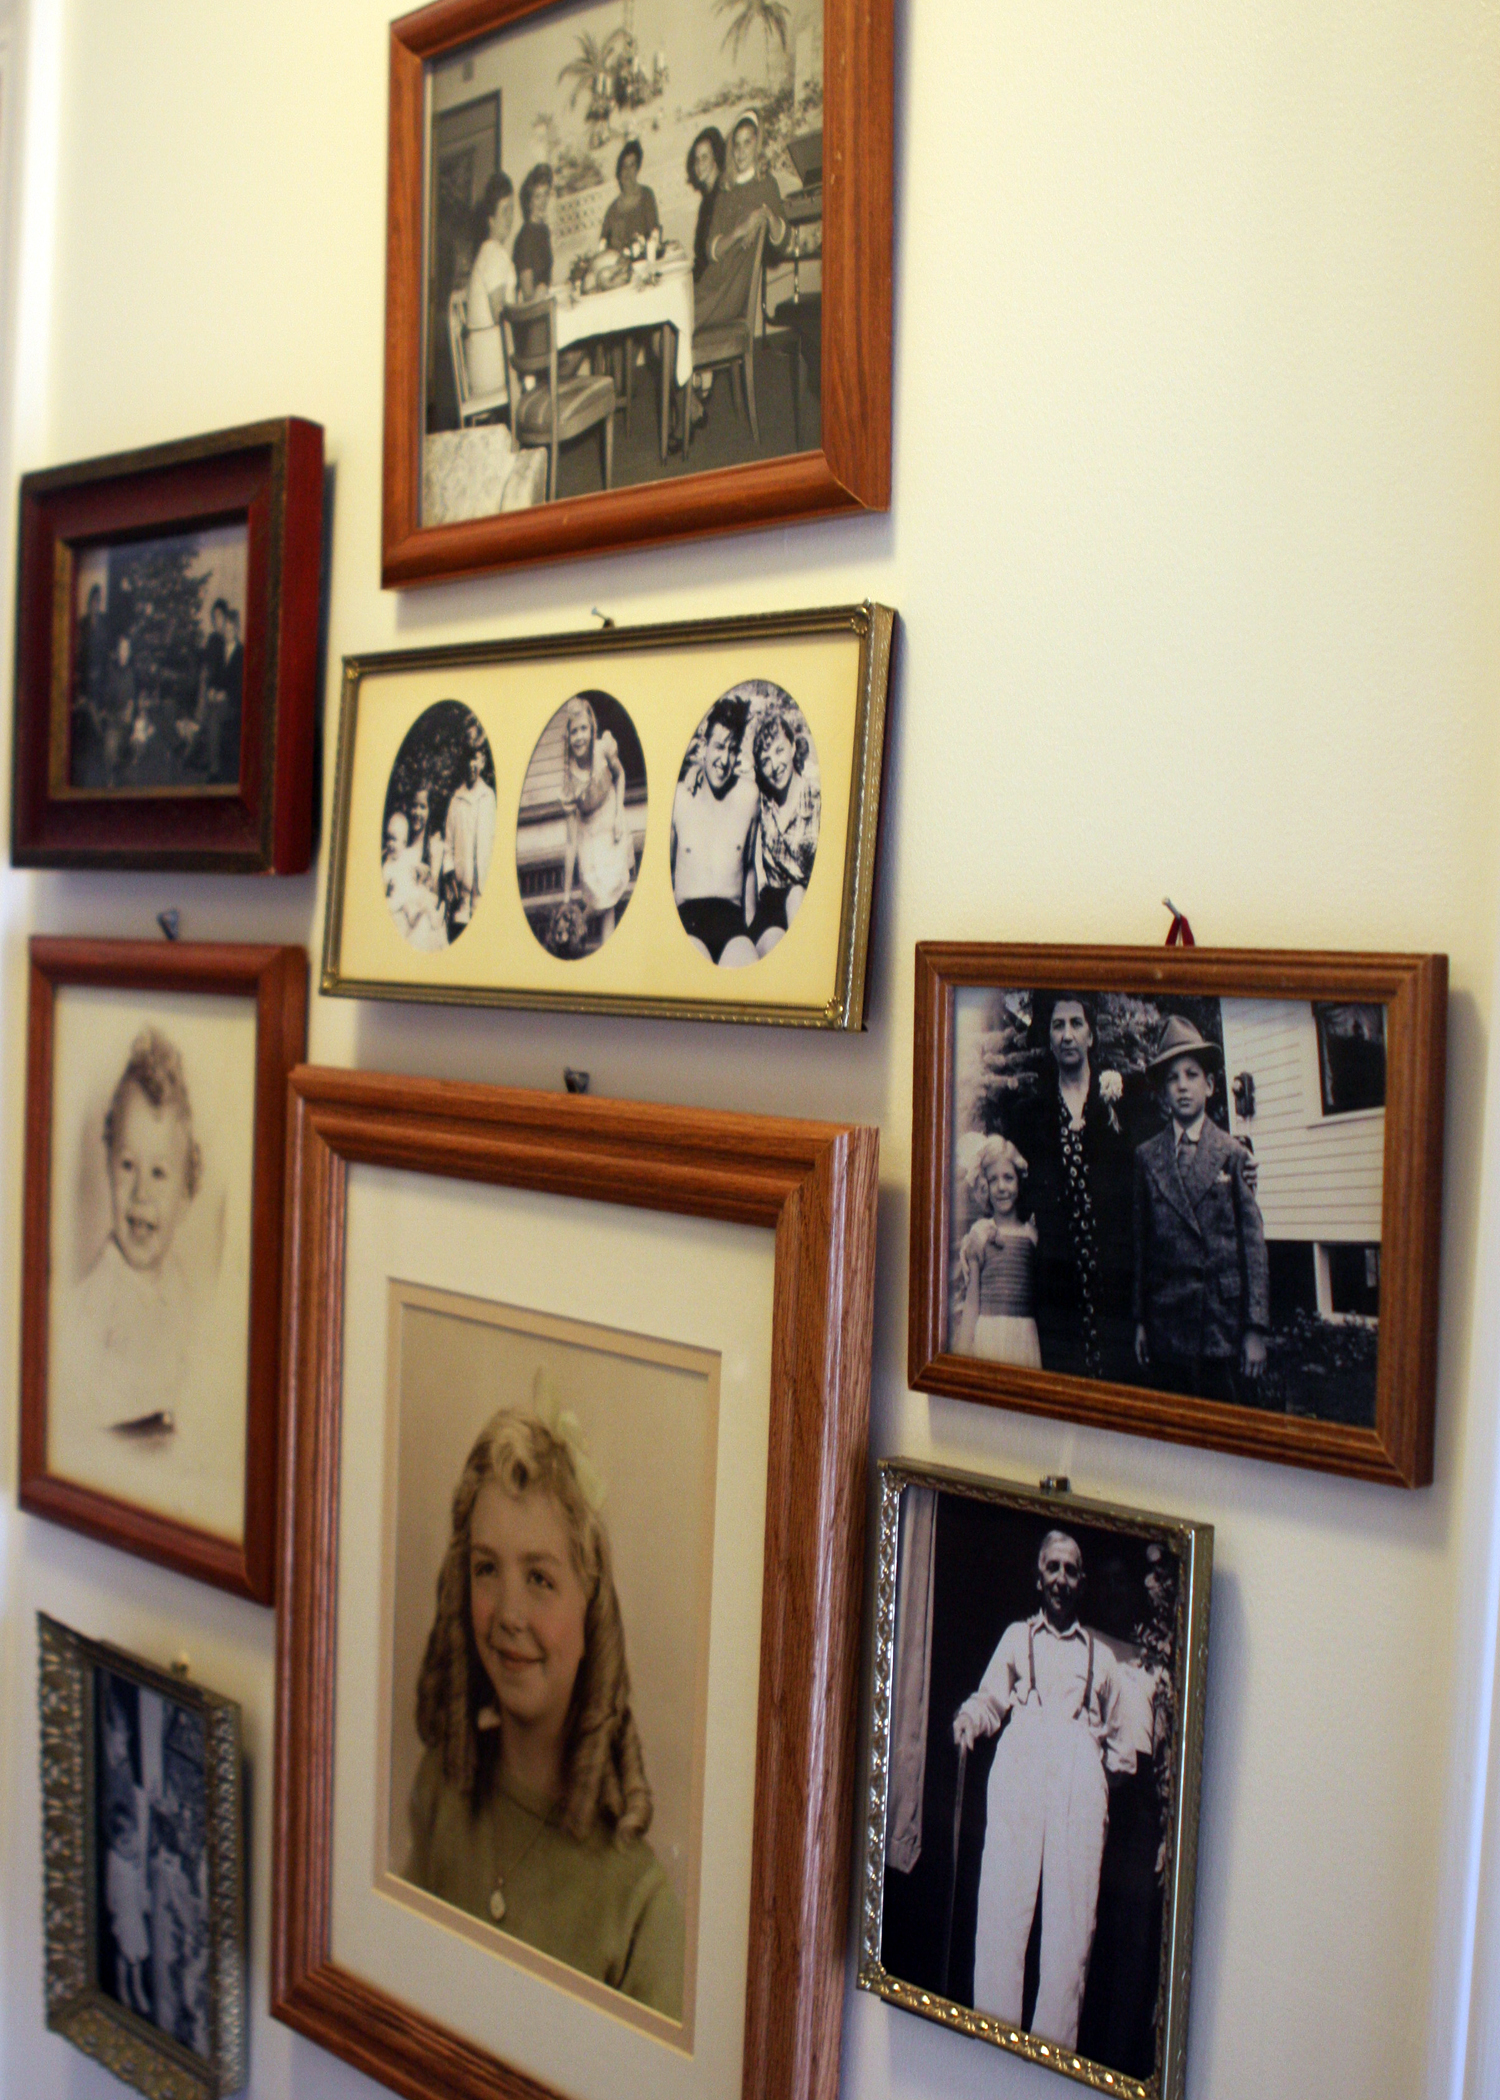
This gallery wall is in our downstairs hallway, right in the center of our house. We're still on the hunt for photos and frames for it, but I wanted to share it as a work in progress. In time, we plan to add two more gallery walls going up our staircase and in our upstairs hallway.

Jonathan's side of the family isn't well represented on the wall, but we'll have some of his family photos (and the stories that go along with them) to hang and share very soon. Once we have those photos, I'll take down most of the photos that are less than 30 years old. While the photos are definitely the stars of the show, the frames are pretty fun as well. Some of them have been in my family for decades, and others came from the local Habitat for Humanity ReStore for a dollar or two each. I think the mix of intricate and plain strikes a nice balance. There are also some empty spaces for additional frames because I like the idea of adding to the wall as we find interesting frames and/or locate photos that are special to us.

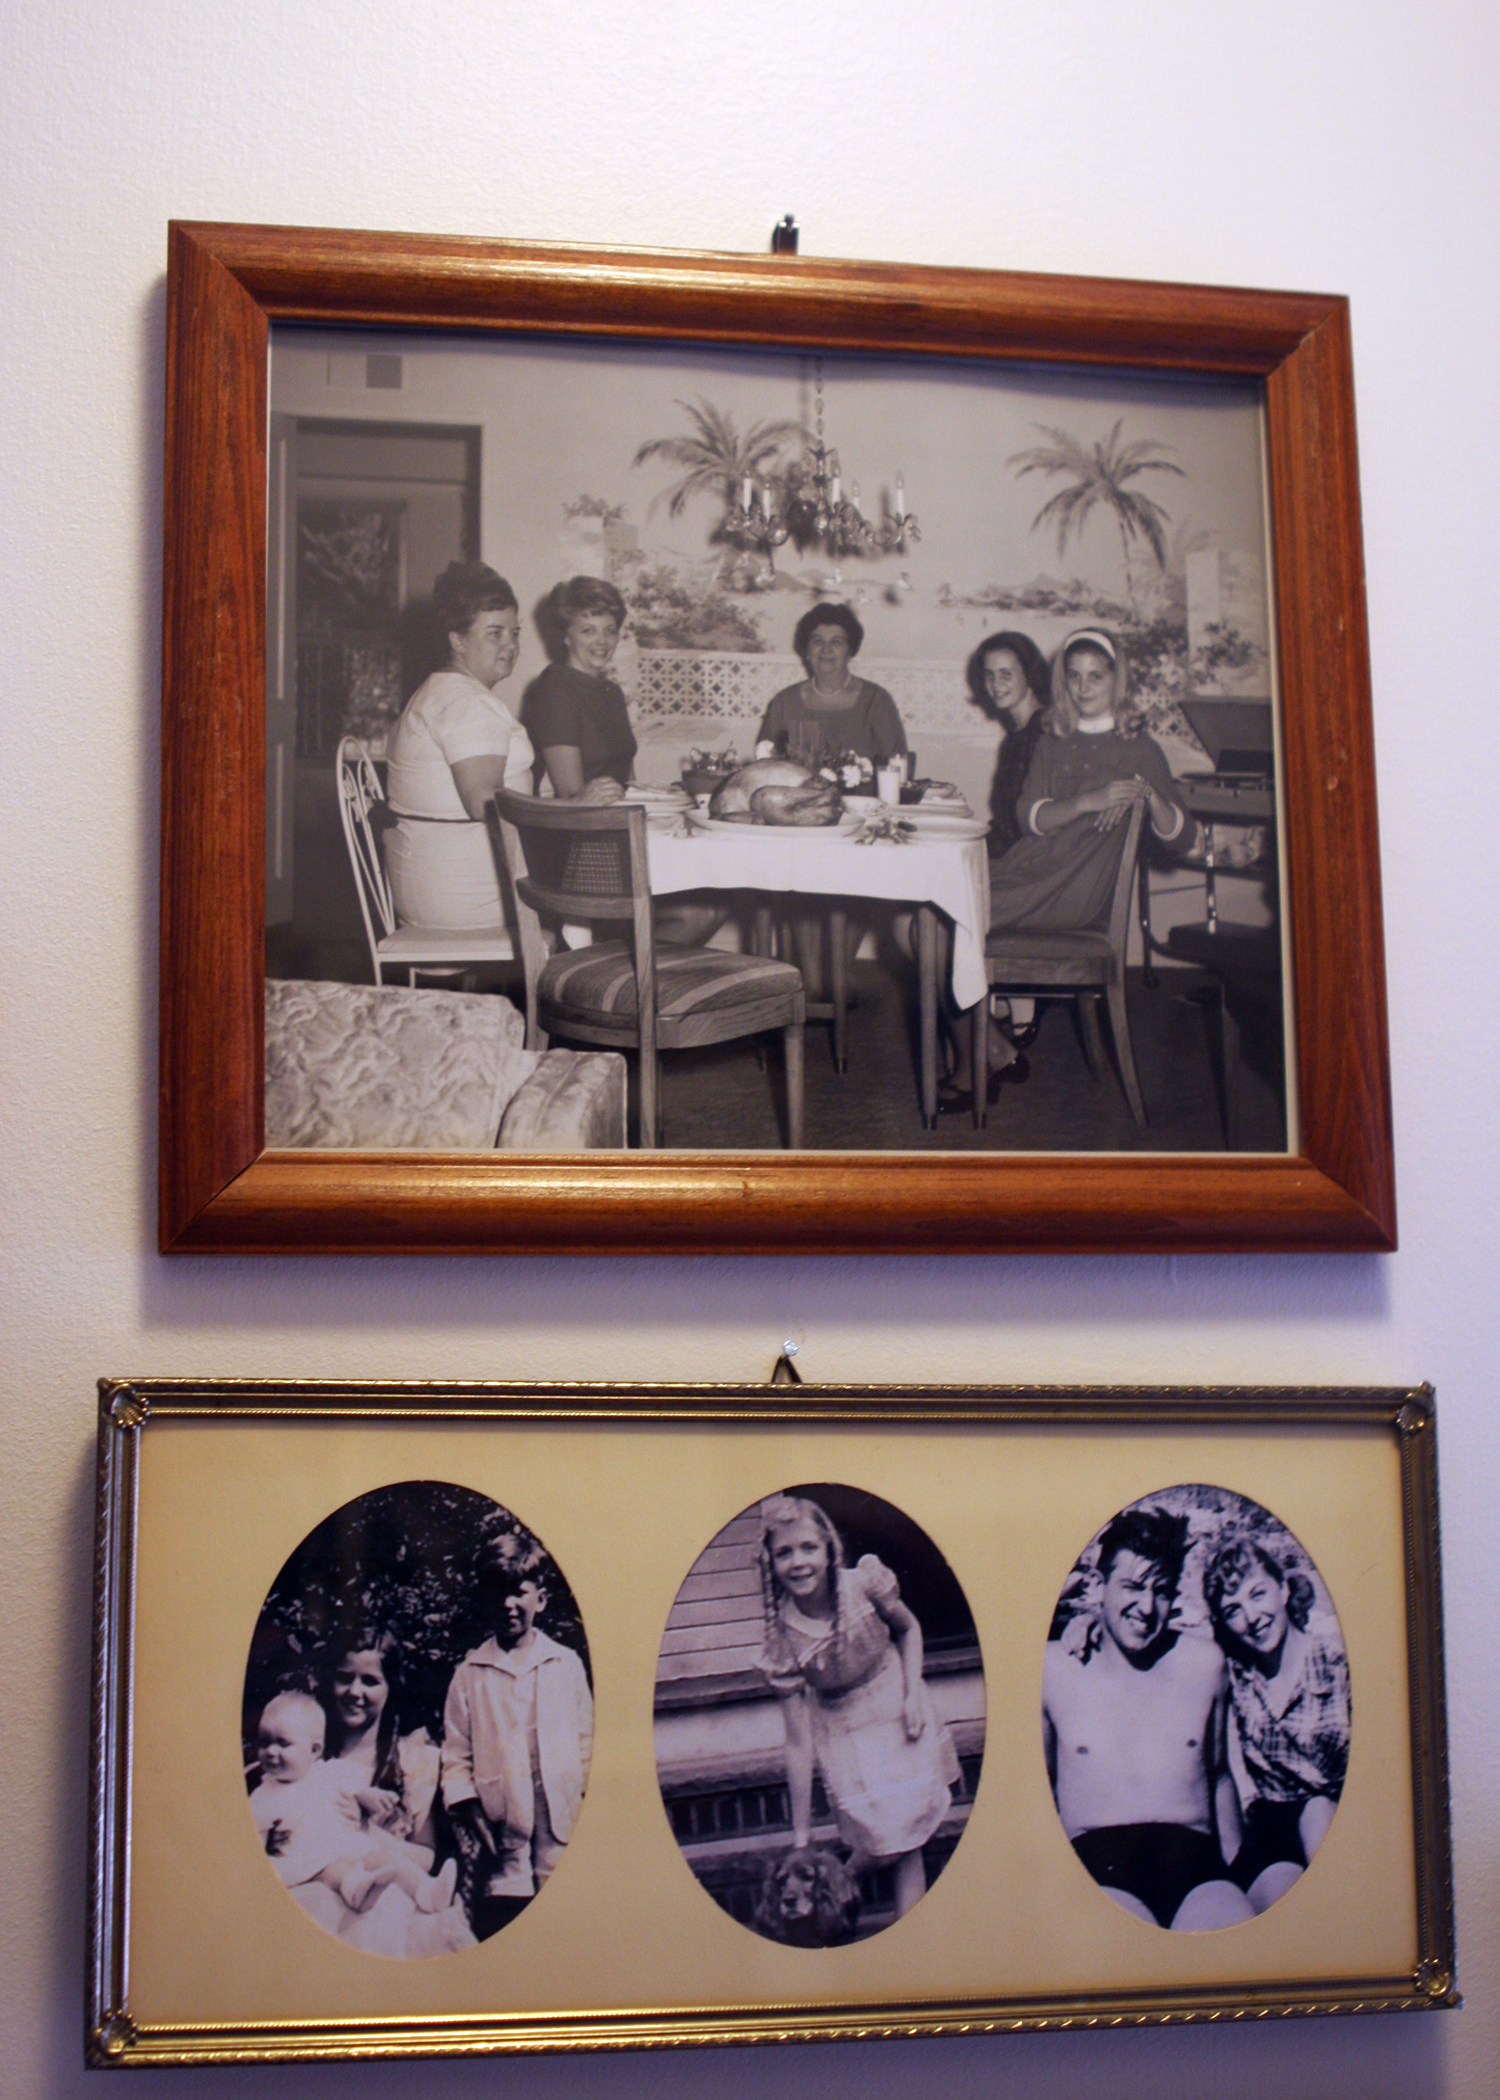
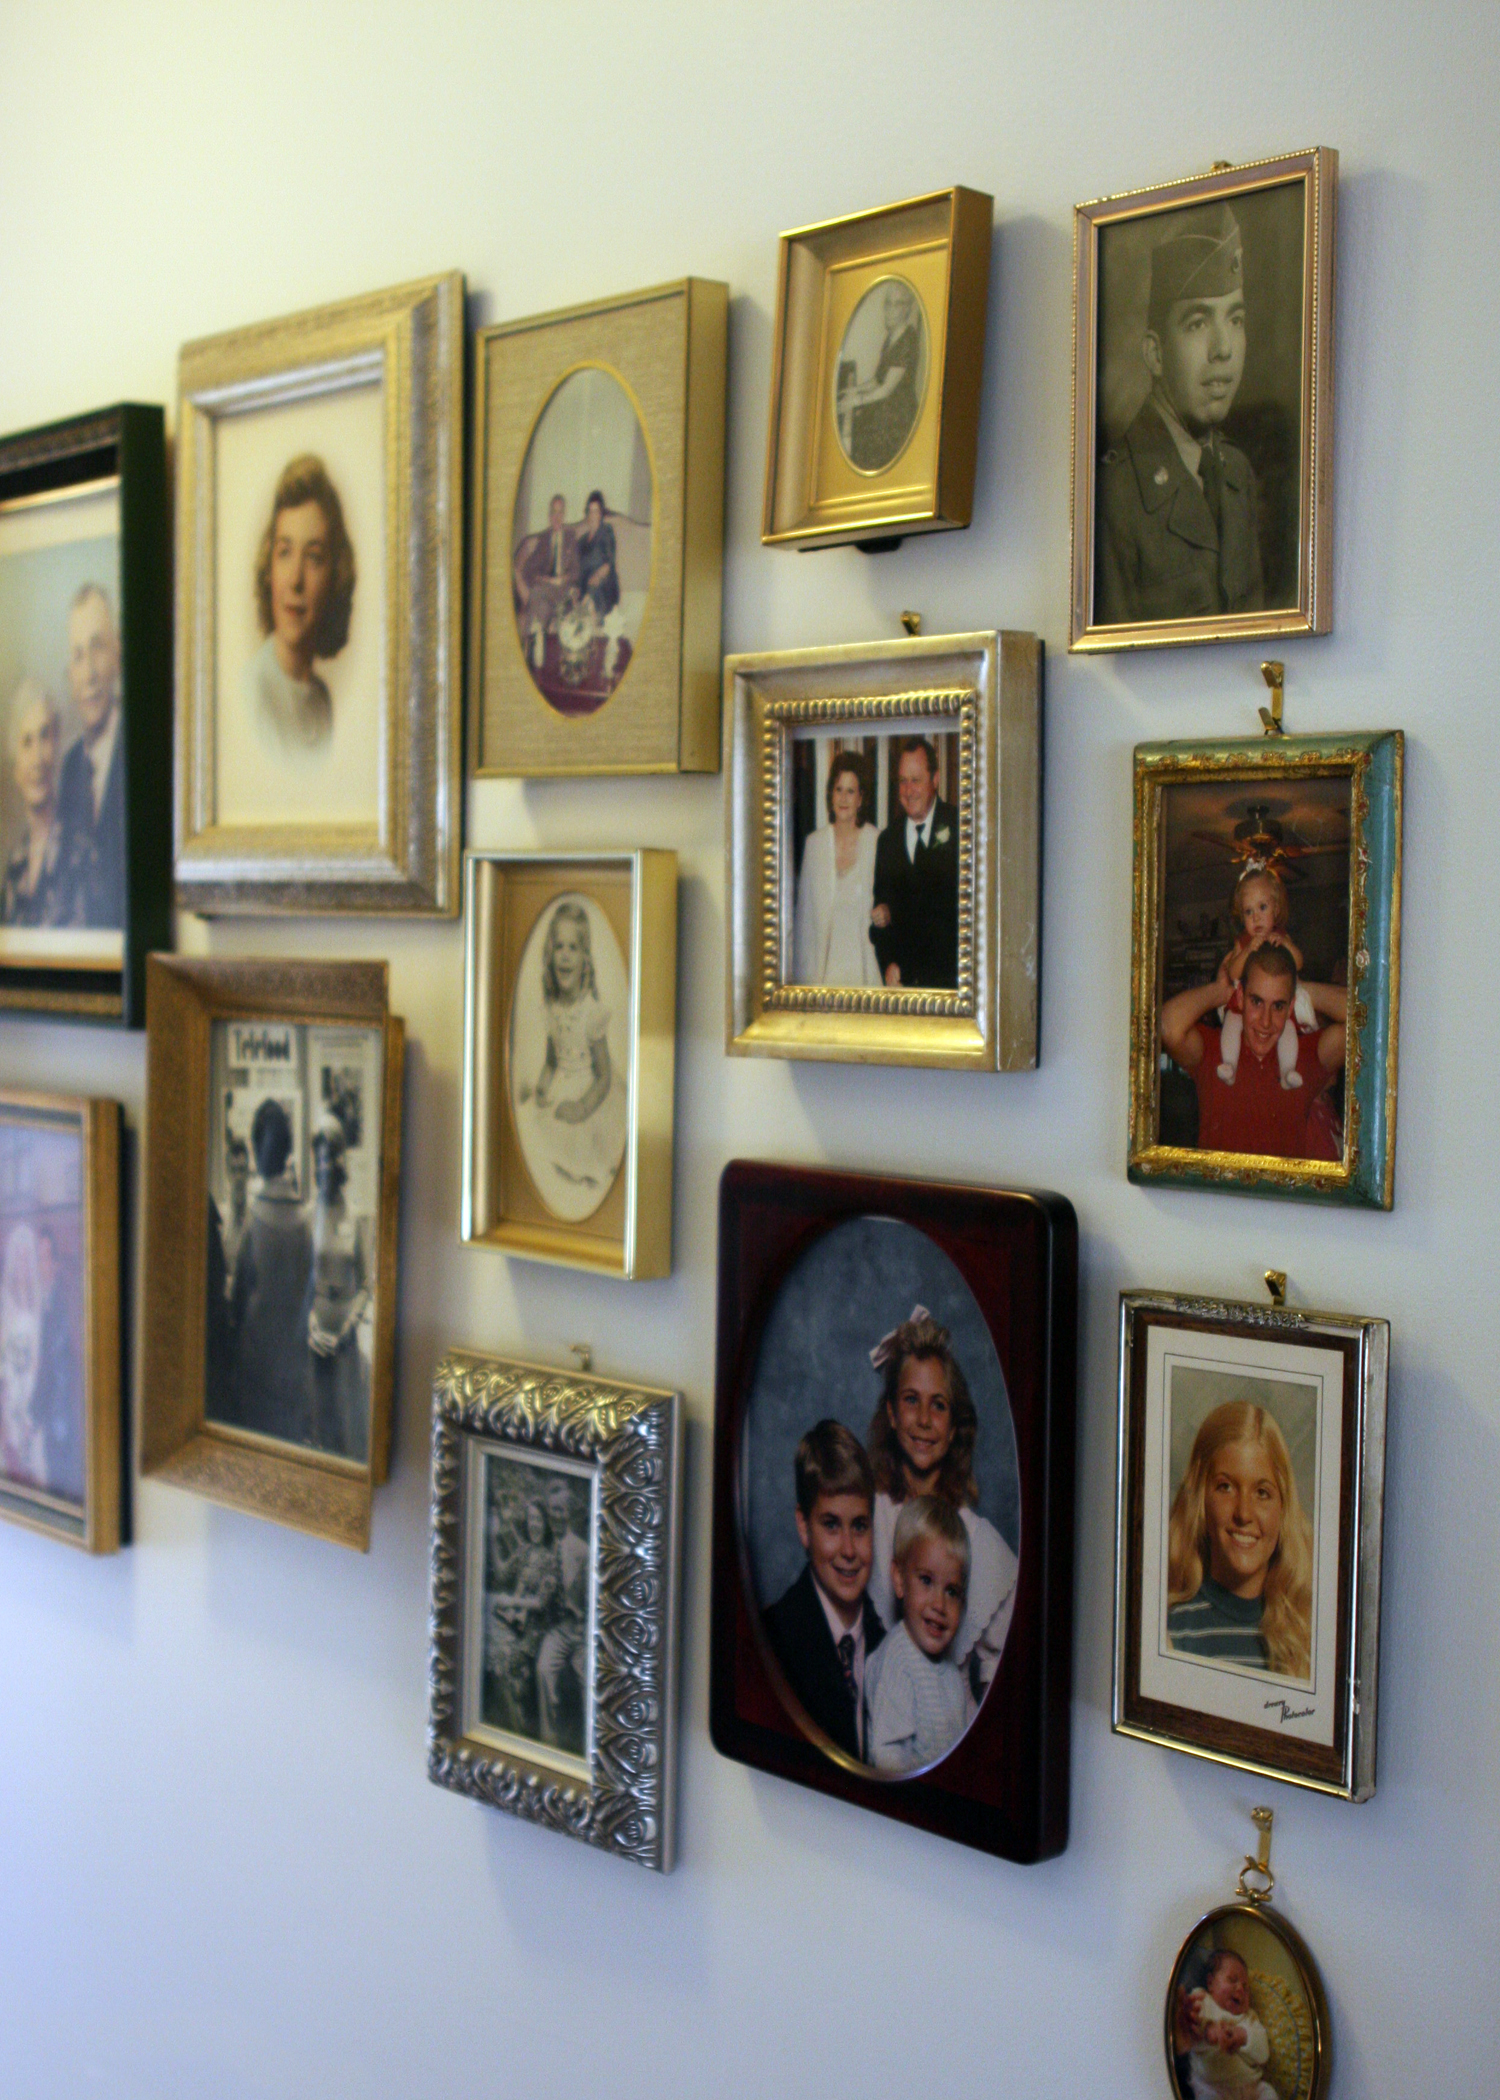
Some of the photos shown here will be familiar to you. Several of them were scanned from film slides and printed by me. We love having these precious memories (and people) around us everyday.

DIY: Halloween Candy Corn Card

Do you know someone who needs a little Halloween cheer? This card might not be quite as sweet as candy corn itself, but it is sure to bring a smile your loved one's face. Isn't that what all holidays are really about? We think so! Here's what you'll need to make our Halloween Candy Corn Card:

- Orange, yellow and white/cream card stock - An envelope A cutting mat An Xacto knife - A metal ruler - A pencil and eraser - Paper glue - Basic scissors - Sticker letters

Start by using your mat to find the center of your card base (3.5 ” for this card). Then score it by running the knife lightly down the center once or twice. Fold in half.

step1

Cut out your candy corn shape, taking care not to cut too much off the folded side. I free-handed my card, but you could trace the shape first, if you need a guide. It's a good idea to set your card base on top of the envelope to ensure the card will fit inside.

step 2


Set your card base on top of your yellow sheet of card stock. Starting about one-third of the way from the top of the candy corn, begin tracing the shape. You will go around the top of the candy corn to approximately one-third of the way down the other side. Move your card base and draw a horizontal line from one endpoint to the other. Cut out your shape.

step3

Next, set the end of your candy corn card (again, about one-third of the card should be traced) on the cream card stock. Trace around the end. Then move the card base and draw a horizontal line from endpoint to endpoint. Cut out the shape.

step4

Use your letter stickers to write a sweet or spooky message on the inside of the card.

step5

Set your yellow and cream parts on the card base. You can trim them up as needed. Once you're happy with the way they look, glue them to the card base. Then, write a personal message inside your card, stick it in an envelope (I chose spooky gray) and surprise someone with a Halloween treat!

step6

Happy Halloween, everyone!

Make Your Own Halloween Ghost Decoration

img_4211-copy.jpg

Our new neighborhood has some legit Halloween decorations. Other than a few pumpkins, we never decorated the outside of our house for Halloween. As we're on a tight budget, I decided to decorate using items we already had on hand. The result was a trio of spooky Halloween ghosts. To make your own inexpensive spooky Halloween ghosts, you'll need:

- A tennis ball - A white garbage bag (ours was 13 gallon) - A white zip tie - A black permanent marker - A corsage pin - Fishing wire - Scissors

Before I started, I cut off the drawstring part of my bag. Then I took my tennis ball and put it inside the bag, right in the center of the bottom:

step 1

Place one hand on the ball to keep it from moving, and use your other hand to cut off about half of the bag. It doesn't have to be a perfectly straight line. Here's what it should look like after you've made the cut:

step two

The cut piece is basically a big circle. I made a cut at both ends (along the bag's seams), and I was left with two identical pieces. I placed both of those pieces on top of the original bag, pulled them tight and then secured the zip tie around them. Then I used the scissors to cut off the end of the zip tie. Here's what it should look like once you've done that:

step three

Next, I placed my corsage pin through the tennis ball at the very top of the ghost's head (yes, I felt like I was stabbing it in the head). I tied the fishing line around the head of the pin and knotted it a few times. It should look like this:

step four


Finally, I drew a spooky face using the marker. My finished ghost looked like this:

step five

I made two more and hung them around our front stoop. When the wind catches them, they "fly" around. Pretty spooky!


DIY: Handmade Owl Baby Shower Card

On Sunday I turn 30. For the past year, I've been trying to come to terms with this, as I'm still not quite sure where the last decade has gone.

Last week, I read a list of 10 things that no one tells us about turning 30. One of the items on the list was babies. No one warns us that we'll be bombarded with babies when we turn 30. In my case, I've actually been bombarded with babies since I got married almost six years ago, but I guess it's going to get even more intense now. Good thing I like babies, and I don't mind answering the age-old question -- Do you have children? 

No, we don't have them. Yes, we would like them, whenever God decides we're ready for them.

Moving on...

As I clearly have babies on the brain and I attended an owl-themed baby shower for my sister-in-law last week, I decided to make an owl baby shower card. Owls appear to be quite popular these days, and they work for baby girls and boys. This particular version of the card is for a little boy.

Here’s what you’ll need to join me in the card making fun!

A variety of colored card stock - In this case, pale blue, green, black, brown and orange.

An envelope

A cutting mat

An Xacto knife

- A metal ruler

- Paper glue

- Basic scissors

- Embellishments of your choice

- Sticker letters

Start by using your mat to find the center of your card base (5.5 ” for this card). Then score it by running the knife lightly down the center once or twice. Fold in half.

step1


Cut out your mother owl shape, taking care not to cut too much off the folded side. I free-handed my owl, but you could trace your owl shape first, if you need a guide. Set your card base on top of the envelope to ensure the card will fit inside.

IMG_4181


Cut out the following pieces: two circles (eyes - green), two smaller circles (pupils - black), one triangle (beak - orange), two hearts (one slightly smaller than the other - green and blue), two feet (orange) and two long half circles (wings - green). When I cut out two or more of the same shape, I free-hand the first one, and then use it to cut out the next one. This way I know they are all the same size.

step2


Glue each piece down, making sure they are all inside the perimeter of the envelope. Then, if you're like me, attach your feet...I almost forgot them!

step3

Next, open your card, and cut out the shapes again. Only this time, we're going to make them much smaller. This is your baby owl. For the baby, I chose to make a brown body, green eyes and wings and a blue heart. Glue down each piece.

On the opposite side, use your sticker letters to spell out your message. At this point, you could add embellishments -- rhinestones, glitter, more letters to spell out the baby's name -- the possibilities are endless! I loved the way this card turned out. Handmade cards are so much more personal and fun, don't you think?

step5

Like this card but don't think you can recreate it? Contact us, and we'll create one for you to purchase via our Etsy shop. The Owl Baby Shower Card is $3.50, plus shipping and handling.