handmade card diy

make a spring flowers greeting card

It's been a while since I shared a handmade greeting card. Winter certainly didn't offer much inspiration for DIY craft projects. Not surprisingly, as soon as spring officially sprung, an idea for a greeting card that celebrates the fresh colors and flowers of the season popped into my mind. Daffodils, tulips and daisies are some of my favorite spring flowers, so I decided to use them for this card. 

Here's how to create your own spring flowers greeting card.
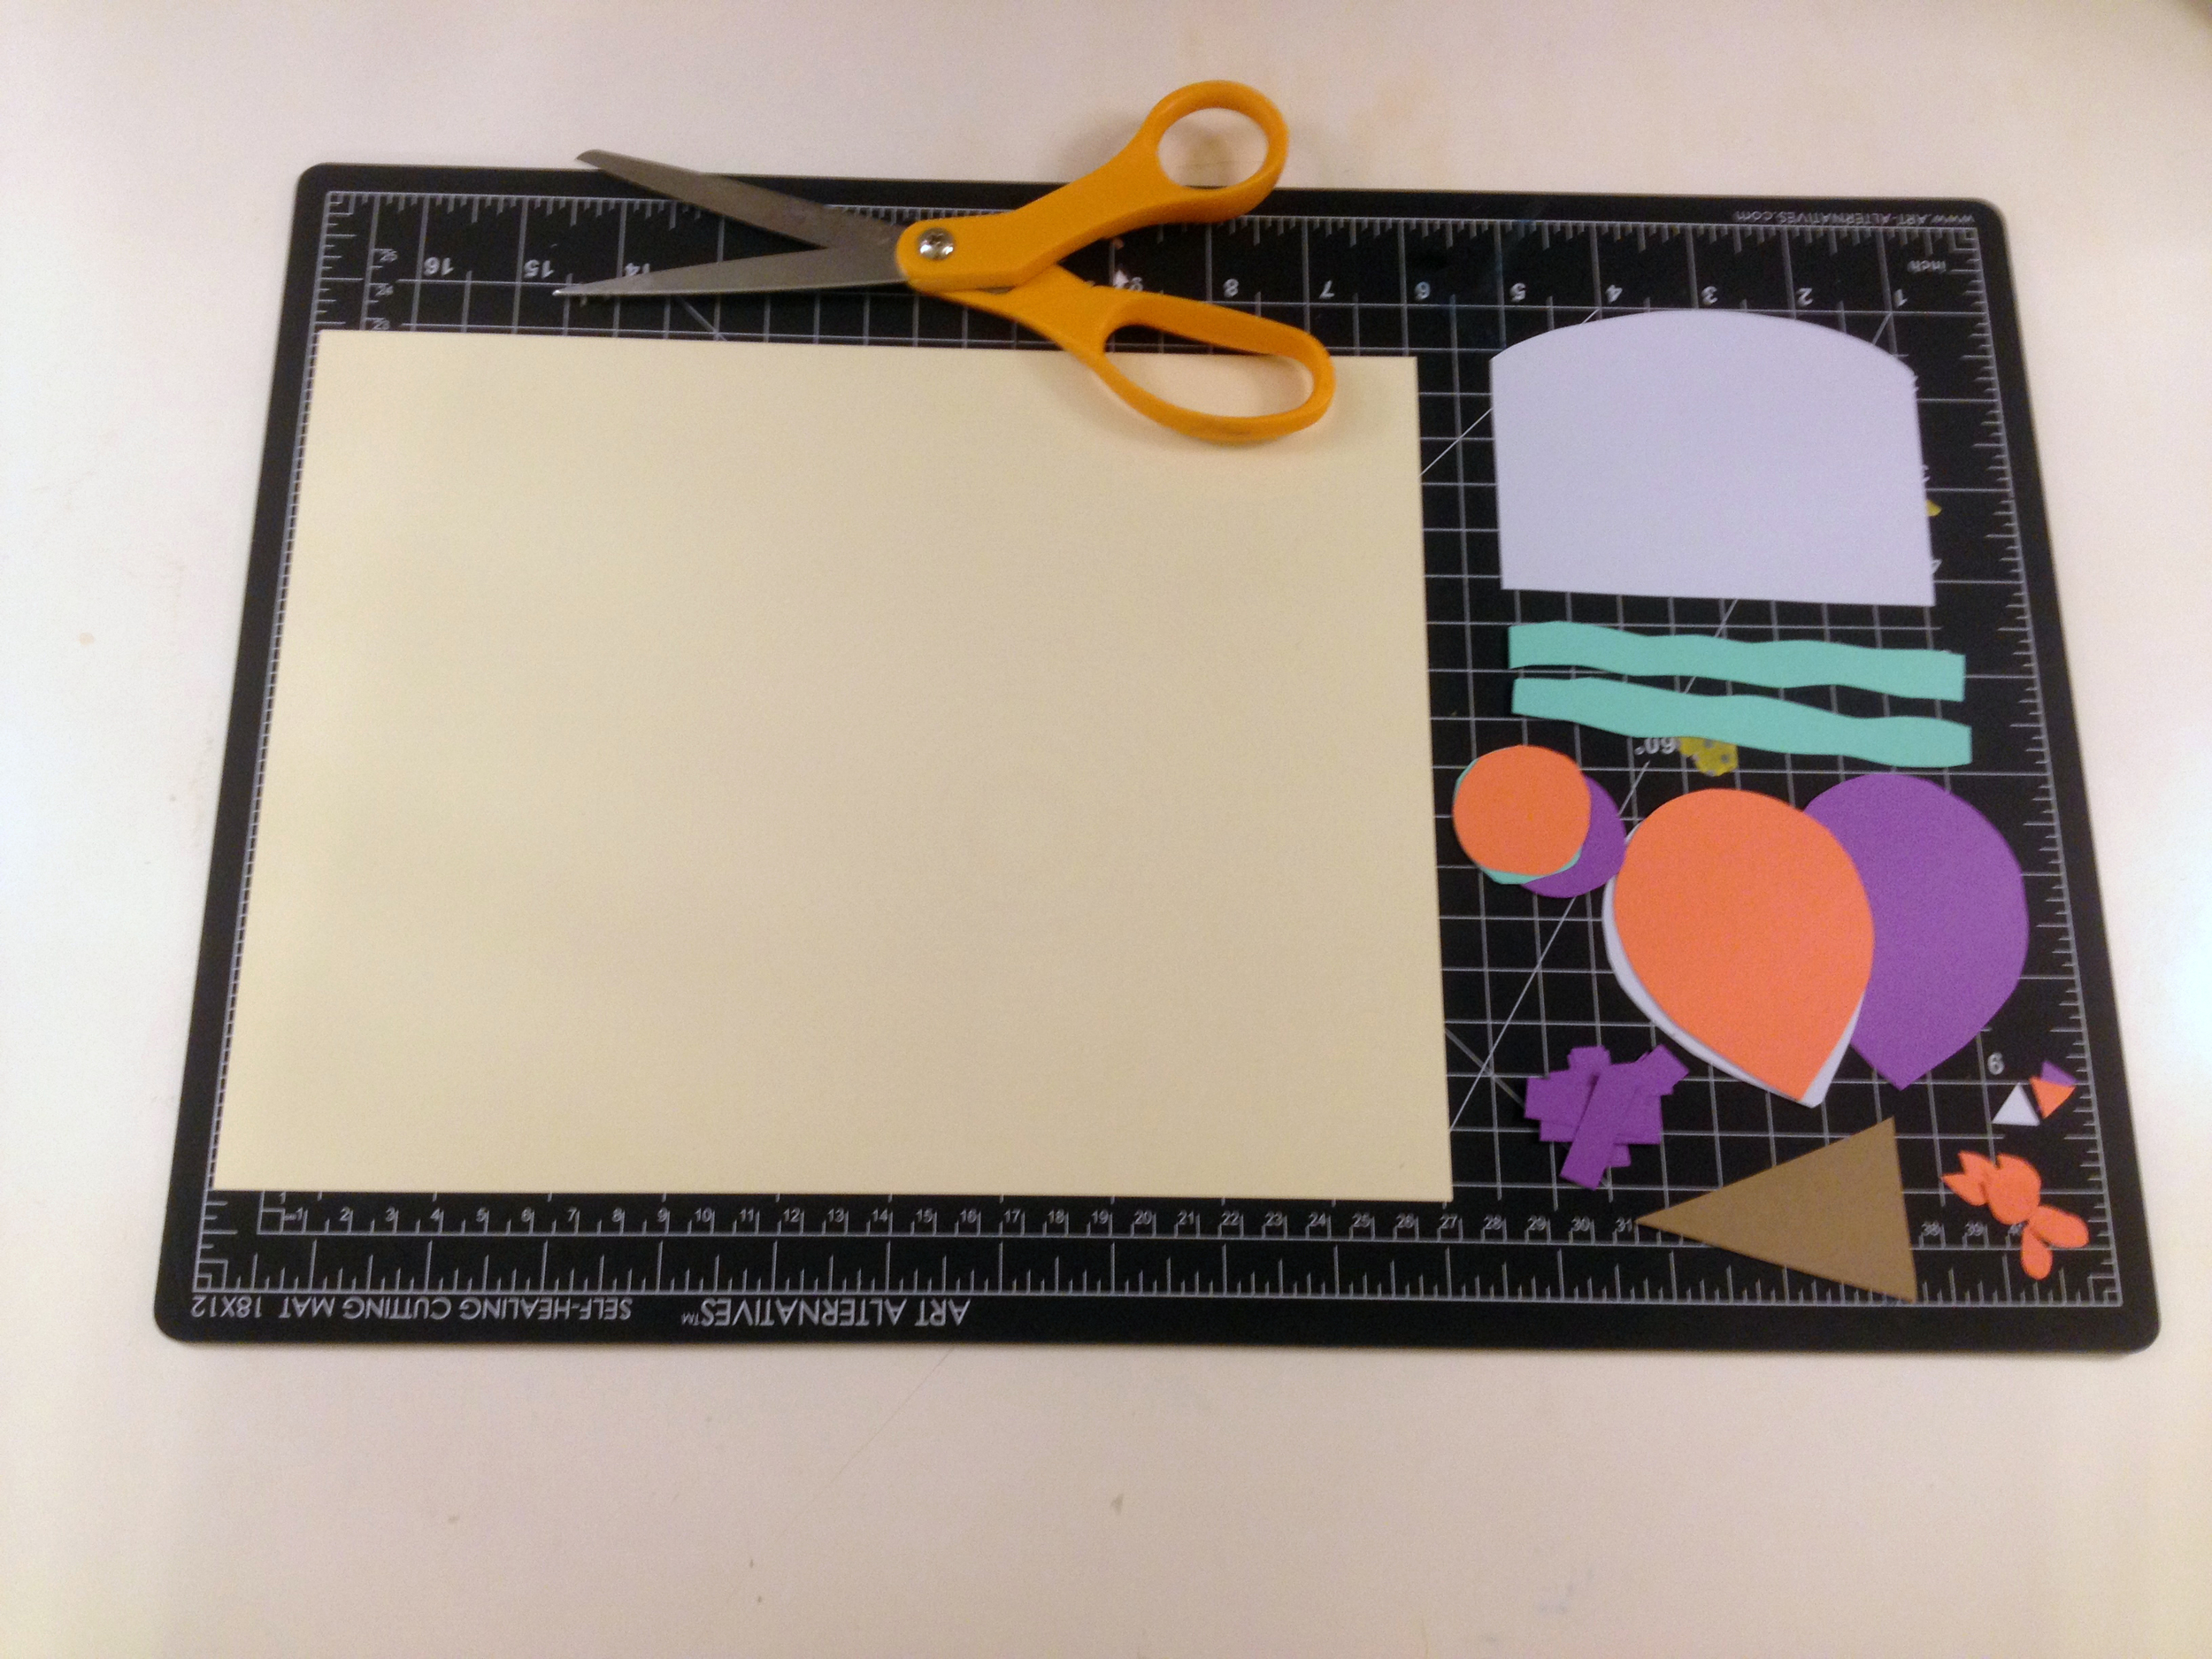
You'll need:

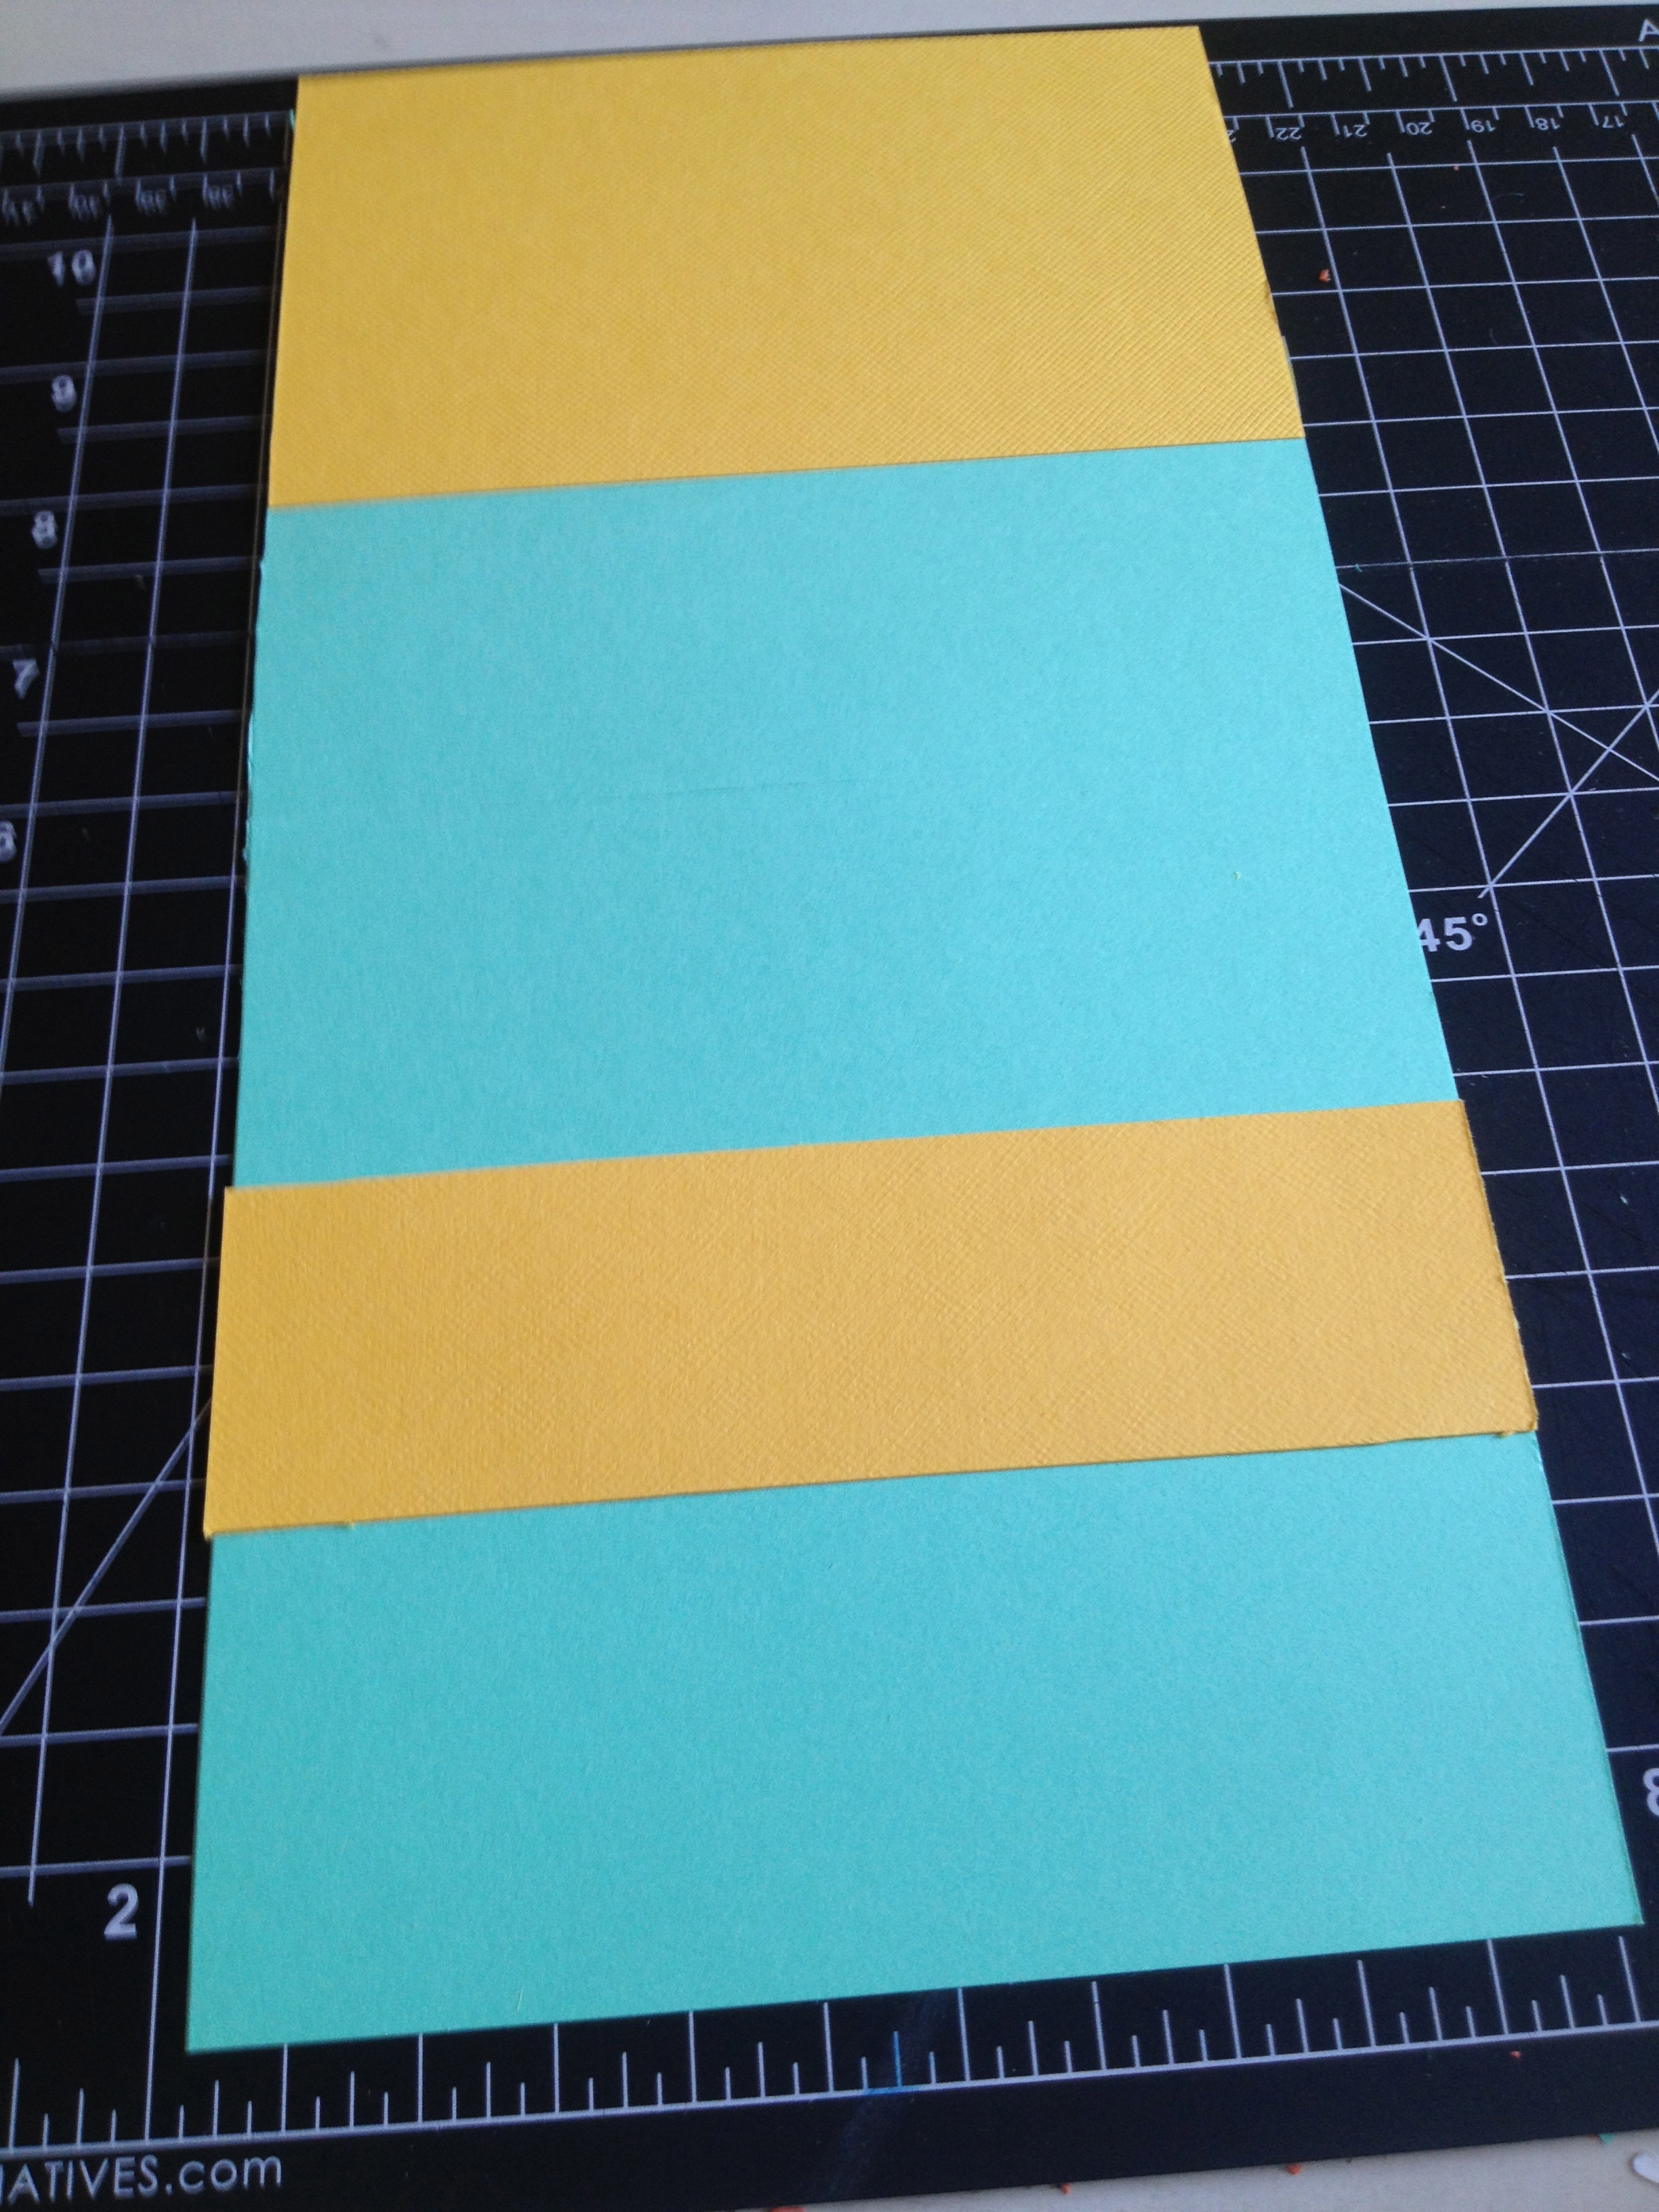
A variety of colored card stock - In this case, two shades of green, two shades of yellow and two shades of pink

An envelope

A cutting mat

An Xacto knife

- A metal ruler

- Paper glue and/or hot glue

- Basic scissors

-Pattern scissors

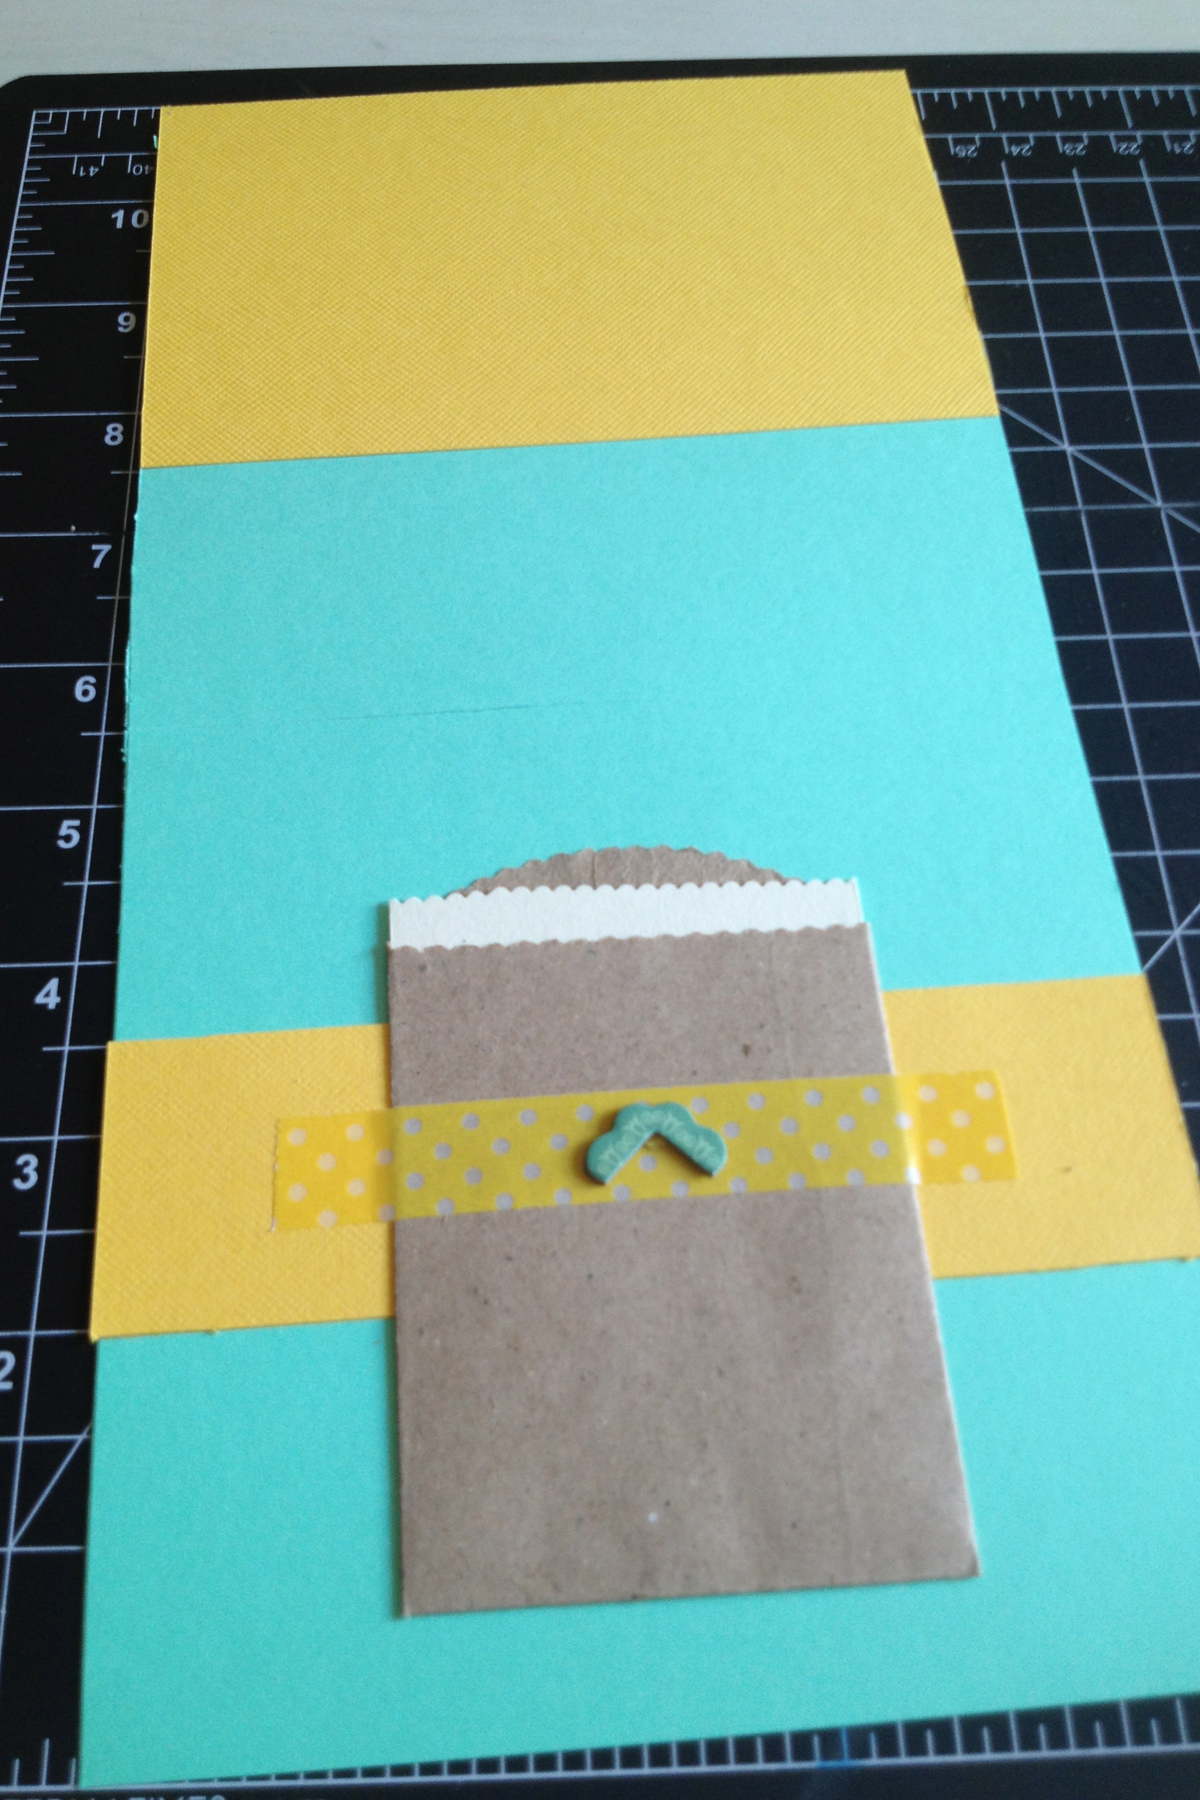
- Embellishments of your choice (I used polka dot ribbon)

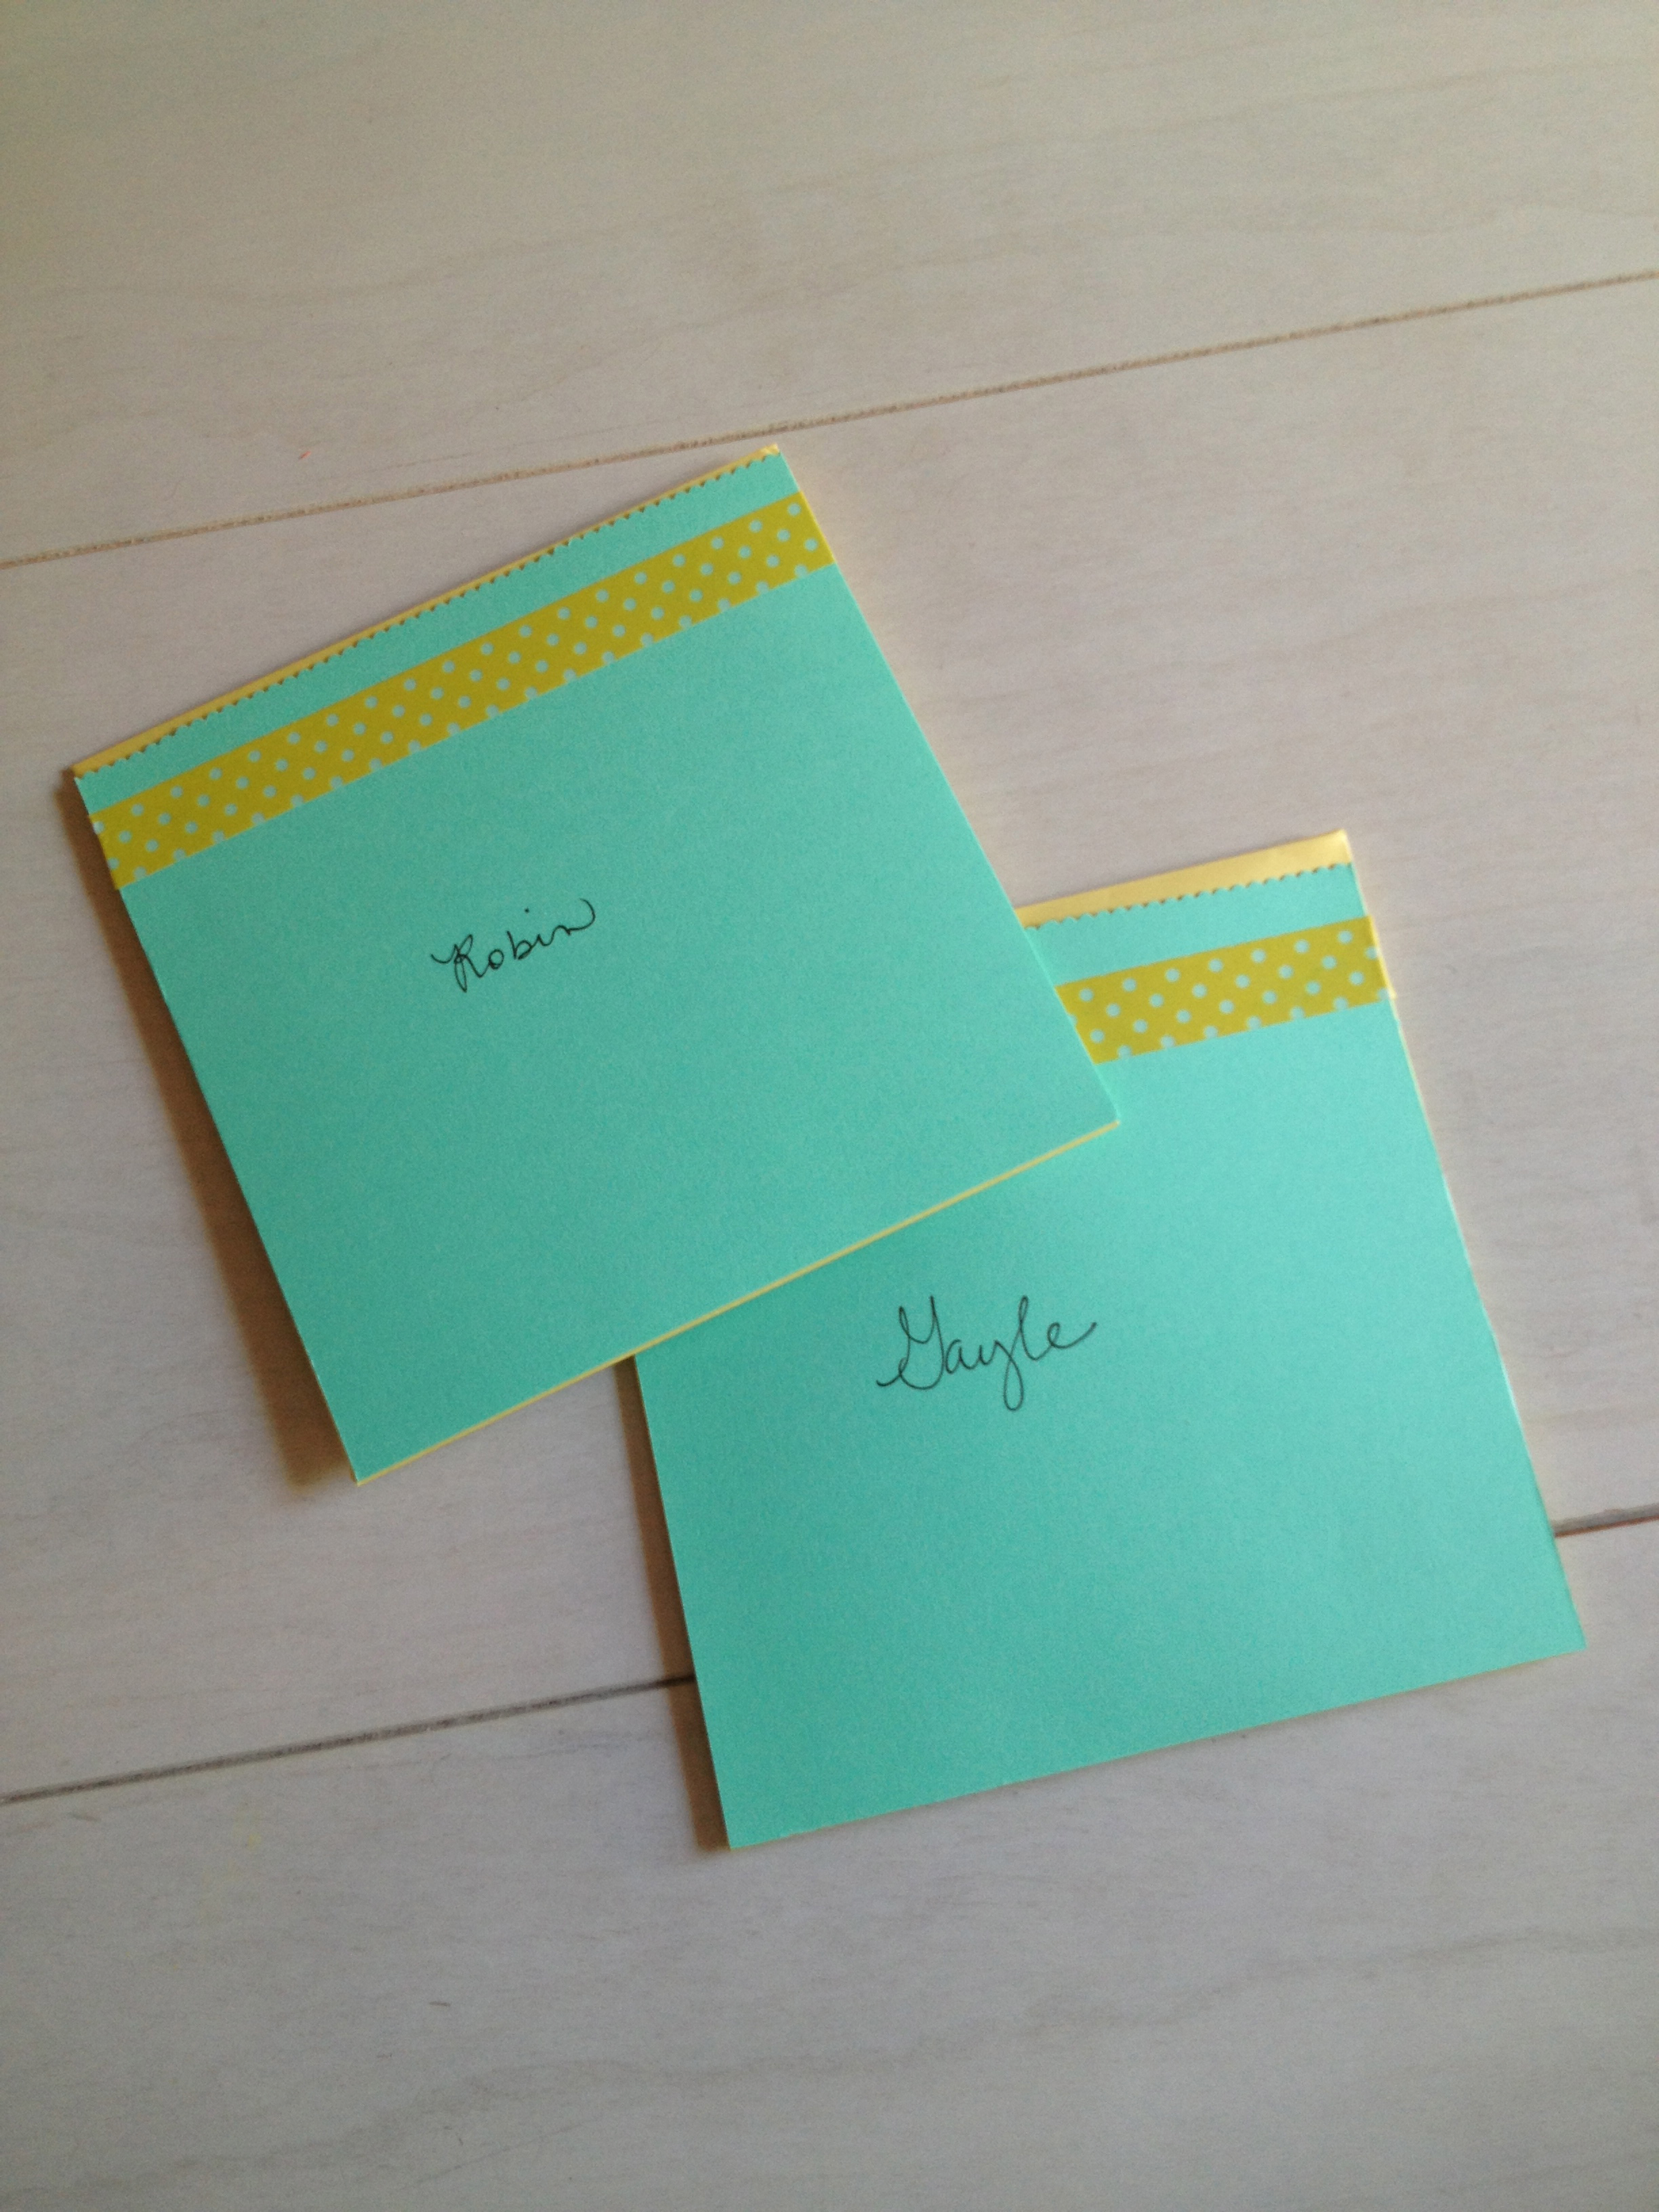
- Sticker letters or markers

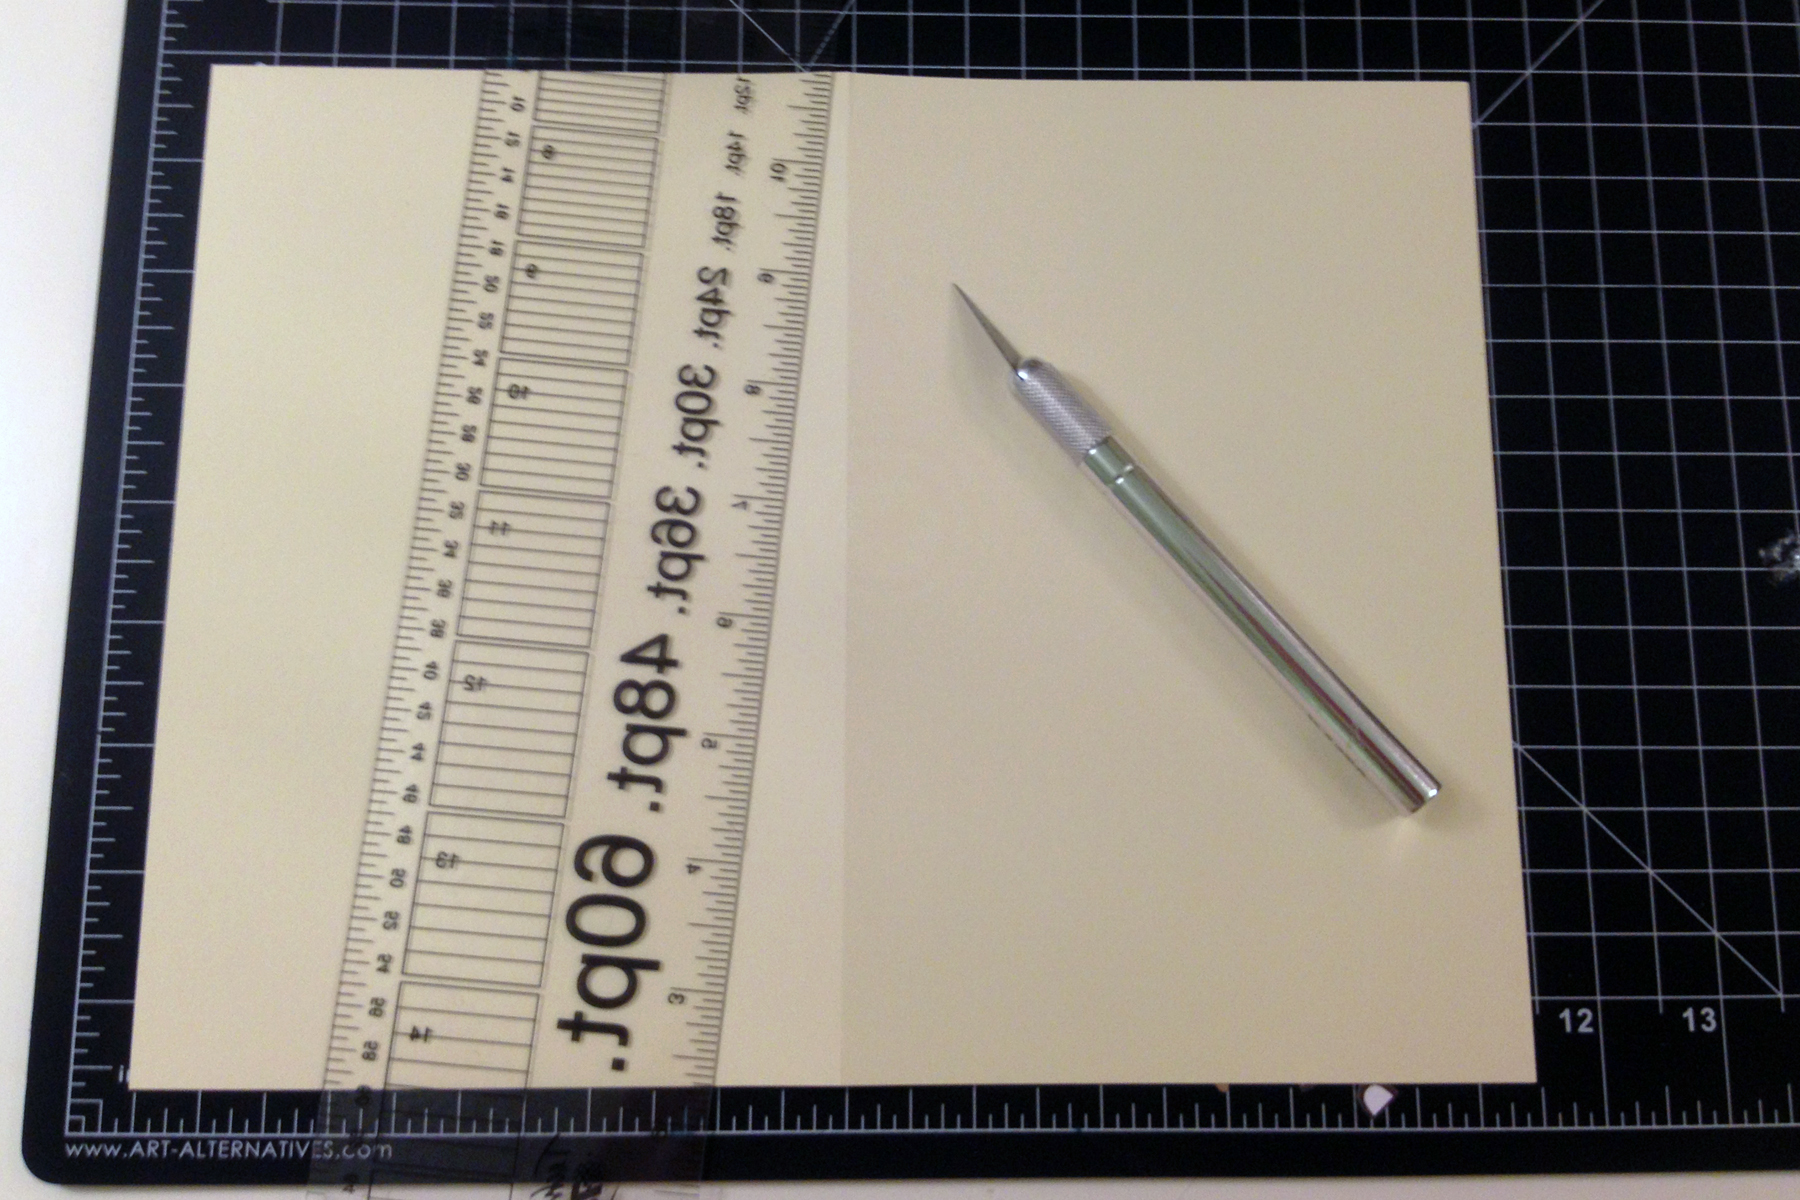
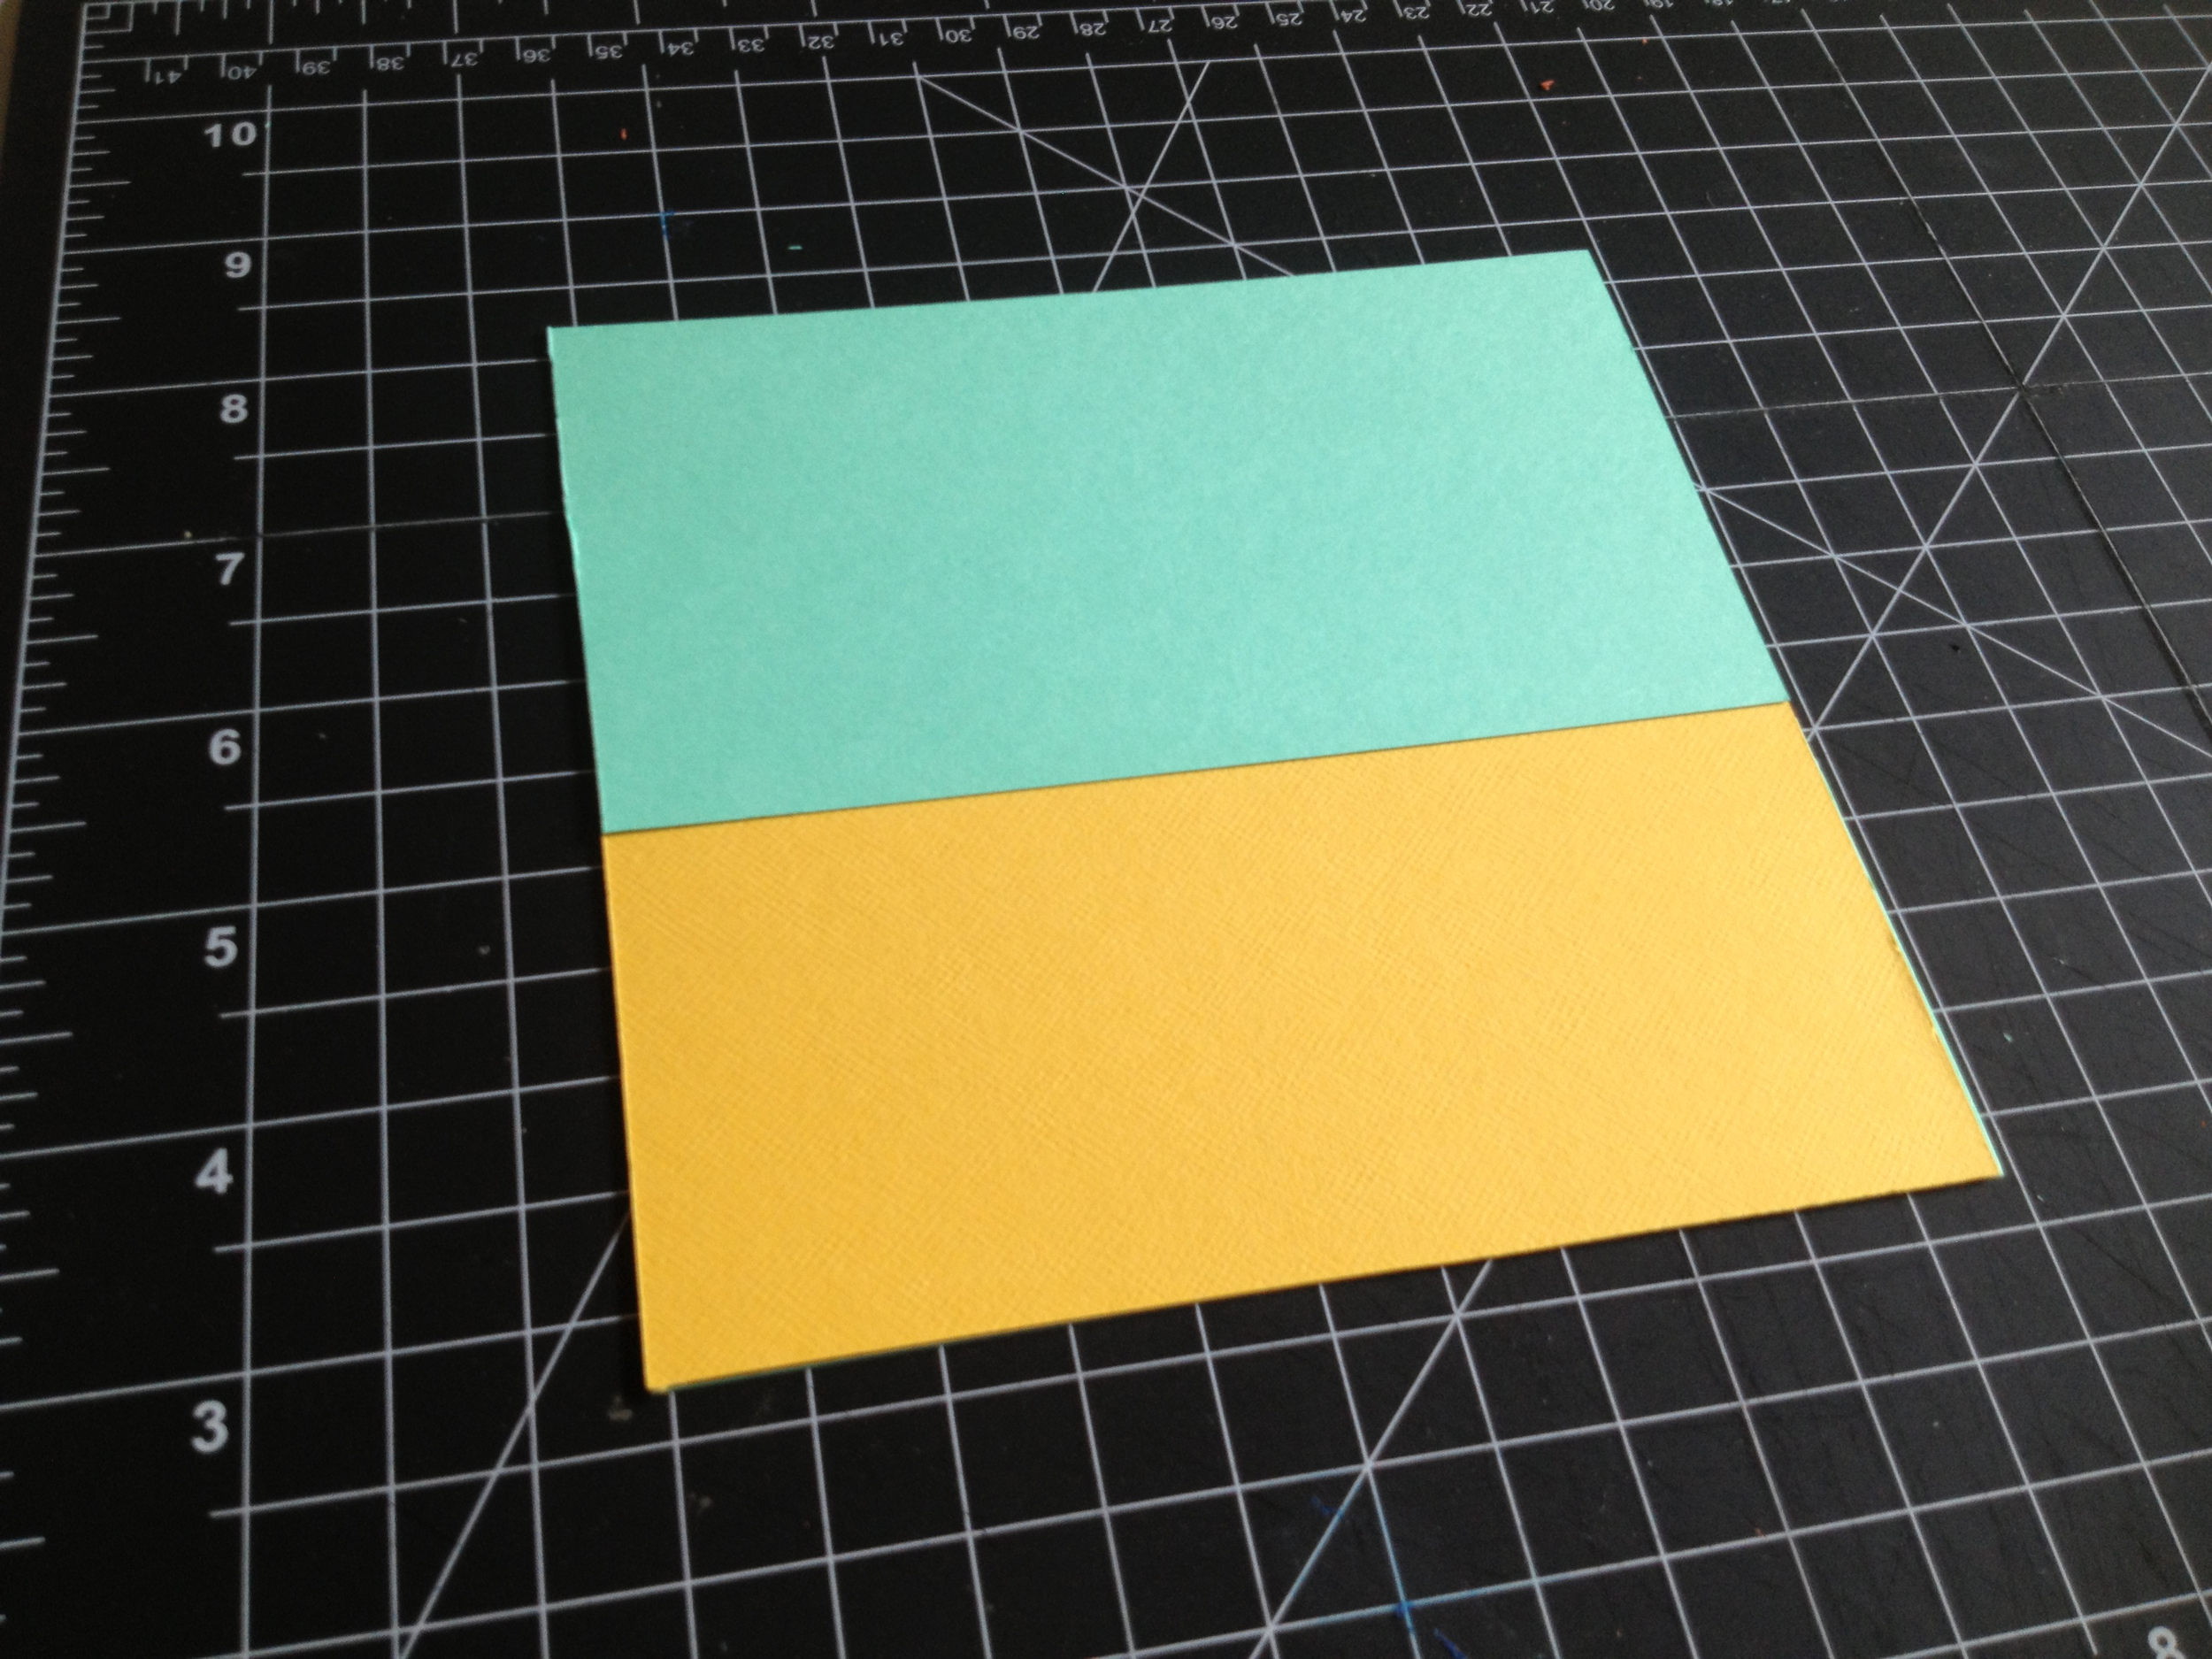
Start by using your mat to find the center of your card base (5.5 ” for this card). Then score it by running the knife lightly down the center once or twice. 

photo 1.JPG

Fold in half.

photo 2.JPG

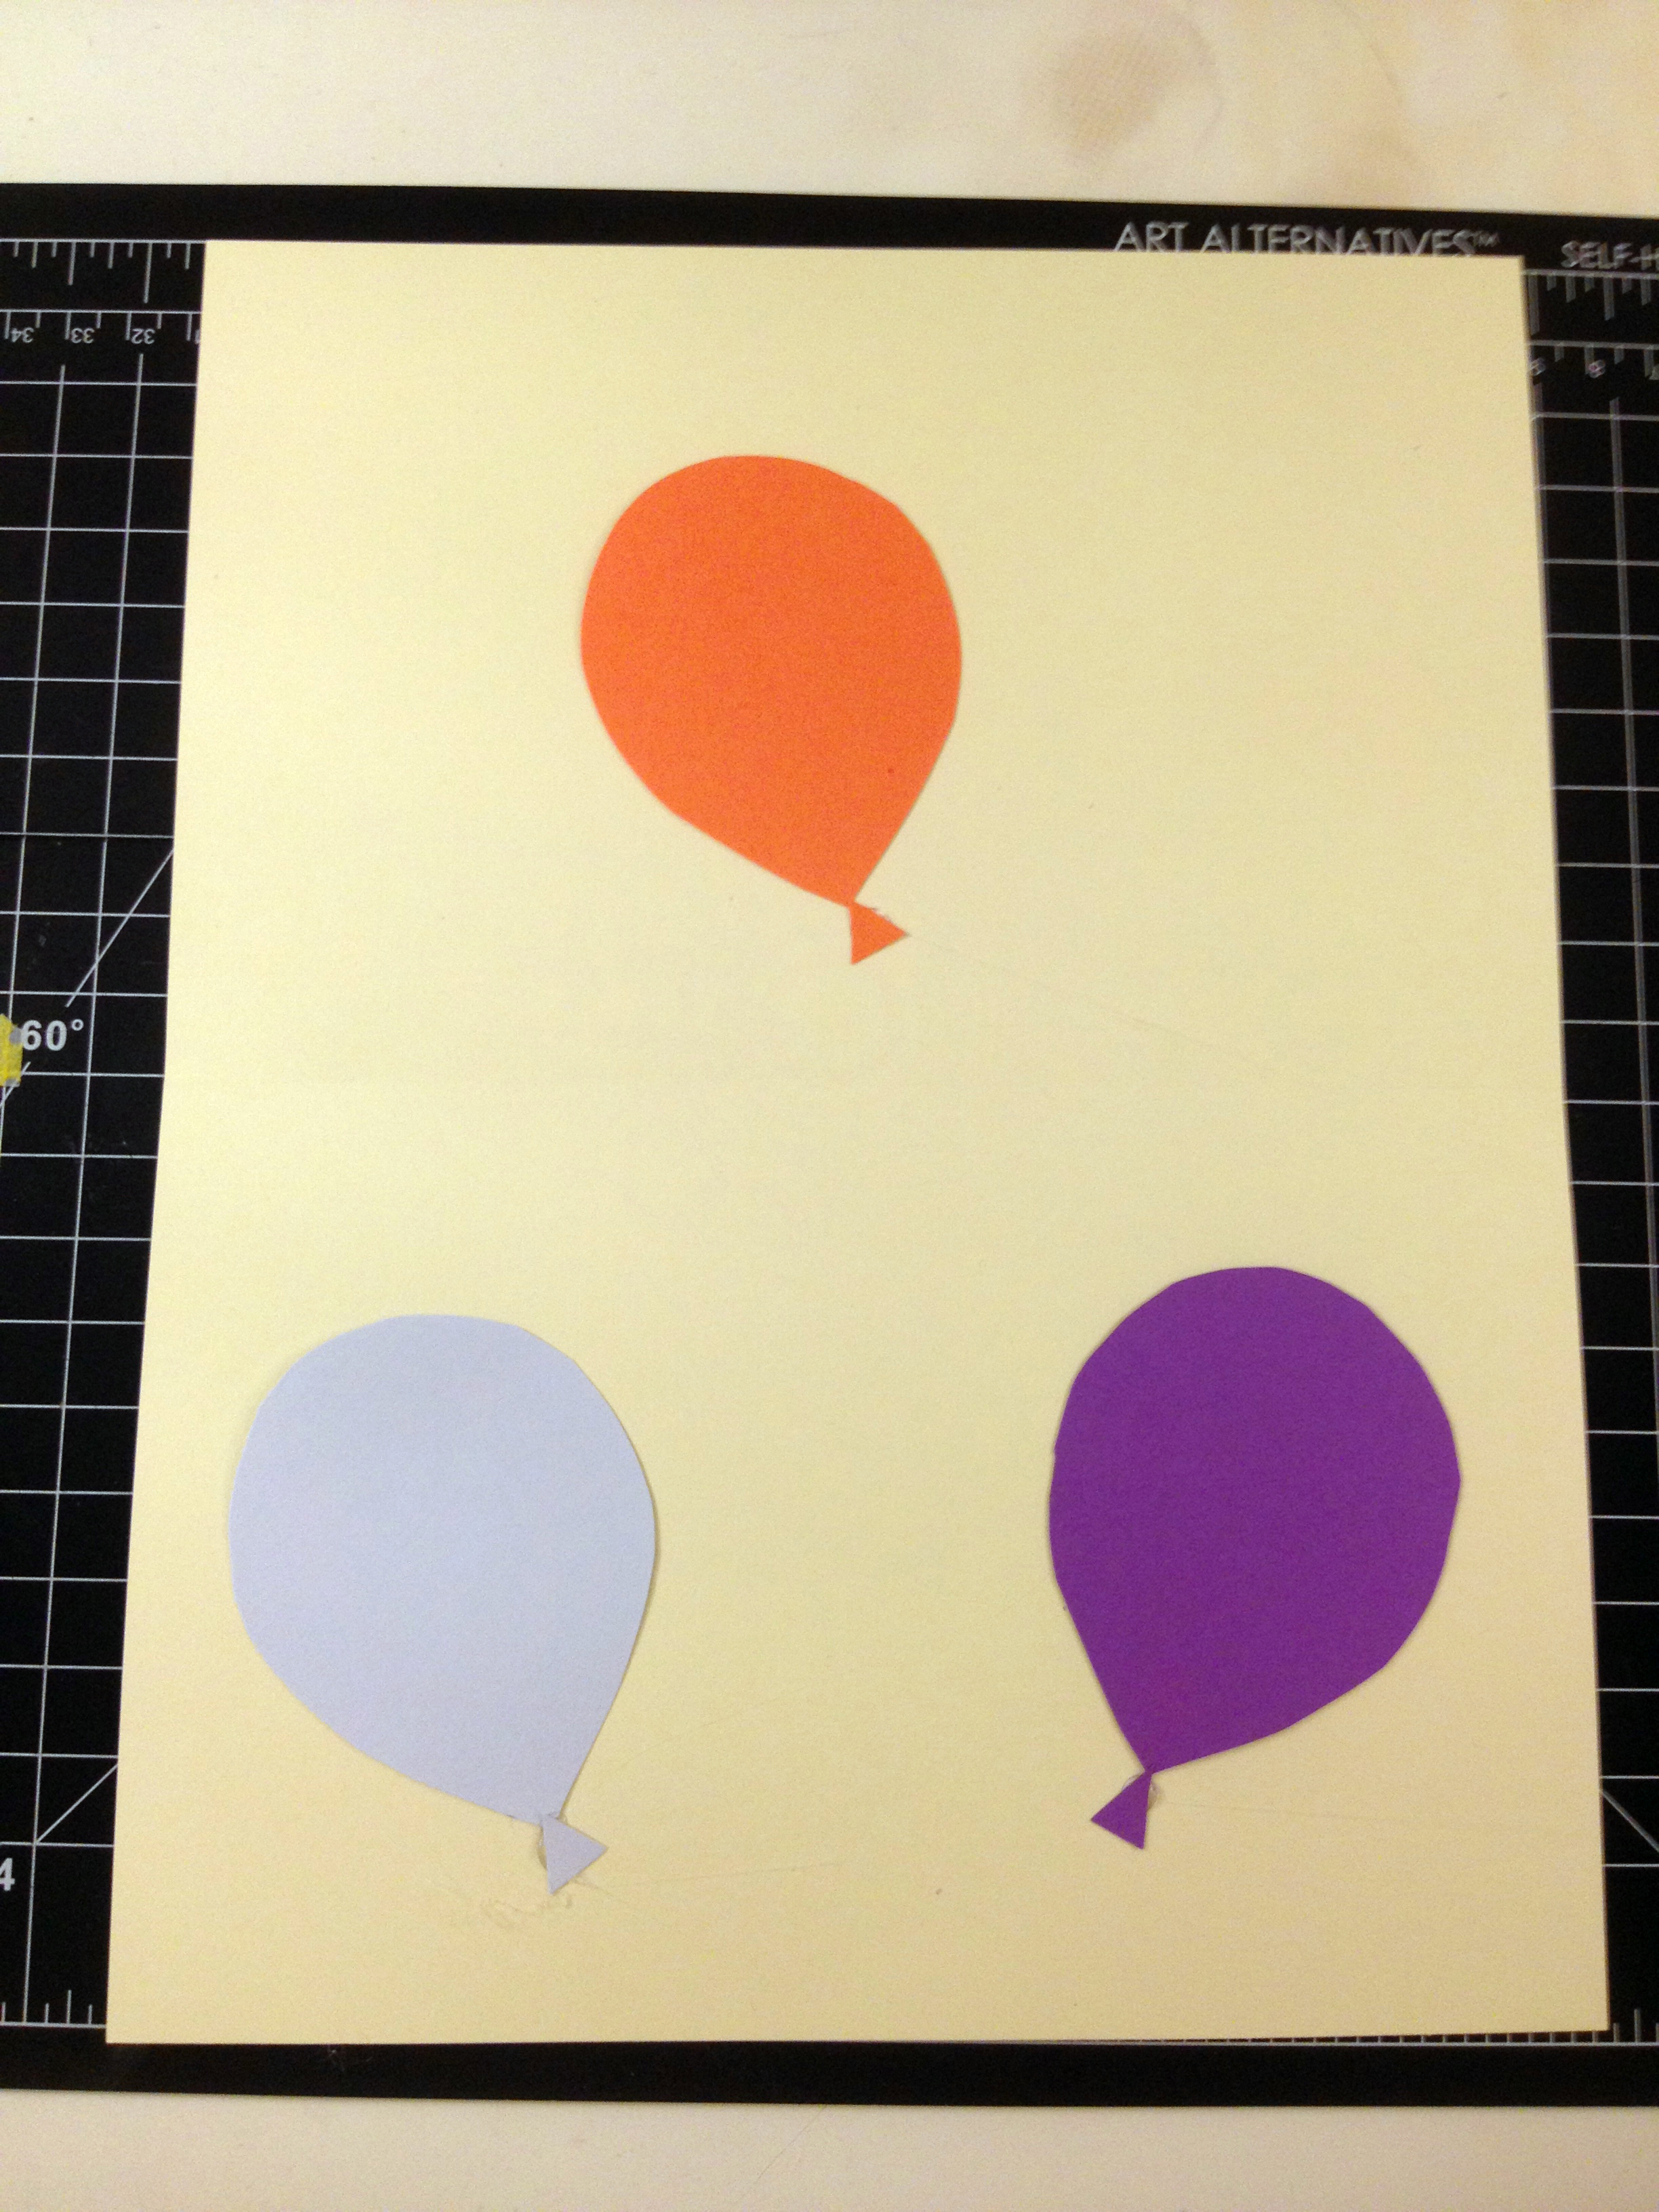
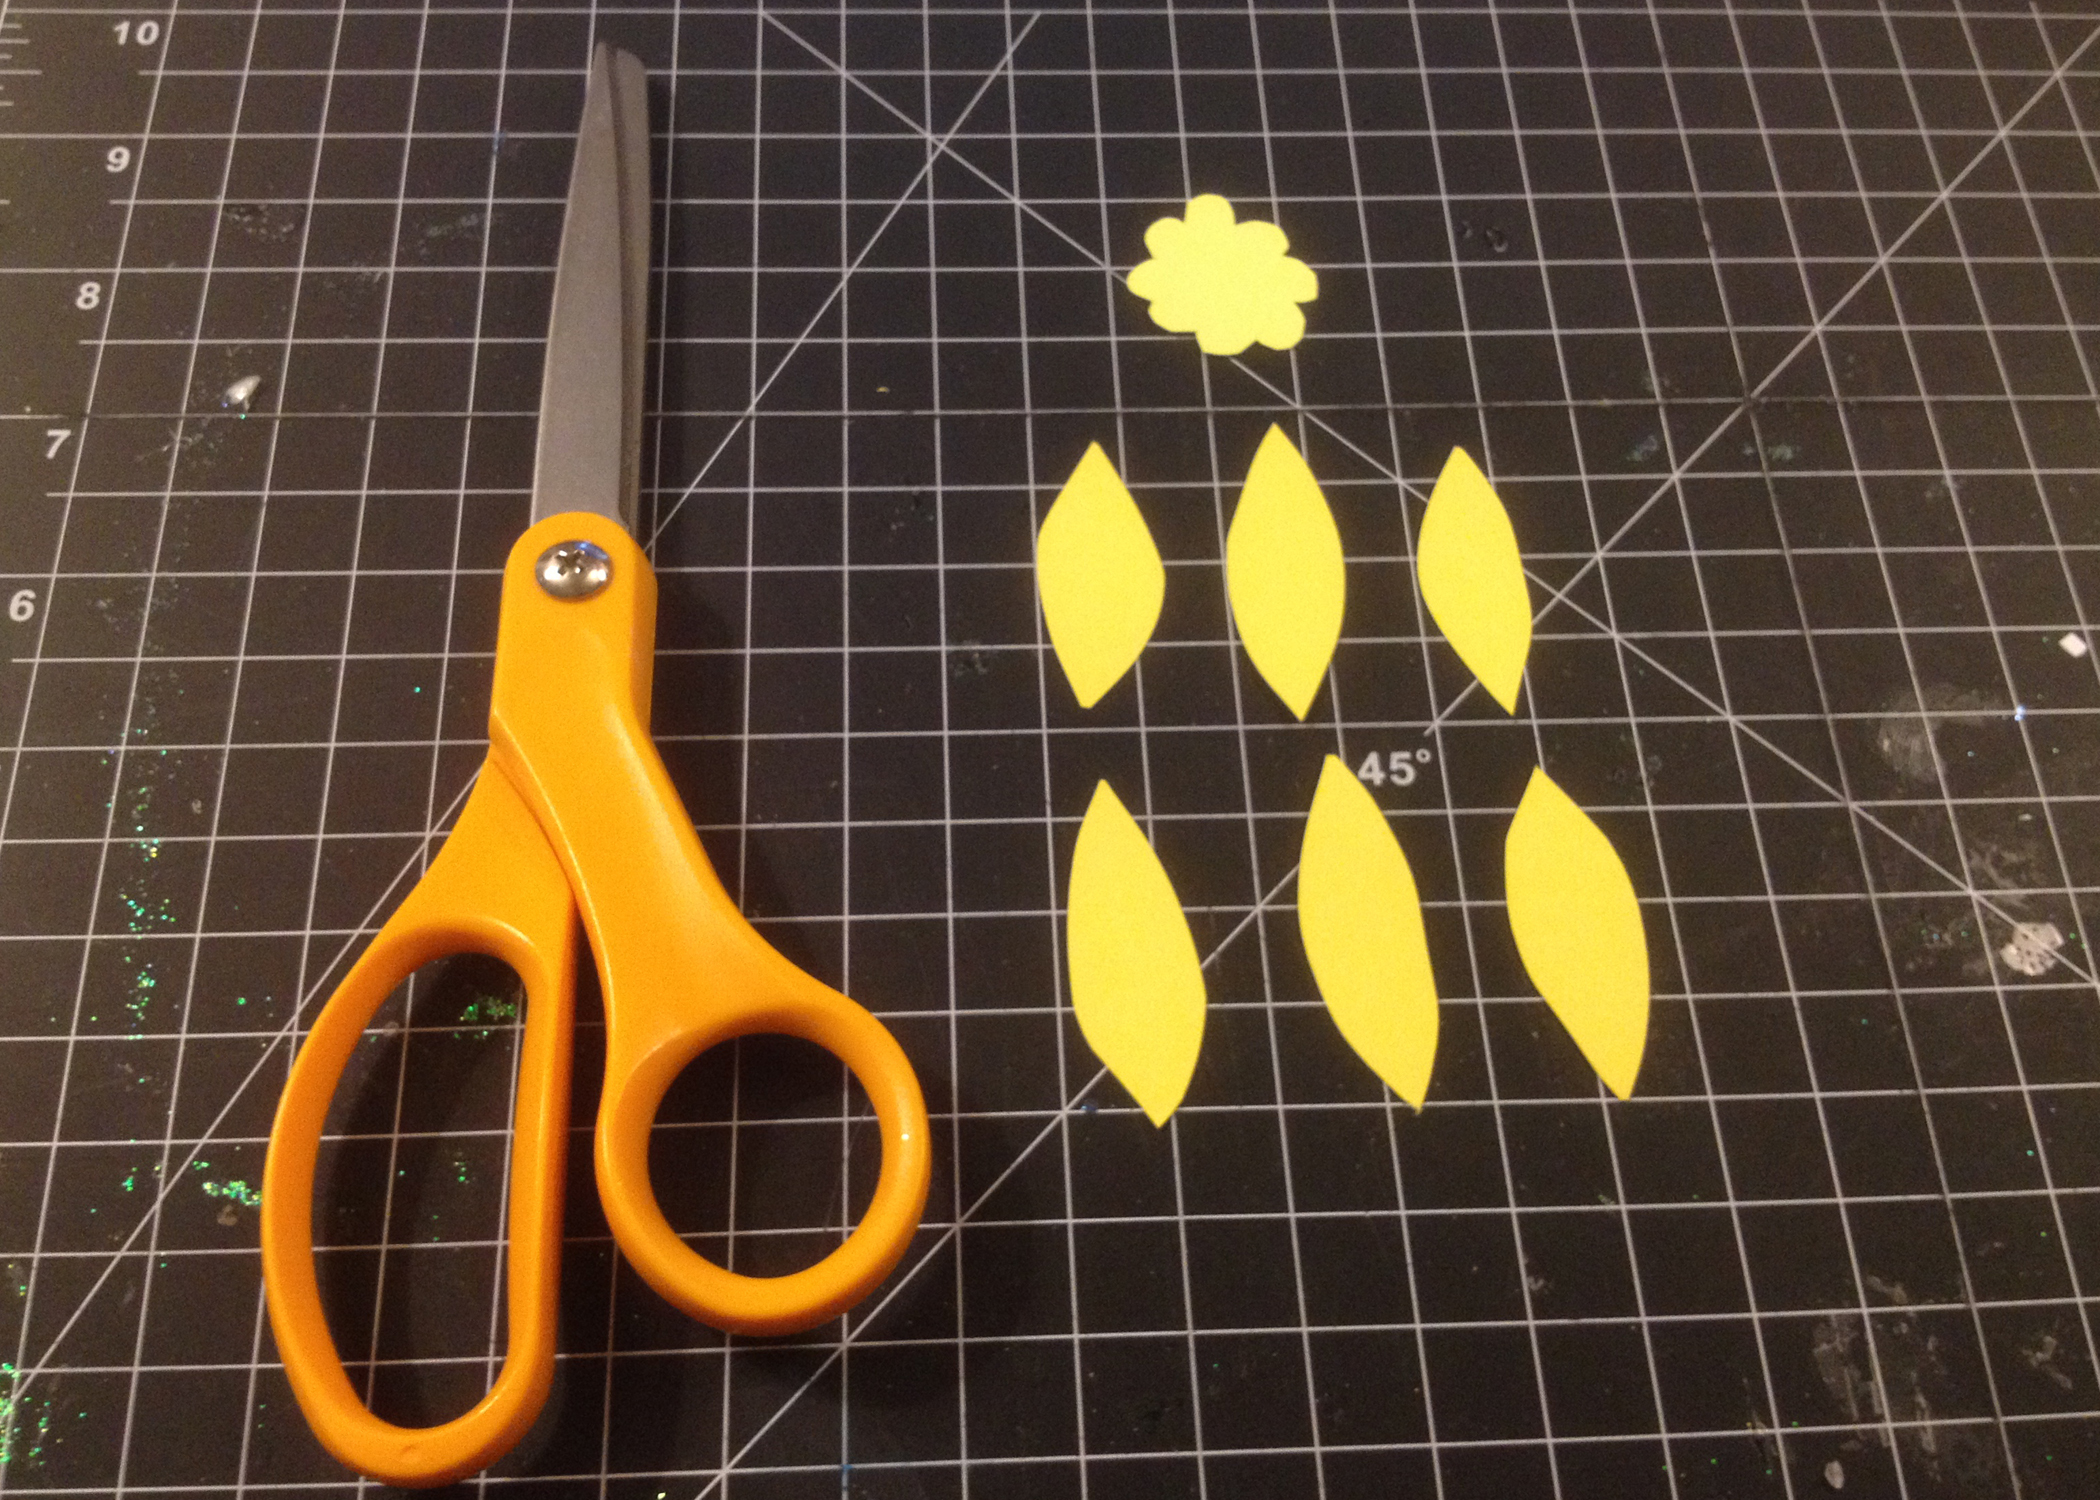
To make a daffodil, cut six tear shapes and one flower shape. I suggest tracing the shapes in pencil before you start cutting. It definitely makes things easier! I made two daffodils -- one with lighter colored petals and one with darker colored petals. One was slightly bigger than the other.

photo 6.JPG

Use hot glue to put them together. I like using the hot glue to make the flowers because it gives them more of a 3D look. 

photo 10.JPG

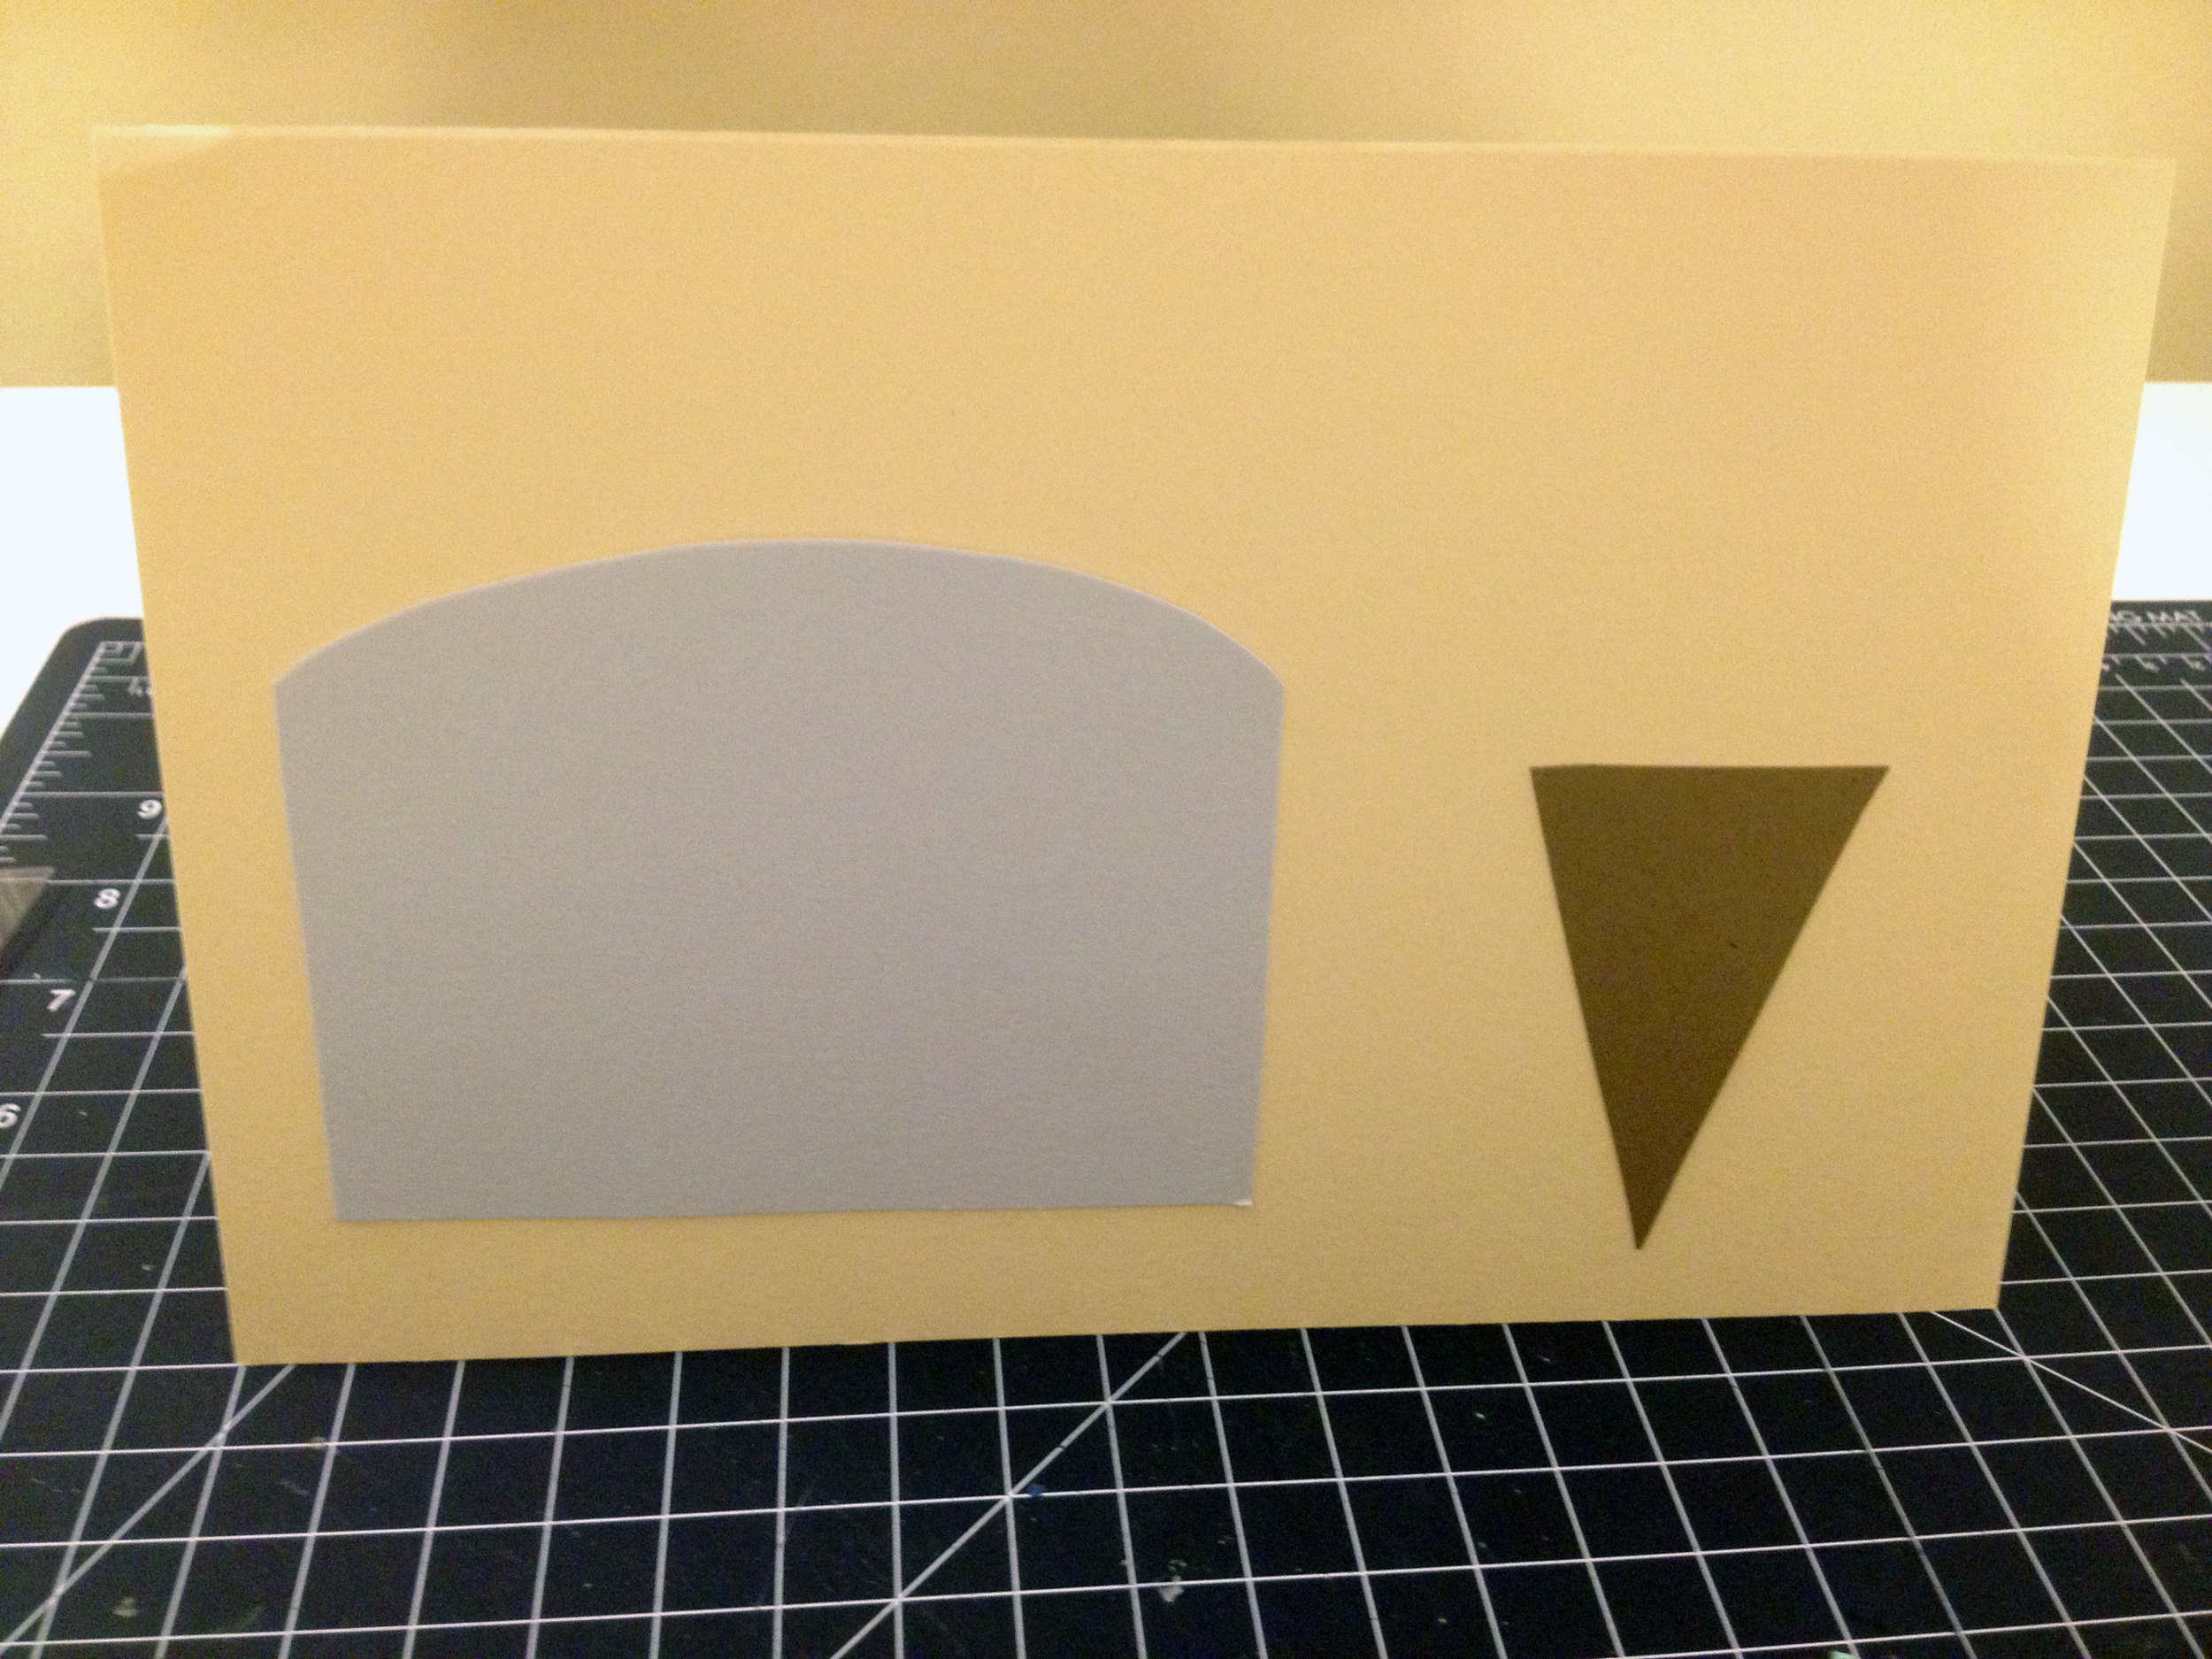
Next we're going to make our tulip shape. I cut the center piece first, and then used it to trace two half pieces that will become the outer petals. I'm not sure what these shapes would be called, but you get the idea!

photo 11.JPG

Again, you'll use hot glue to adhere them together. The outer petals should slightly overlap, and the center piece should be visible.

card5

Next we're going to make some daisies. The daisies are similar to the daffodils, except their petals are oblong instead of tear-shaped. They have a round center. I made three daisies using different colors. Hot glue the flower parts together. 

photo 7.JPG

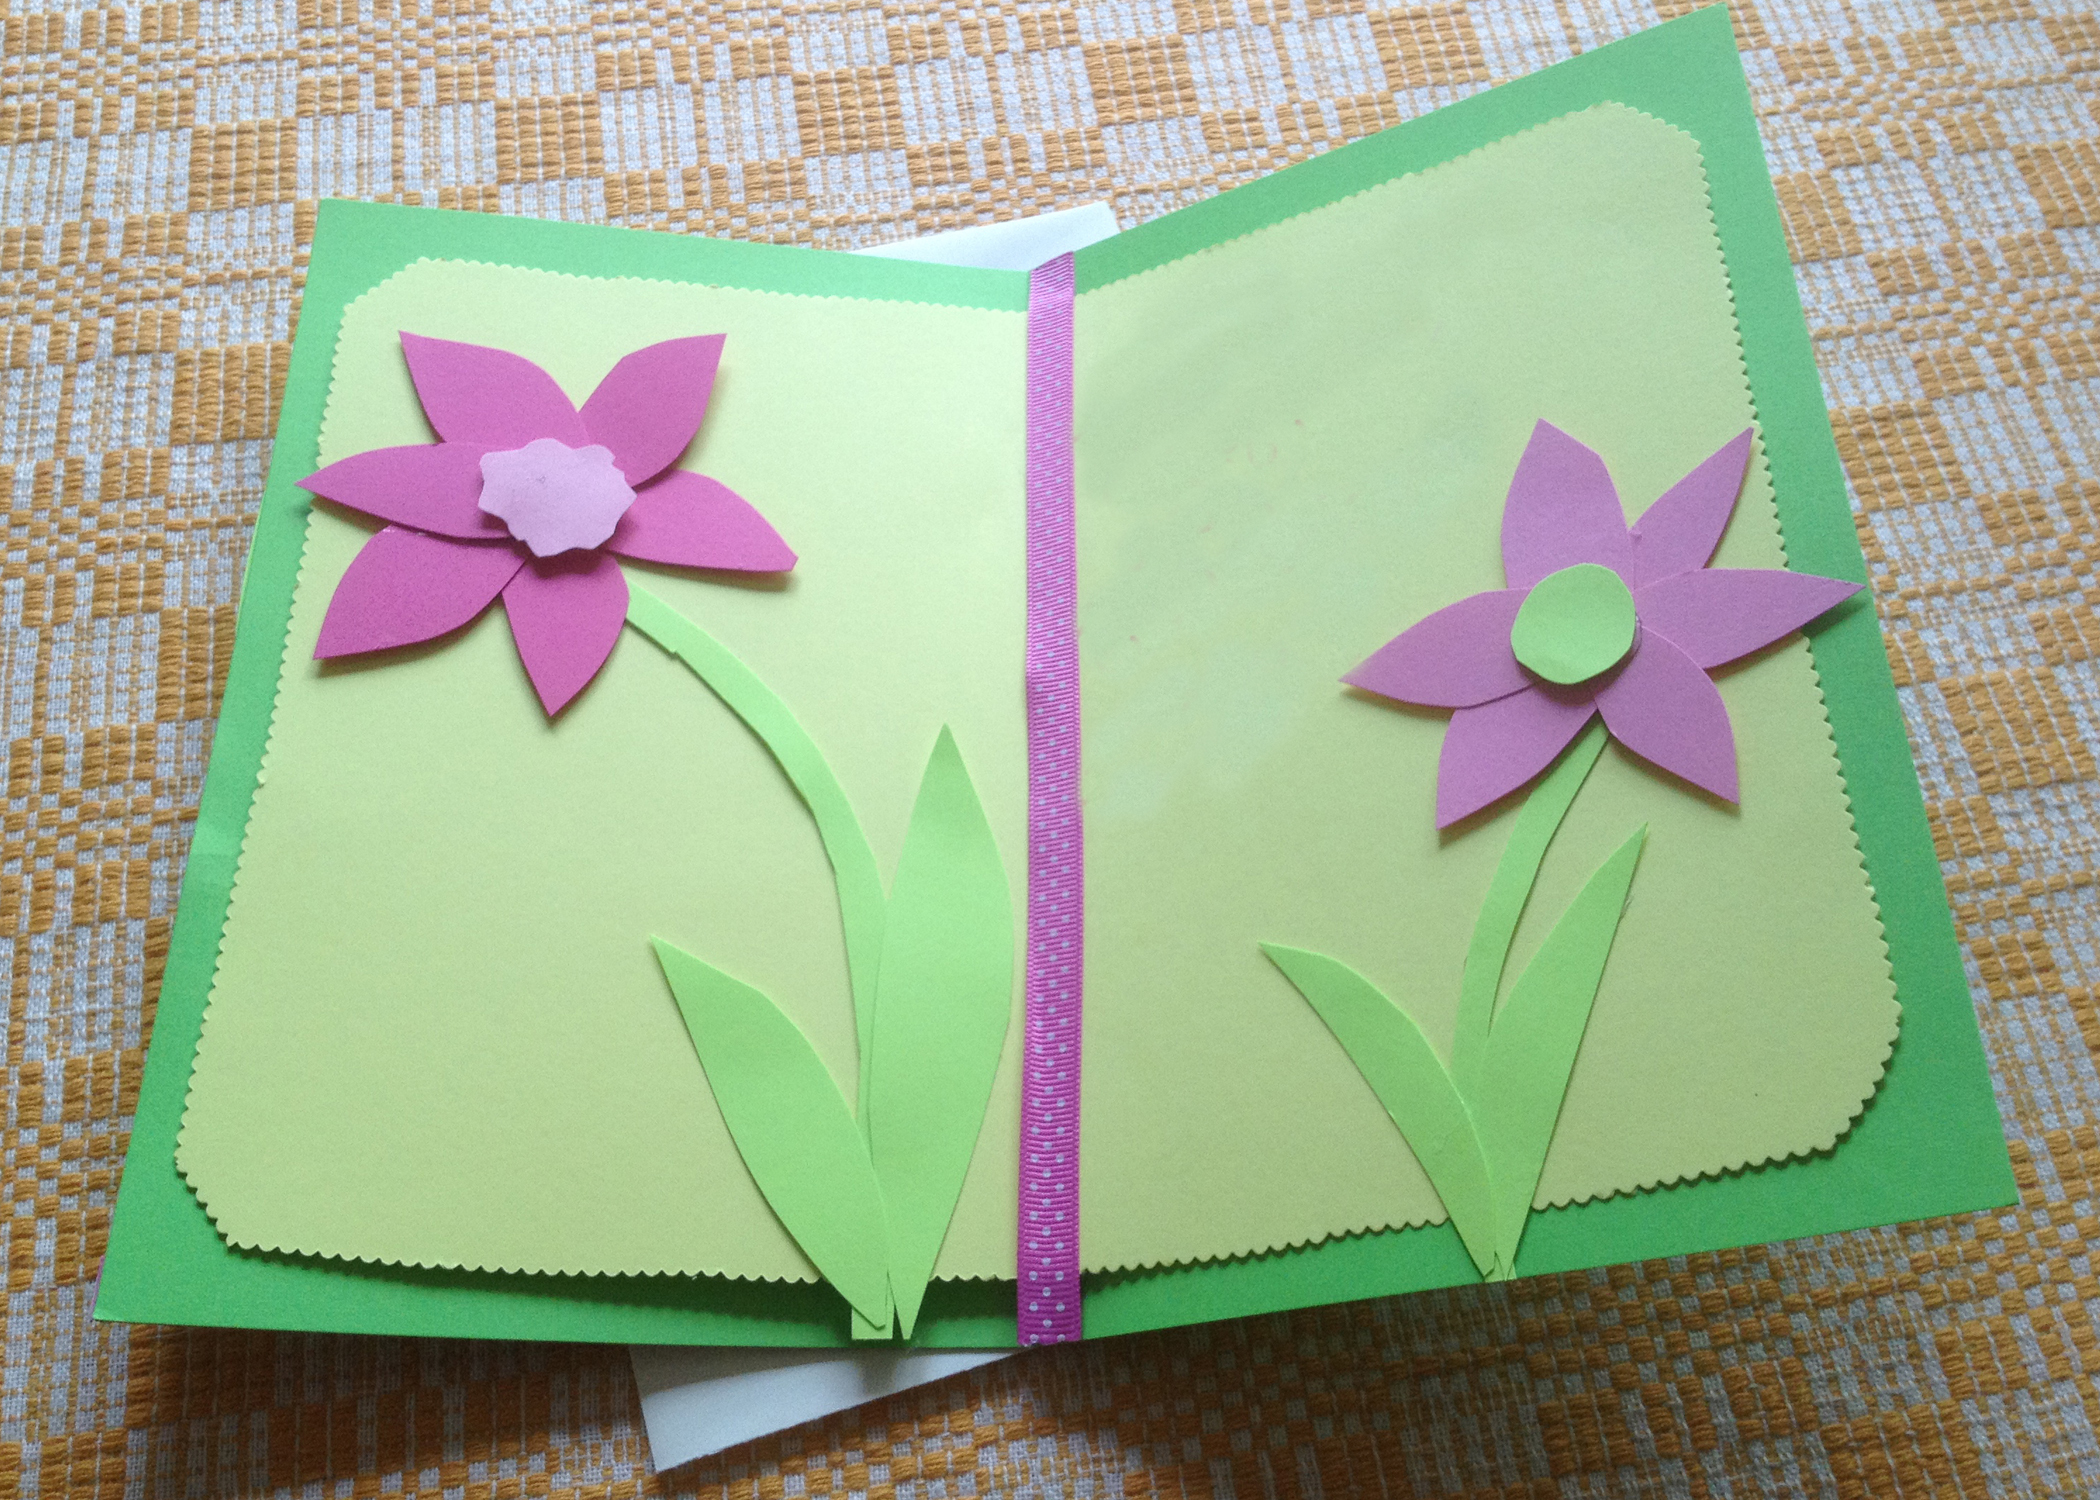
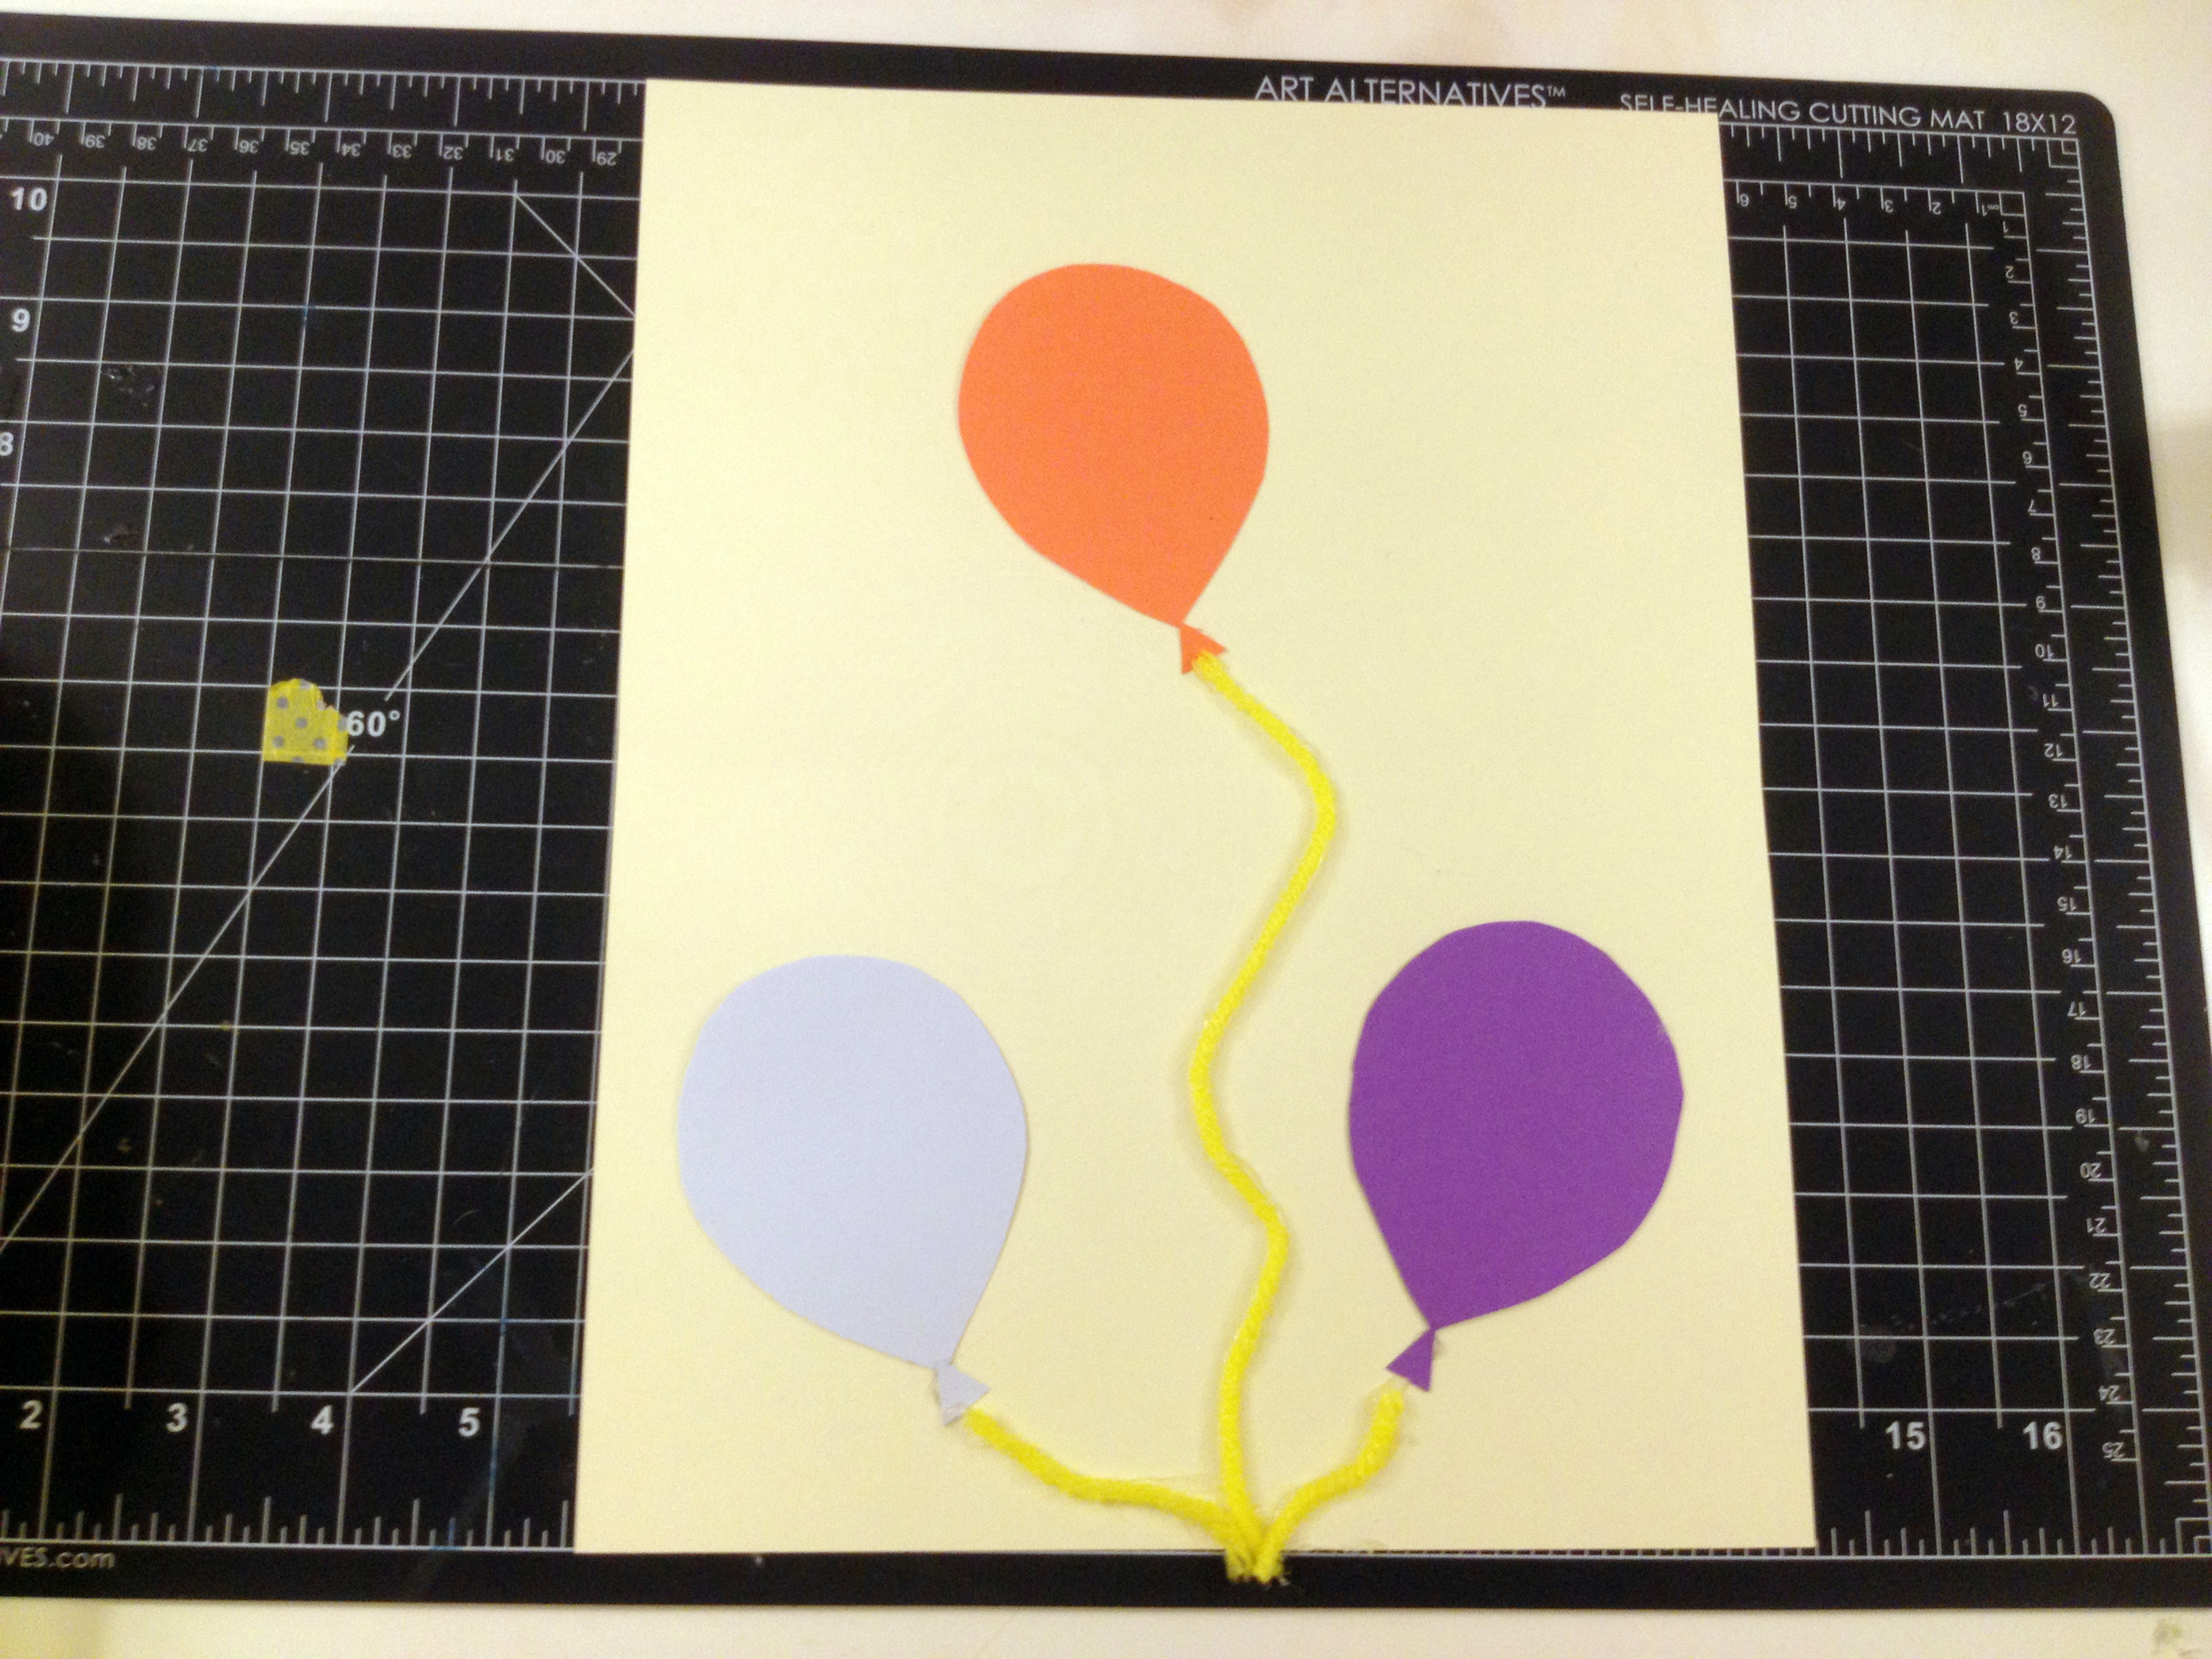
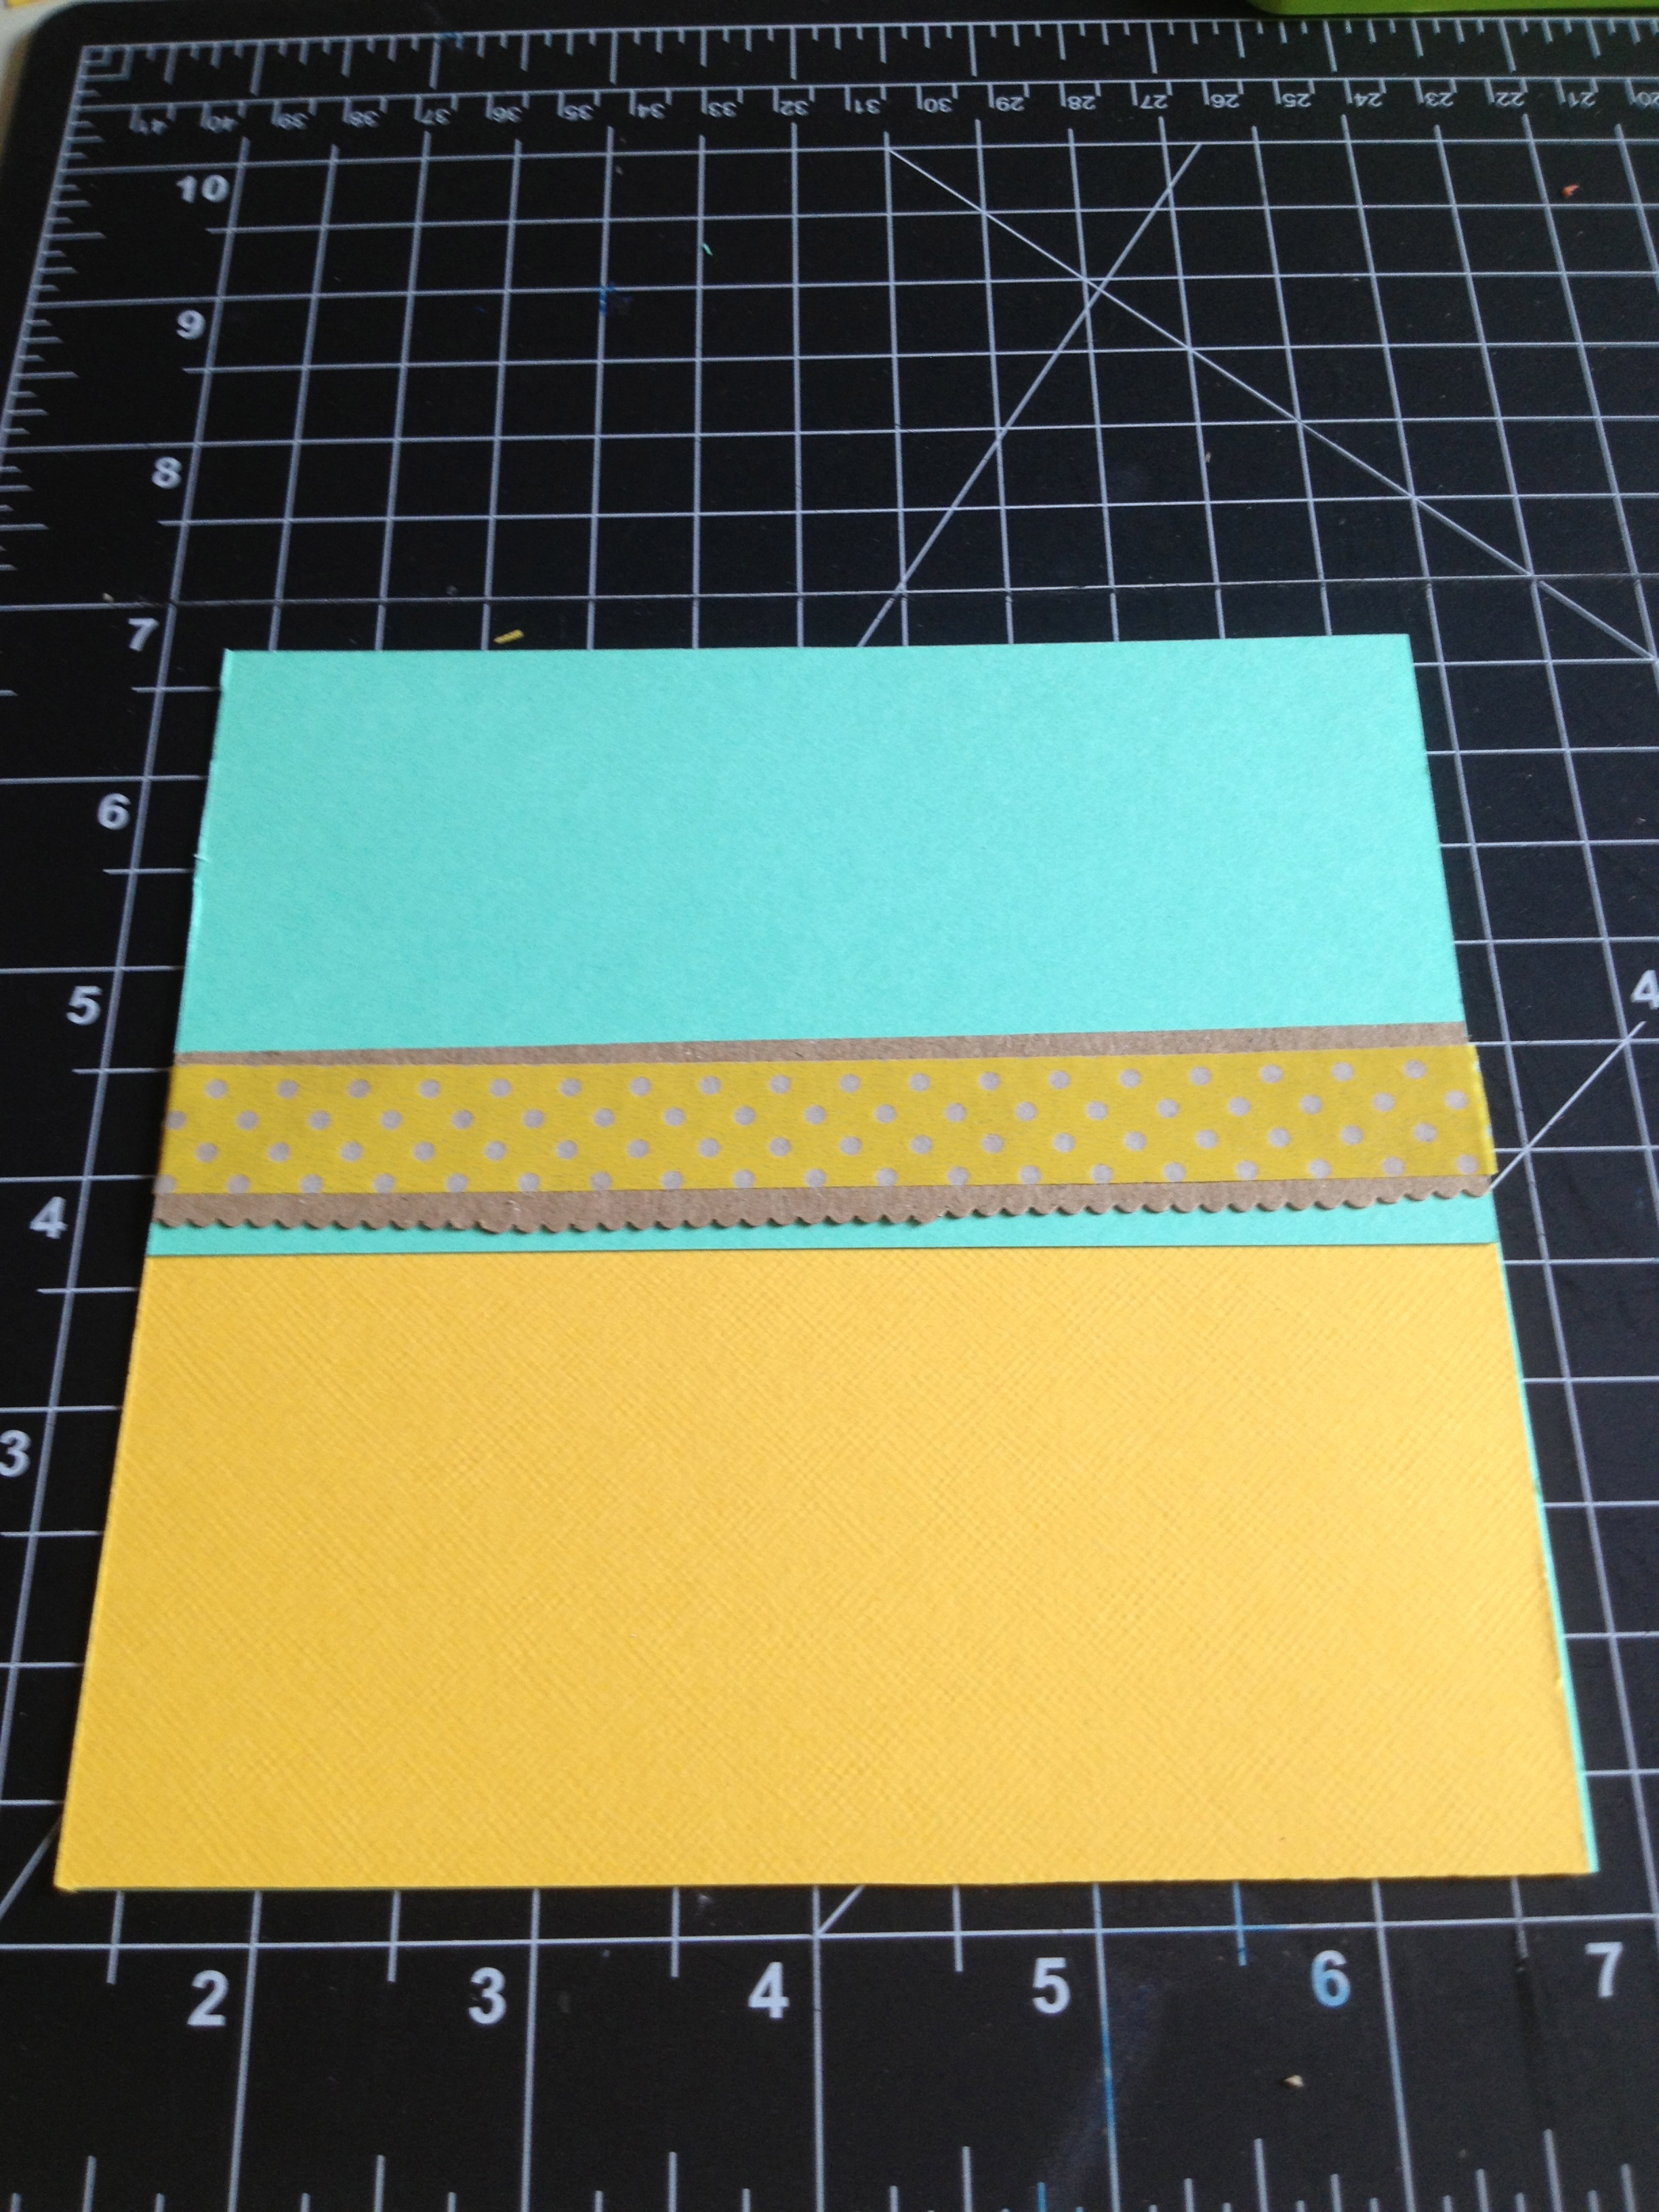
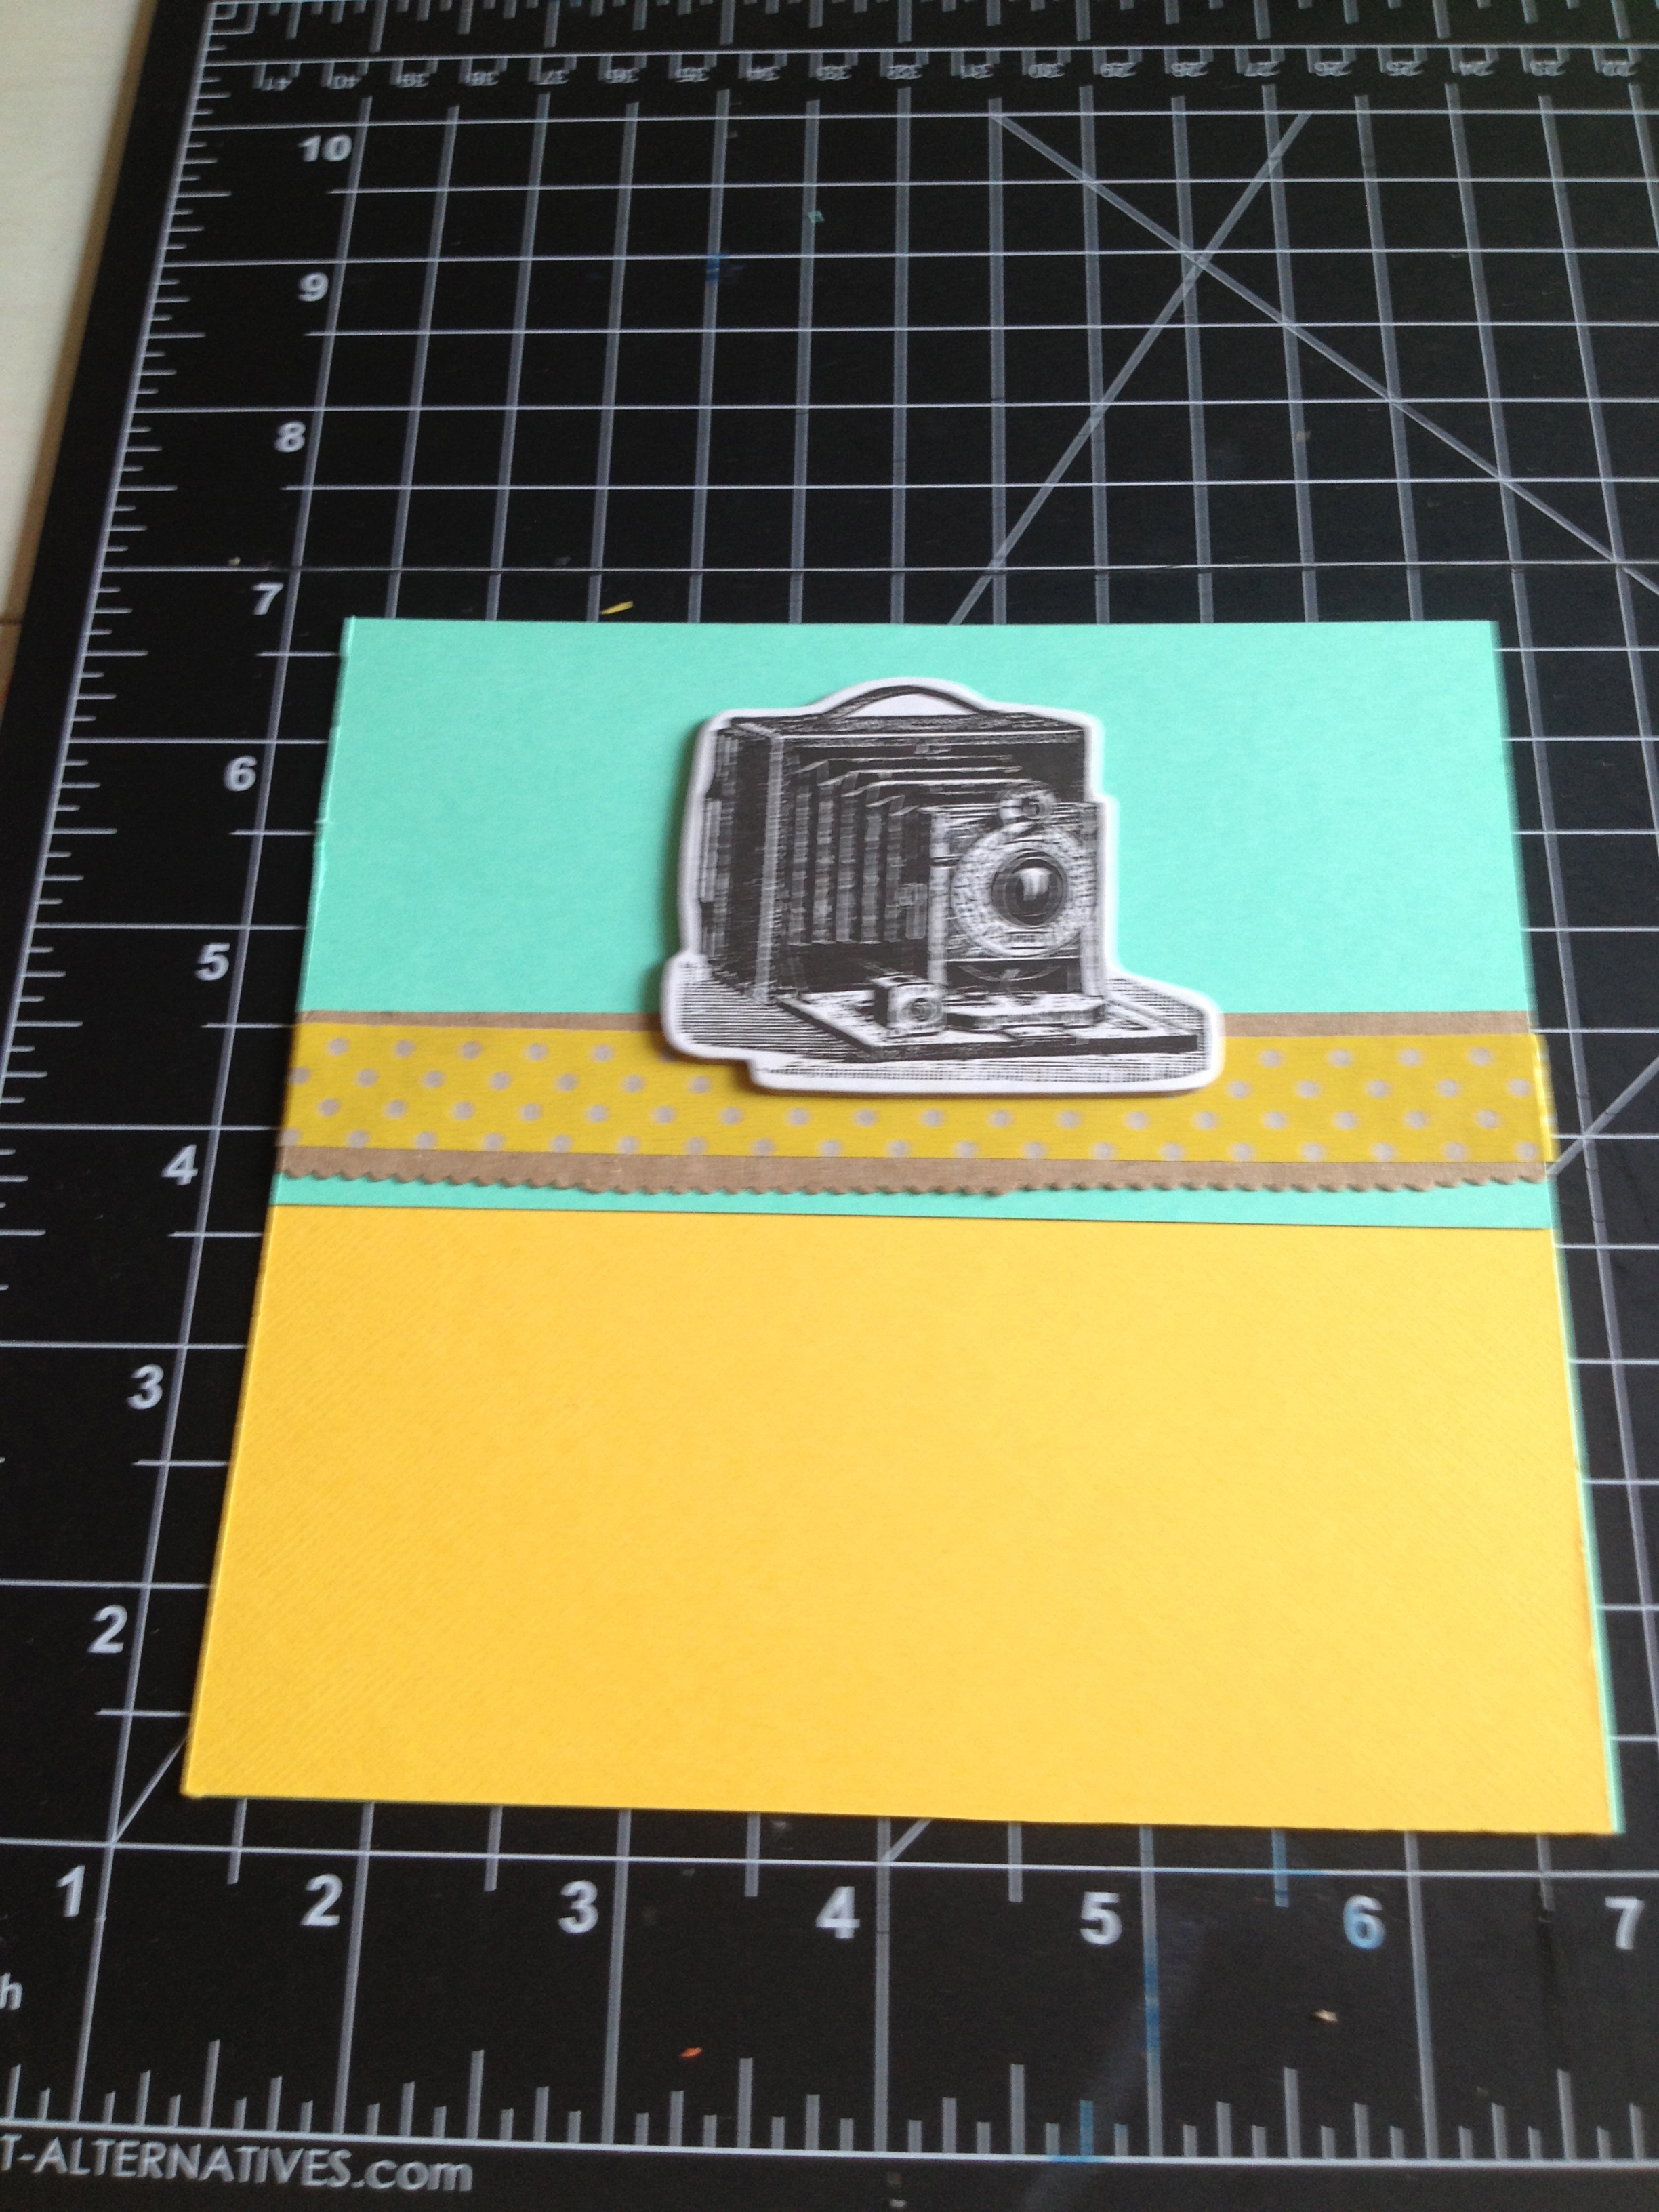
Next is the fun part. You'll take your flowers and arrange them on the front of the card. Don't glue anything to the card base yet. You'll want to cut out some stems and leaves, and then you'll want to try laying everything out until you have an arrangement that feels right. When you're ready, use your hot glue to attach the various pieces, working from the back of the card to the front. I added a strip of pink polka dot ribbon to the bottom of the card. Another alternative is grass!

card8

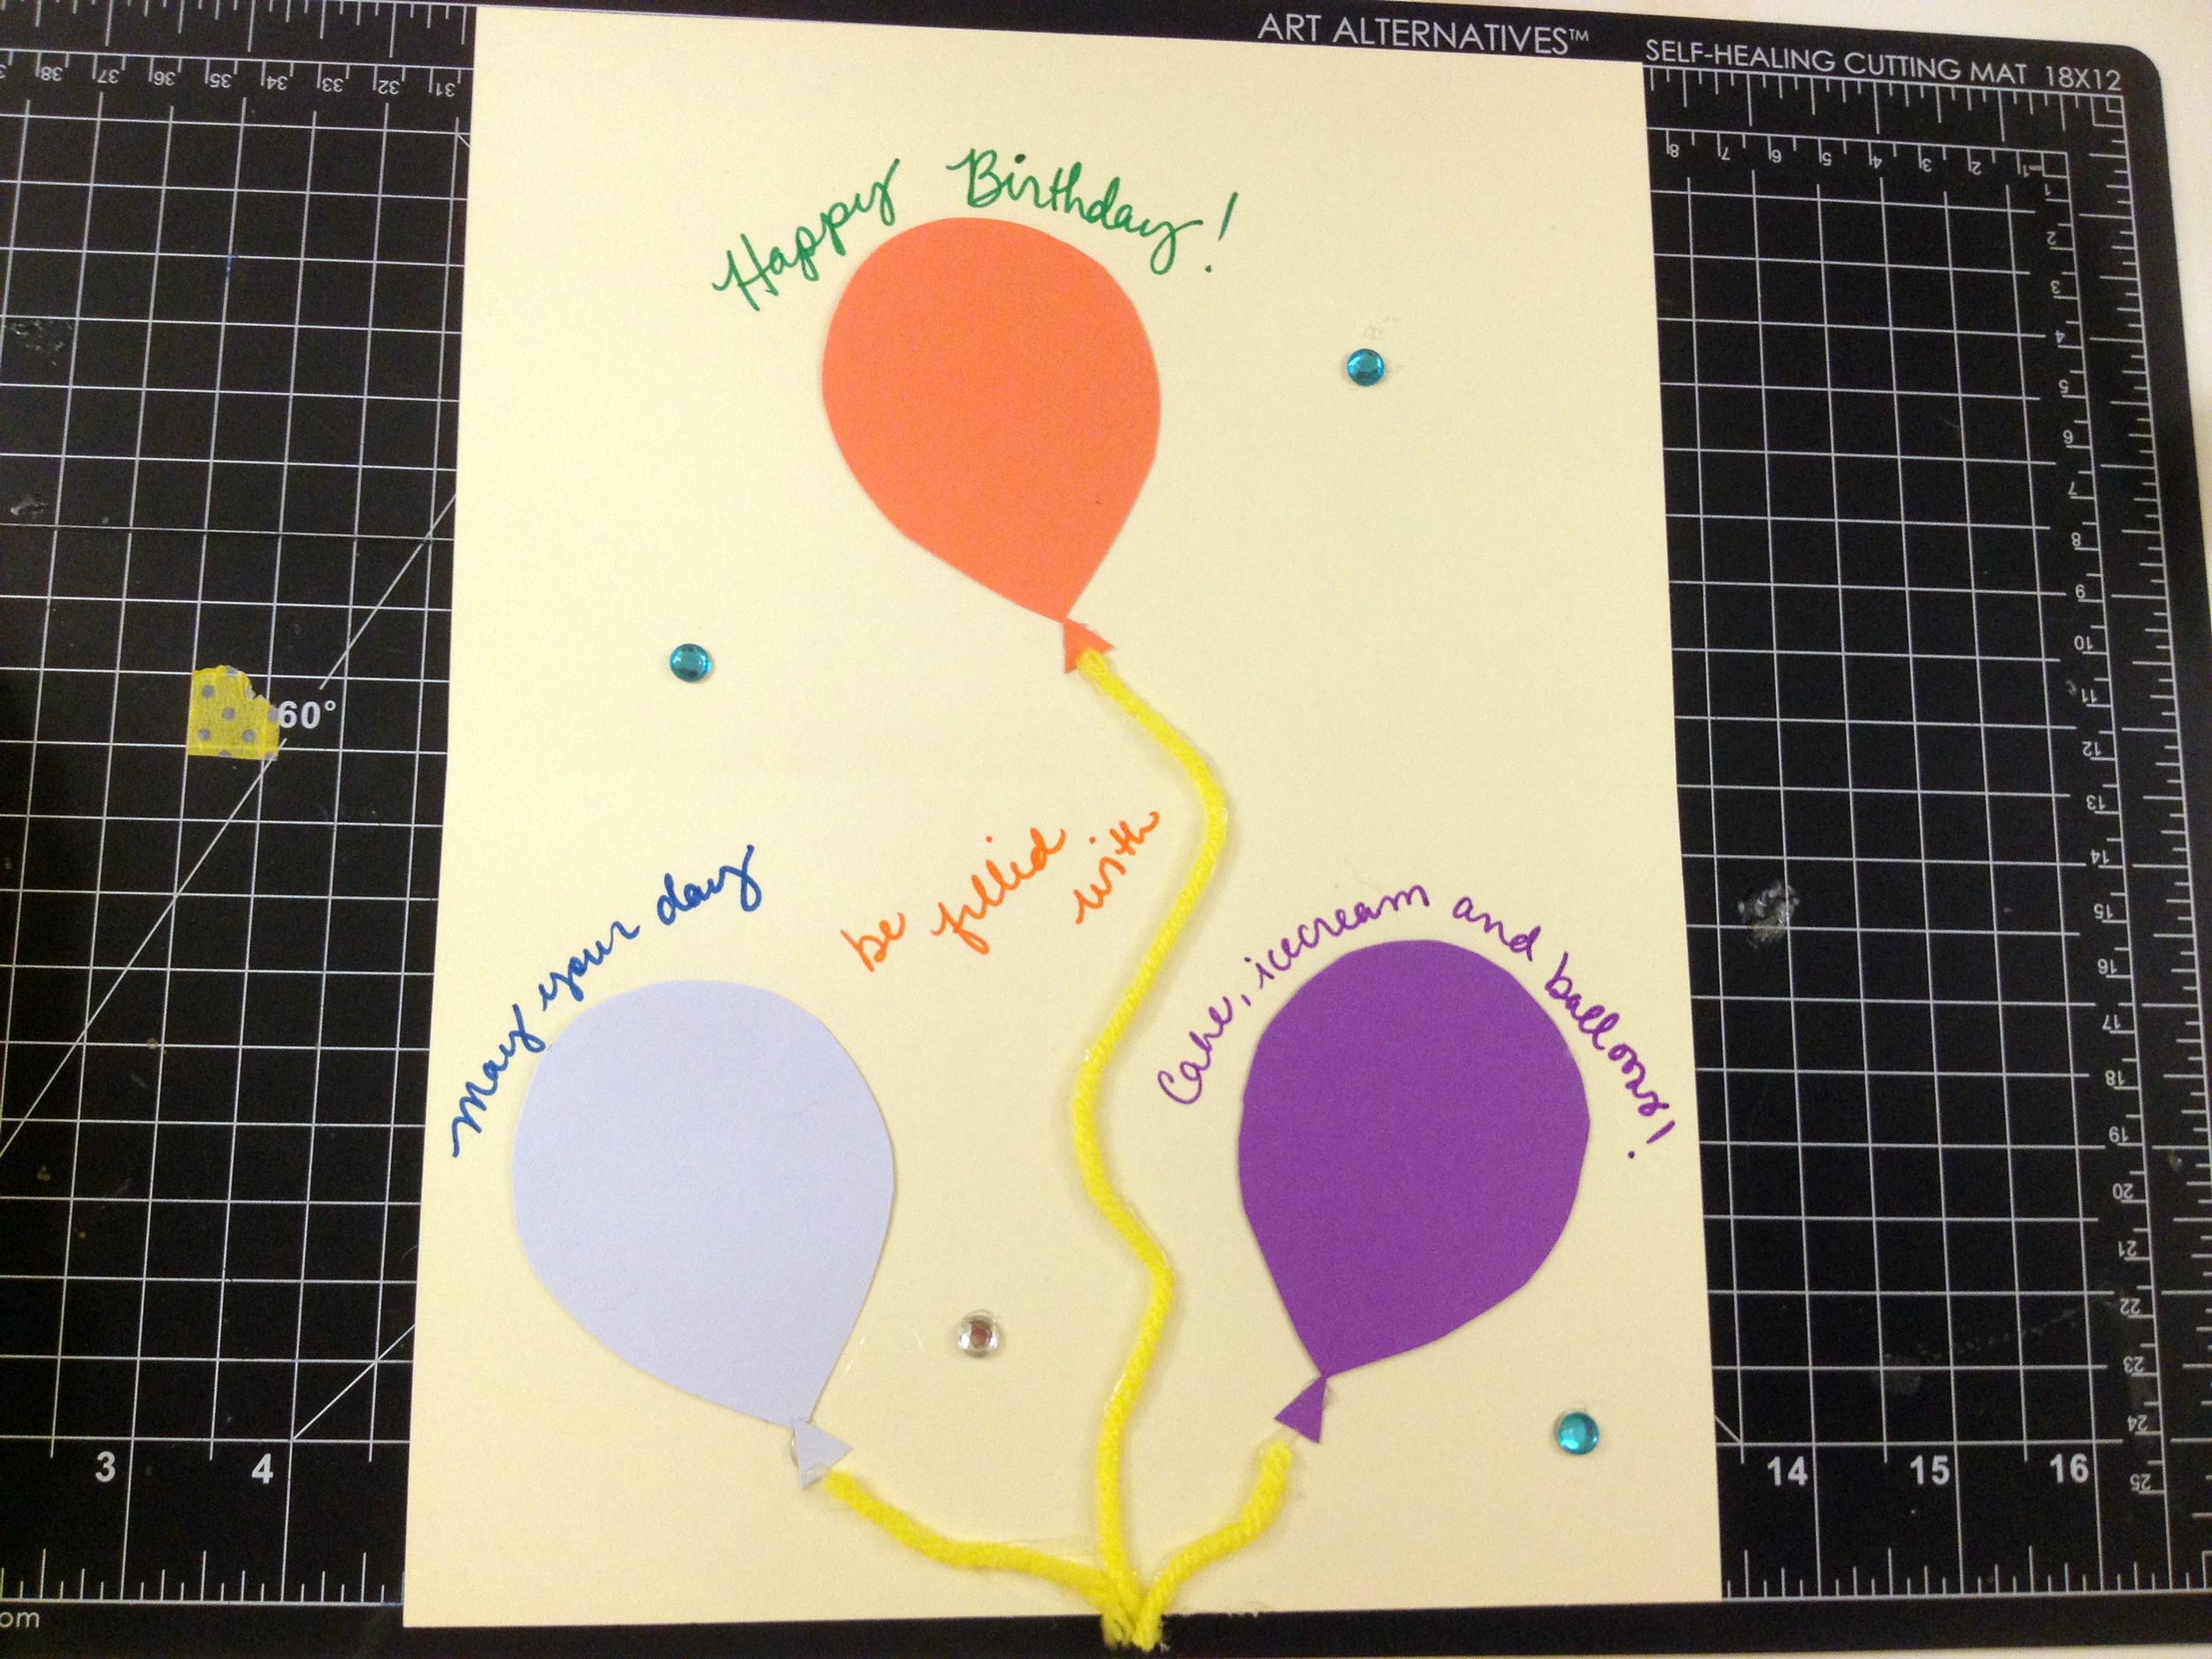
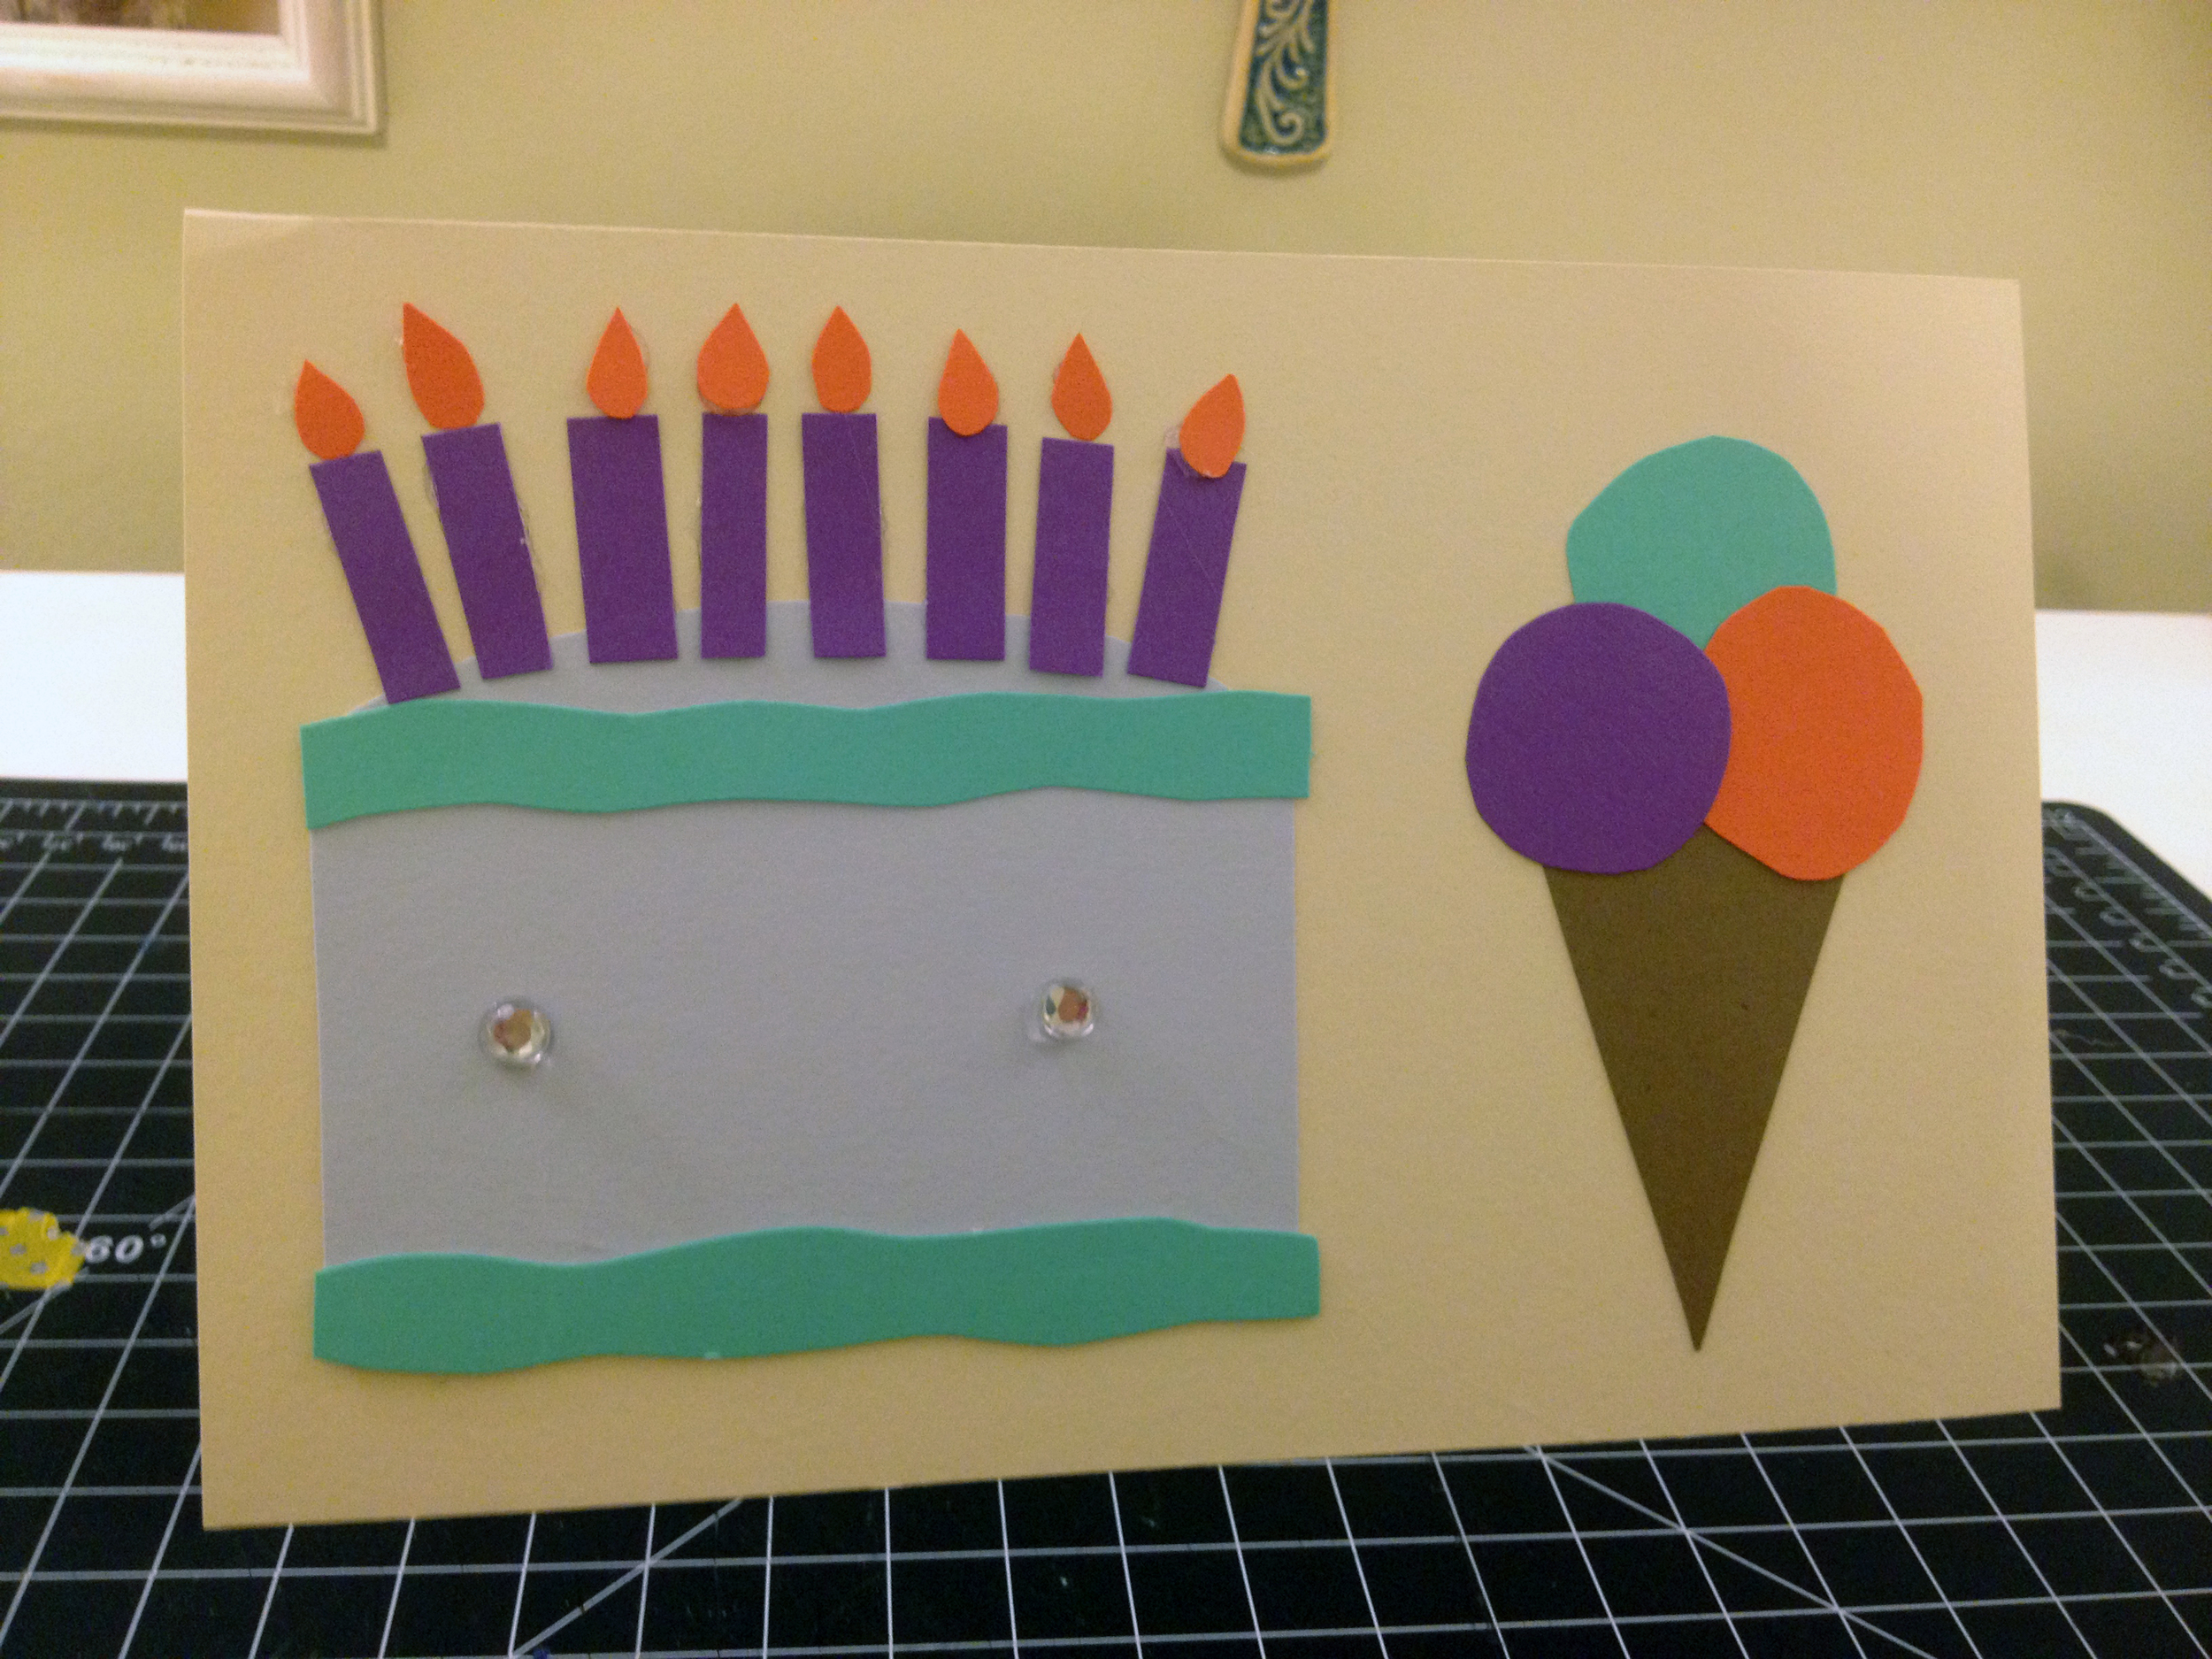
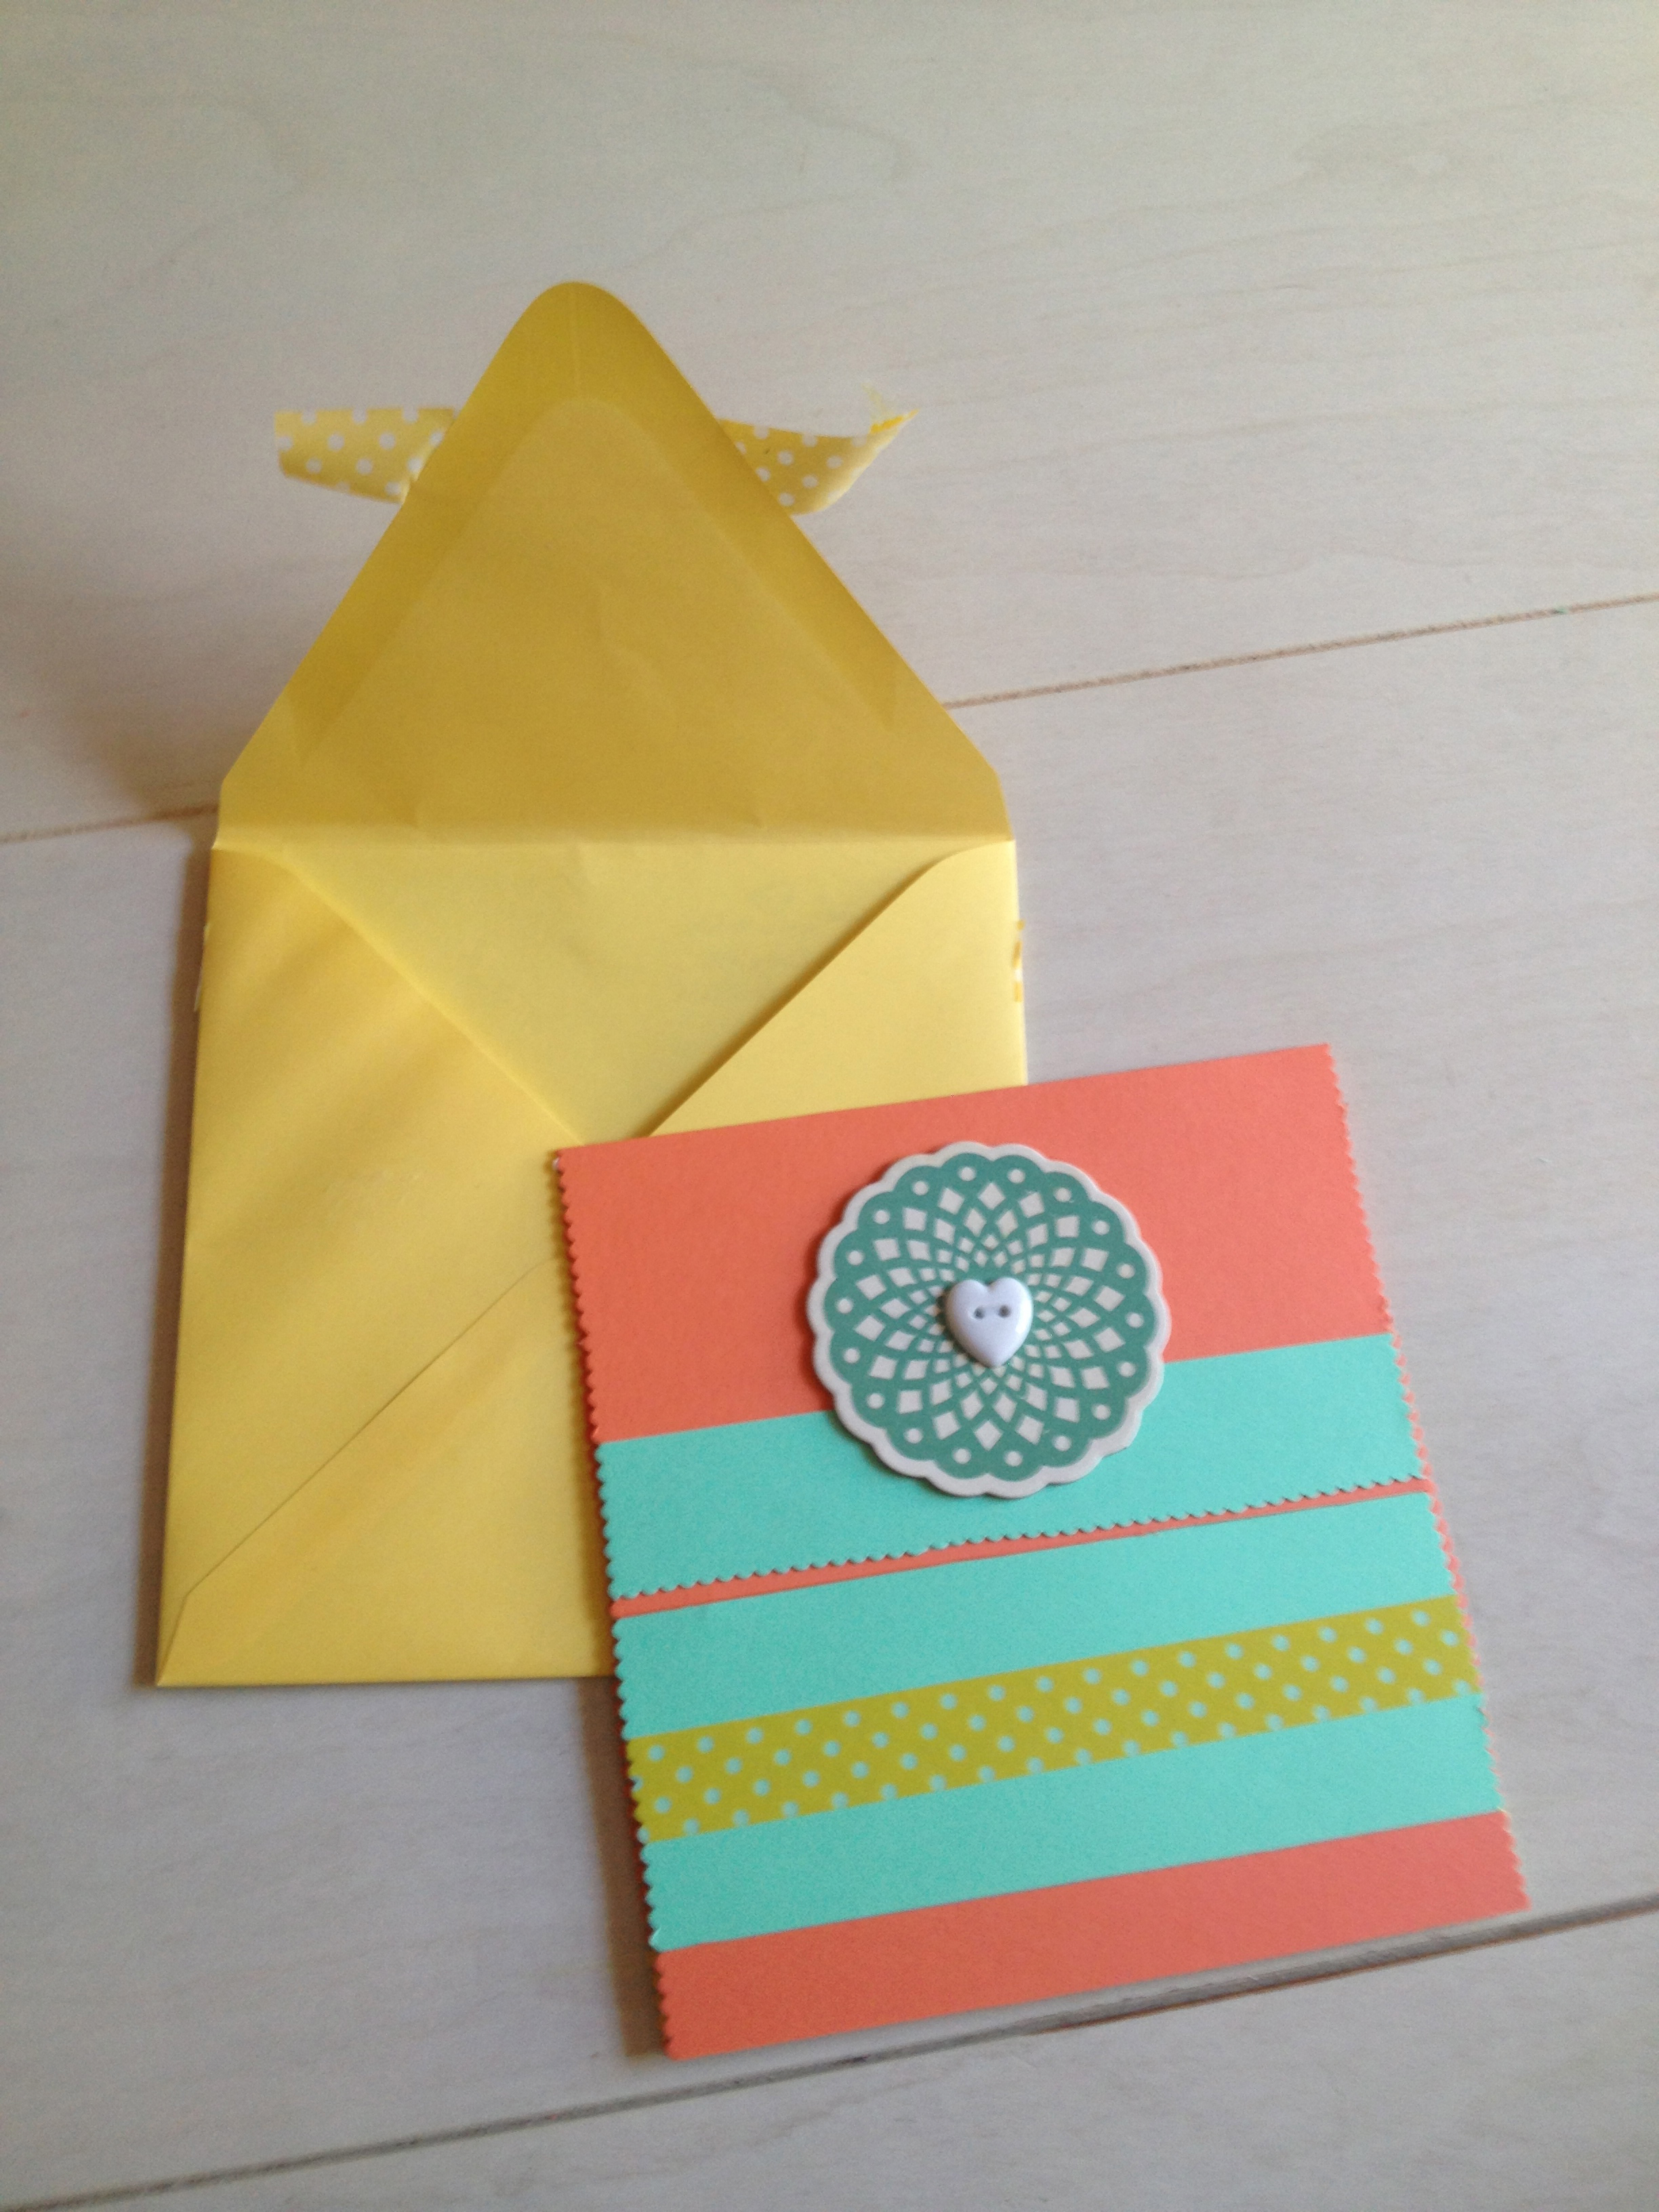
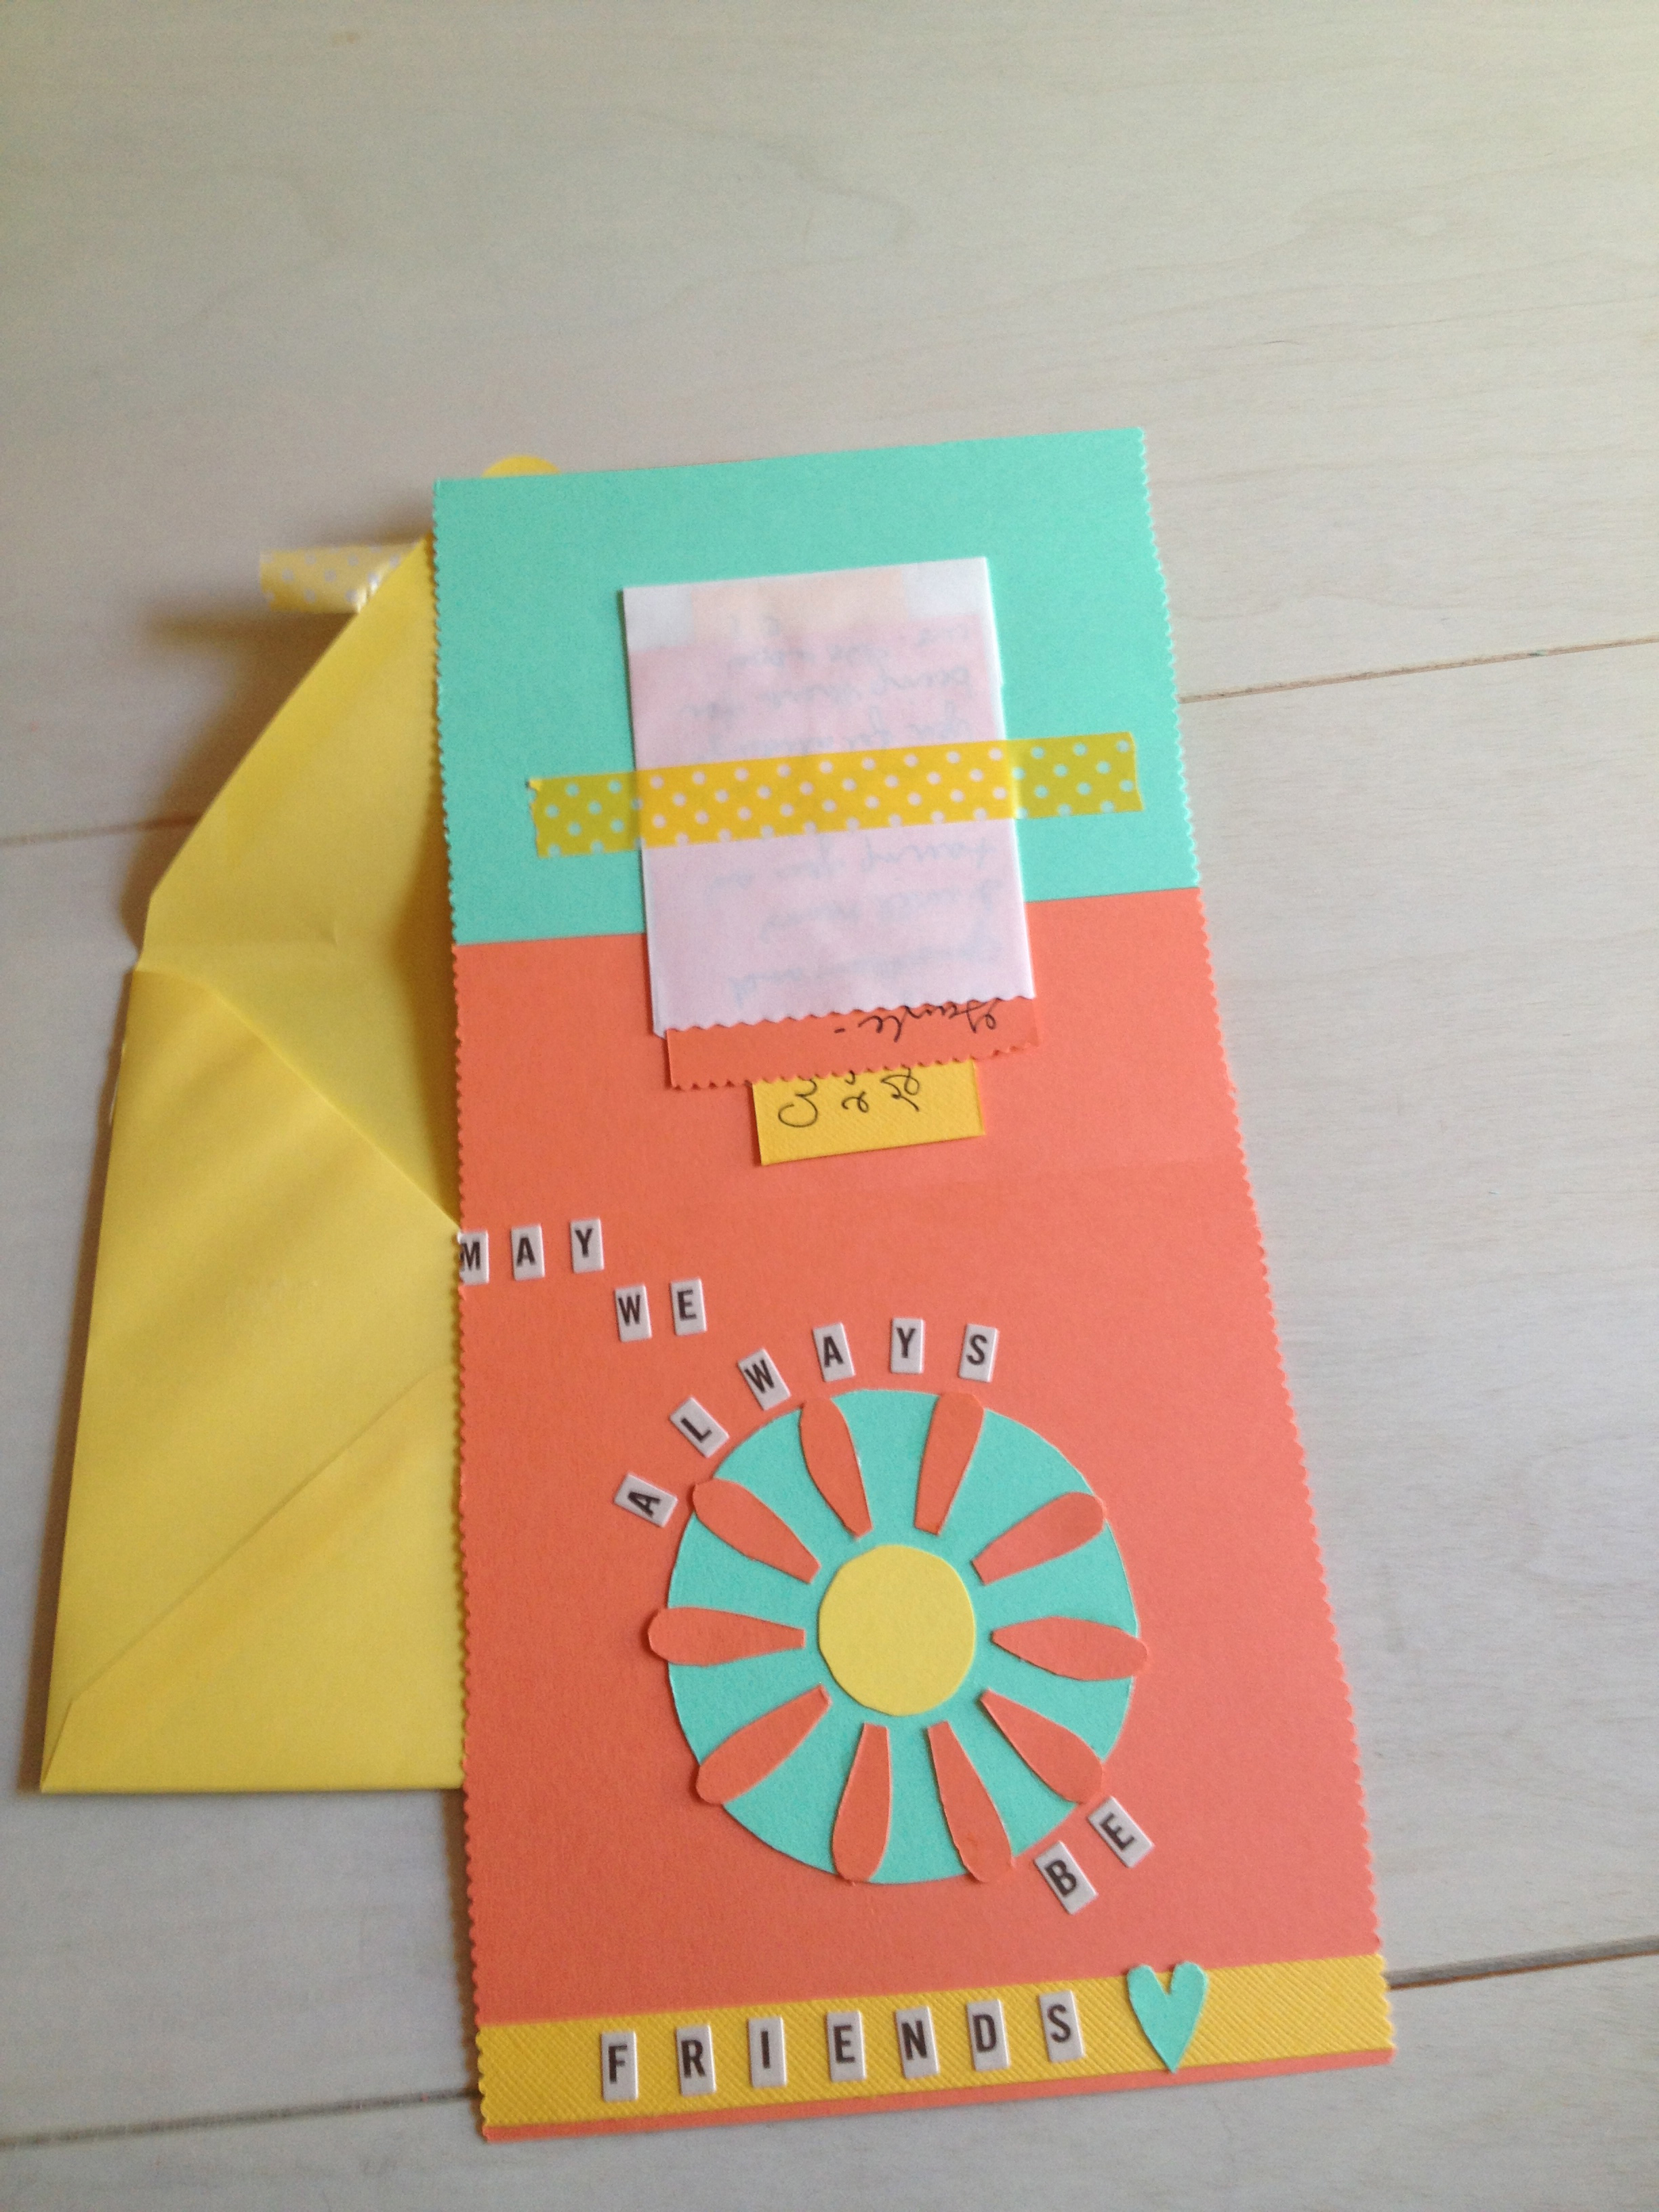
On the inside of the card, I added another piece of card stock in yellow. I scored it (using the same method as I did above), and then I used my patterned scissors to create a fun edge. I added my other two daisies (you'll notice one is a bit more like a pink daffodil) and some more of that polka dot ribbon. Finish your project by adding a personal message using markers or letter stickers. My card became a birthday card, but this card would make a lovely card for Easter, Mother's Day or any spring occasion. 

Happy Spring!

photo 4.JPG

DIY: Handmade Balloon, Cake and Ice Cream Birthday Card

Although I have a fancy (for me) new printer and scanner as of last week, I have been making handmade cards all year and don't want to stop! Here's what you'll need to join me in the card making fun!

- A variety of colored card stock

- An envelope

- A cutting mat

- An Xacto knife

- A metal ruler

- Paper glue

- Basic scissors

- Embellishments (I chose rhinestones)

- Markers (Mine are fine-tip Crayola)

- Yarn

- Hot glue and glue gun

I started by cutting out the shapes. I cut out a cake (a rectangle with one rounded side - color 1), two pieces of icing (long, skinny rectangles with wavy sides - color 2), three balls of ice cream (medium-sized circles - I cut one out, and then traced around it to create the others - color 2, 3 and 4), one ice cream cone (cone shape, of course! - color 5), three balloons (teardrops - color 1, 3 and 4), three balloon ends (tiny triangles - color 1, 3 and 4), 8 candles (tiny rectangles - color 3) and 8 flames (tiny teardrops - color 4).

step1


Use your mat to find the center of your card base (color 6 - 5.5 " for this card), and then score it by running the knife lightly down the center once or twice. Fold in half.


step2


Glue your cake and cone to the front of the card.


step3


Add your icing, ice cream, candles and flames to the front of the card.

step5

On the inside of the card, glue down your balloons and ends.

step6

Using your glue gun, carefully attach the yarn just below each balloon.

step7

Add your message and some rhinestones for sparkle. You could also add glitter glue to each balloon to make your balloons shiny.

step8

To finish out the card, add a few rhinestones to the center of the cake. If you have chip board or sticker letters and/or numbers, you could also add the person's name, birth date or age to the cake. Again, if you like the shiny look, you could also add some glitter glue to the flames.

step9

Here's a personalized version of this card that I made for my sister's birthday earlier this week.

As you can tell, I like shiny!

step10

If a parent cut out the shapes, scored the card and replaced the hot glue with Elmer's glue, a child could definitely assemble this card.

Happy card making!

DIY: handmade "thinking of you" card

What says "I'm thinking of you" more than a handmade card? It's a lovely gesture that is both charming and one of a kind. Today I'll show you how to make a simple card of your very own.

You'll need:

Card stock (I chose teal, yellow and khaki) - An envelopeCutting matXacto knife - A metal ruler - Paper glue - Basic scissors - Several chipboard shapes, a mini paper bag and other embellishments of your choice - Washi tapeCrafting scissors - Sticker letters - Pens (I like Micron and Sharpie)

First, I selected an envelope. I had a 6.5 x 6.5 inch envelope on hand, so I cut my card down to 6.25 x 9.375. Why 9.375? I wanted the front side (3.125) to be half the length of the back (6.25).

step1

To make the fold for my square card, I turned my card sideways, measured off 3.125, lined up my ruler and carefully ran my Xacto knife from the top to the bottom. I only did this once, and it looked like this after I turned it the right way:

step2

Next I cut a piece of yellow card stock to 4 x 6.25.

step3

I ran a strip of paper glue along the top front of the yellow card and attached it to the bottom of the front flap of the teal card. It looked like this:

step4

Next I cut a 2.5 x 6.25 inch piece of khaki card stock and used my crafting scissors to make a scalloped edge along one side. I attached it to the bottom of the front flap of the card with the paper glue, leaving a little bit of the teal peeking out below:

step5

Once the glue dried, I added washi tape for a little extra decoration.

step6

The recipient of my card is a photographer, so I customized the card with a vintage camera chipboard shape I found in my craft drawer. Although the shape had glue on the back, I added a little extra paper glue to make sure it would stay put.

step7

Next I moved to the inside of the card and added another strip of yellow paper (4 x 6.25) to complement the top of the card. Again, I used paper glue to secure it to the middle of the bottom inside panel.

step8

I went back to my crafting stash and found this sweet little paper bag that is the same khaki color as the strip on the front of the card. I glued it down and added some washi tape over the top of it. Next I added another chipboard piece in a teal color, as well as a note in the mini bag for my friend. I tied everything together by using the crafting scissors to add a scallop edge to the top of the note.

step9

step10

I raided the craft drawer one last time and found some sticker letters in a variety of sizes, so I used them to add my message to the top inside panel.

step11

As my envelope was yellow, I cut another piece of teal card stock to 6.5 x 6.5 inches and glued it to the front of the envelope. For a final touch, I added another strip of washi tape across the top. I also sealed the envelope with washi tape. It's the best!

When it comes to card making, the possibilities are endless. Here's another card I recently made that uses a similar design but different colors...

option2outside

Remember that when it comes to handmade card making, it's the thought that matters most!

option2inside