diy greeting card

simple handmade graduation card

Everyone knows at least one person who is graduating from school (whether it's preschool, grad school or somewhere in between), so let's make a handmade card in honor of the occasion. Here's what you'll need to join me in the card making fun:

A variety of colored card stock -- I used dark gray, light gray, light blue, pale yellow and goldenrod

An envelope

A cutting mat

An Xacto knife

- A metal ruler

- Paper glue

- Basic scissors

- Markers (Mine are fine-tip Crayola)

- Yarn

-Fabric tape

- Hot glue and glue gun

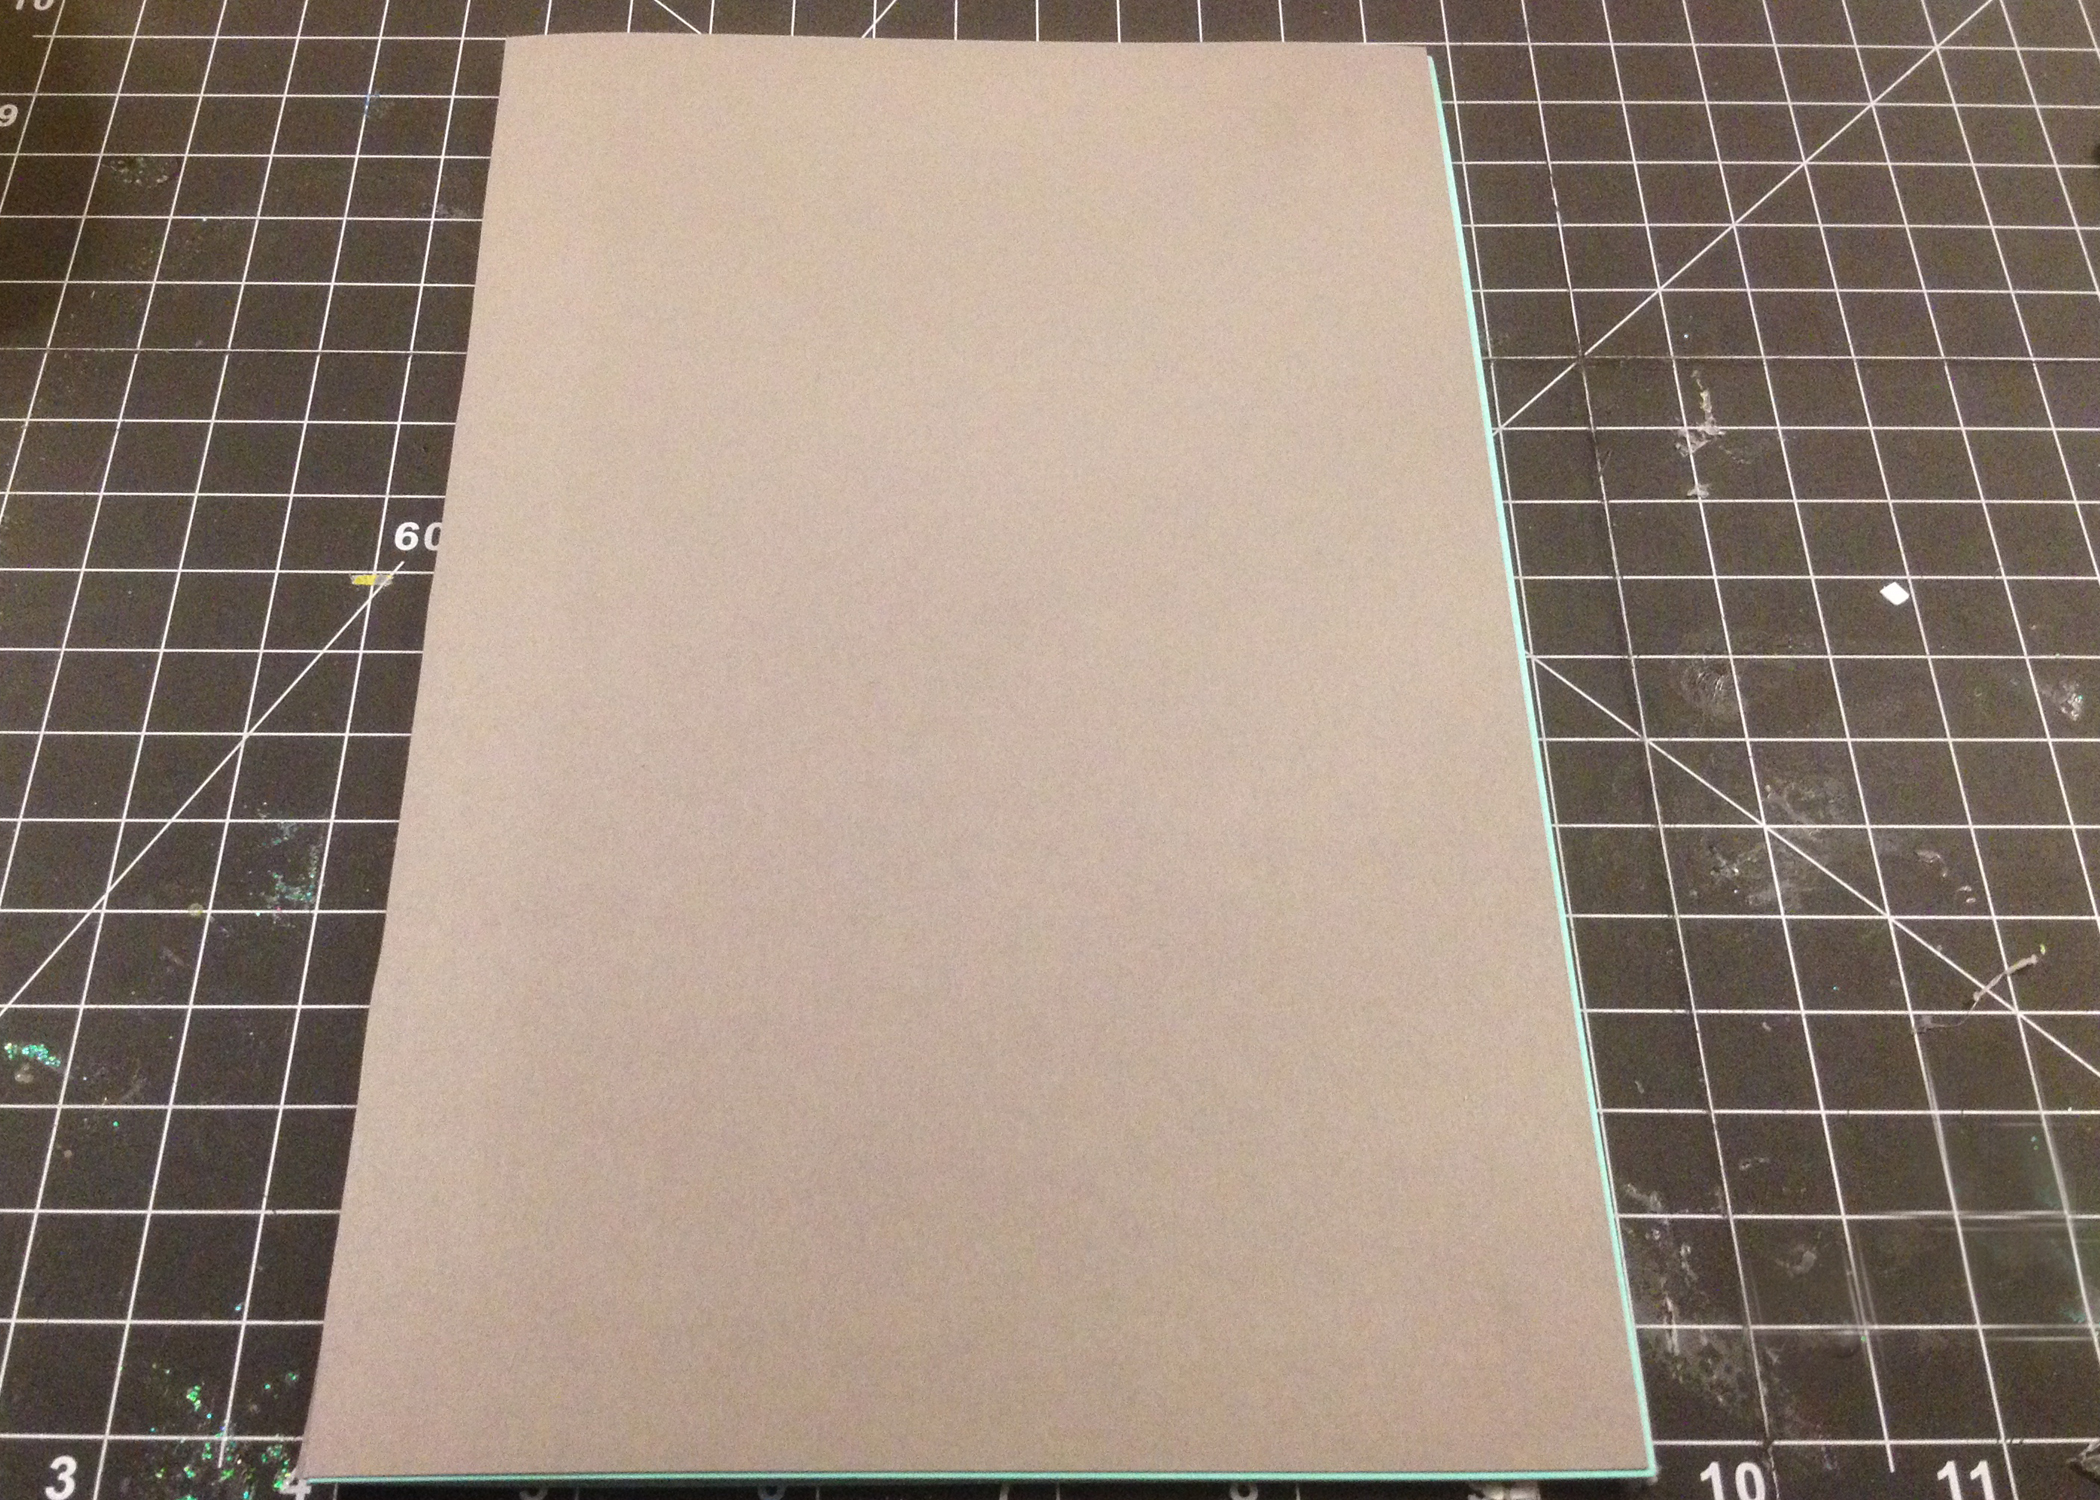
Use your mat to find the center of your card base (color 6 - 5.5 " for this card), and then score it by running the knife lightly down the center once or twice. Fold in half. I wanted the inside of my card to be a different color, so I did this twice and then glued the sheets together with the paper glue.

photo 1.JPG

Next I cut out the shapes. I cut out an off-center large diamond shape, a rectangle, four small stars, three large stars and three shooting star tails (each 2.5 inches long and slightly curved). I freehanded one large and small star, and then I traced around them to make the rest of the stars. 

gradcard2

Next I made the tassel for the cap. Cut four one-inch pieces of yarn and tie them together with a 3.5 inch piece of yarn. If you want to make a more advanced tassel, don't cut your one-inch pieces -- simply wind them back and forth and tie them off with the same piece of string. It's a little more complicated, but it looks more like a tassel.

gradcard3

For the front of the card, I used the hot glue gun to adhere my shapes because I like the 3-D effect. I also added a piece of fabric tape along the side. 

photo 9.JPG

On the inside of the card, I laid out my three stars. I used hot glue to attach the stars and paper glue to attach the star tails. To pull the design together, I added another piece of fabric tape along the bottom.

gradcard4

This might be the easiest card ever. Happy card-making, everyone!

photo 7.JPG

make a spring flowers greeting card

It's been a while since I shared a handmade greeting card. Winter certainly didn't offer much inspiration for DIY craft projects. Not surprisingly, as soon as spring officially sprung, an idea for a greeting card that celebrates the fresh colors and flowers of the season popped into my mind. Daffodils, tulips and daisies are some of my favorite spring flowers, so I decided to use them for this card. 

Here's how to create your own spring flowers greeting card.

You'll need:

A variety of colored card stock - In this case, two shades of green, two shades of yellow and two shades of pink

An envelope

A cutting mat

An Xacto knife

- A metal ruler

- Paper glue and/or hot glue

- Basic scissors

-Pattern scissors

- Embellishments of your choice (I used polka dot ribbon)

- Sticker letters or markers

Start by using your mat to find the center of your card base (5.5 ” for this card). Then score it by running the knife lightly down the center once or twice. 

photo 1.JPG

Fold in half.

photo 2.JPG

To make a daffodil, cut six tear shapes and one flower shape. I suggest tracing the shapes in pencil before you start cutting. It definitely makes things easier! I made two daffodils -- one with lighter colored petals and one with darker colored petals. One was slightly bigger than the other.

photo 6.JPG

Use hot glue to put them together. I like using the hot glue to make the flowers because it gives them more of a 3D look. 

photo 10.JPG

Next we're going to make our tulip shape. I cut the center piece first, and then used it to trace two half pieces that will become the outer petals. I'm not sure what these shapes would be called, but you get the idea!

photo 11.JPG

Again, you'll use hot glue to adhere them together. The outer petals should slightly overlap, and the center piece should be visible.

card5

Next we're going to make some daisies. The daisies are similar to the daffodils, except their petals are oblong instead of tear-shaped. They have a round center. I made three daisies using different colors. Hot glue the flower parts together. 

photo 7.JPG

Next is the fun part. You'll take your flowers and arrange them on the front of the card. Don't glue anything to the card base yet. You'll want to cut out some stems and leaves, and then you'll want to try laying everything out until you have an arrangement that feels right. When you're ready, use your hot glue to attach the various pieces, working from the back of the card to the front. I added a strip of pink polka dot ribbon to the bottom of the card. Another alternative is grass!

card8

On the inside of the card, I added another piece of card stock in yellow. I scored it (using the same method as I did above), and then I used my patterned scissors to create a fun edge. I added my other two daisies (you'll notice one is a bit more like a pink daffodil) and some more of that polka dot ribbon. Finish your project by adding a personal message using markers or letter stickers. My card became a birthday card, but this card would make a lovely card for Easter, Mother's Day or any spring occasion. 

Happy Spring!

photo 4.JPG