What says "I'm thinking of you" more than a handmade card? It's a lovely gesture that is both charming and one of a kind. Today I'll show you how to make a simple card of your very own.
You'll need:
- Card stock (I chose teal, yellow and khaki) - An envelope - Cutting mat - Xacto knife - A metal ruler - Paper glue - Basic scissors - Several chipboard shapes, a mini paper bag and other embellishments of your choice - Washi tape - Crafting scissors - Sticker letters - Pens (I like Micron and Sharpie)
First, I selected an envelope. I had a 6.5 x 6.5 inch envelope on hand, so I cut my card down to 6.25 x 9.375. Why 9.375? I wanted the front side (3.125) to be half the length of the back (6.25).

To make the fold for my square card, I turned my card sideways, measured off 3.125, lined up my ruler and carefully ran my Xacto knife from the top to the bottom. I only did this once, and it looked like this after I turned it the right way:

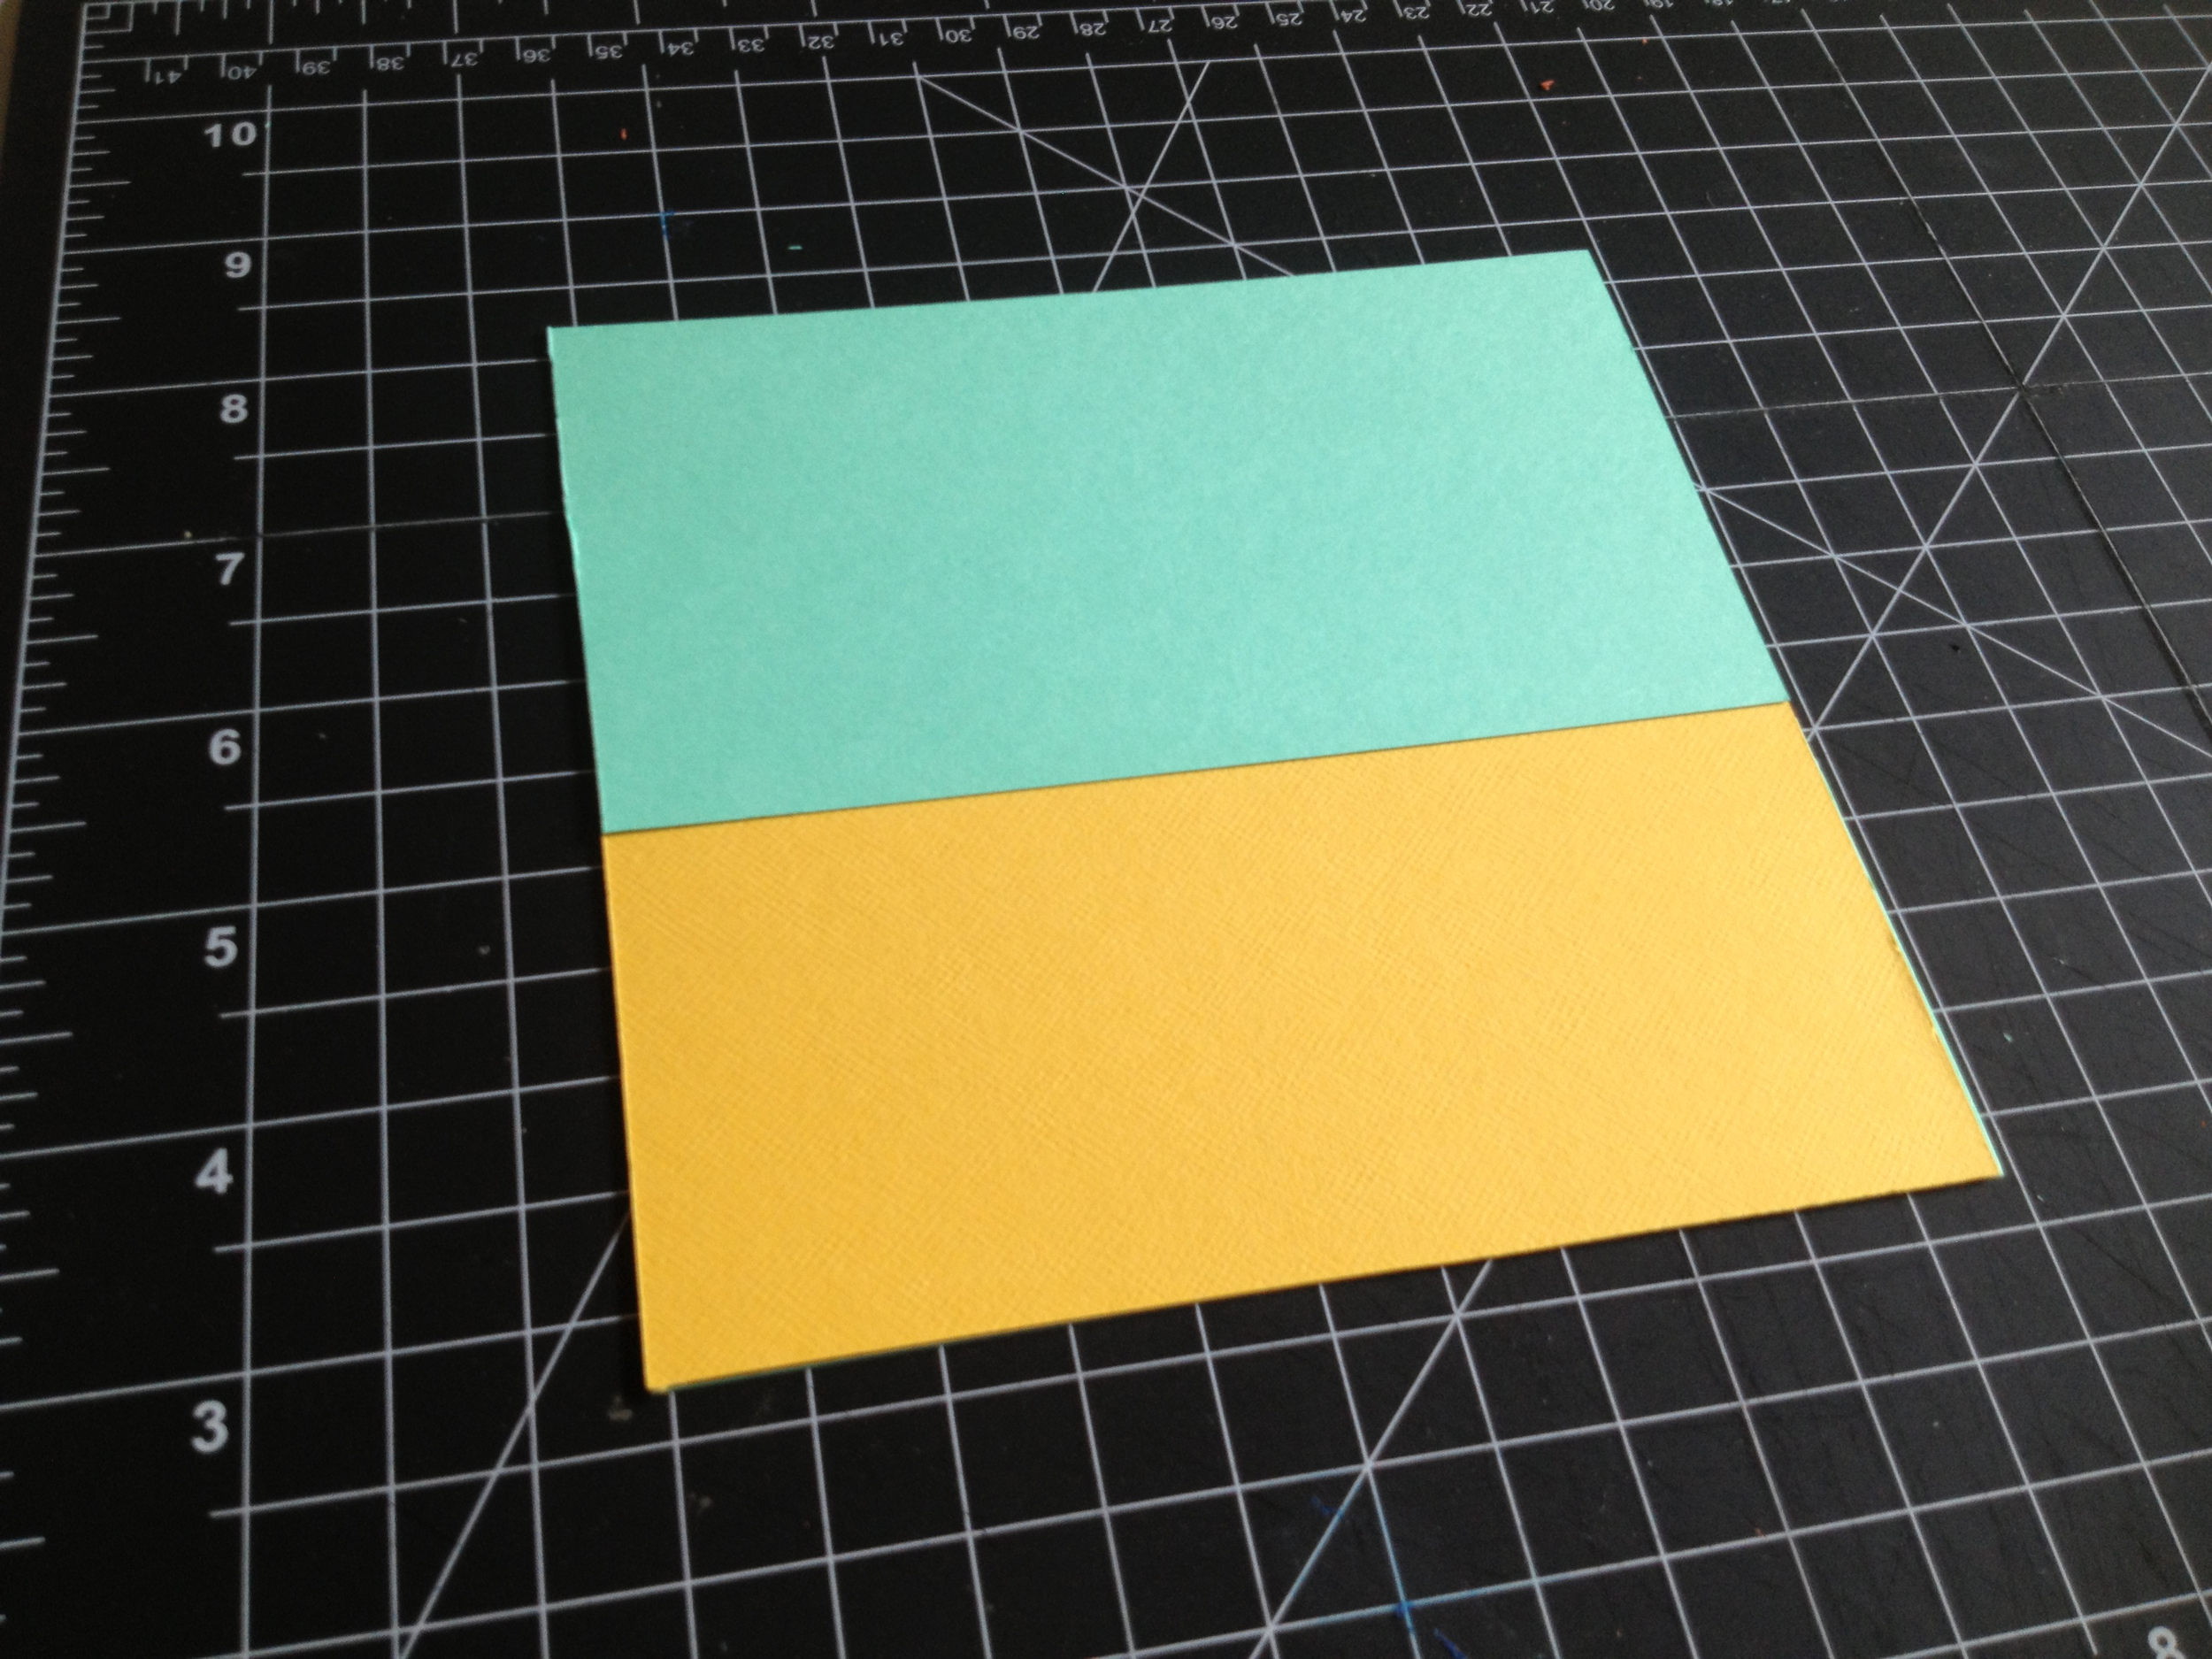
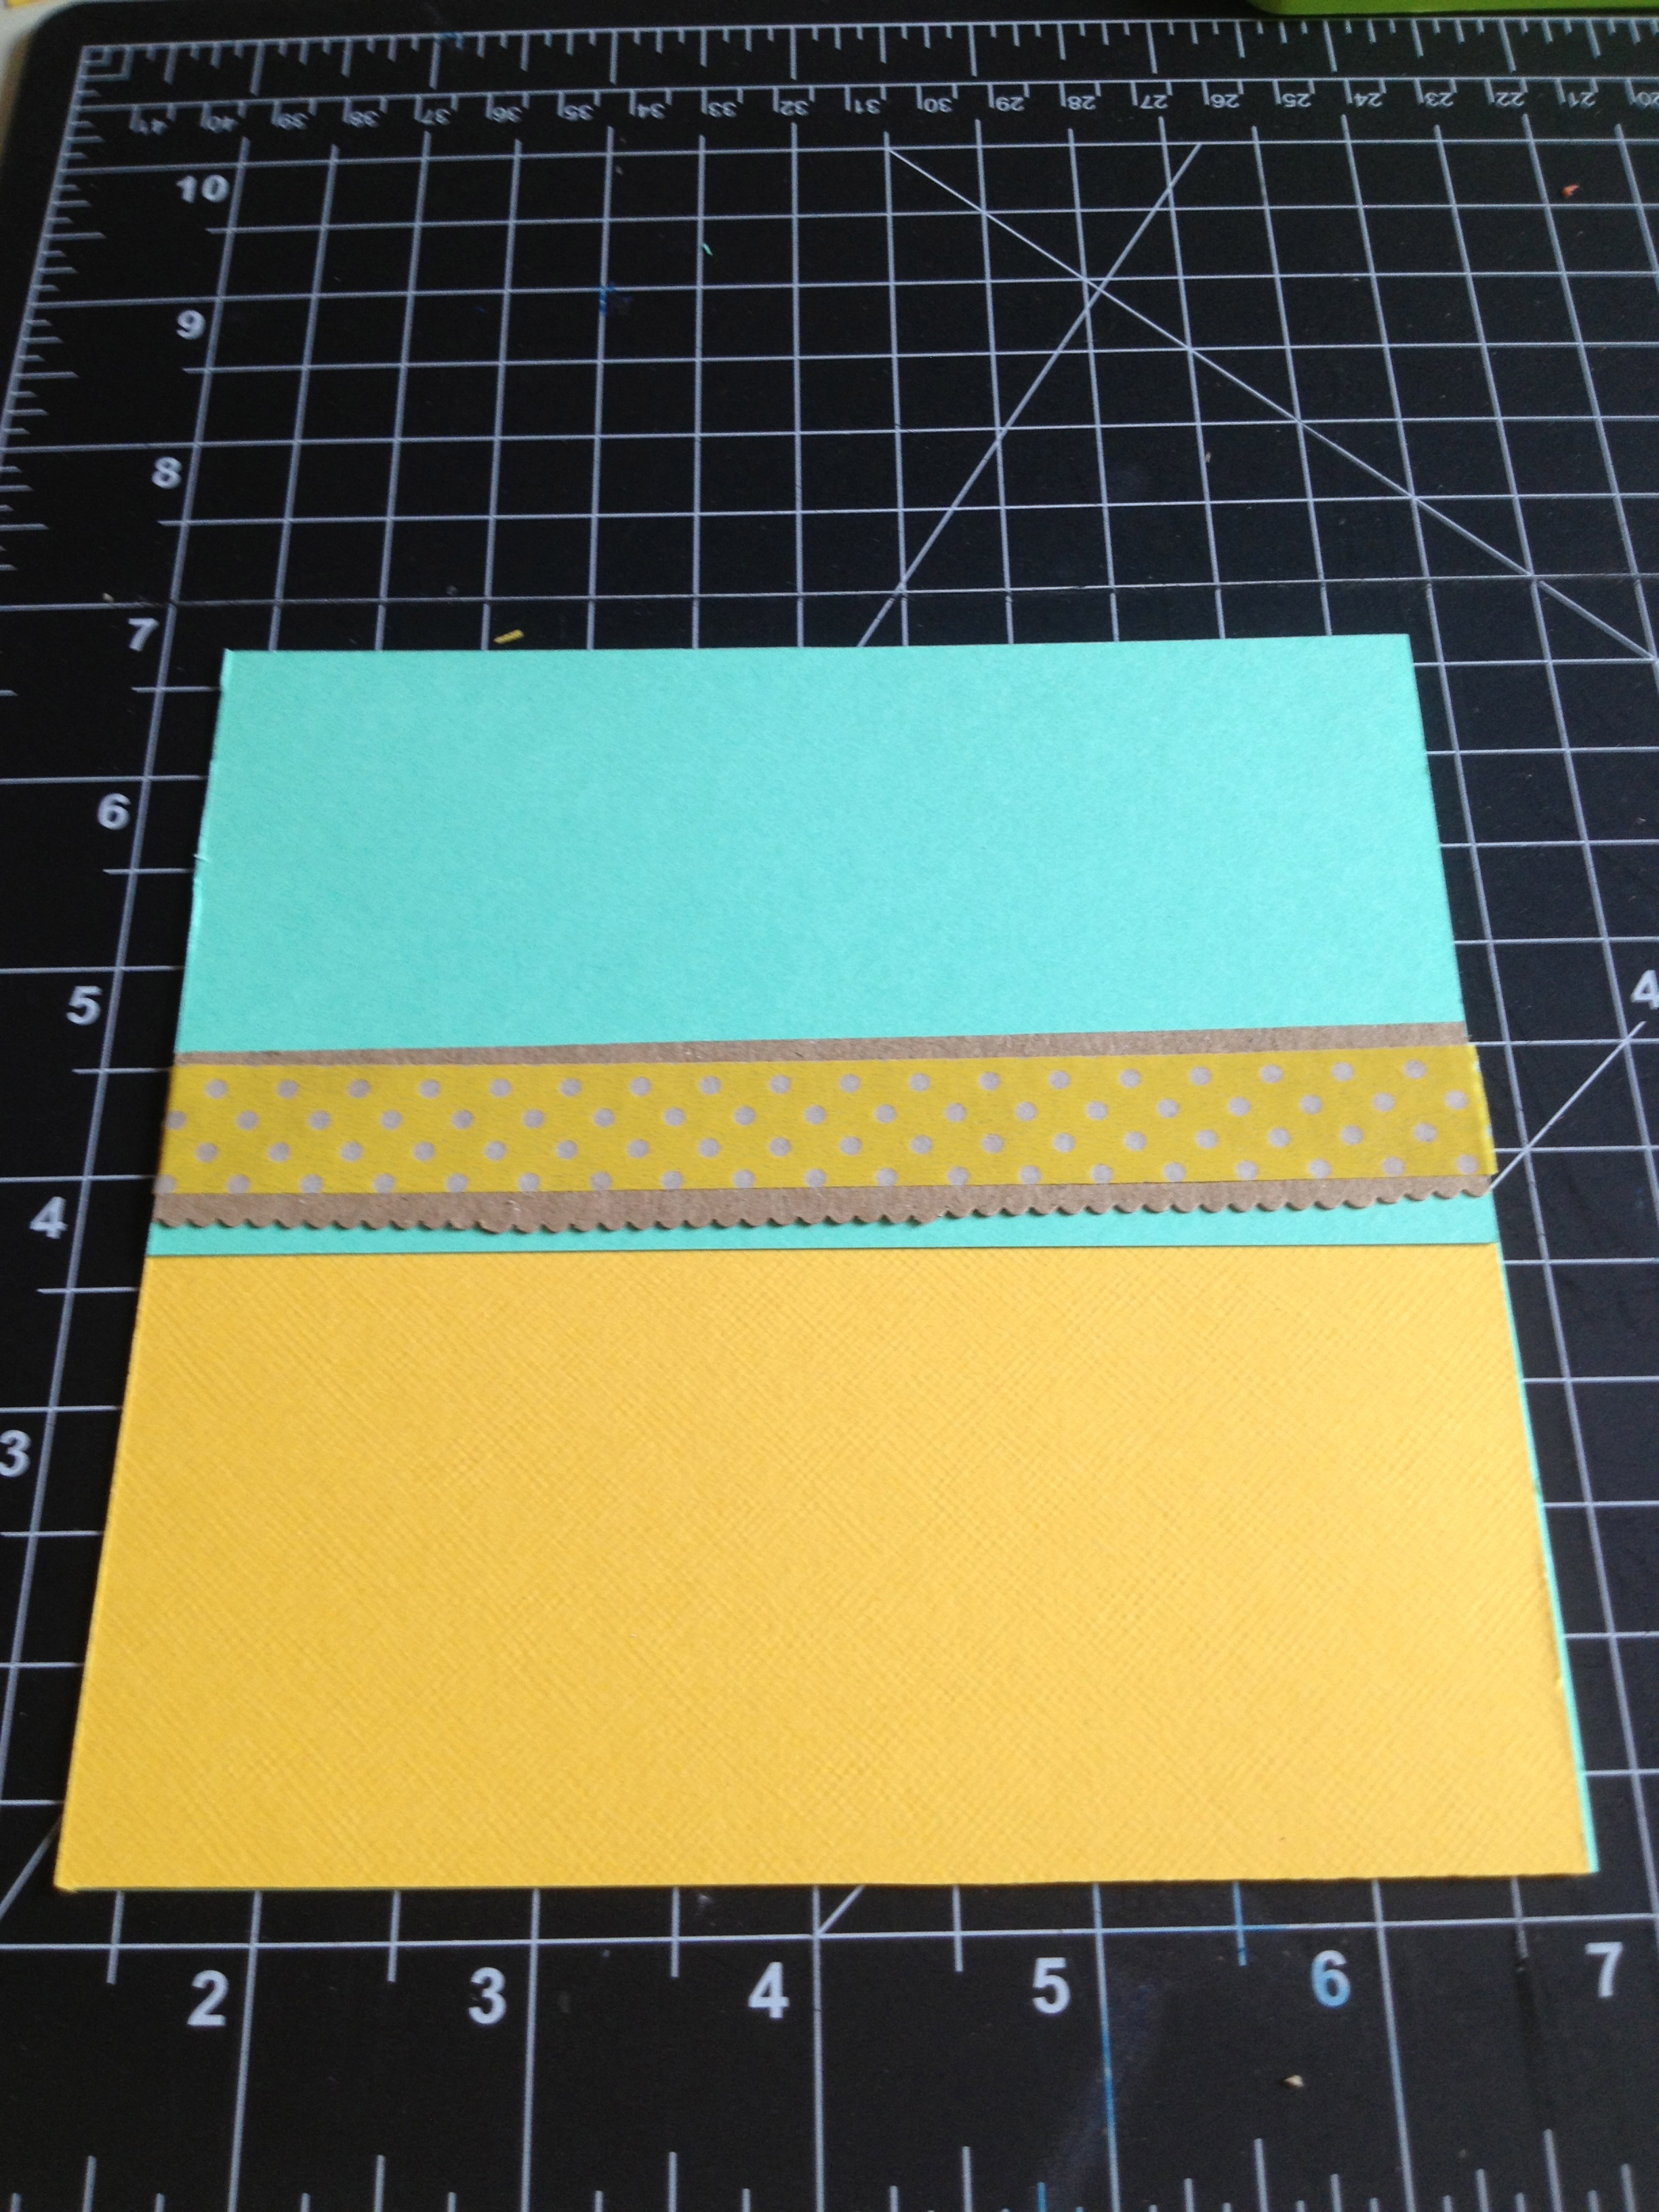
Next I cut a piece of yellow card stock to 4 x 6.25.

I ran a strip of paper glue along the top front of the yellow card and attached it to the bottom of the front flap of the teal card. It looked like this:
Next I cut a 2.5 x 6.25 inch piece of khaki card stock and used my crafting scissors to make a scalloped edge along one side. I attached it to the bottom of the front flap of the card with the paper glue, leaving a little bit of the teal peeking out below:
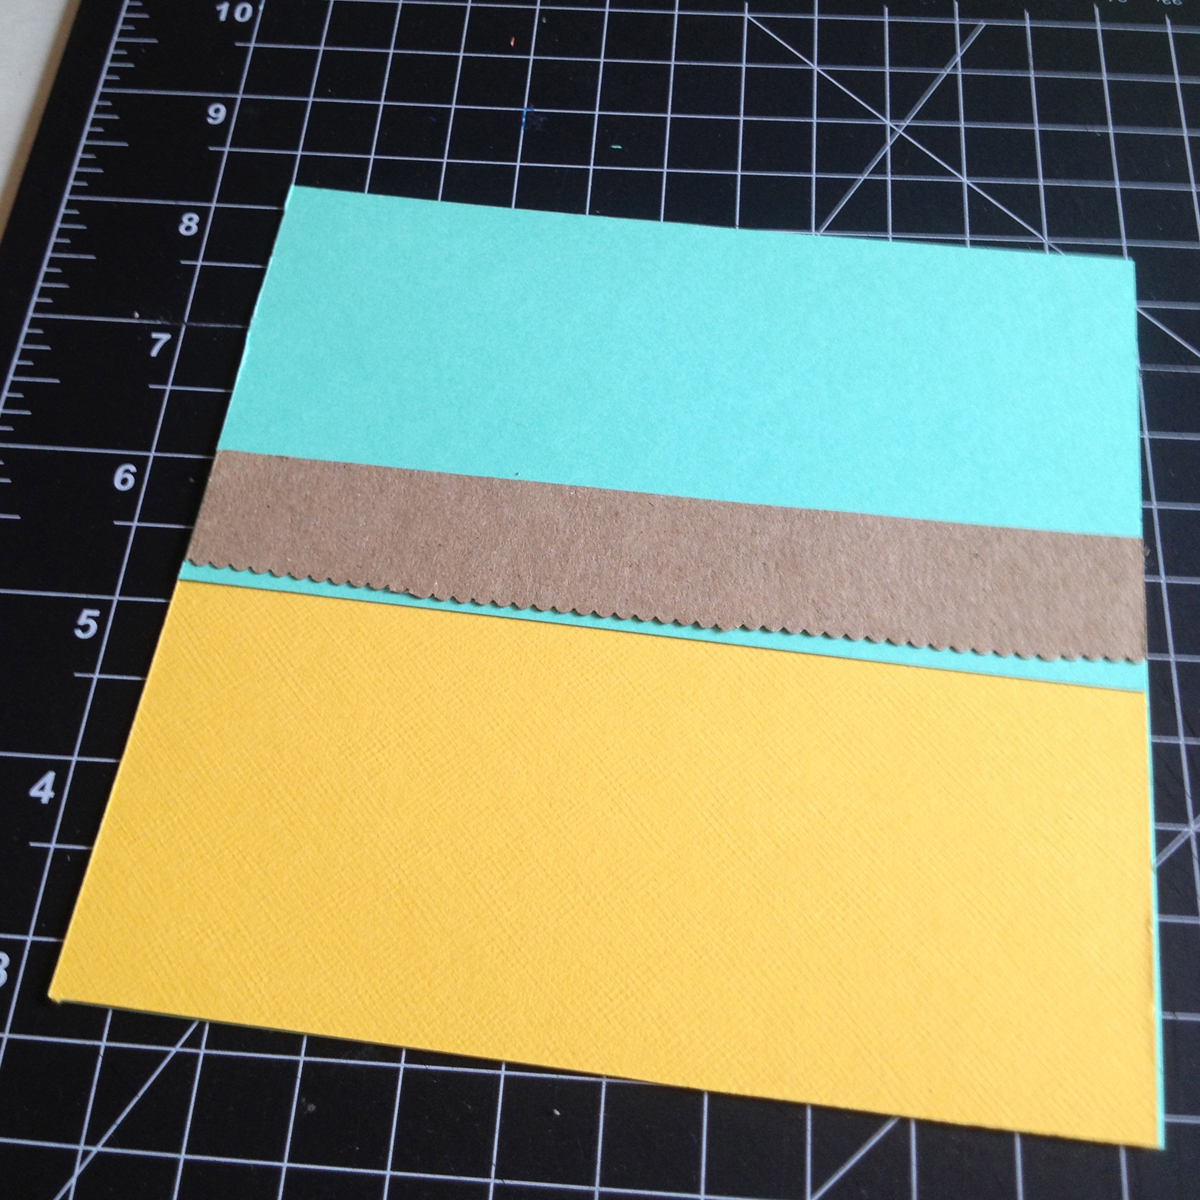
Once the glue dried, I added washi tape for a little extra decoration.
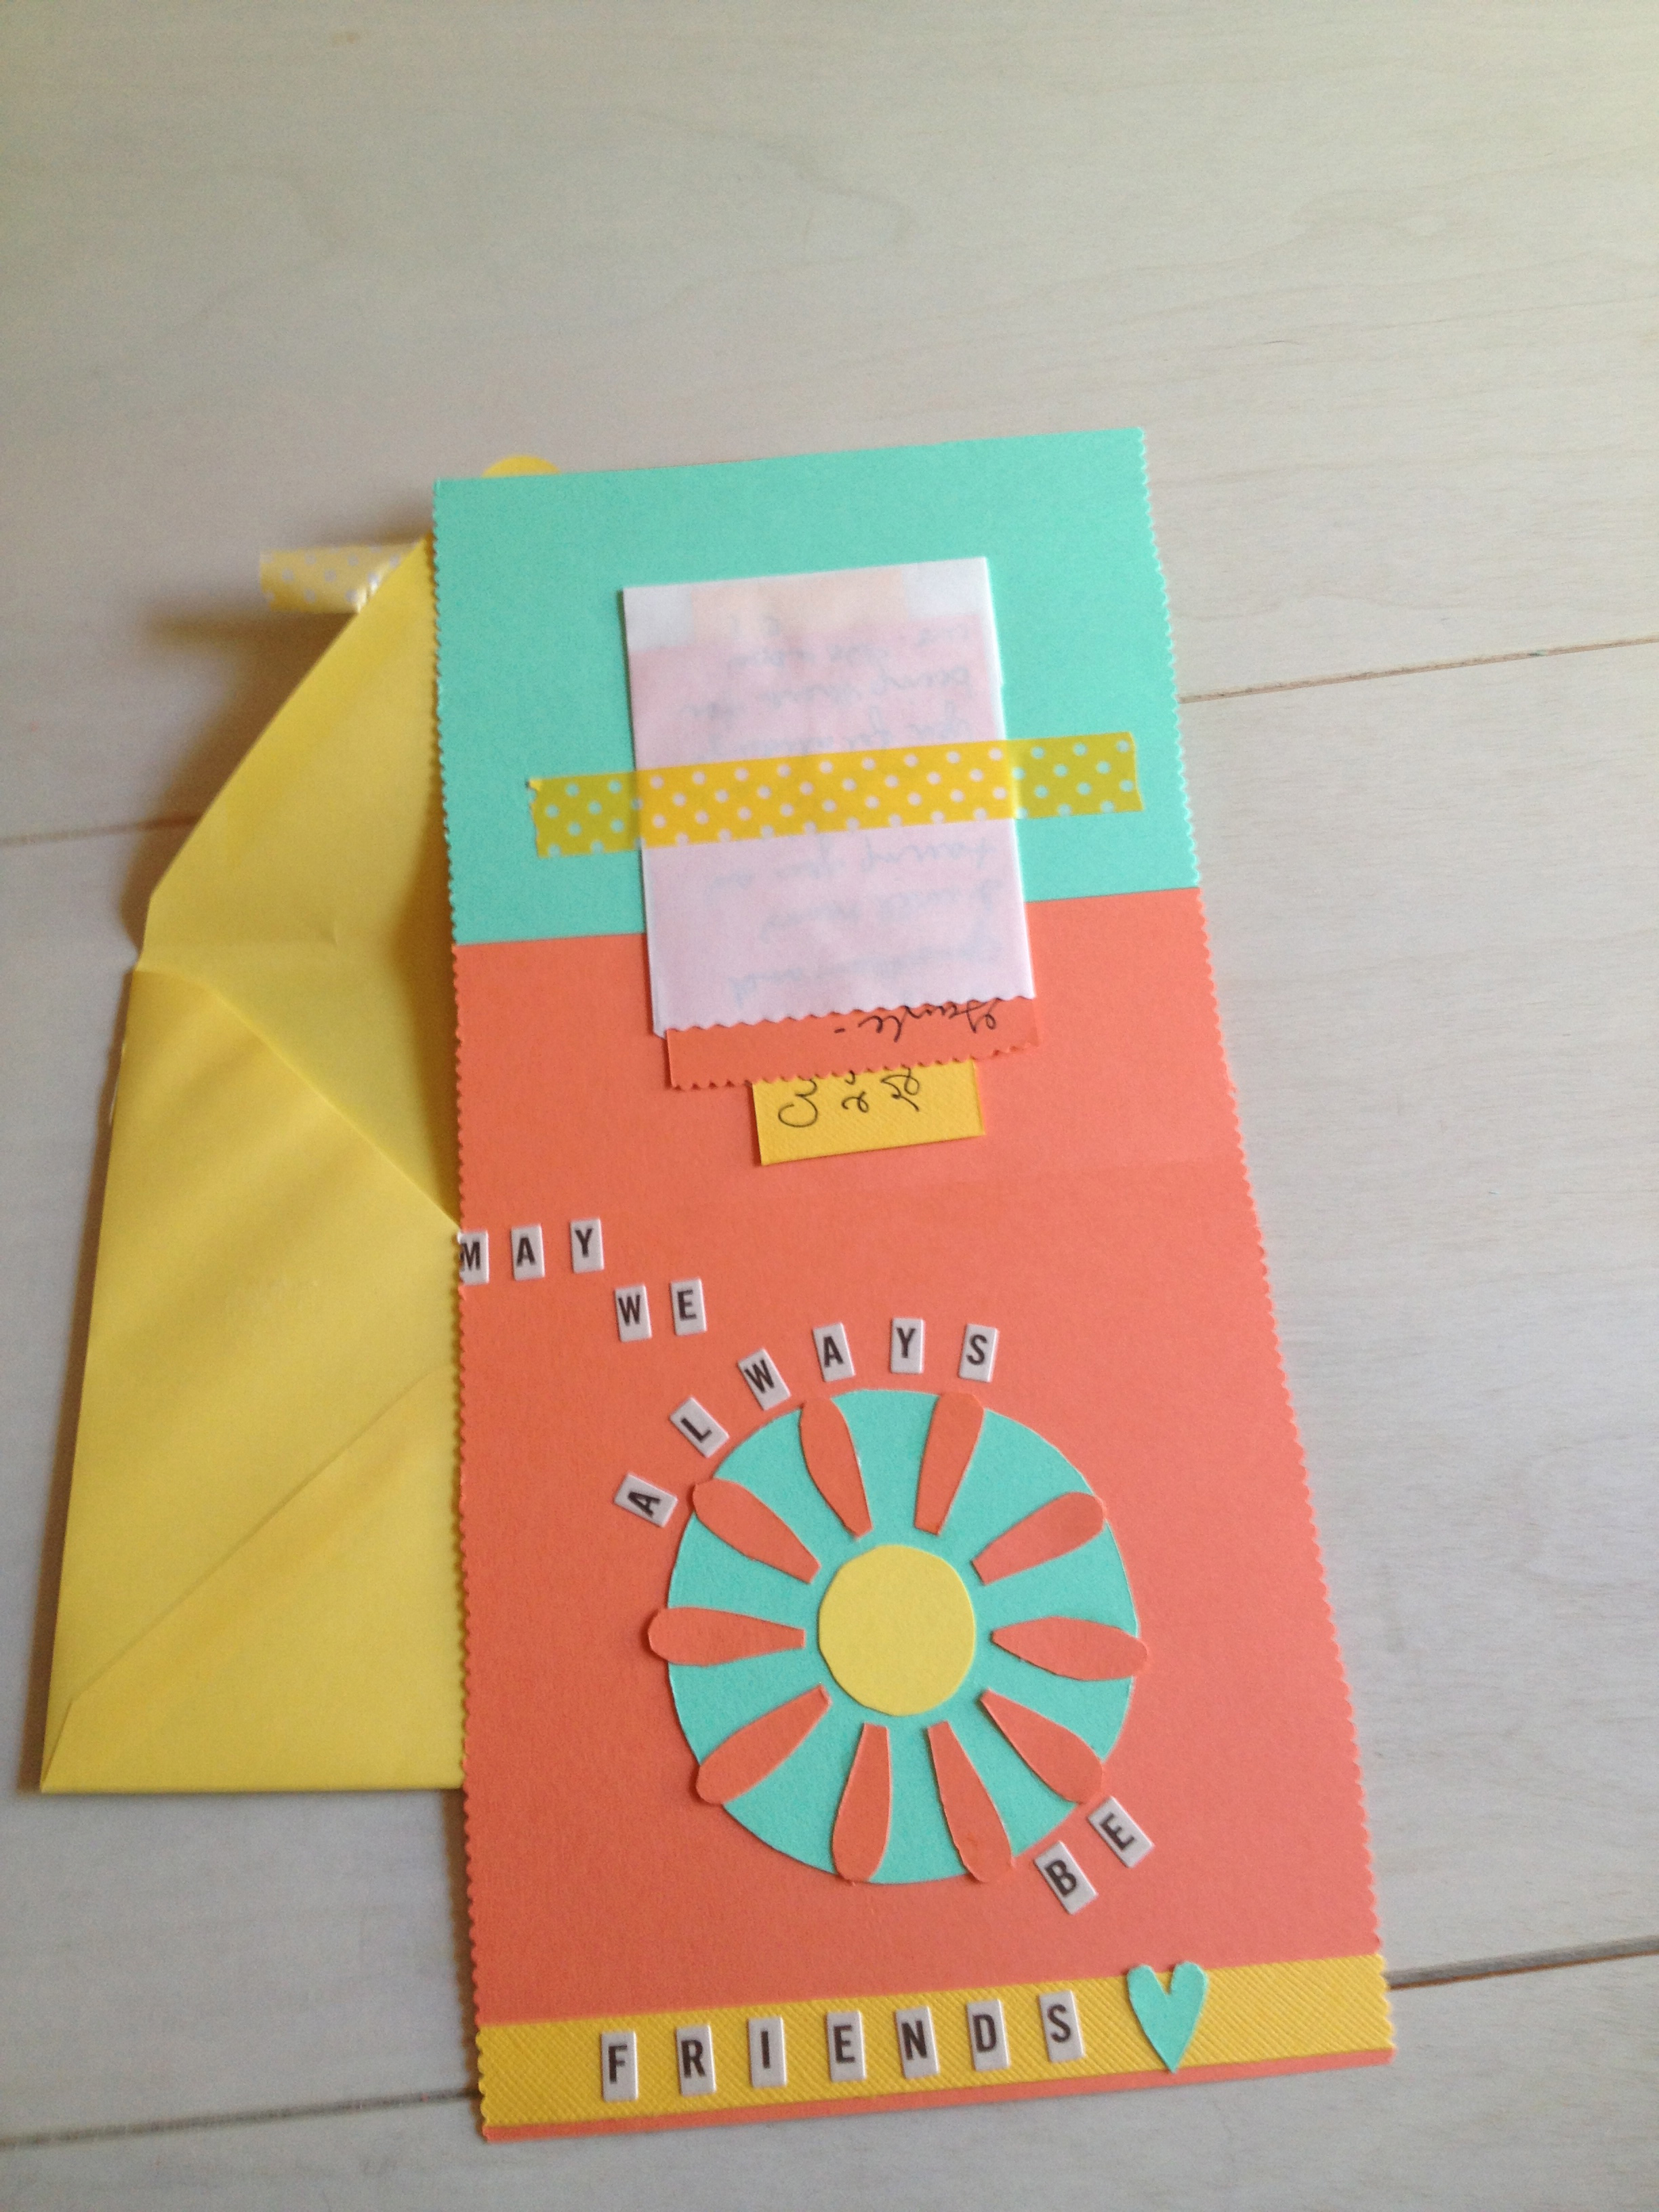
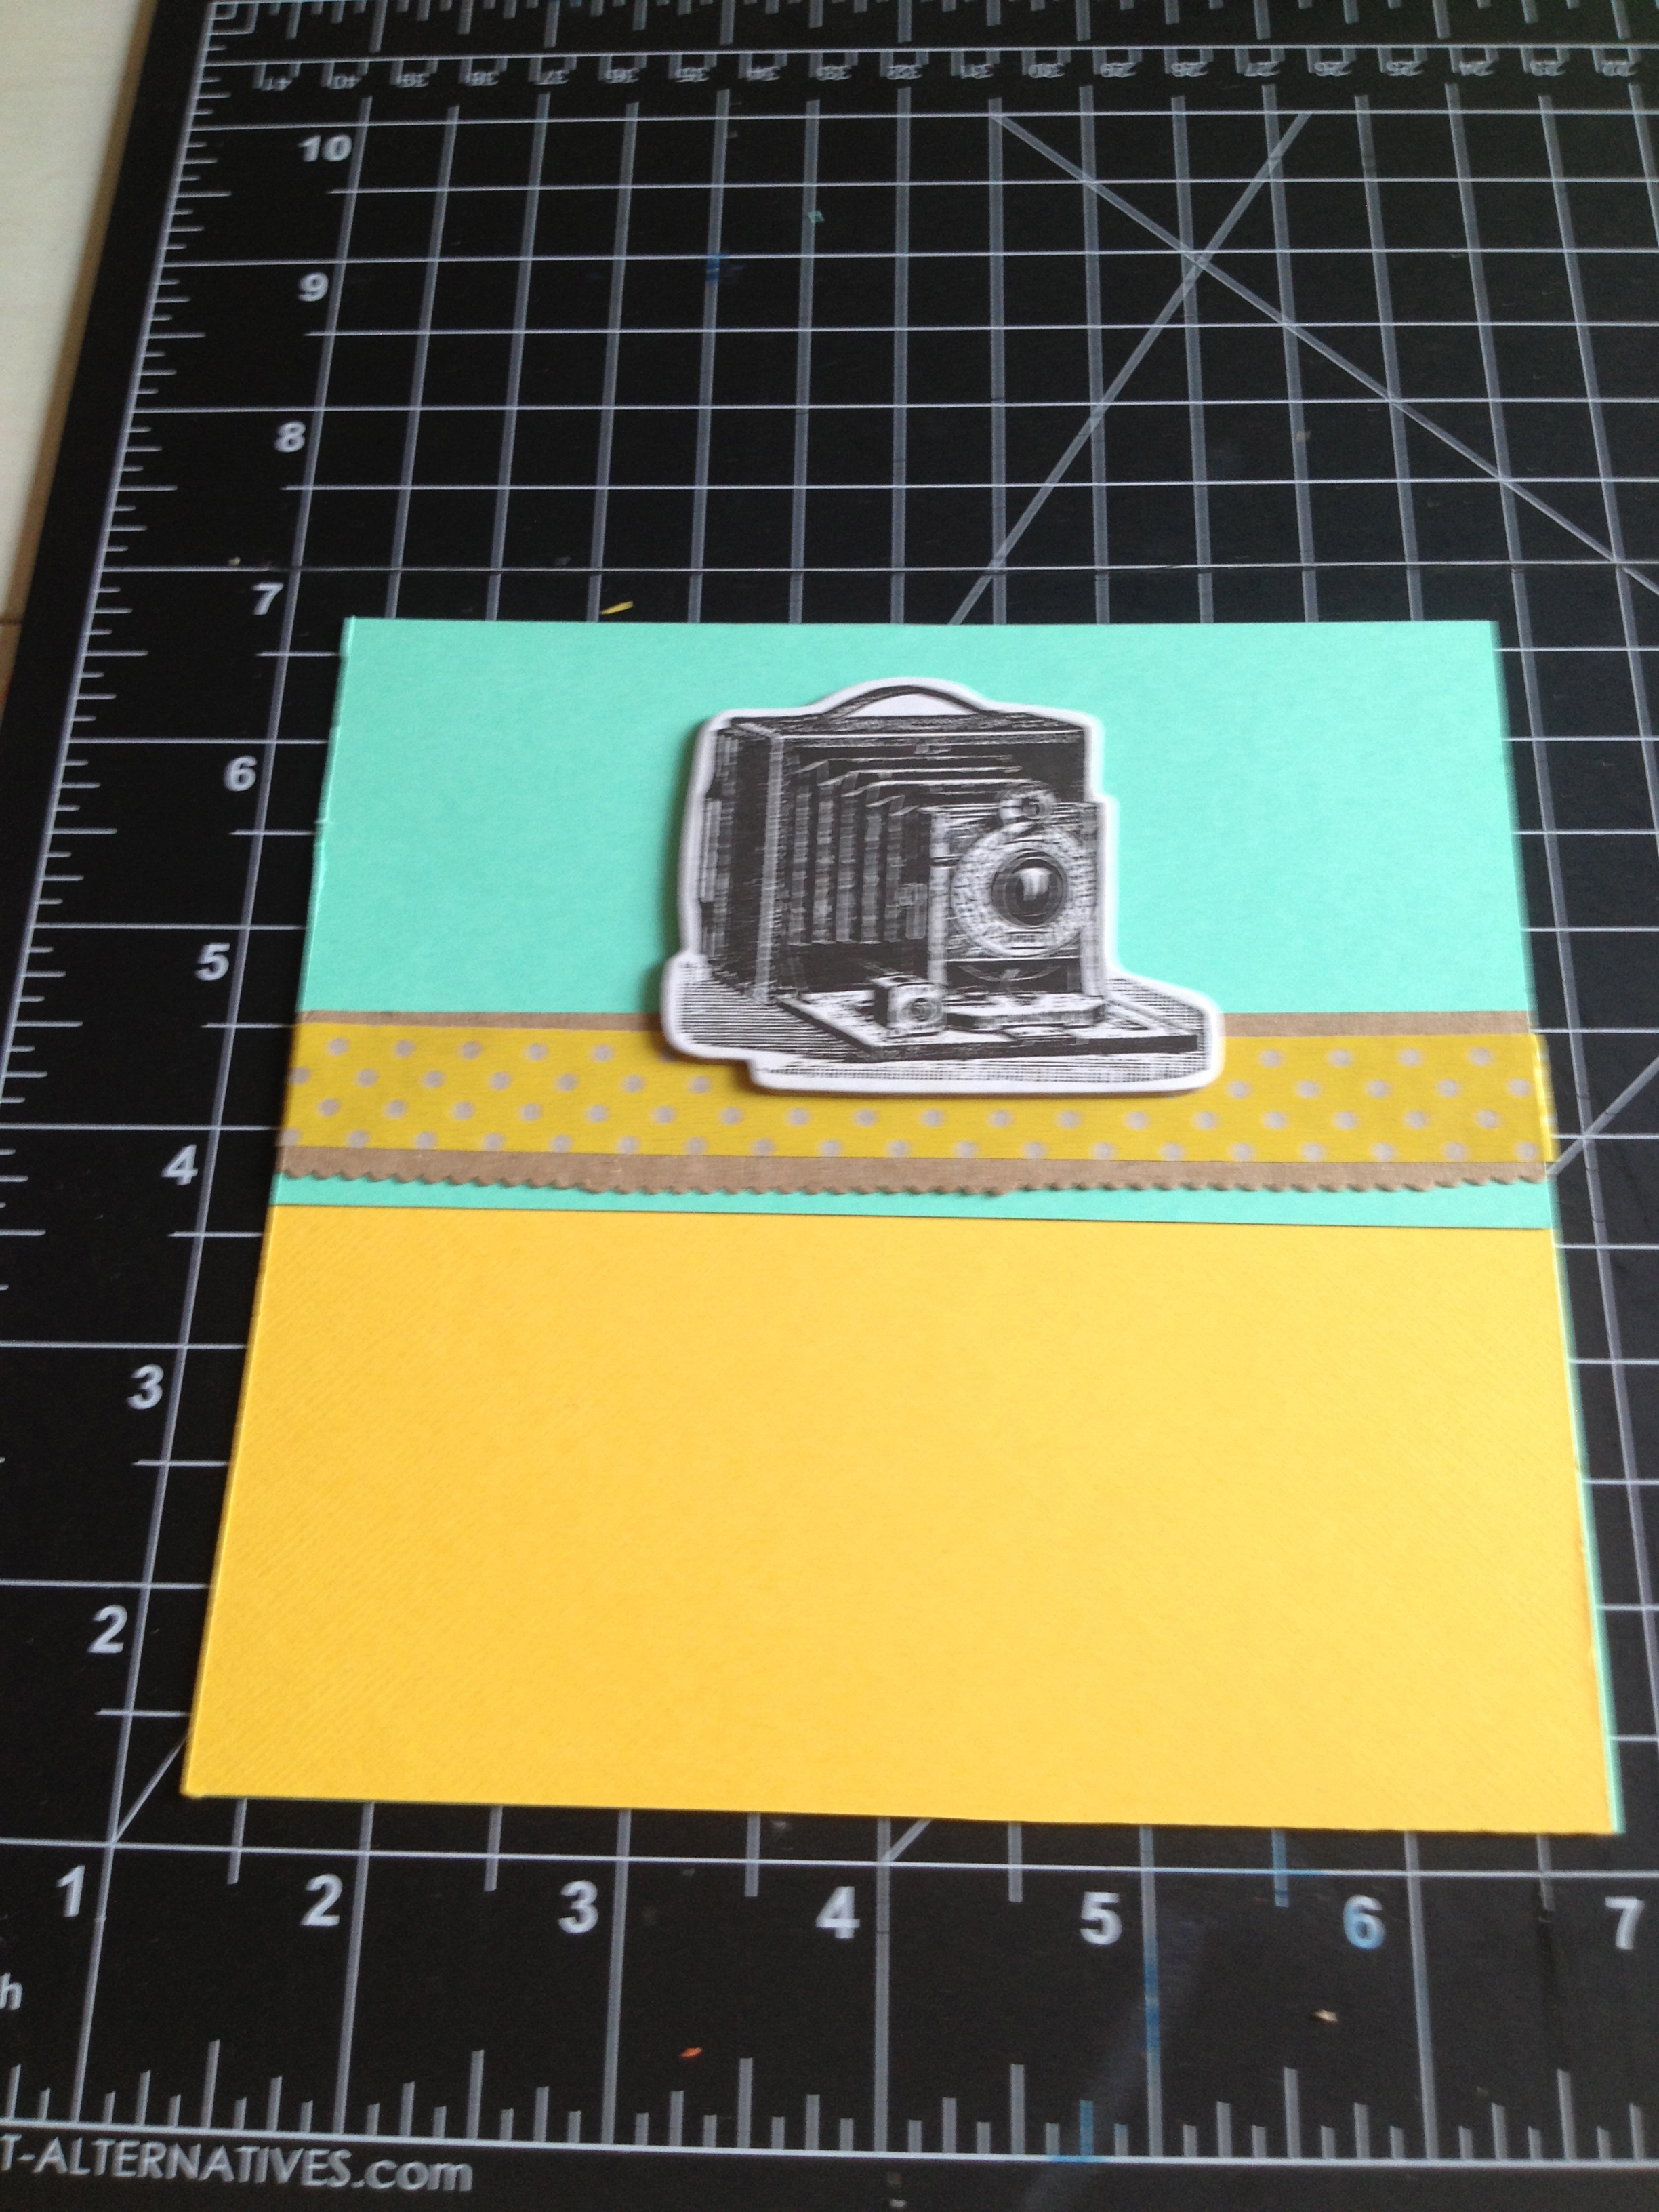
The recipient of my card is a photographer, so I customized the card with a vintage camera chipboard shape I found in my craft drawer. Although the shape had glue on the back, I added a little extra paper glue to make sure it would stay put.
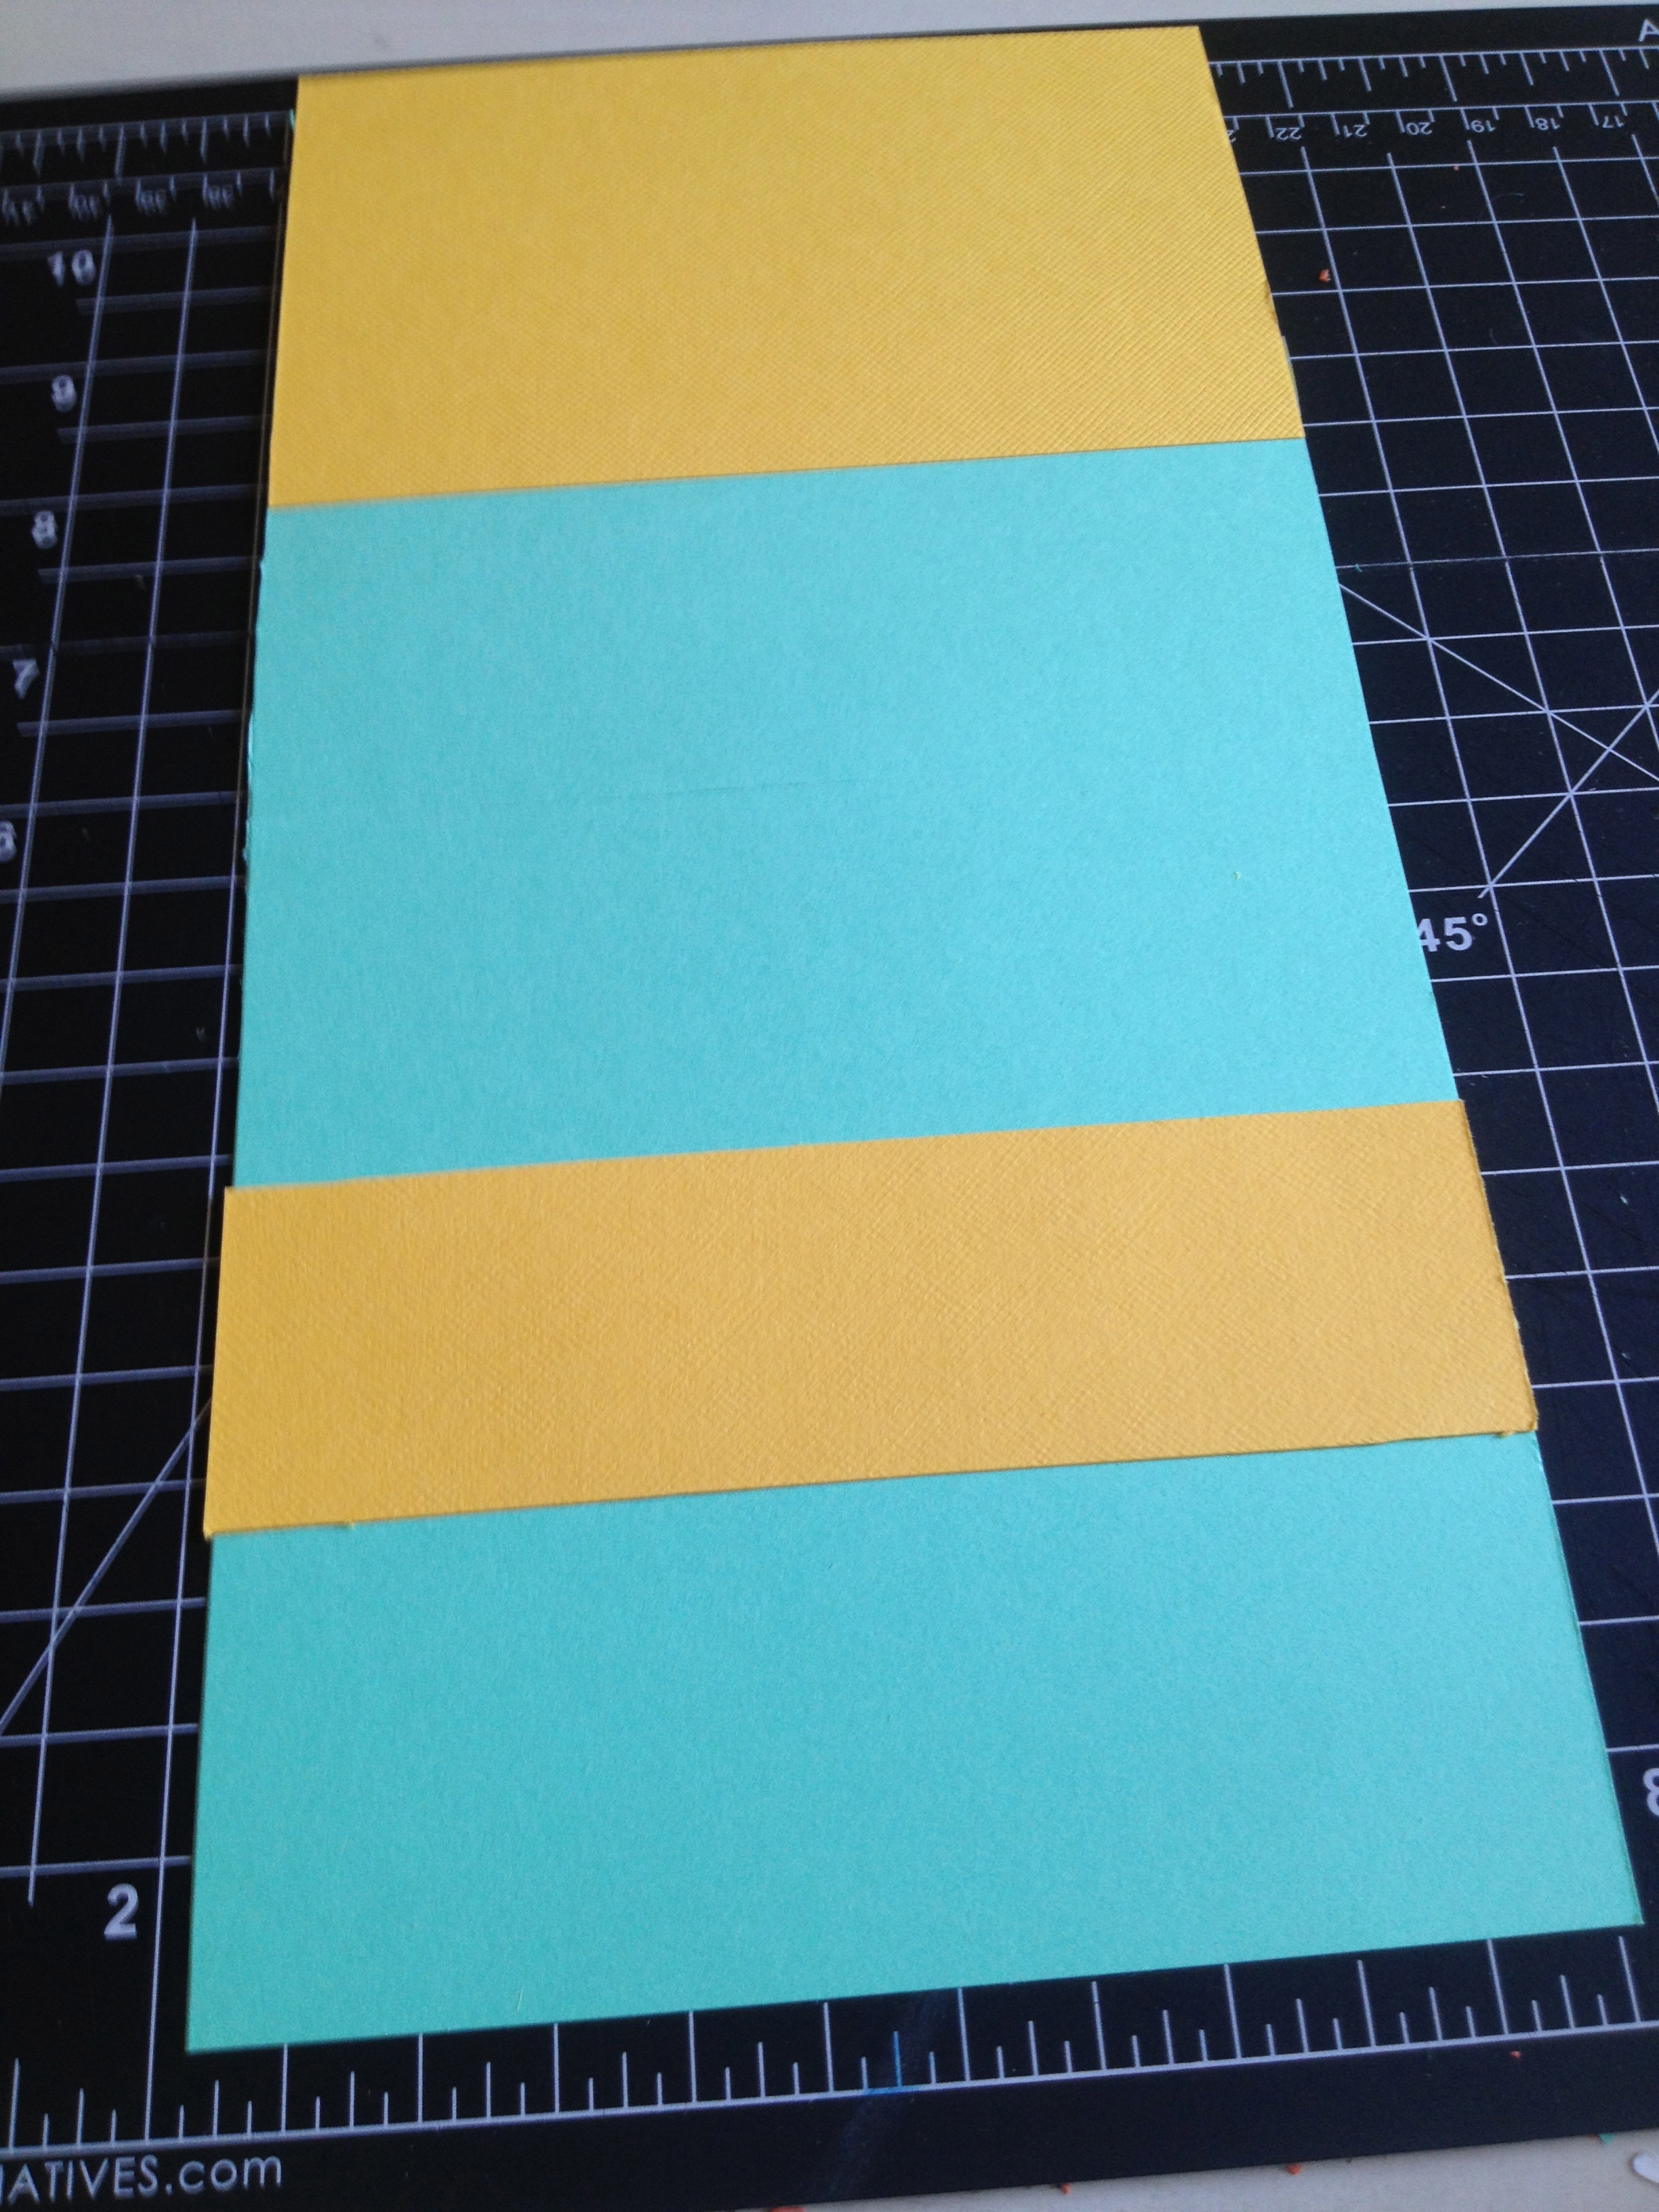
Next I moved to the inside of the card and added another strip of yellow paper (4 x 6.25) to complement the top of the card. Again, I used paper glue to secure it to the middle of the bottom inside panel.
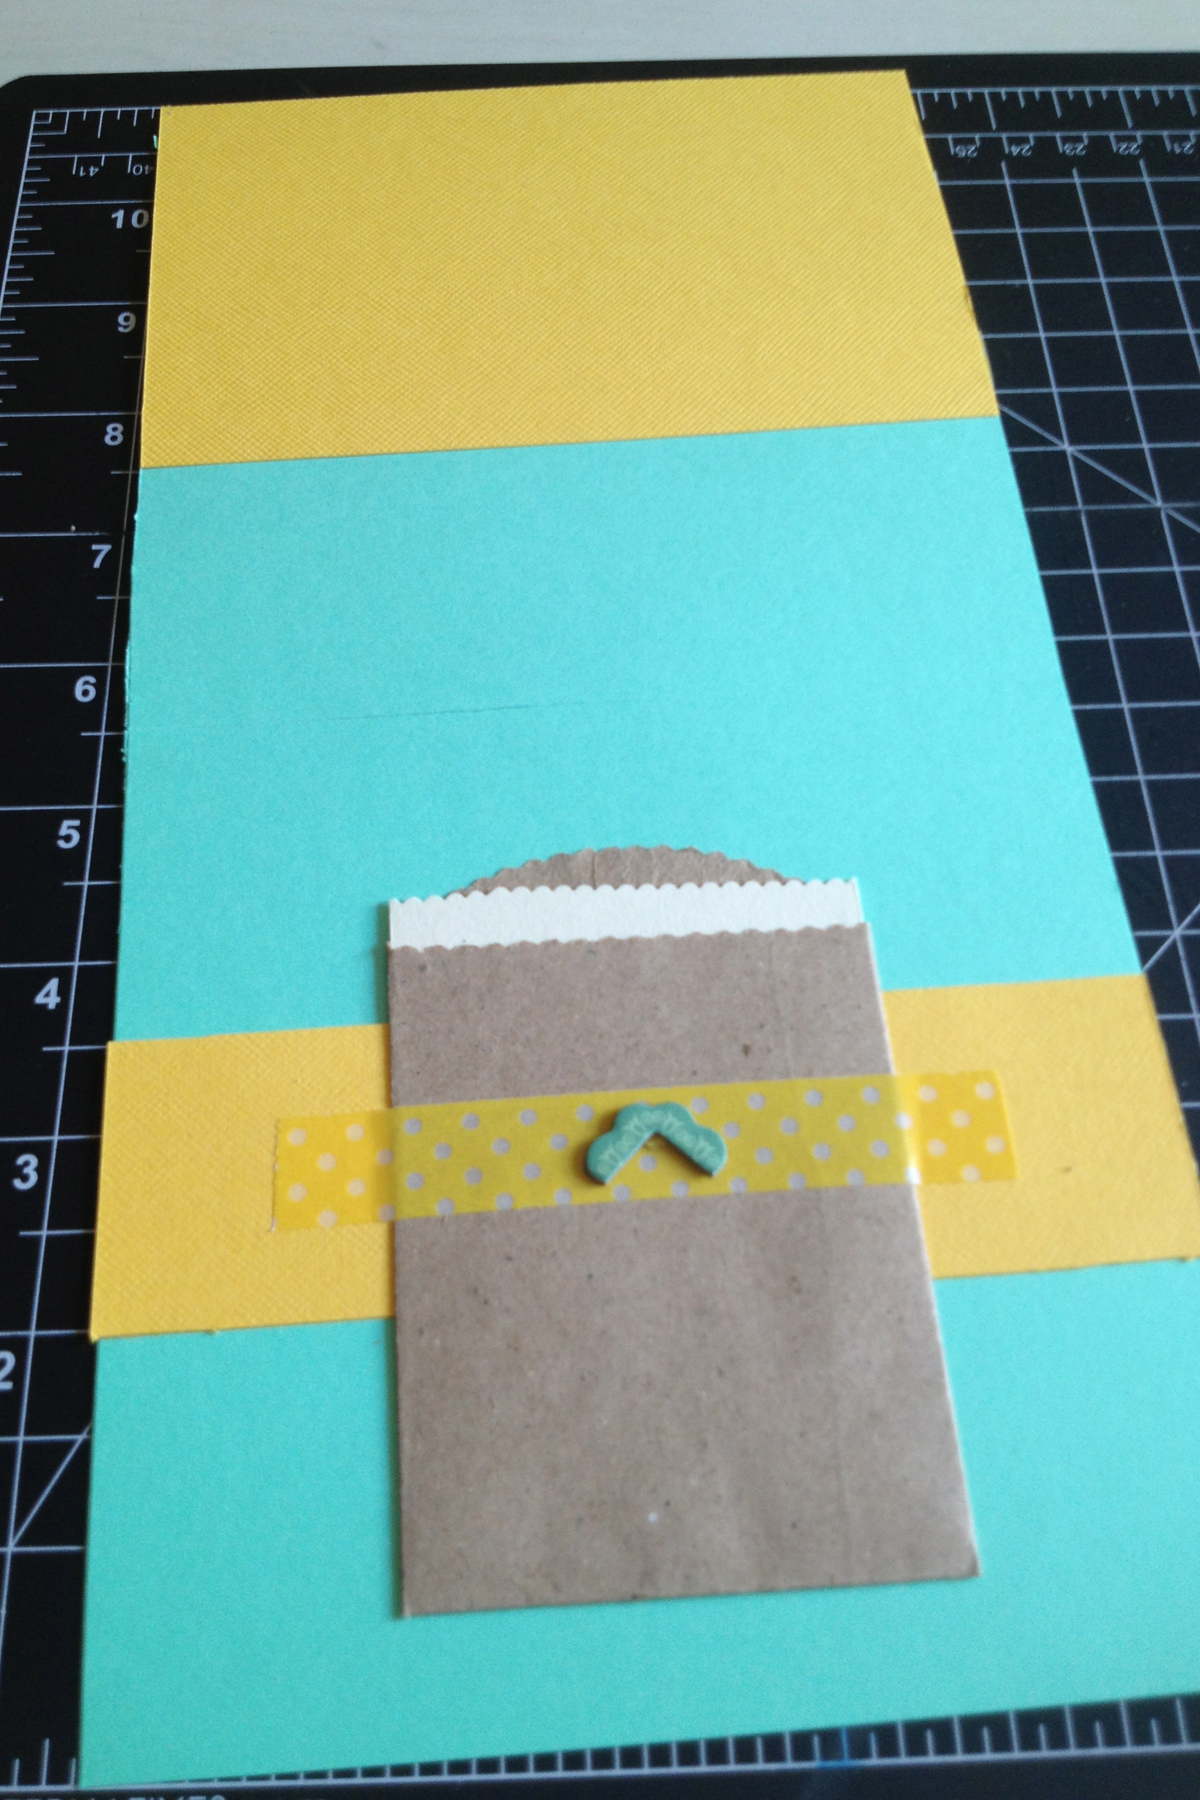
I went back to my crafting stash and found this sweet little paper bag that is the same khaki color as the strip on the front of the card. I glued it down and added some washi tape over the top of it. Next I added another chipboard piece in a teal color, as well as a note in the mini bag for my friend. I tied everything together by using the crafting scissors to add a scallop edge to the top of the note.

I raided the craft drawer one last time and found some sticker letters in a variety of sizes, so I used them to add my message to the top inside panel.
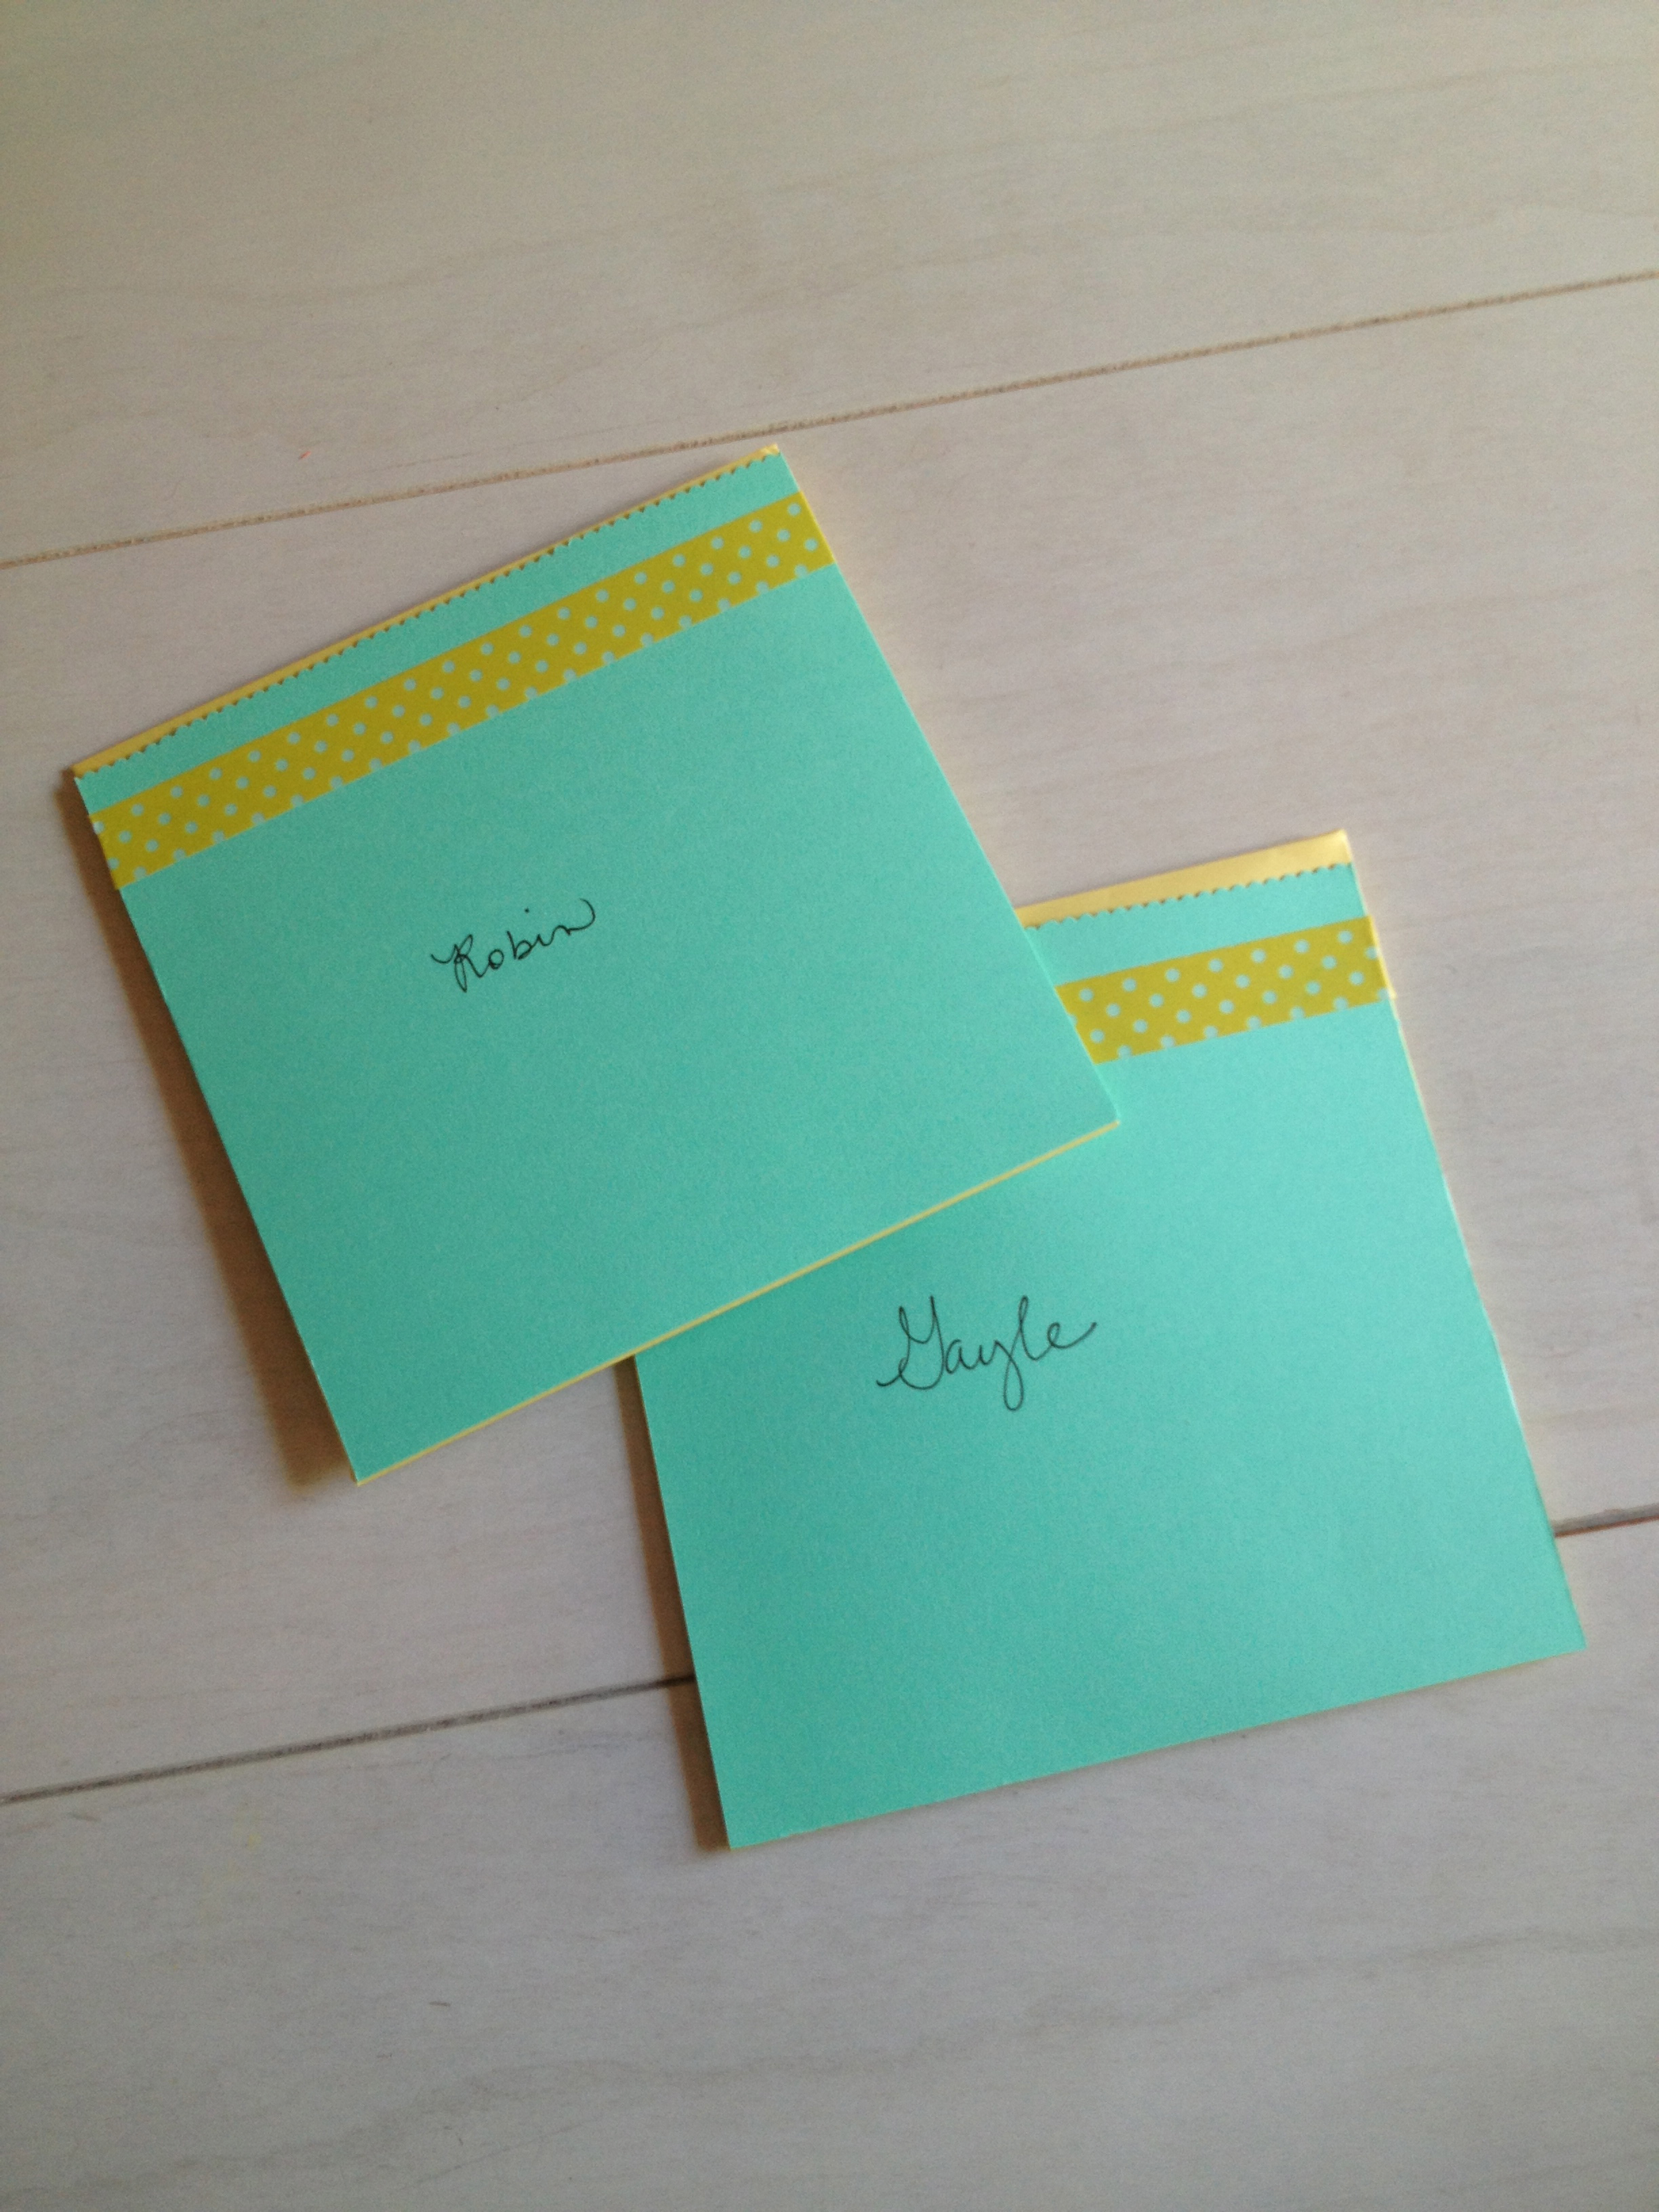
As my envelope was yellow, I cut another piece of teal card stock to 6.5 x 6.5 inches and glued it to the front of the envelope. For a final touch, I added another strip of washi tape across the top. I also sealed the envelope with washi tape. It's the best!
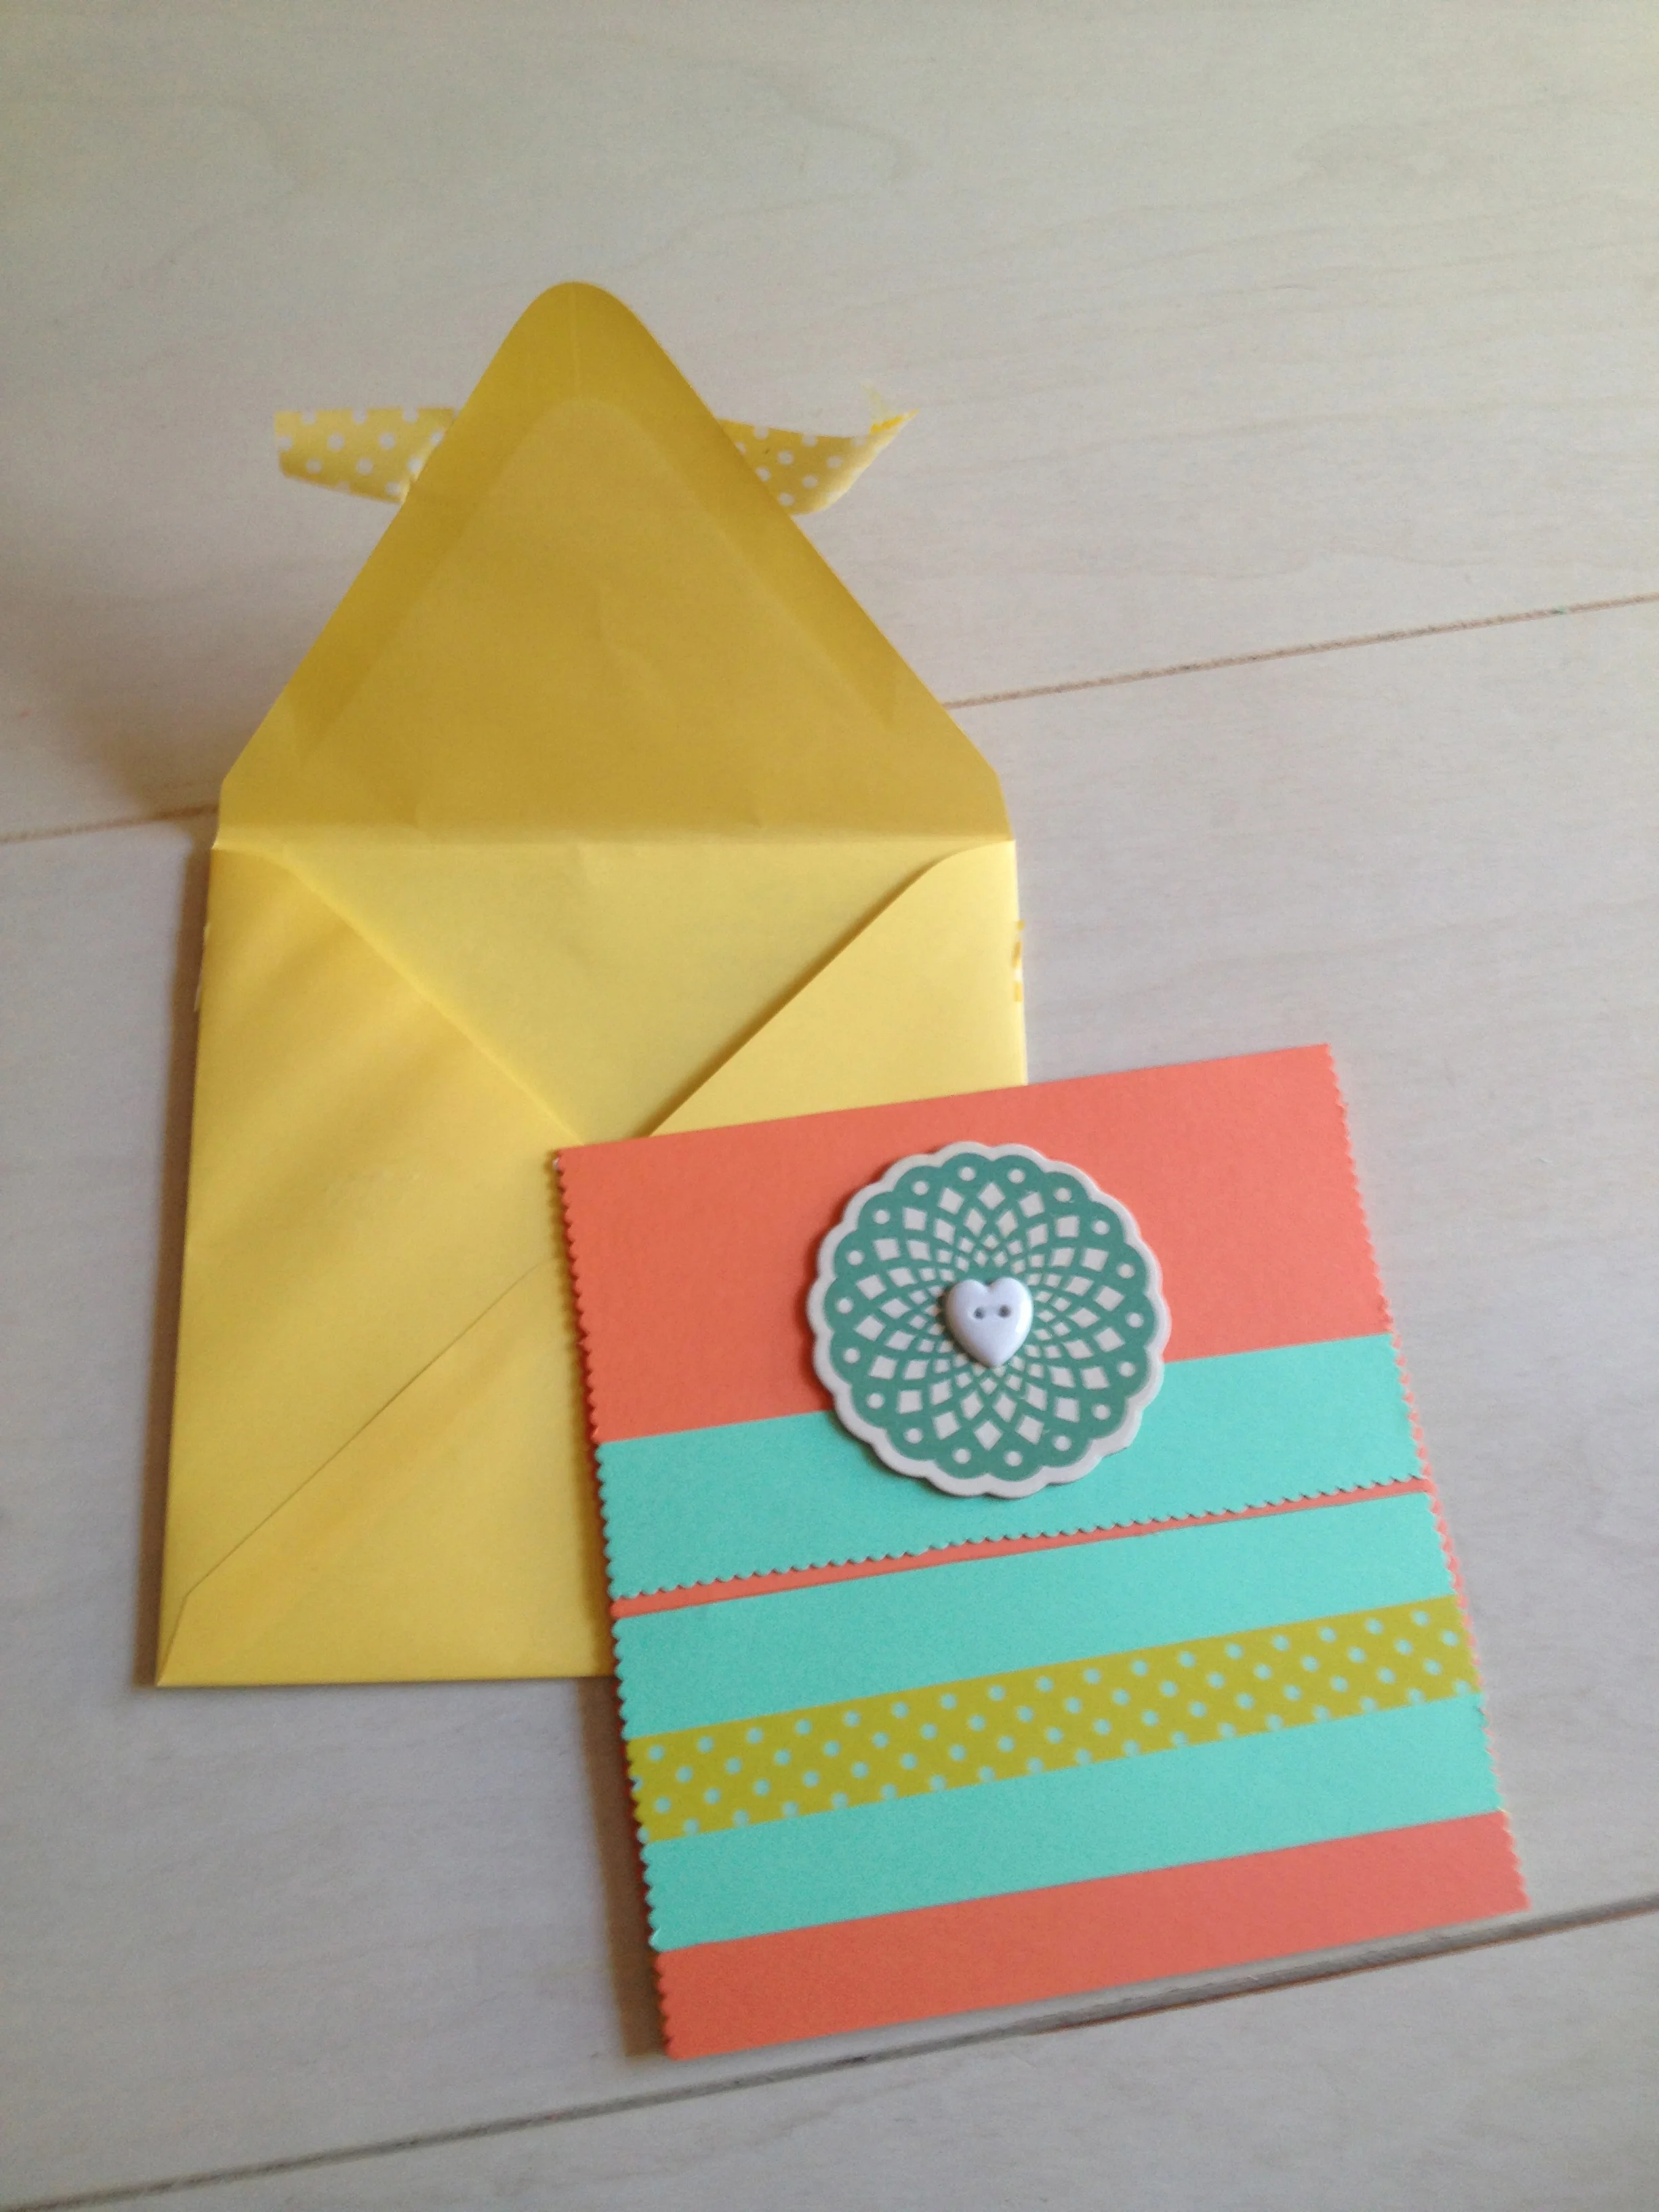
When it comes to card making, the possibilities are endless. Here's another card I recently made that uses a similar design but different colors...

Remember that when it comes to handmade card making, it's the thought that matters most!