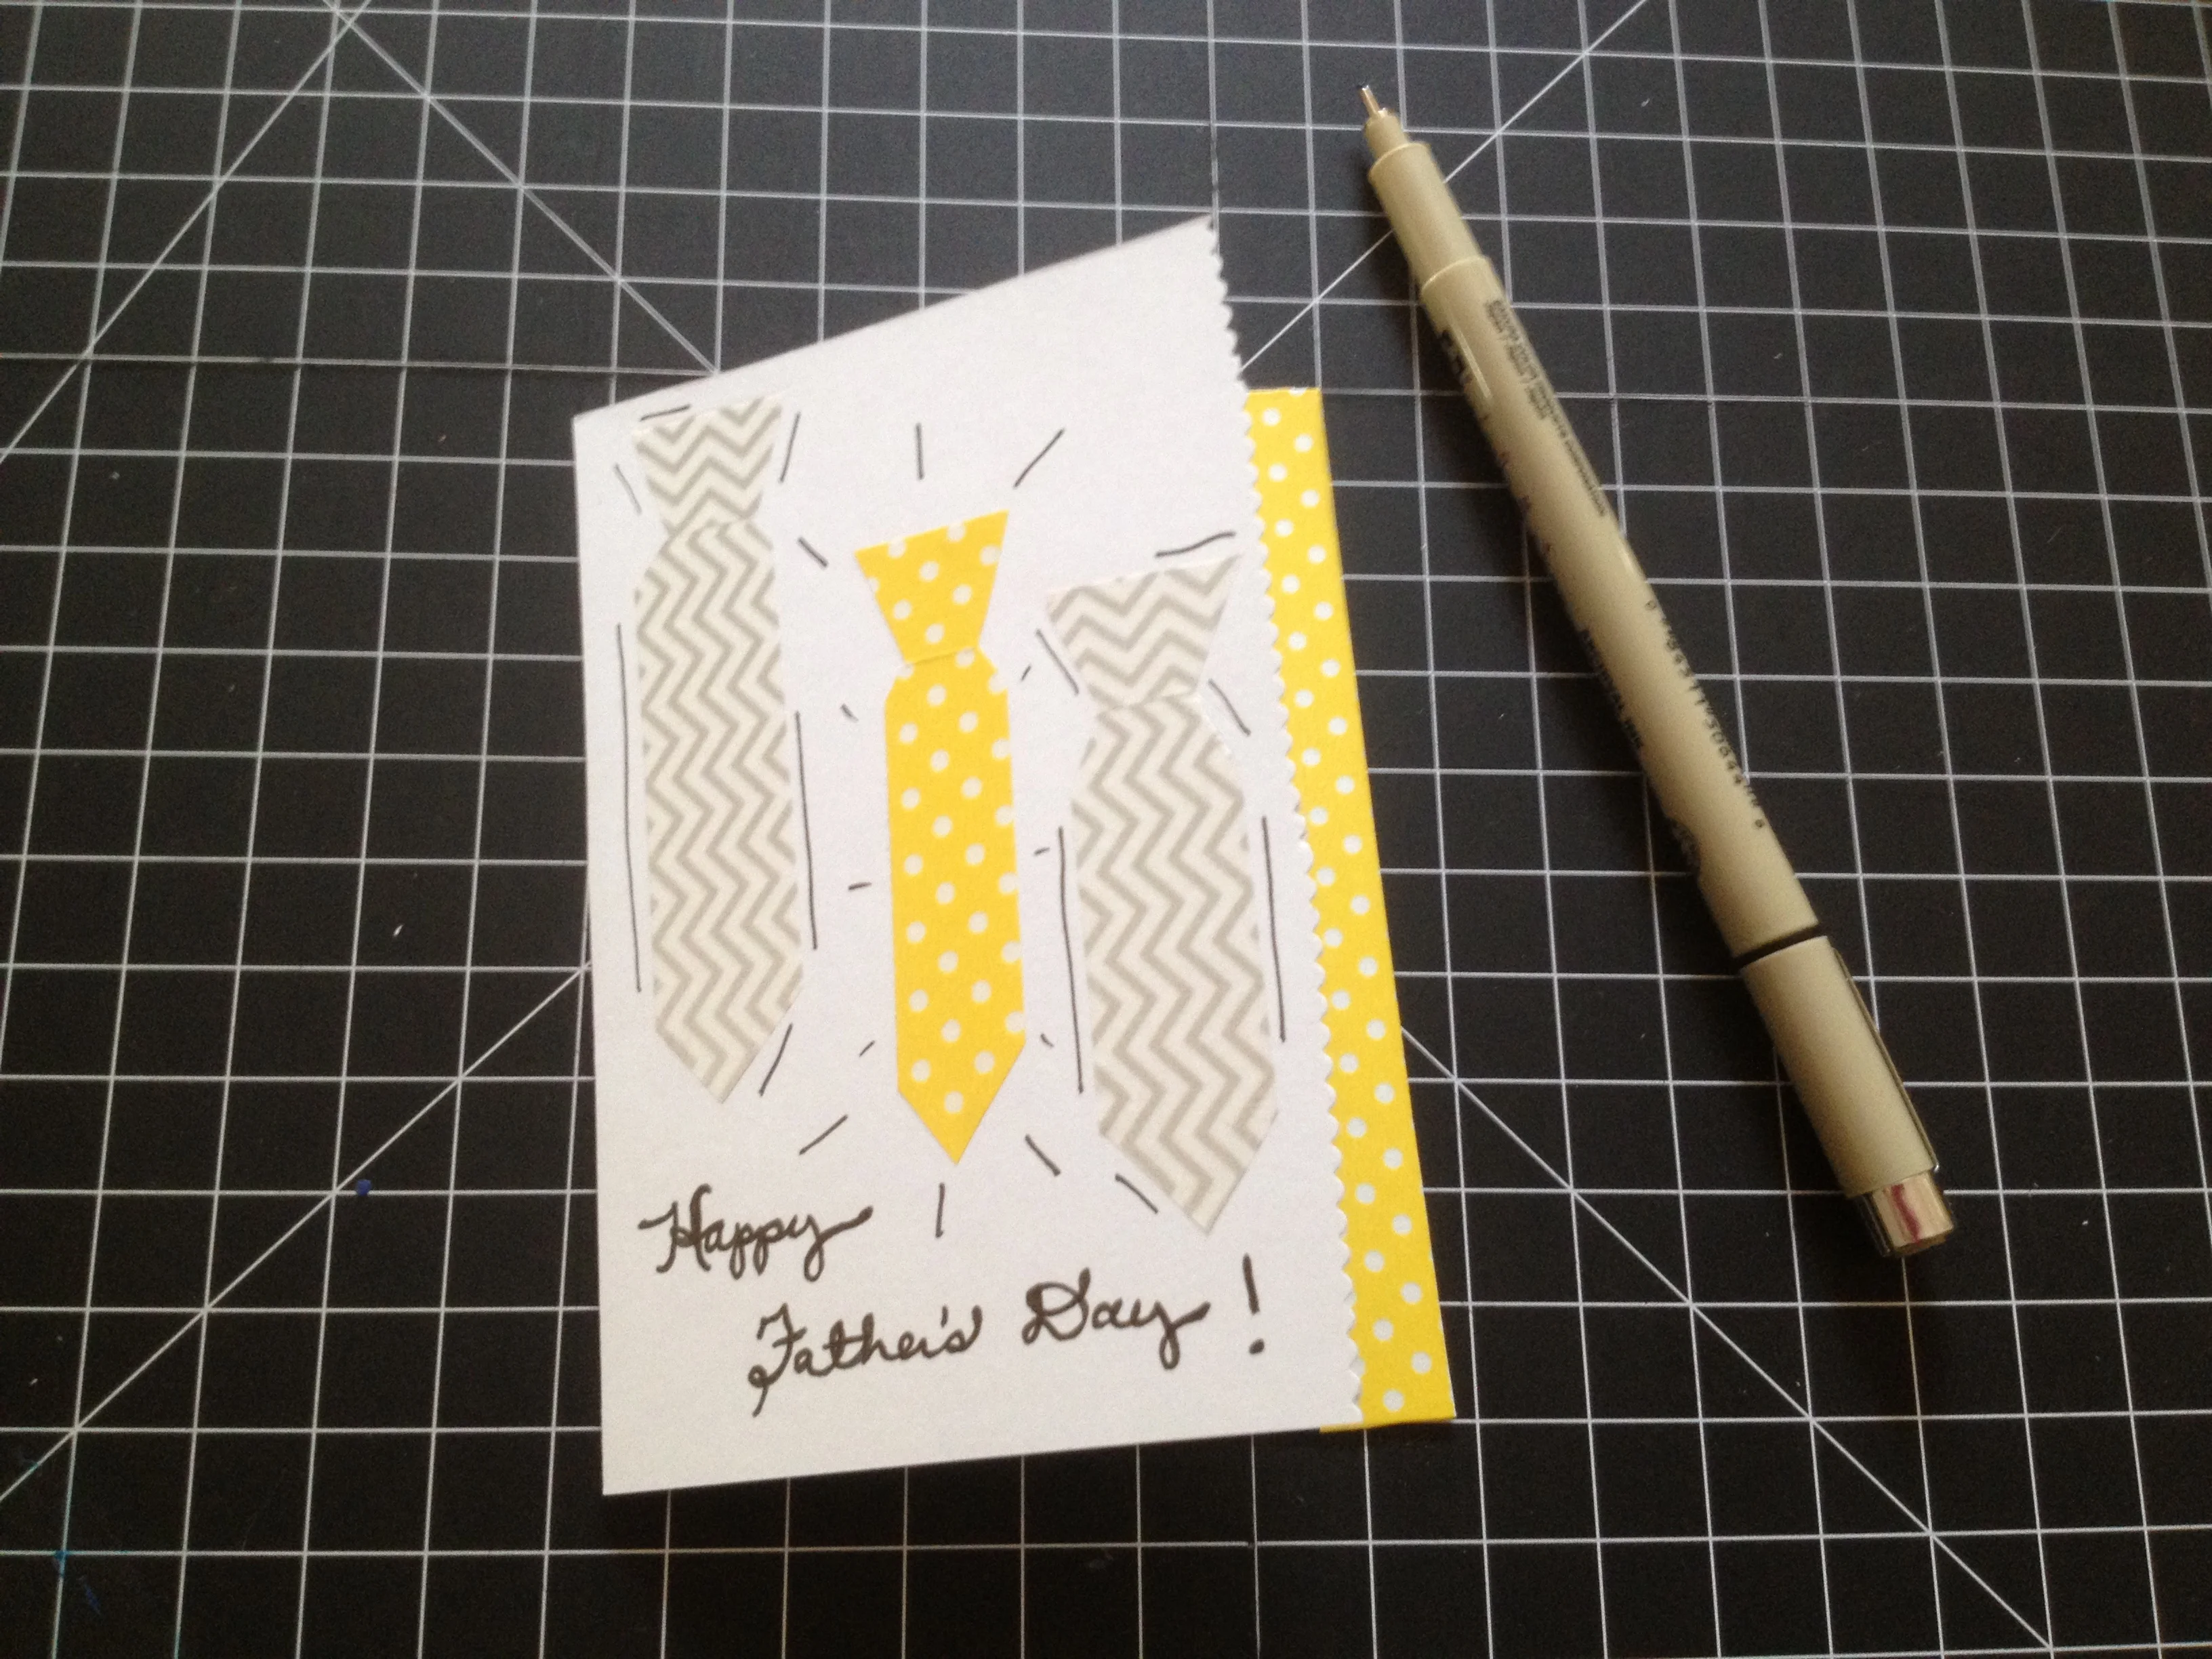
With Father's Day coming up next Sunday, June 16, I decided to create a homemade card for my dad, and then share it here (my dad subscribes to the blog as of this week...Oops! Sorry, Dad!).
It's a really simple design that's perfect for all the work-a-holic dads out there.
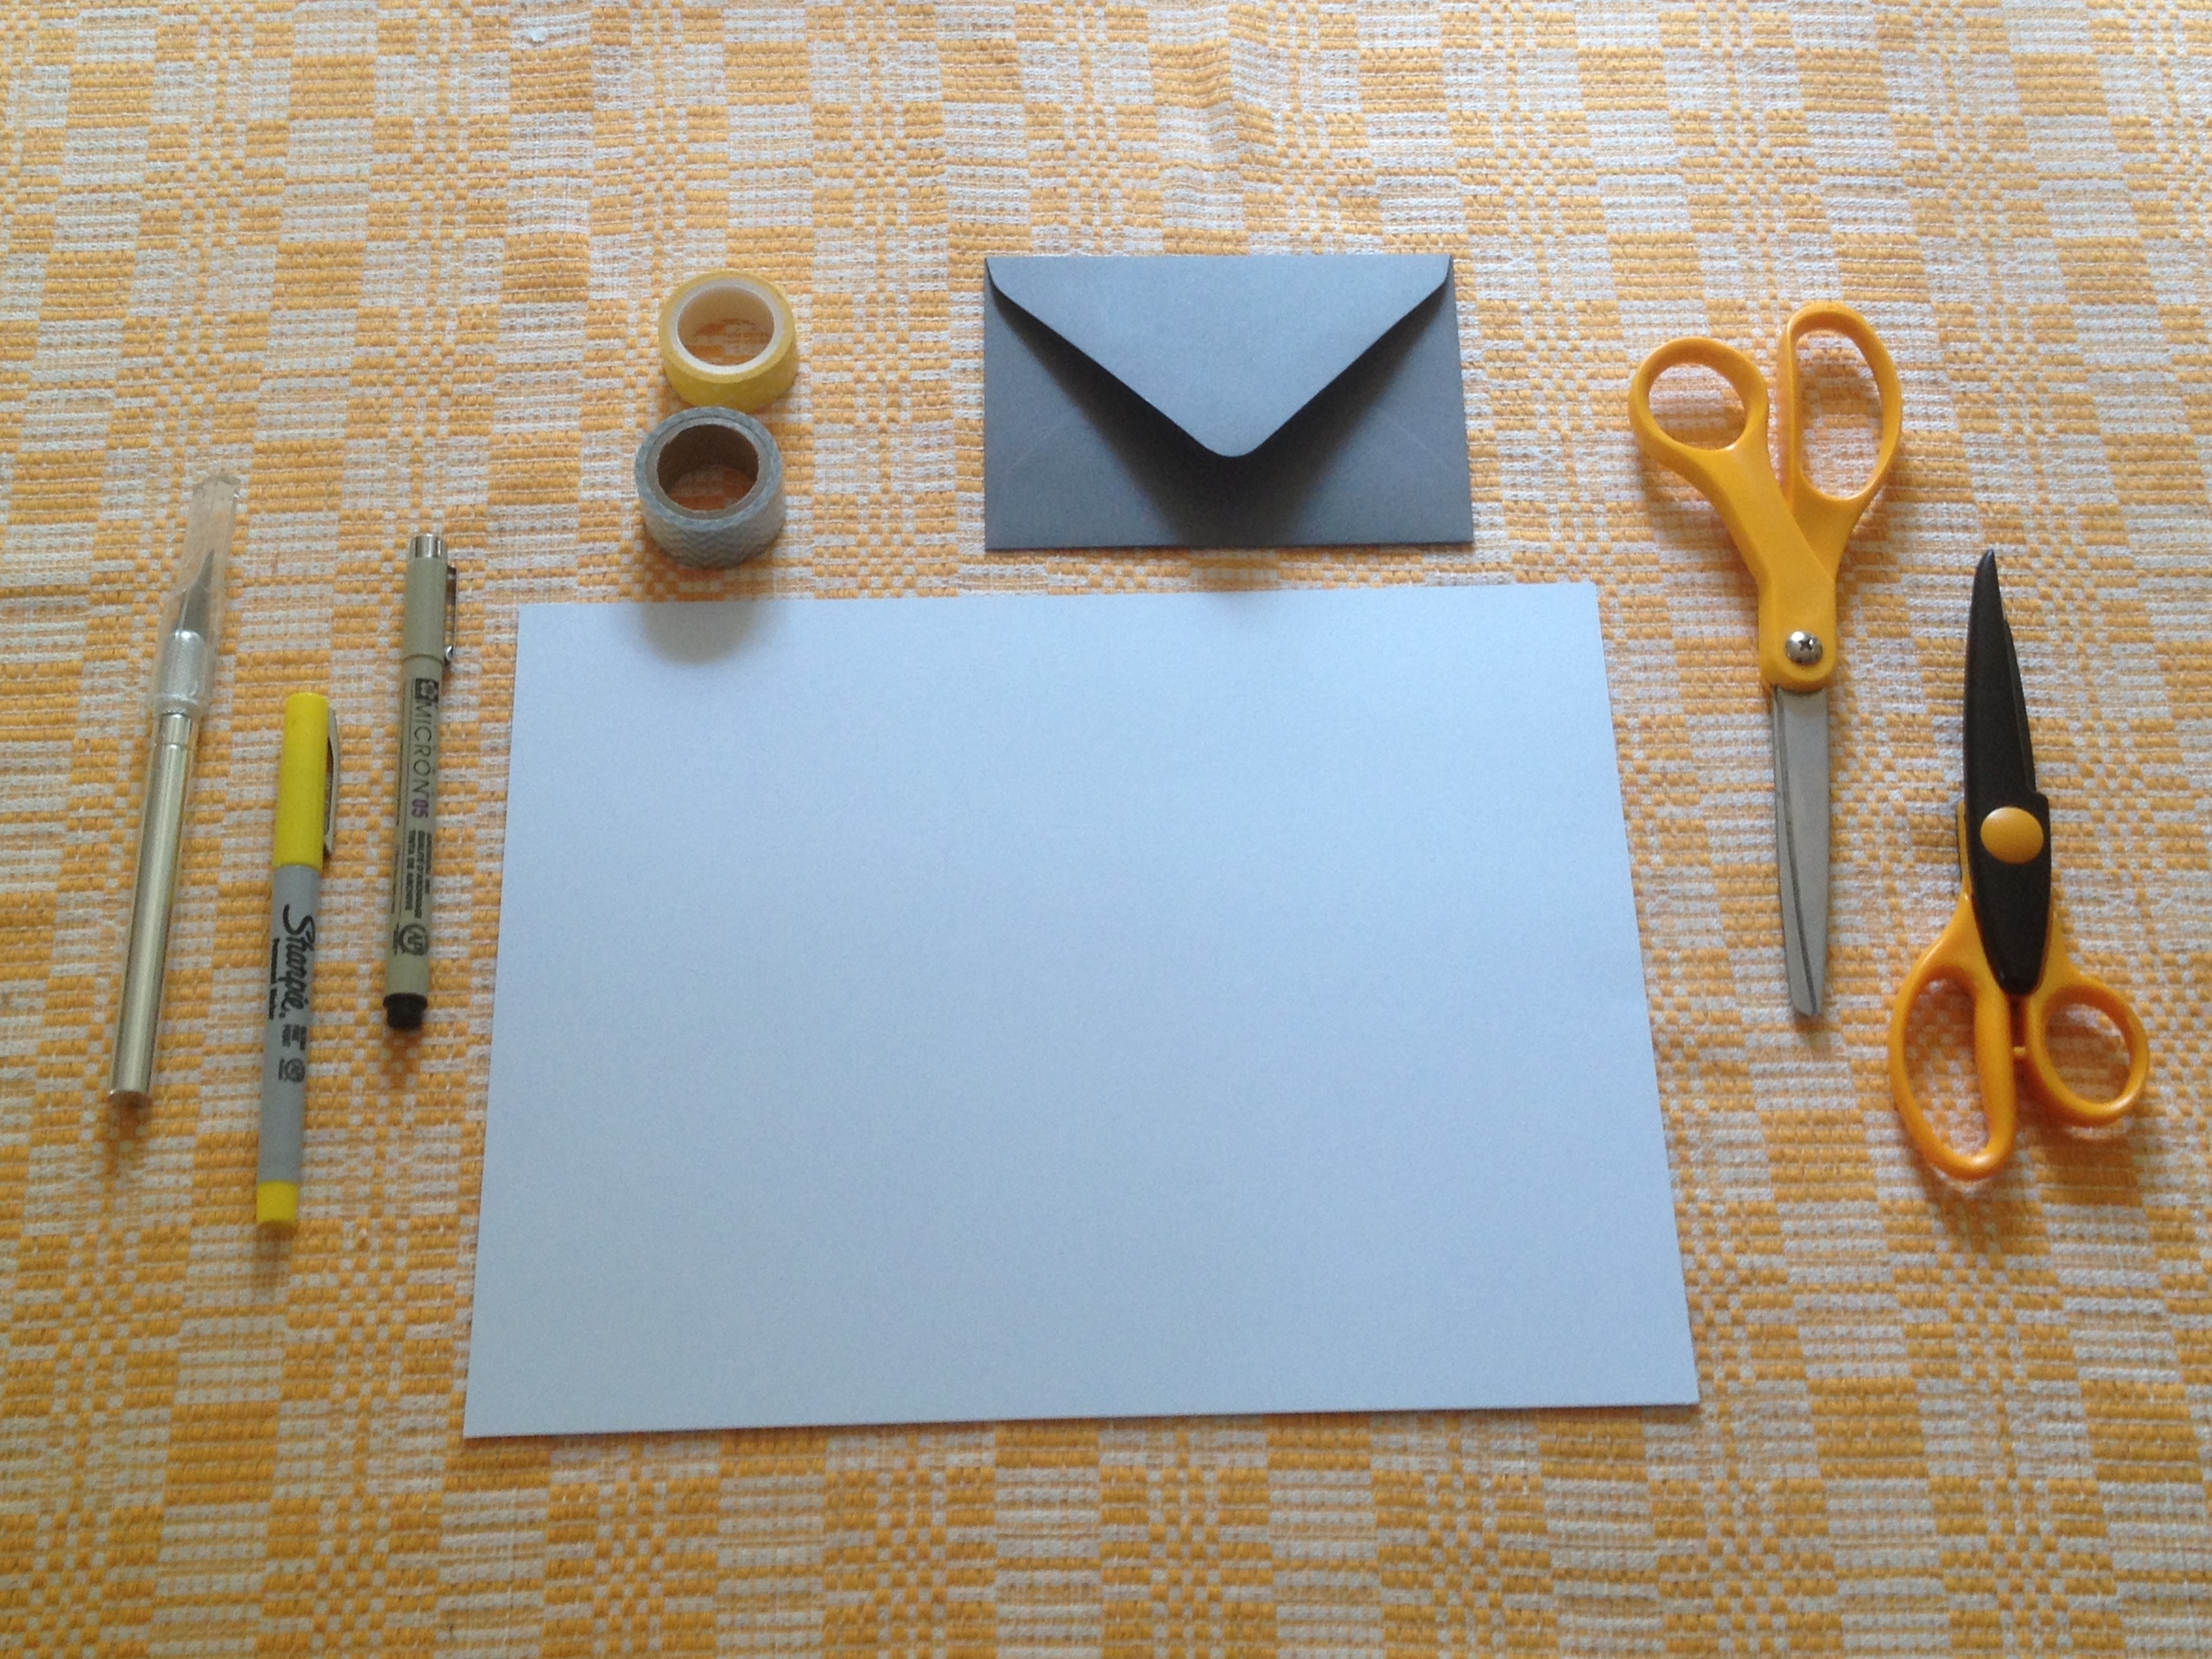
Here's what you'll need to create your own:
- Card stock - An envelope - Cutting mat - Xacto knife - A metal ruler - Basic scissors - Washi tape (I used two different patterns) - Crafting scissors - Pens (I like Micron and Sharpie)
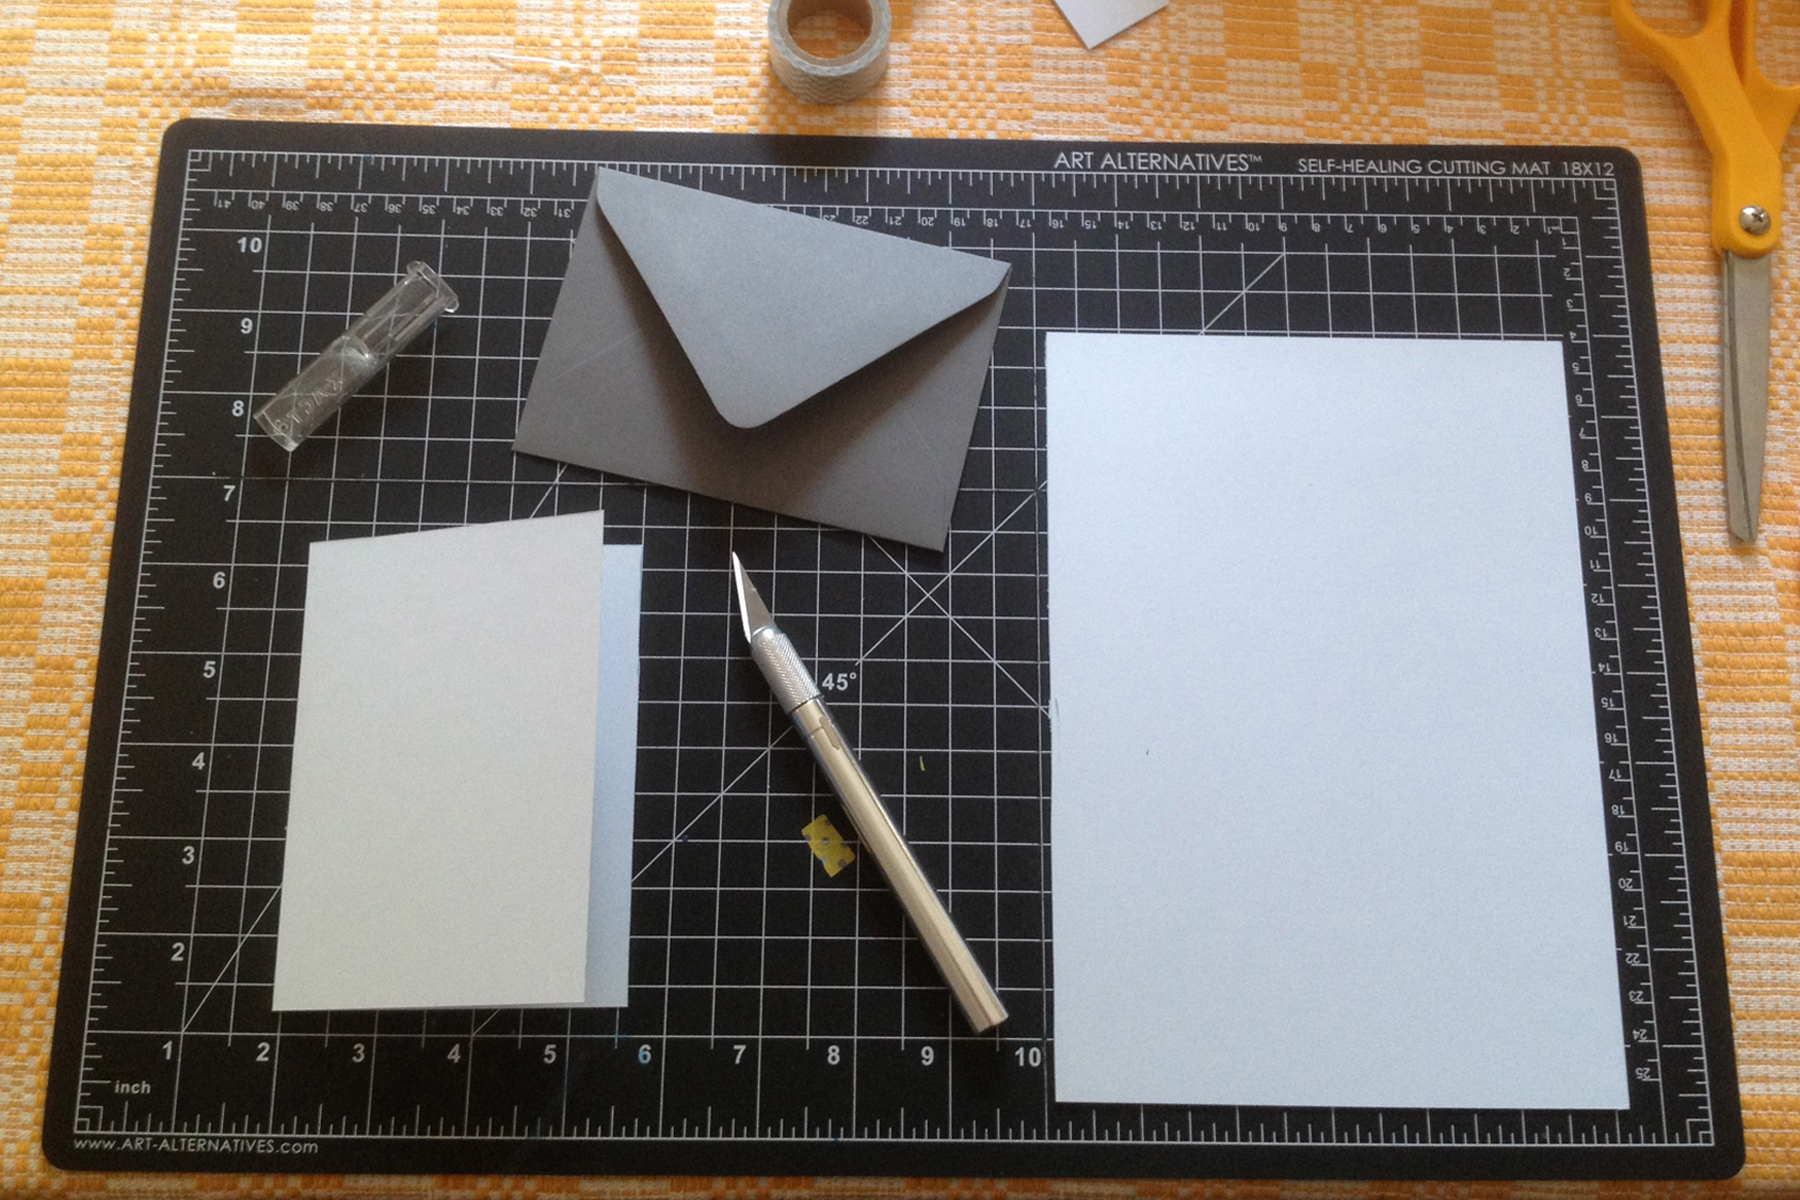
To start, measure your envelope (mine was 3 5/8" x 5 1/8"), and then cut your card stock so it'll fit inside the card (my flat card was 7" x 5"). To make your fold, lay your stock down so that it is horizontal, find the center of the card, mark that spot with your ruler (mine was the 3.5" mark), and then carefully run your knife from the top to the bottom. Only do this once, and you'll have your fold for the outside of your card. Here's my card after it had been cut and folded...
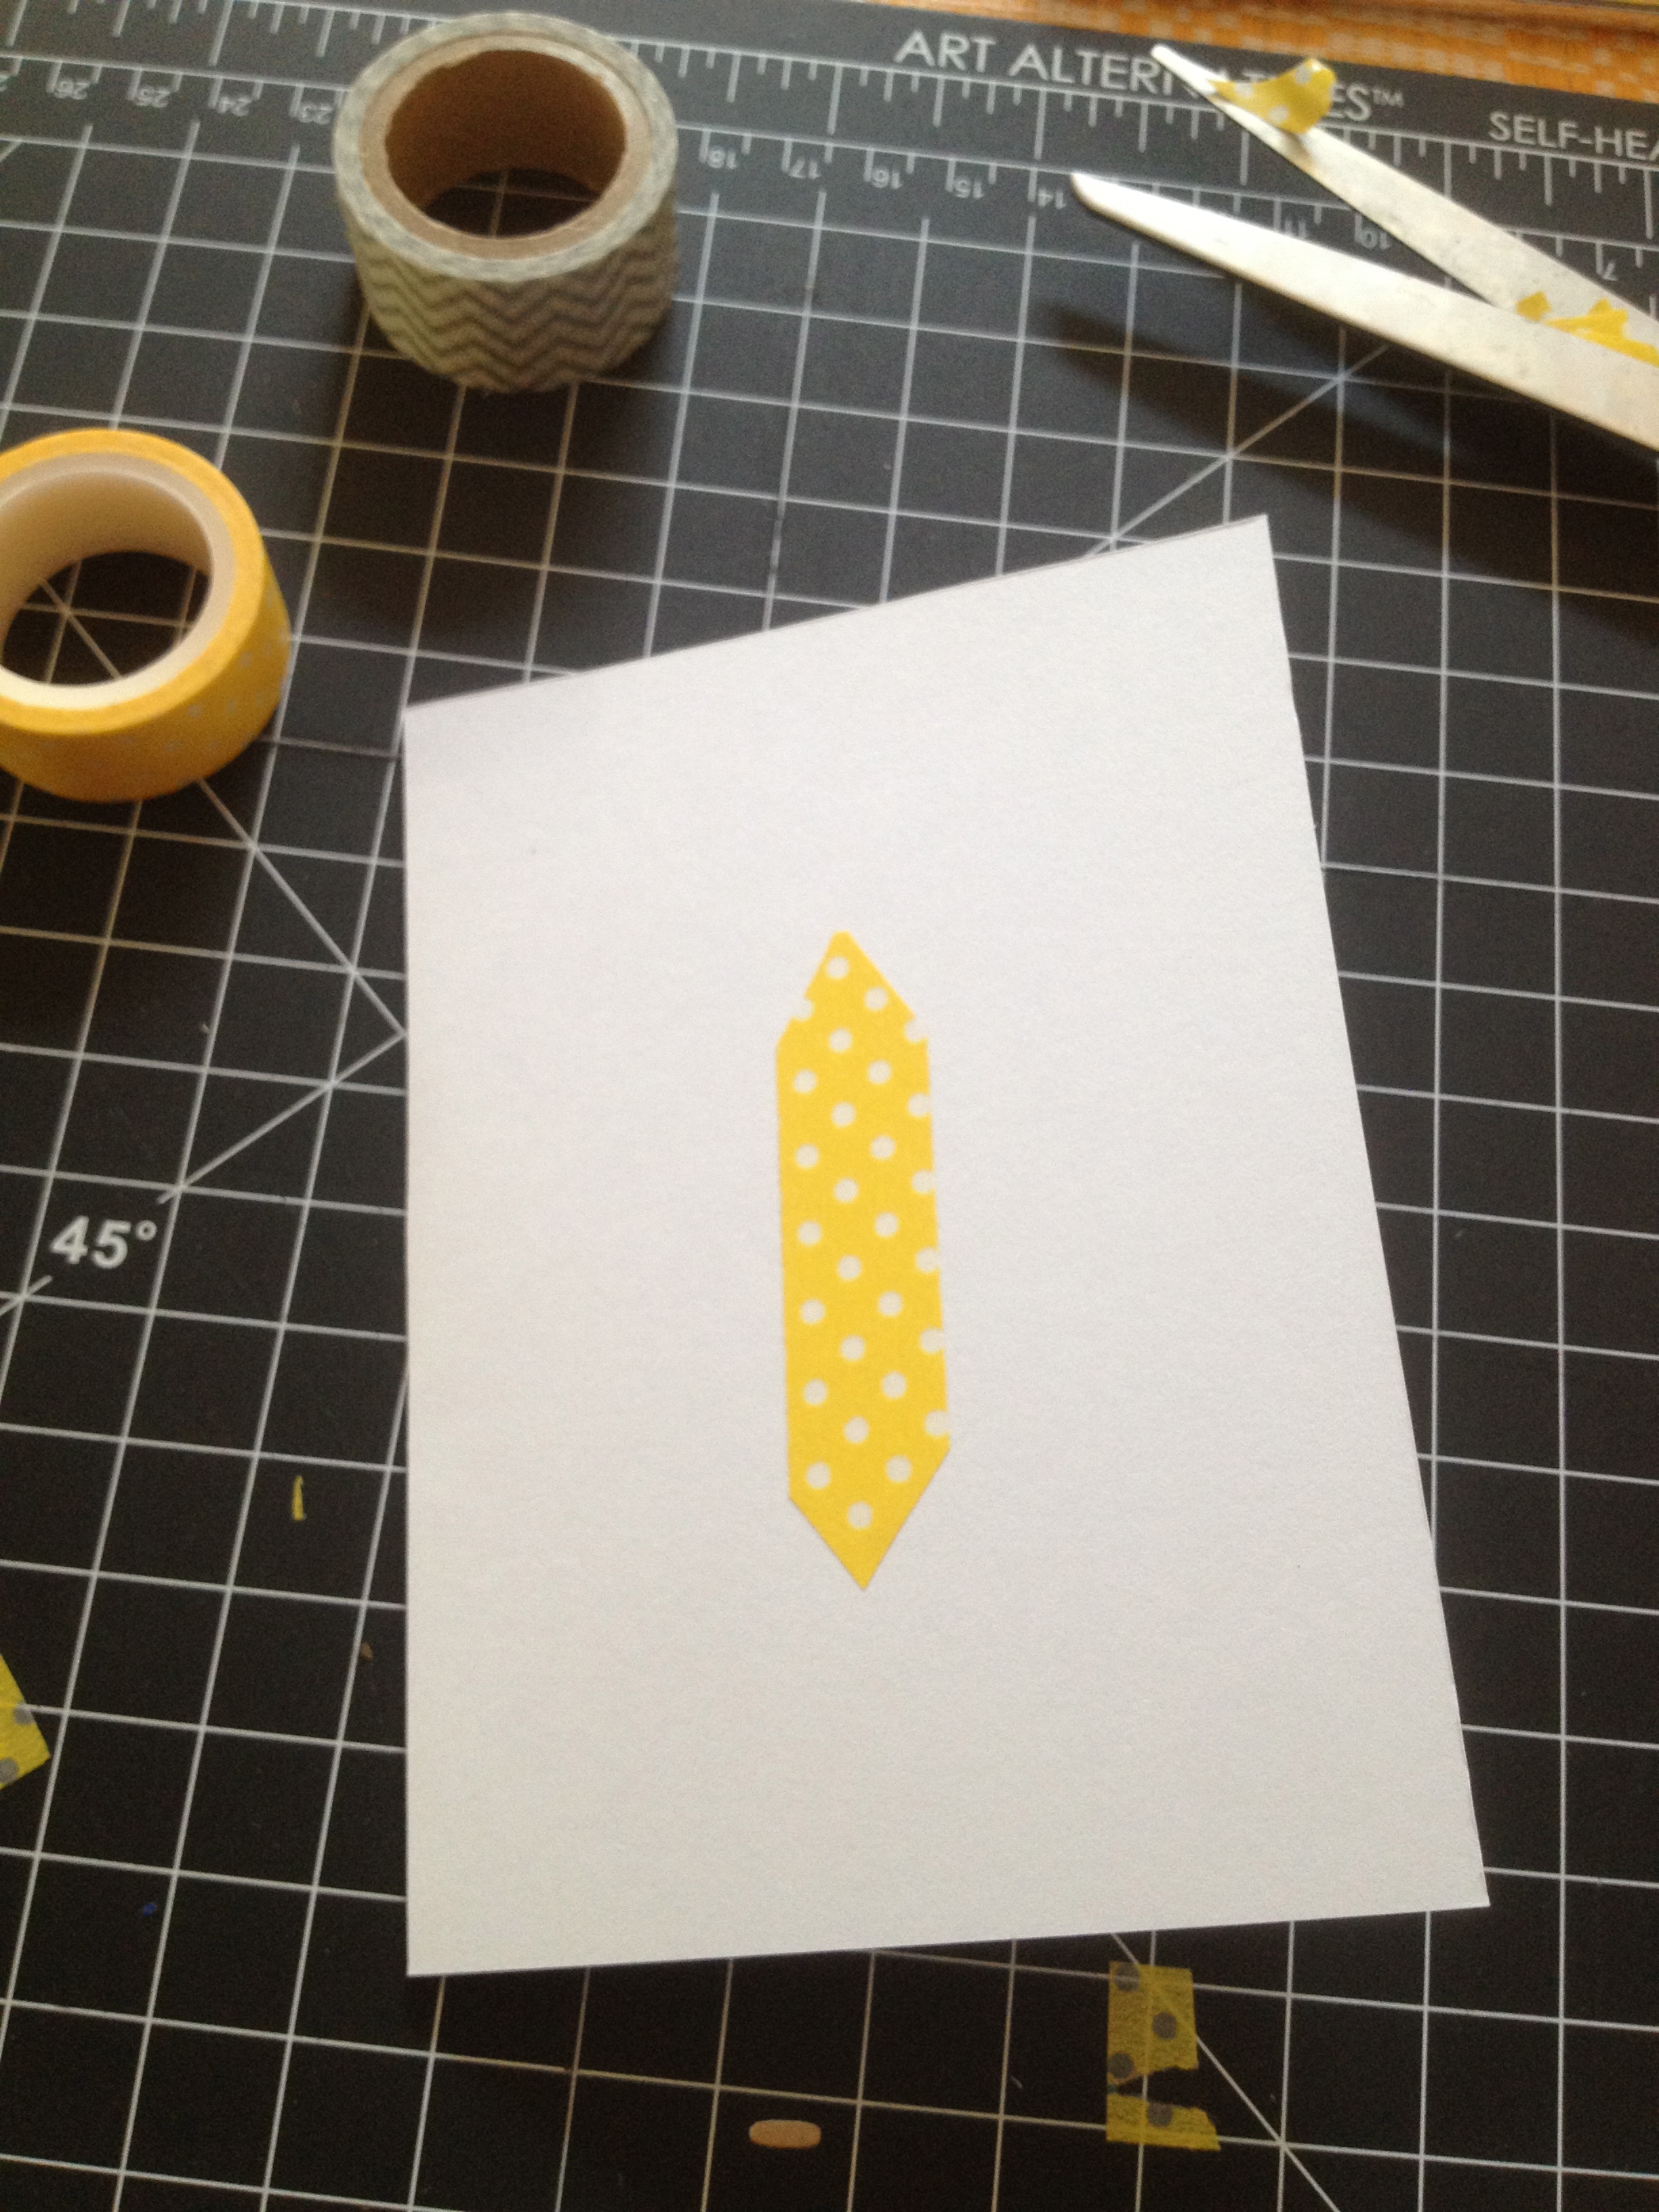
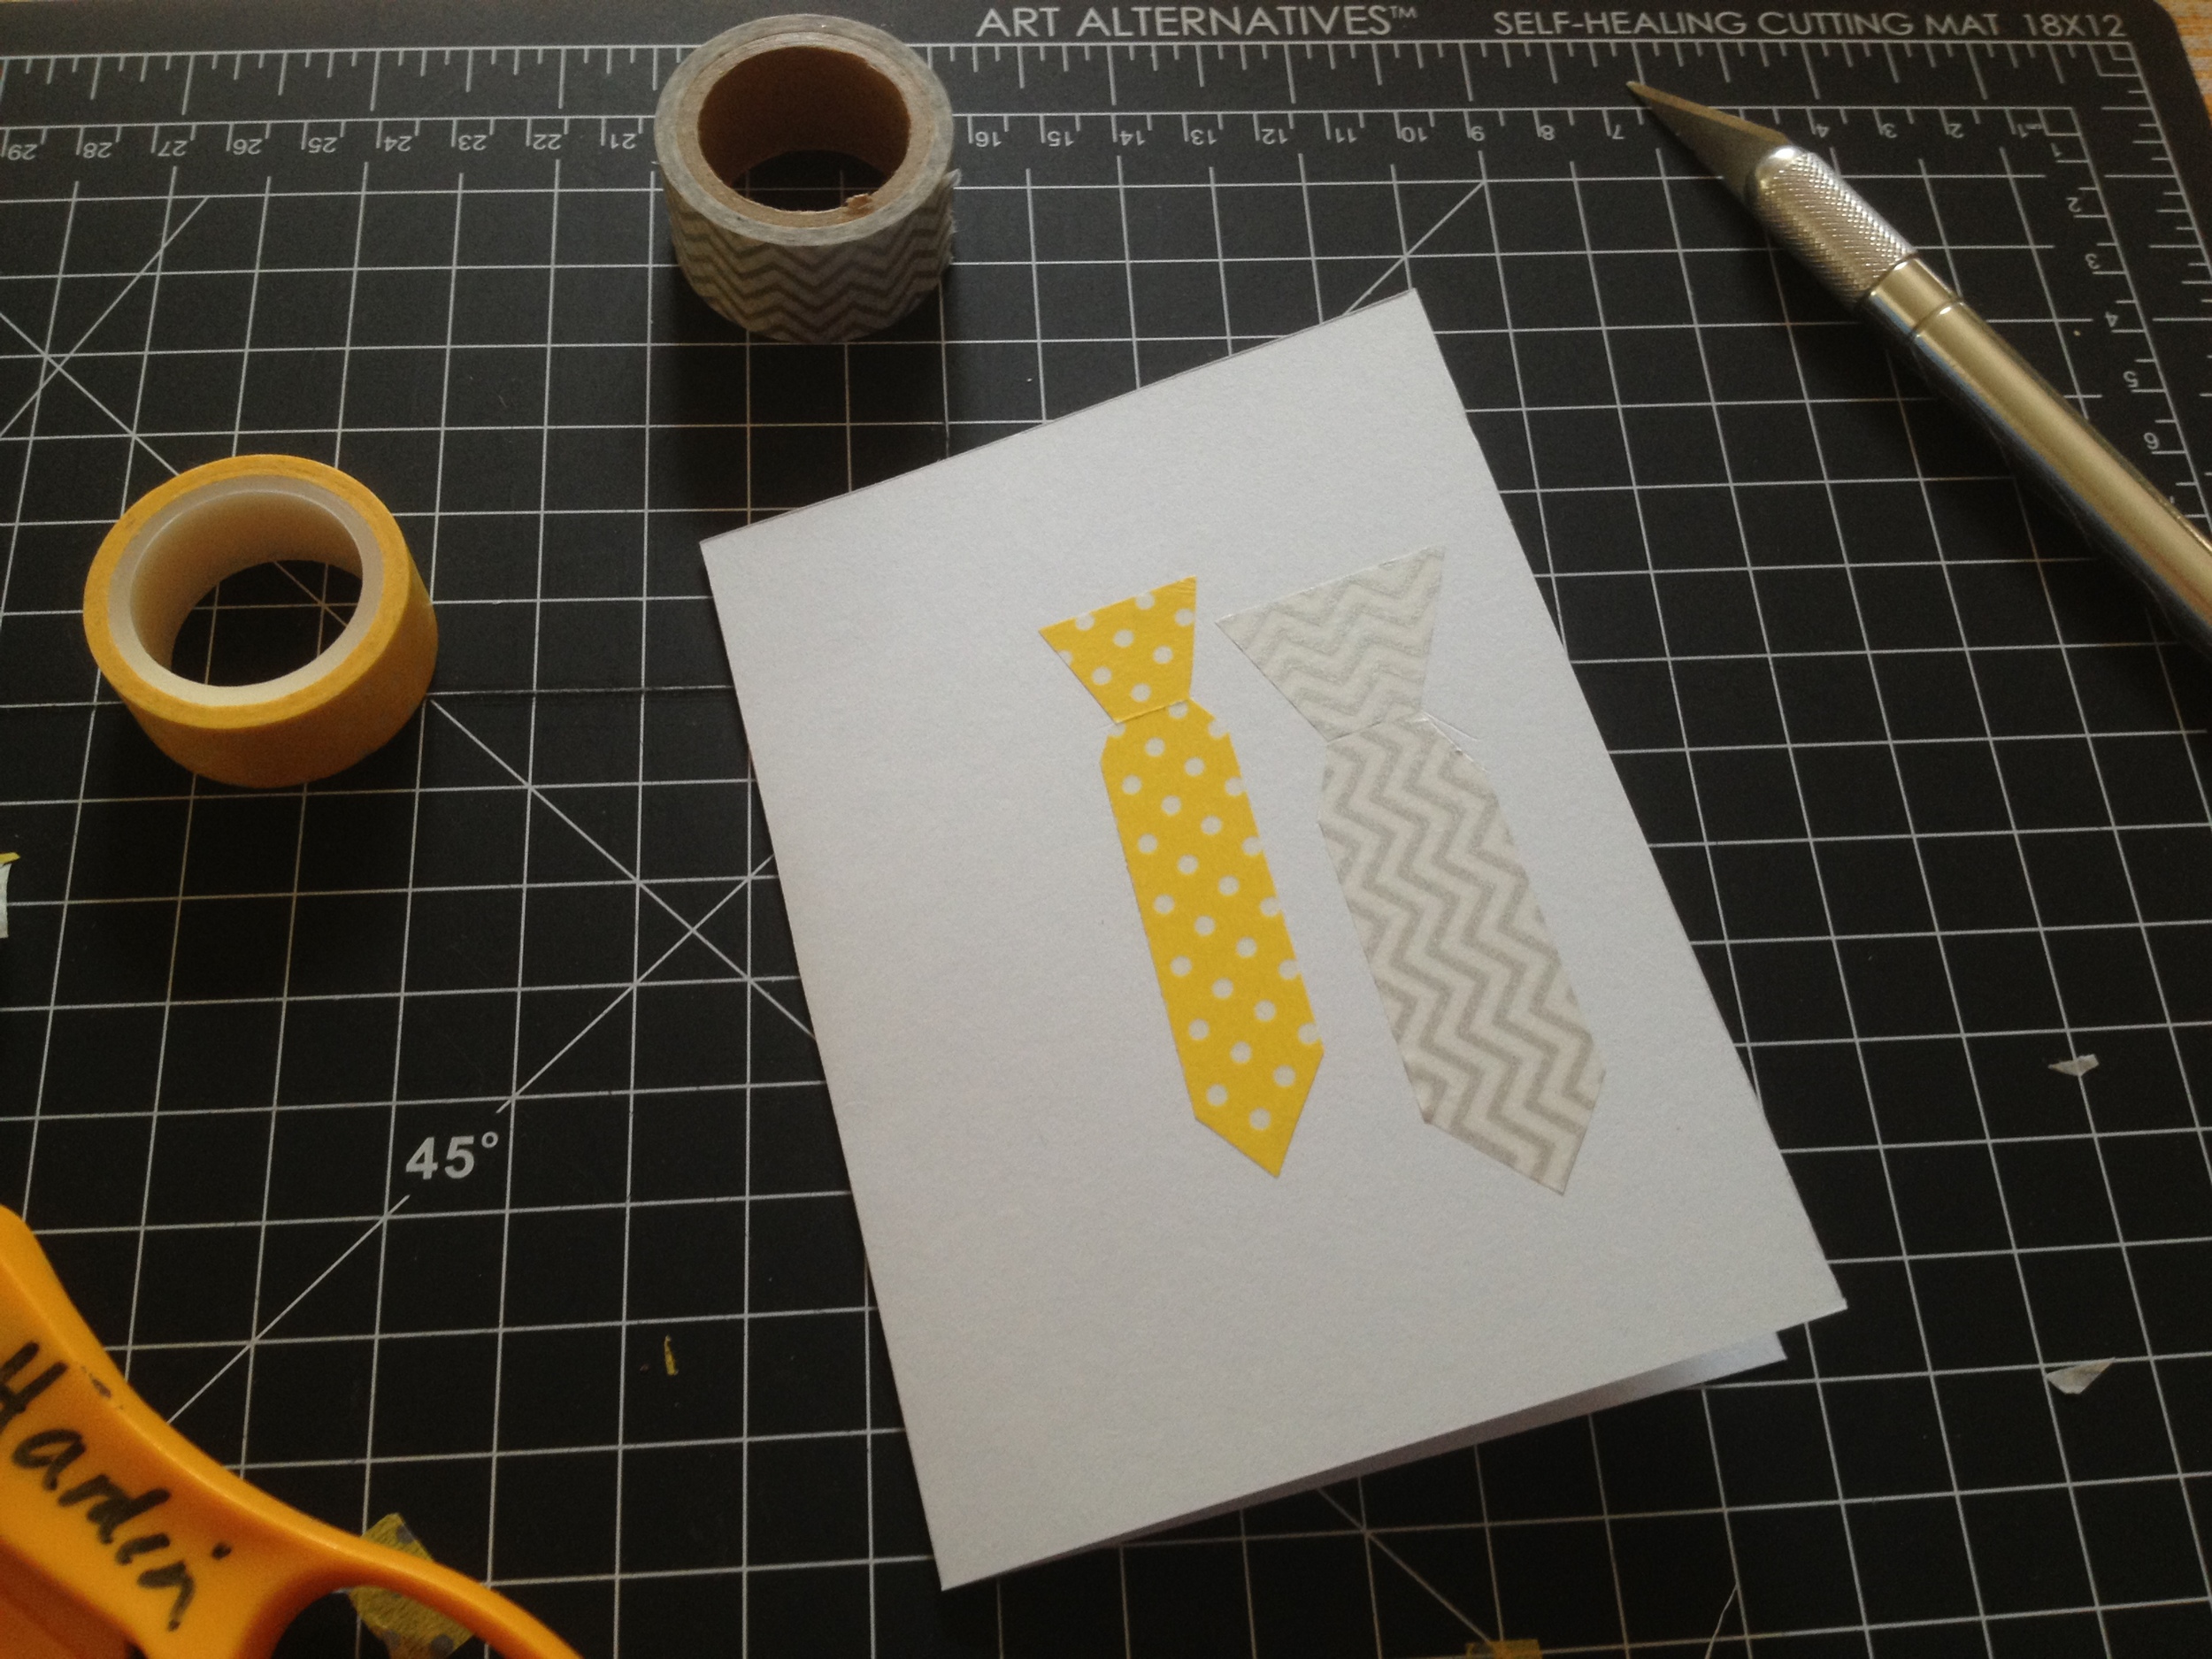
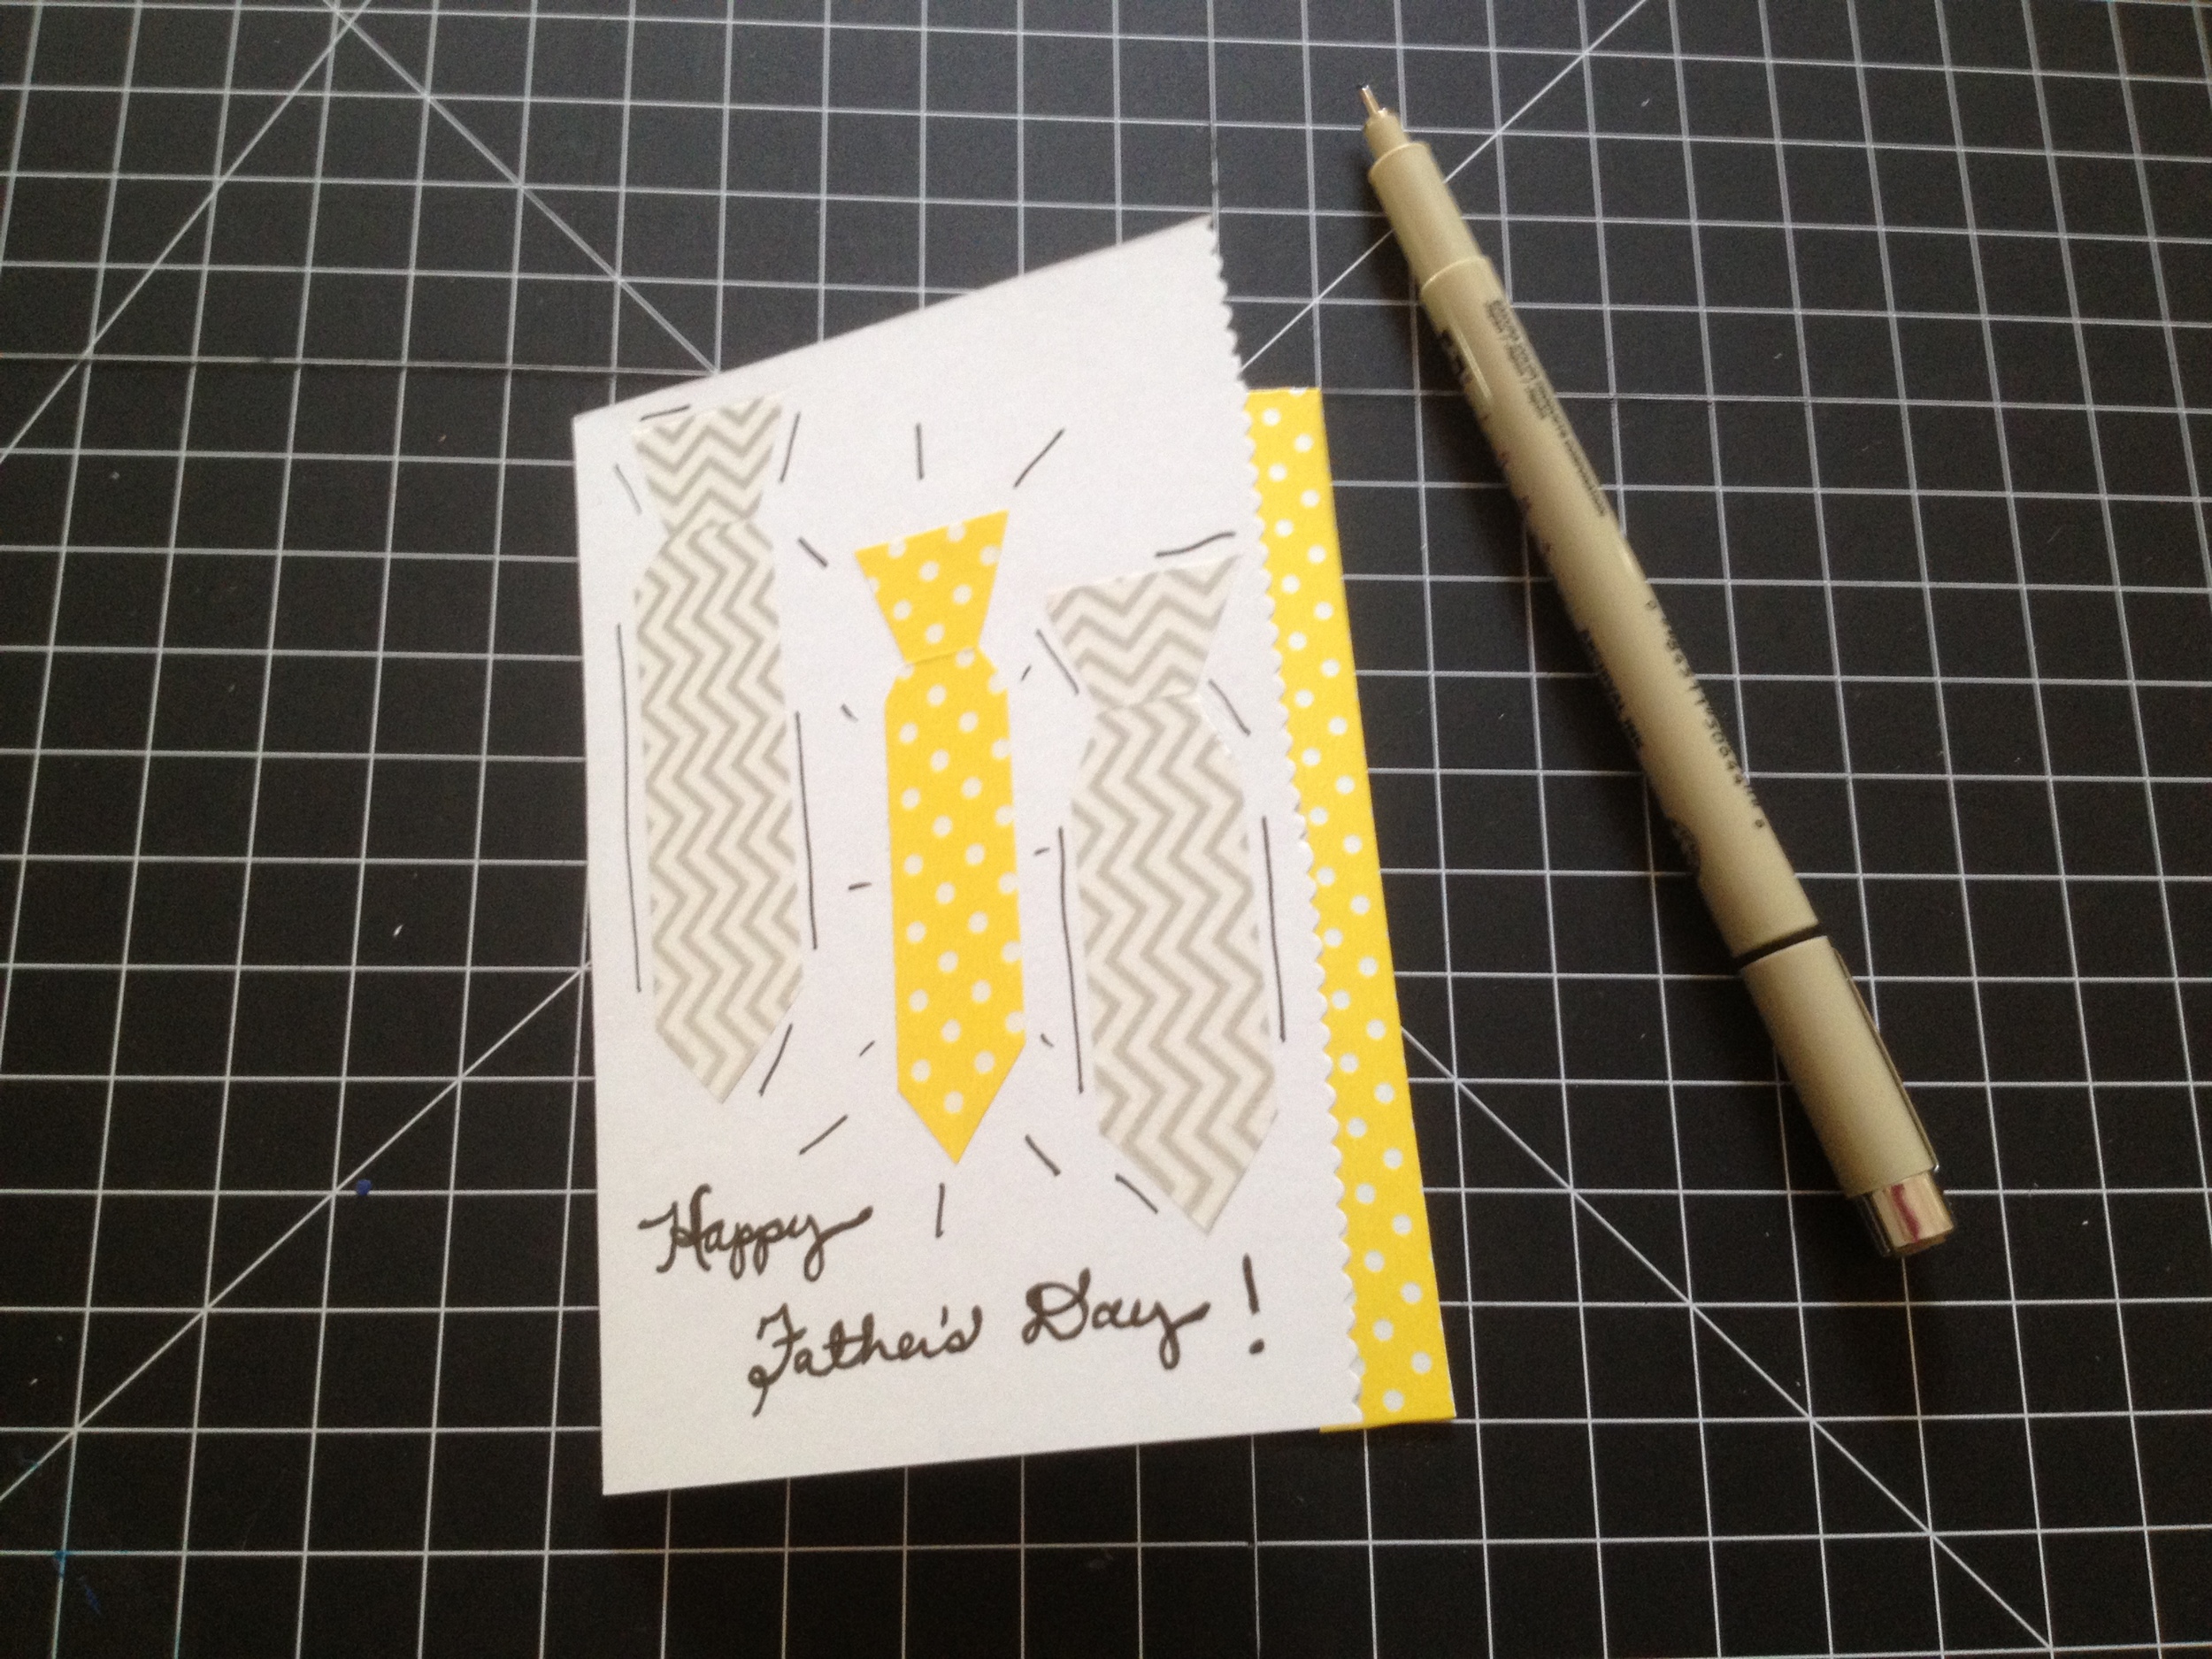
Next, cut a length of washi tape (mine was about 2"), and use your scissors to make the your tie shape....basically two triangles pointing outward. I placed it vertically at the center of the folded card. It looked like this:
To make the knot, I cut another length of washi tape (this time about 0.75") and trimmed off the sides like this...

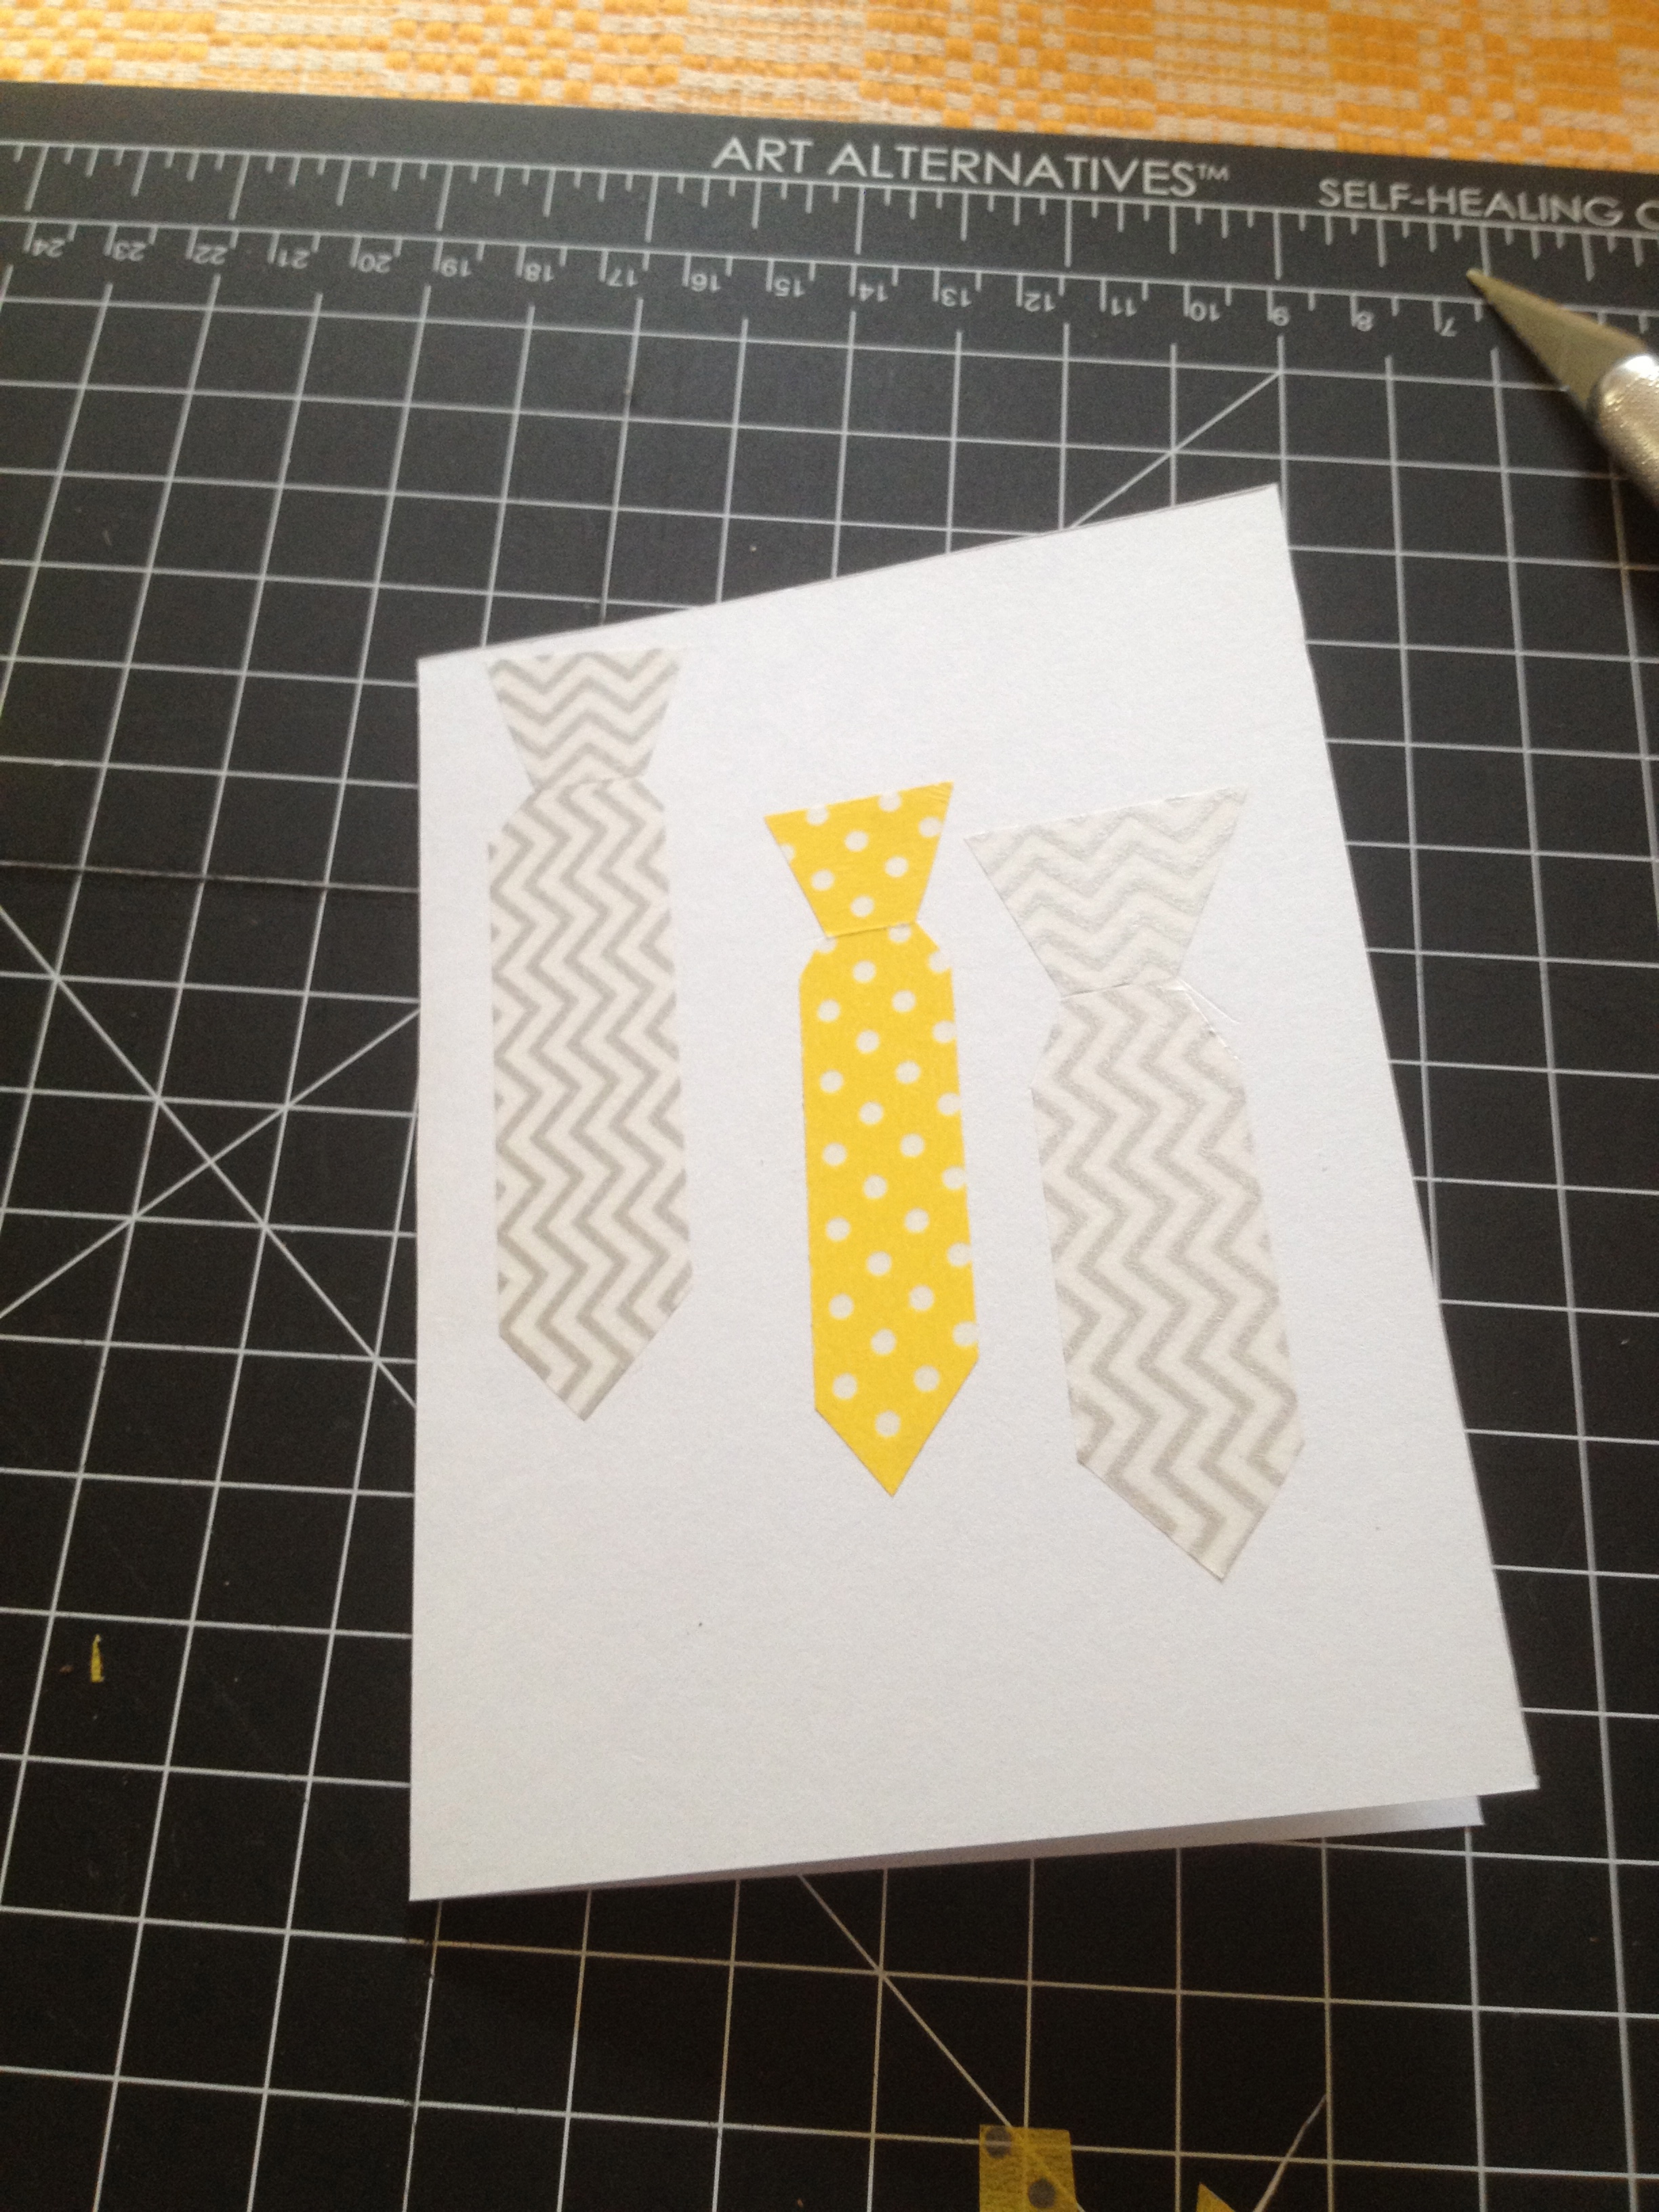
To add some interest, I repeated that design again in a different washi tape pattern...
And then again because I was on a tie-making roll by this point...Keep in mind they don't have to be perfect..that's part of the charm!
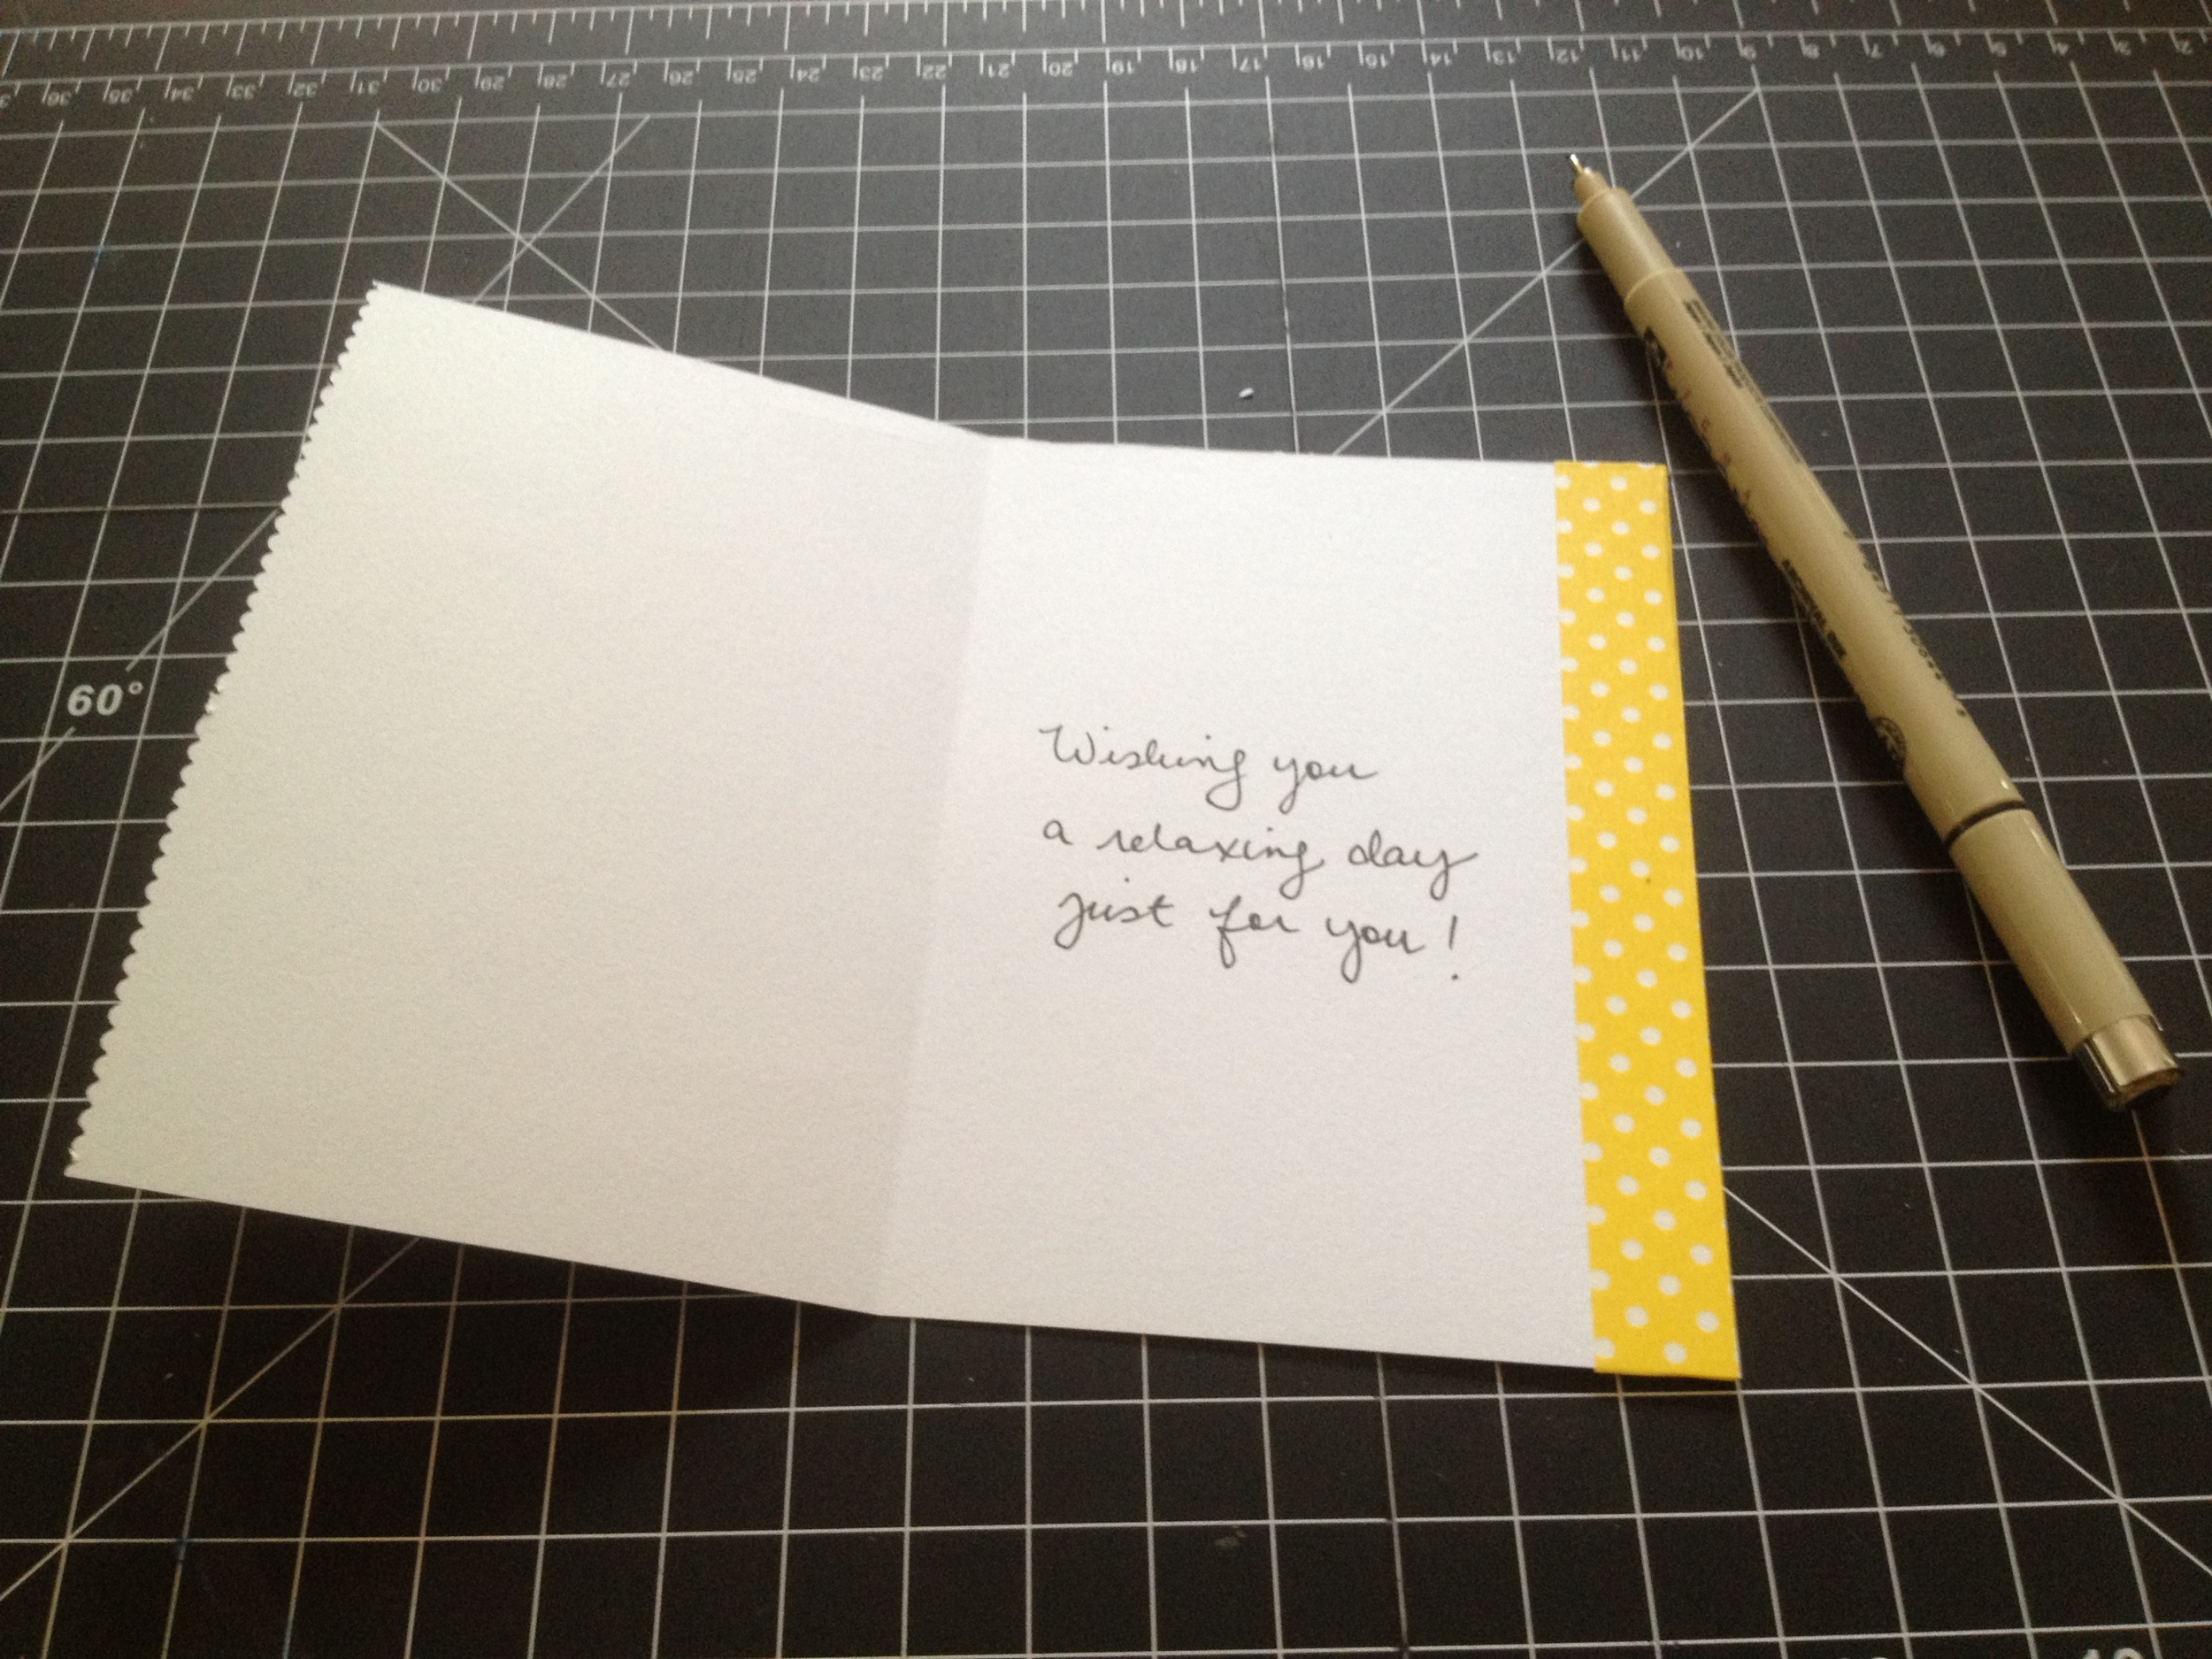
Next I used my crafting scissors to cut away some of the stock (about .25 ") on the right side of the card where it opens. I placed another length of washi tape (that matched the first tie) on the back panel of the inside of the card (from top to bottom) to add more visual interest and tie (haha) everything together.
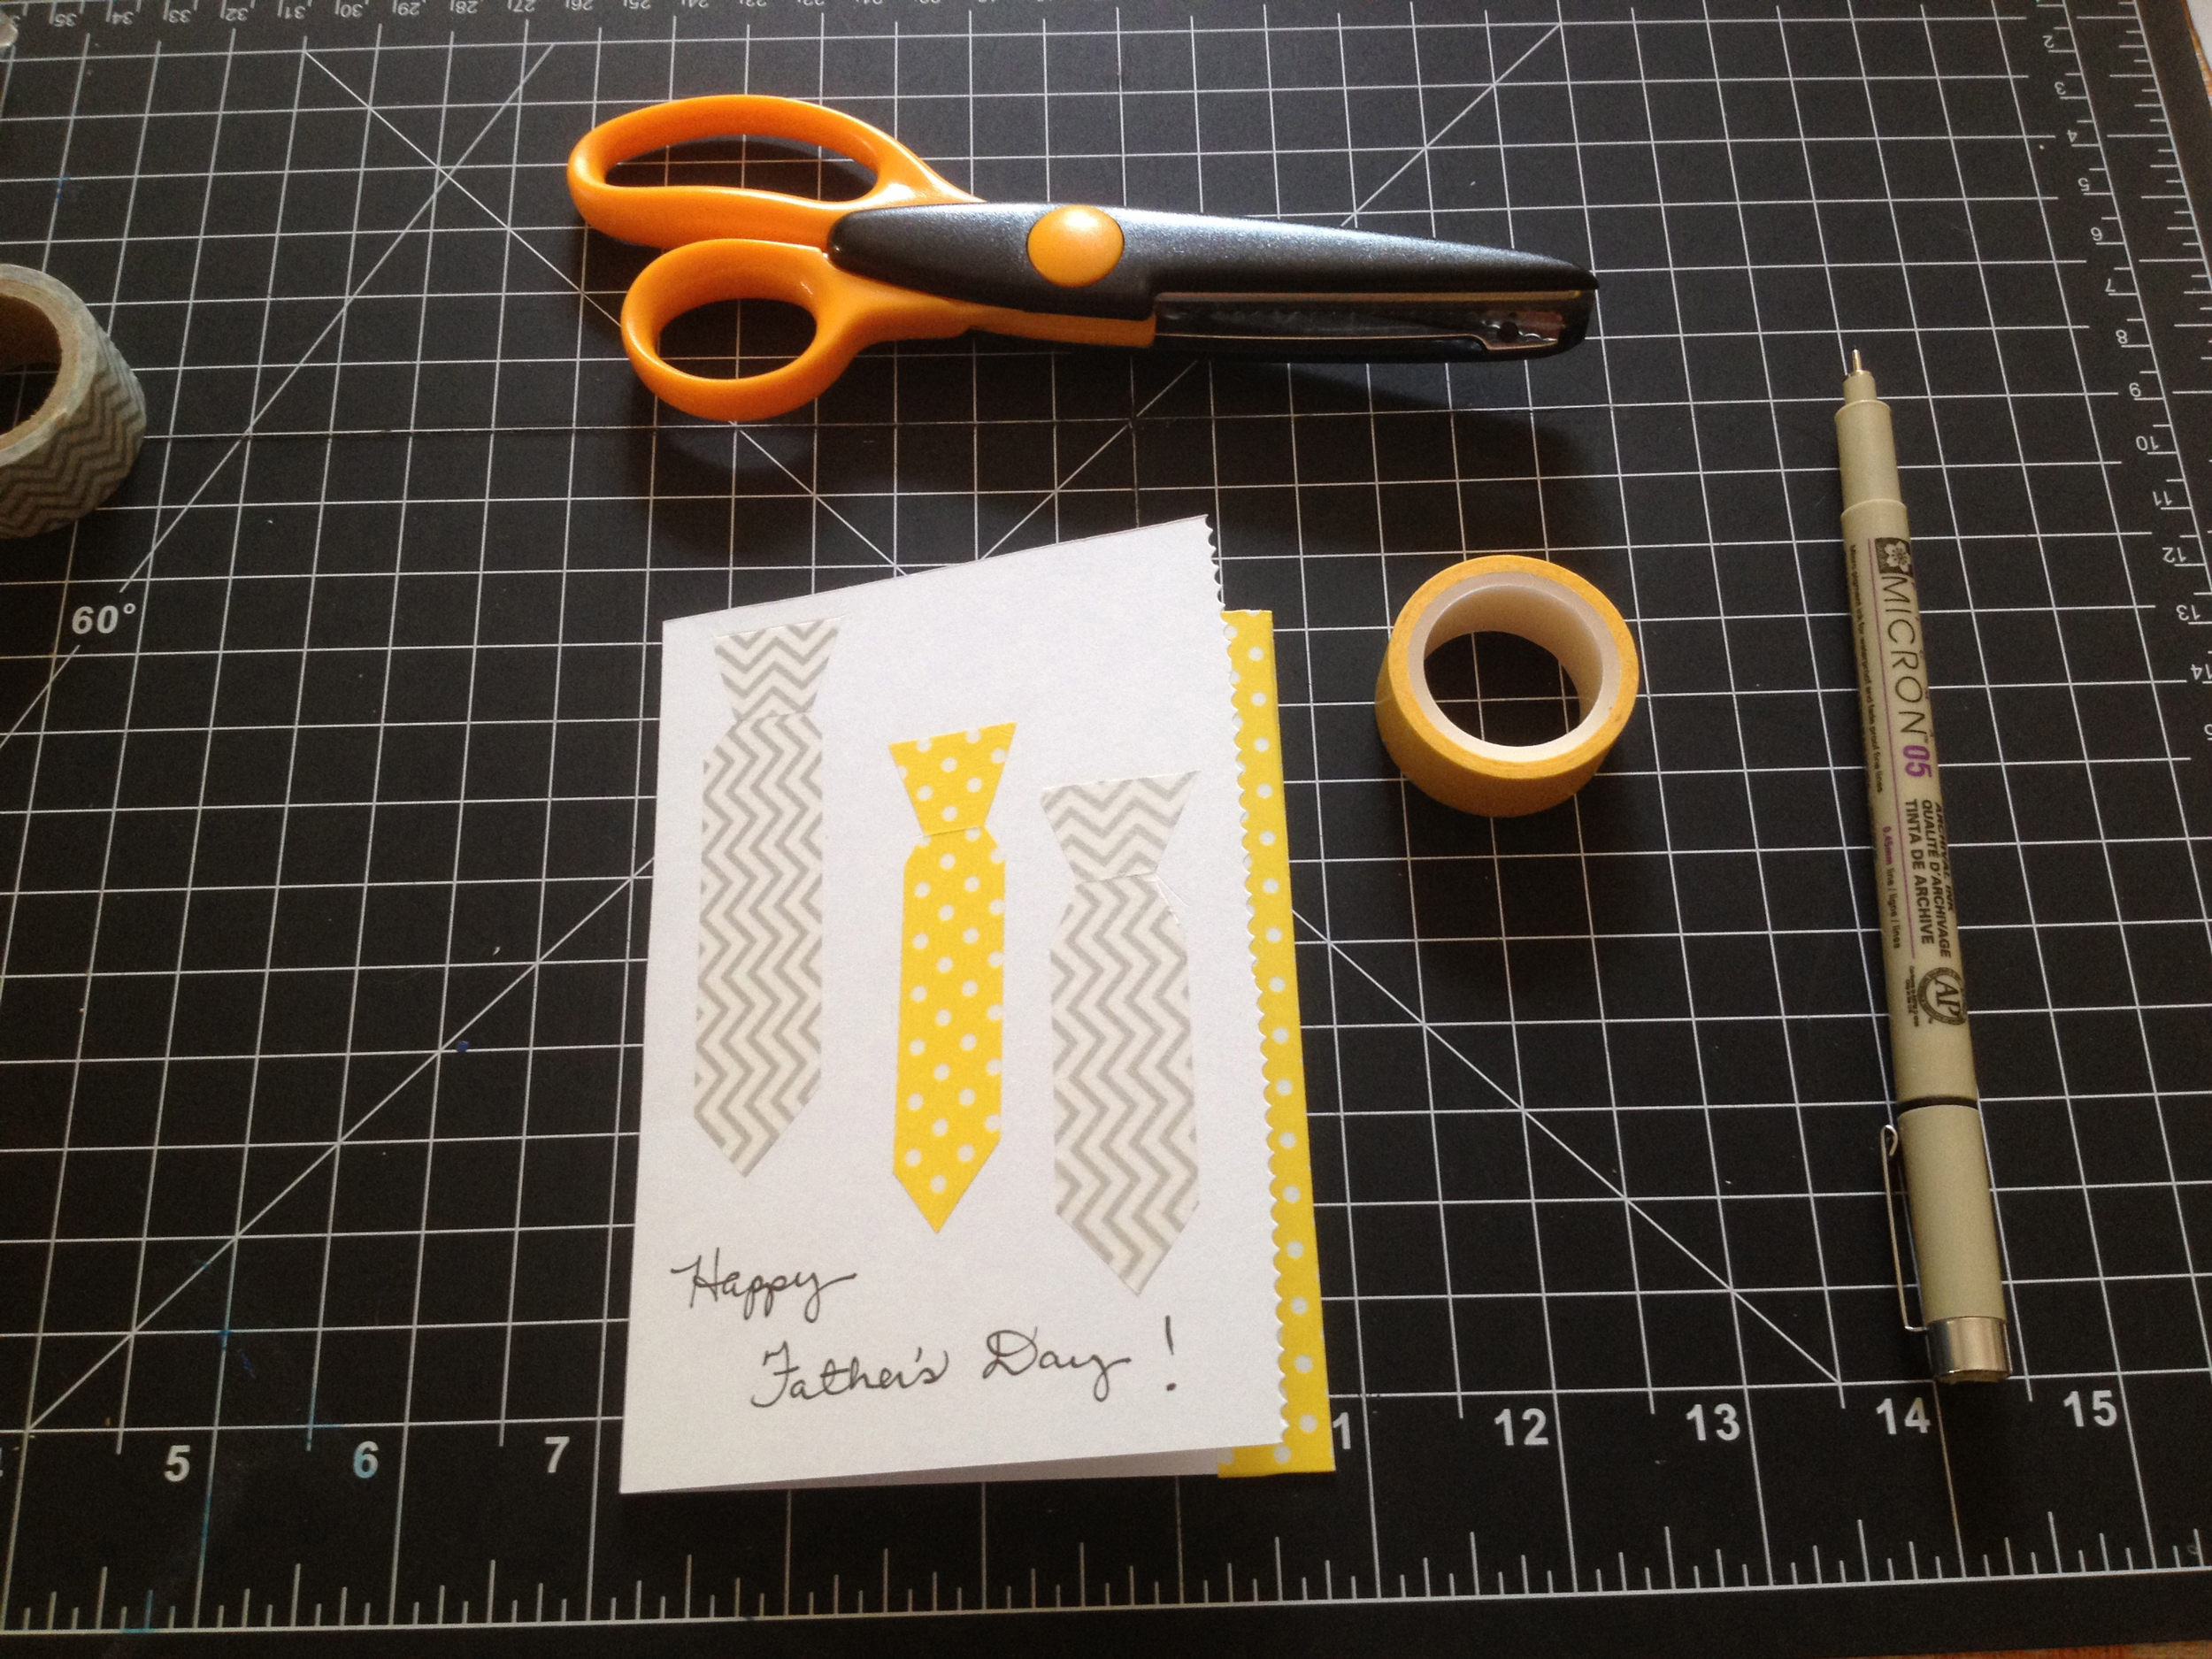
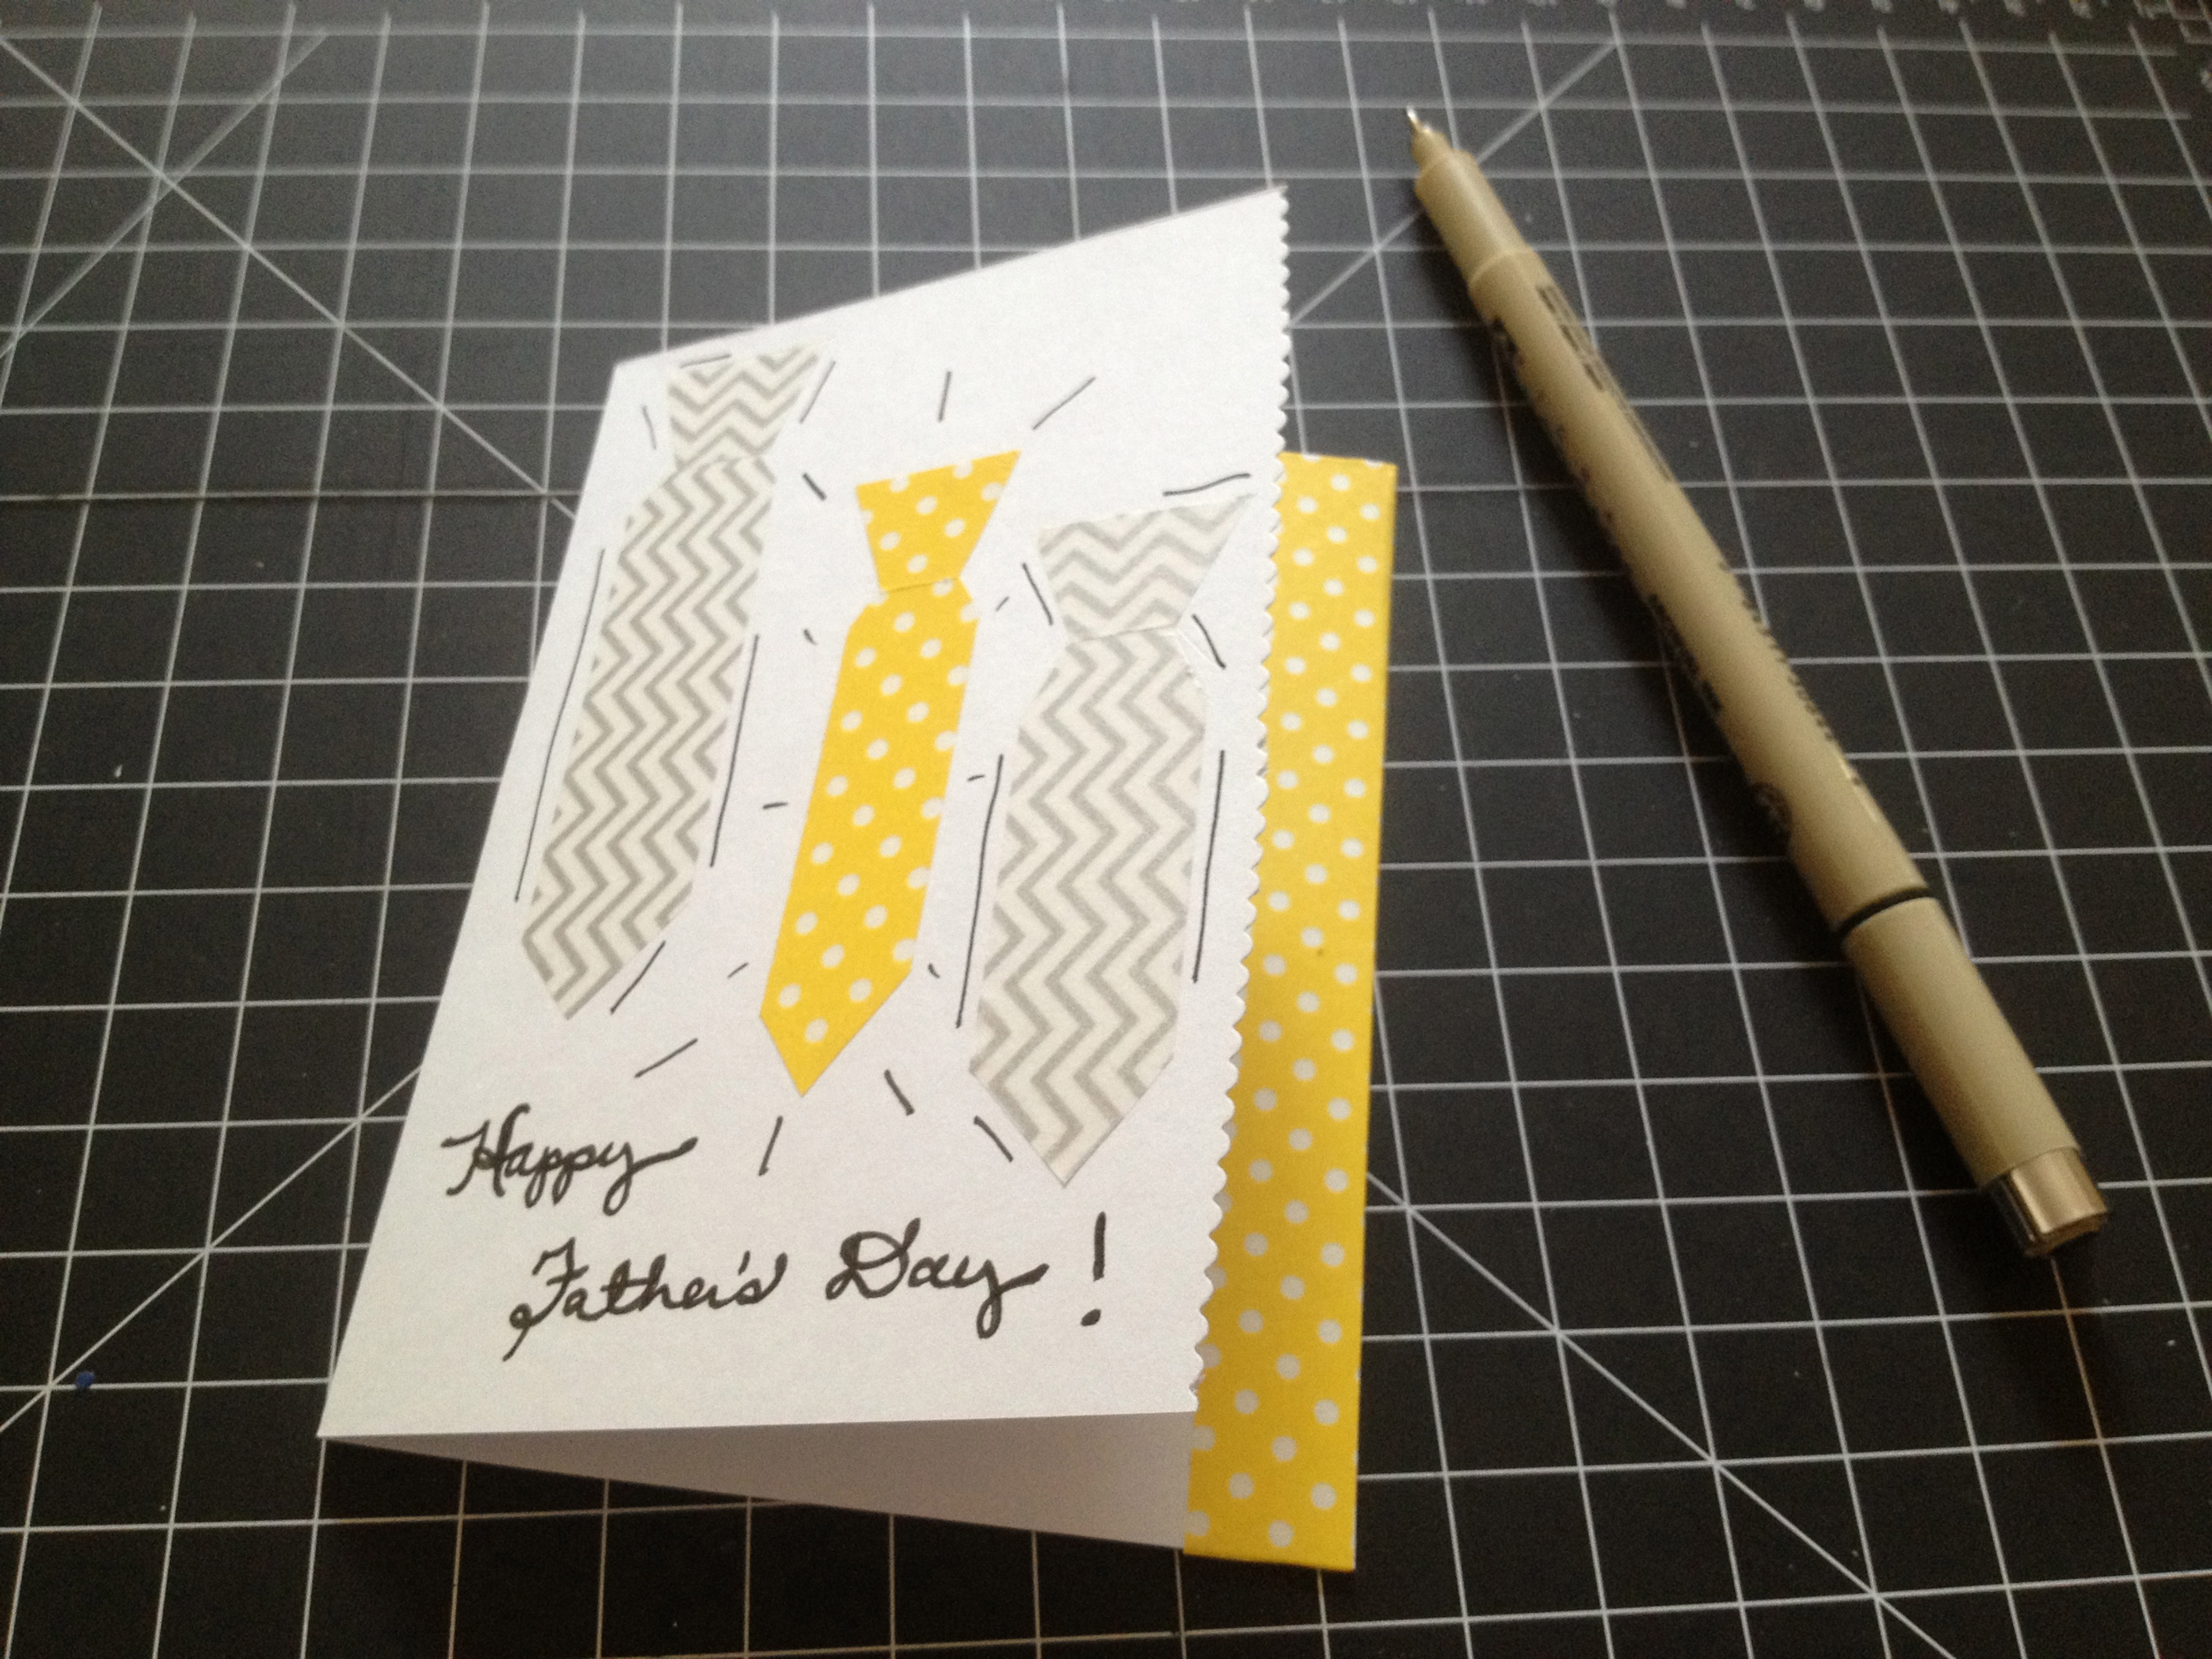
Next I used my pens to write Happy Father's Day! on the front of the card. Flourishes were also added....
And of course I didn't forget to write a message on the inside back panel as well!
So there you have it....a simple DIY Father's Day card that is much more charming than the store-bought variety!
If you have any questions about this card, feel free to leave a note in the comments, and I'll get back to you.
Happy (early) Father's Day to all the dads out there...including mine!
