details of the time

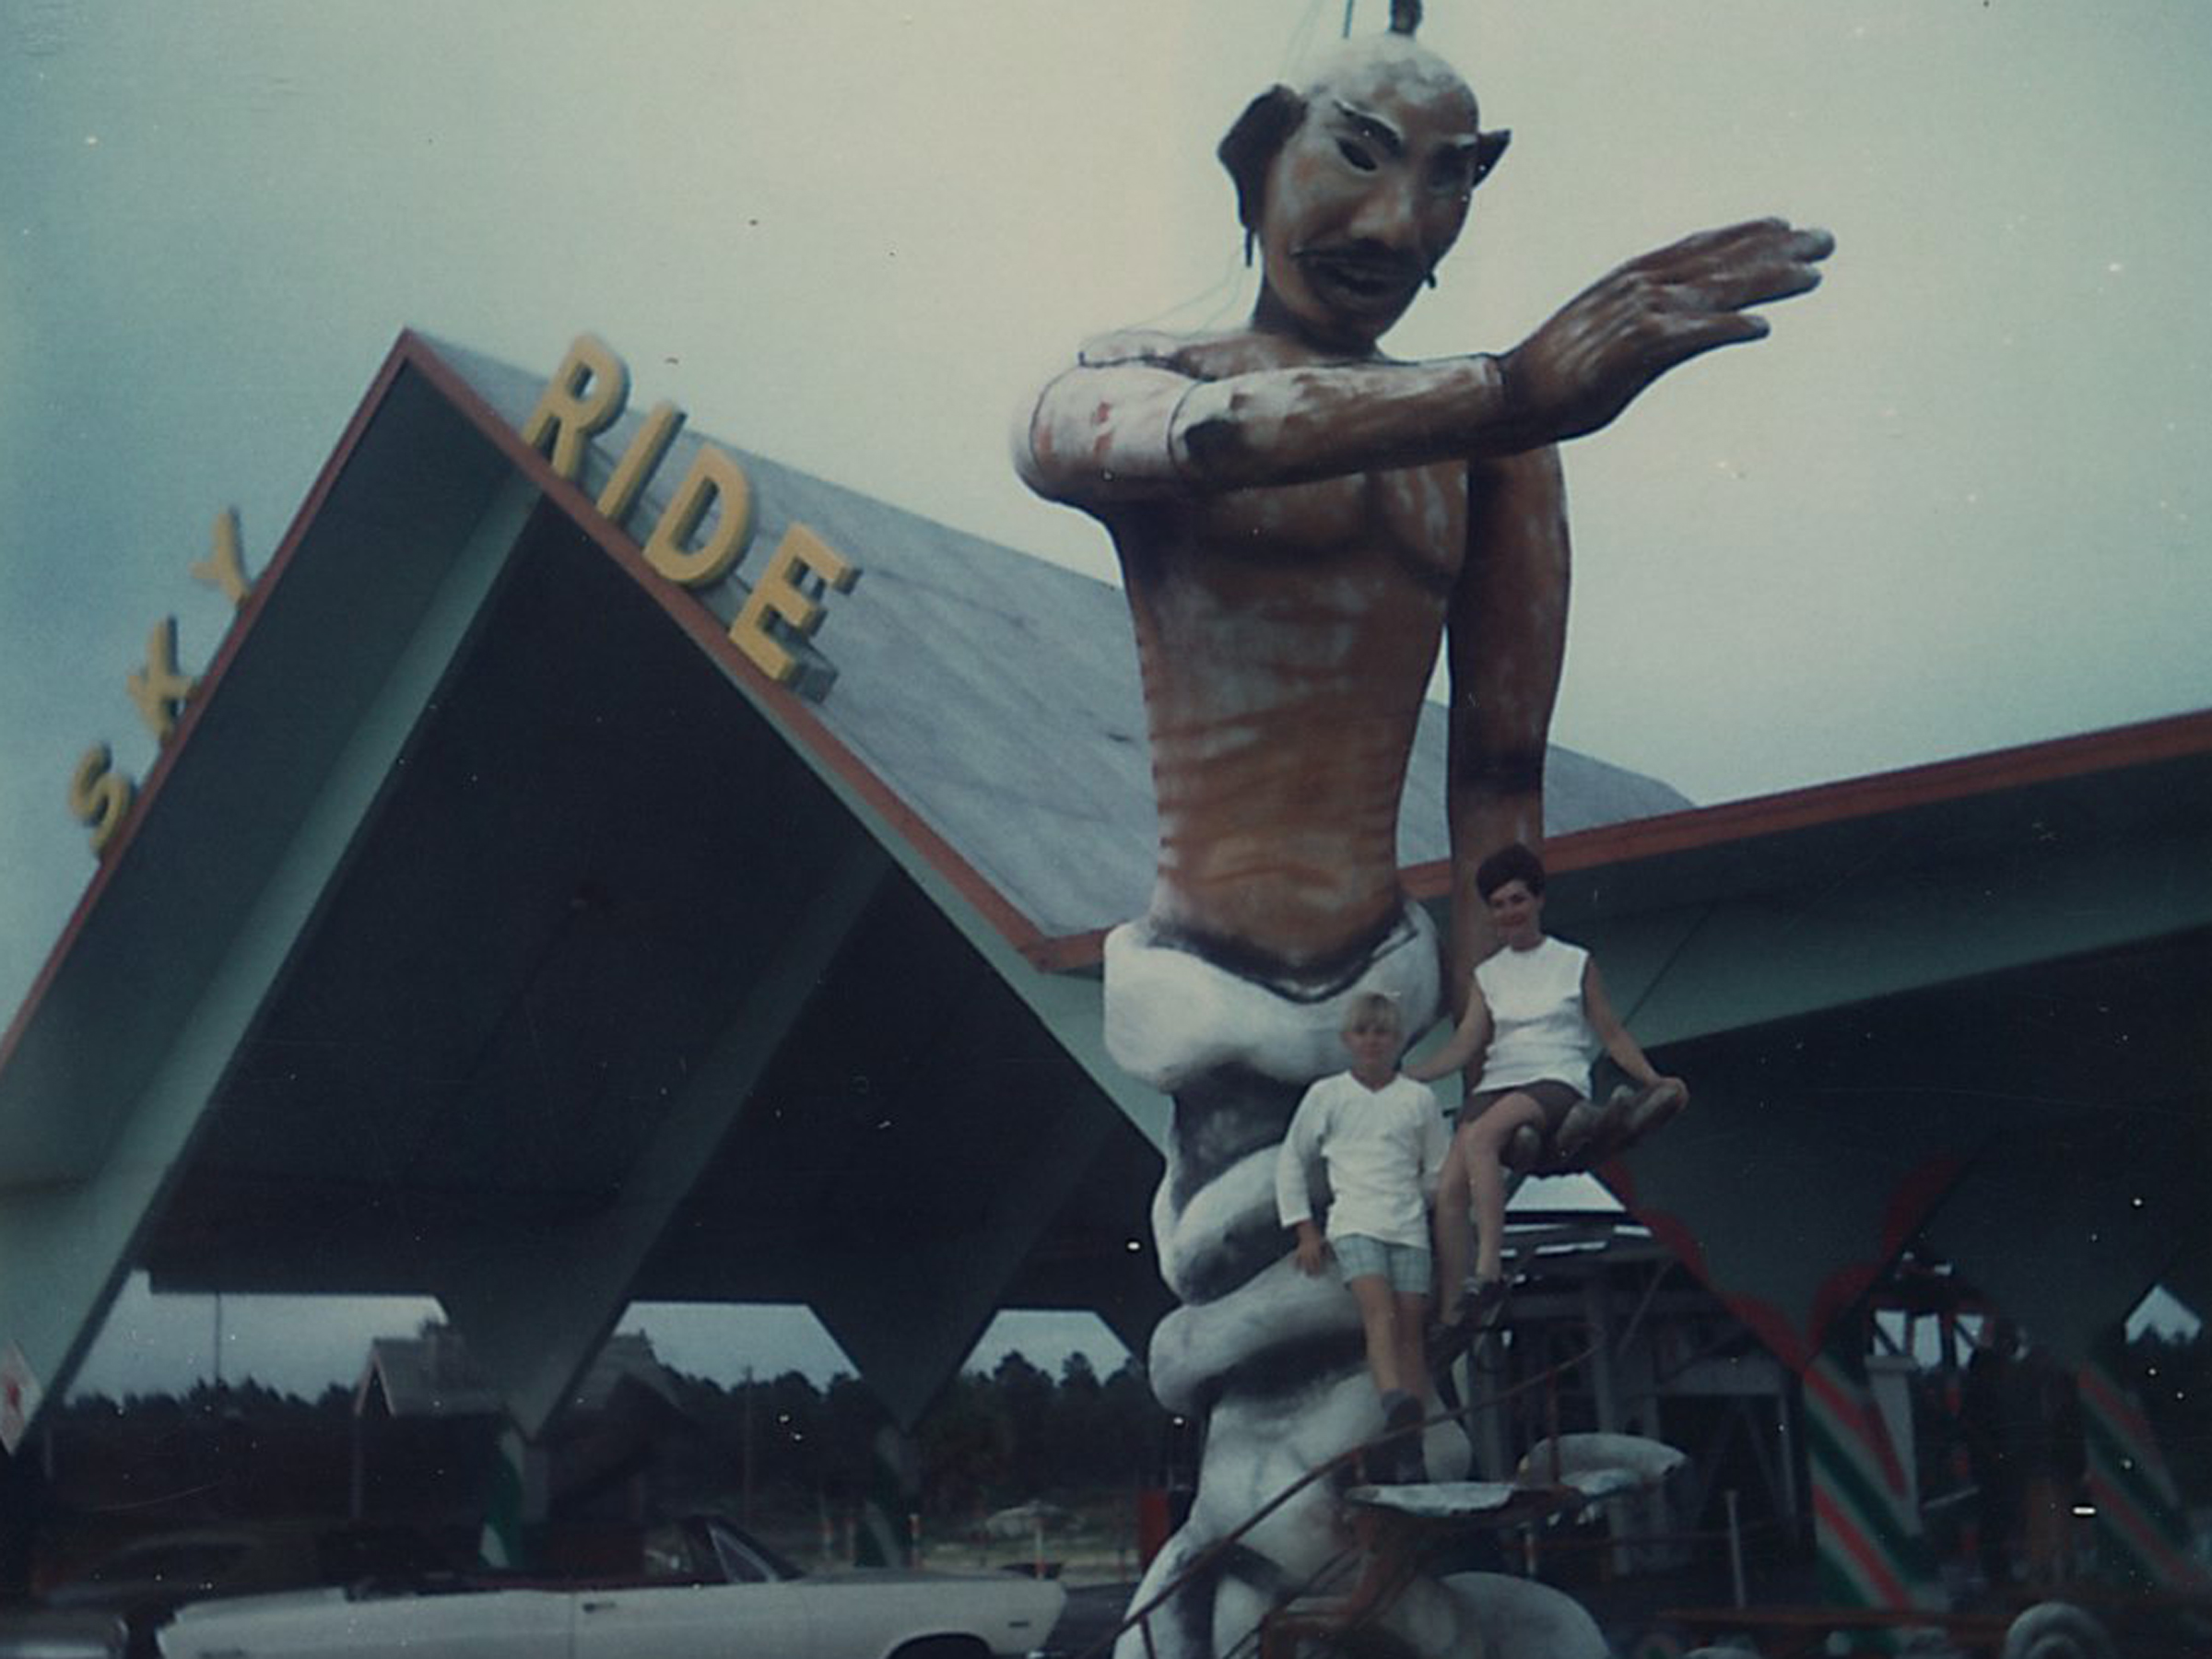
Part of the fun of old photos is studying the details of the time -- the clothes, hairstyles and settings. Even the expressions on the subjects' faces add to the story! These little details keep the history of a family, time and place alive. It is an honor for us to preserve them for future generations to enjoy.

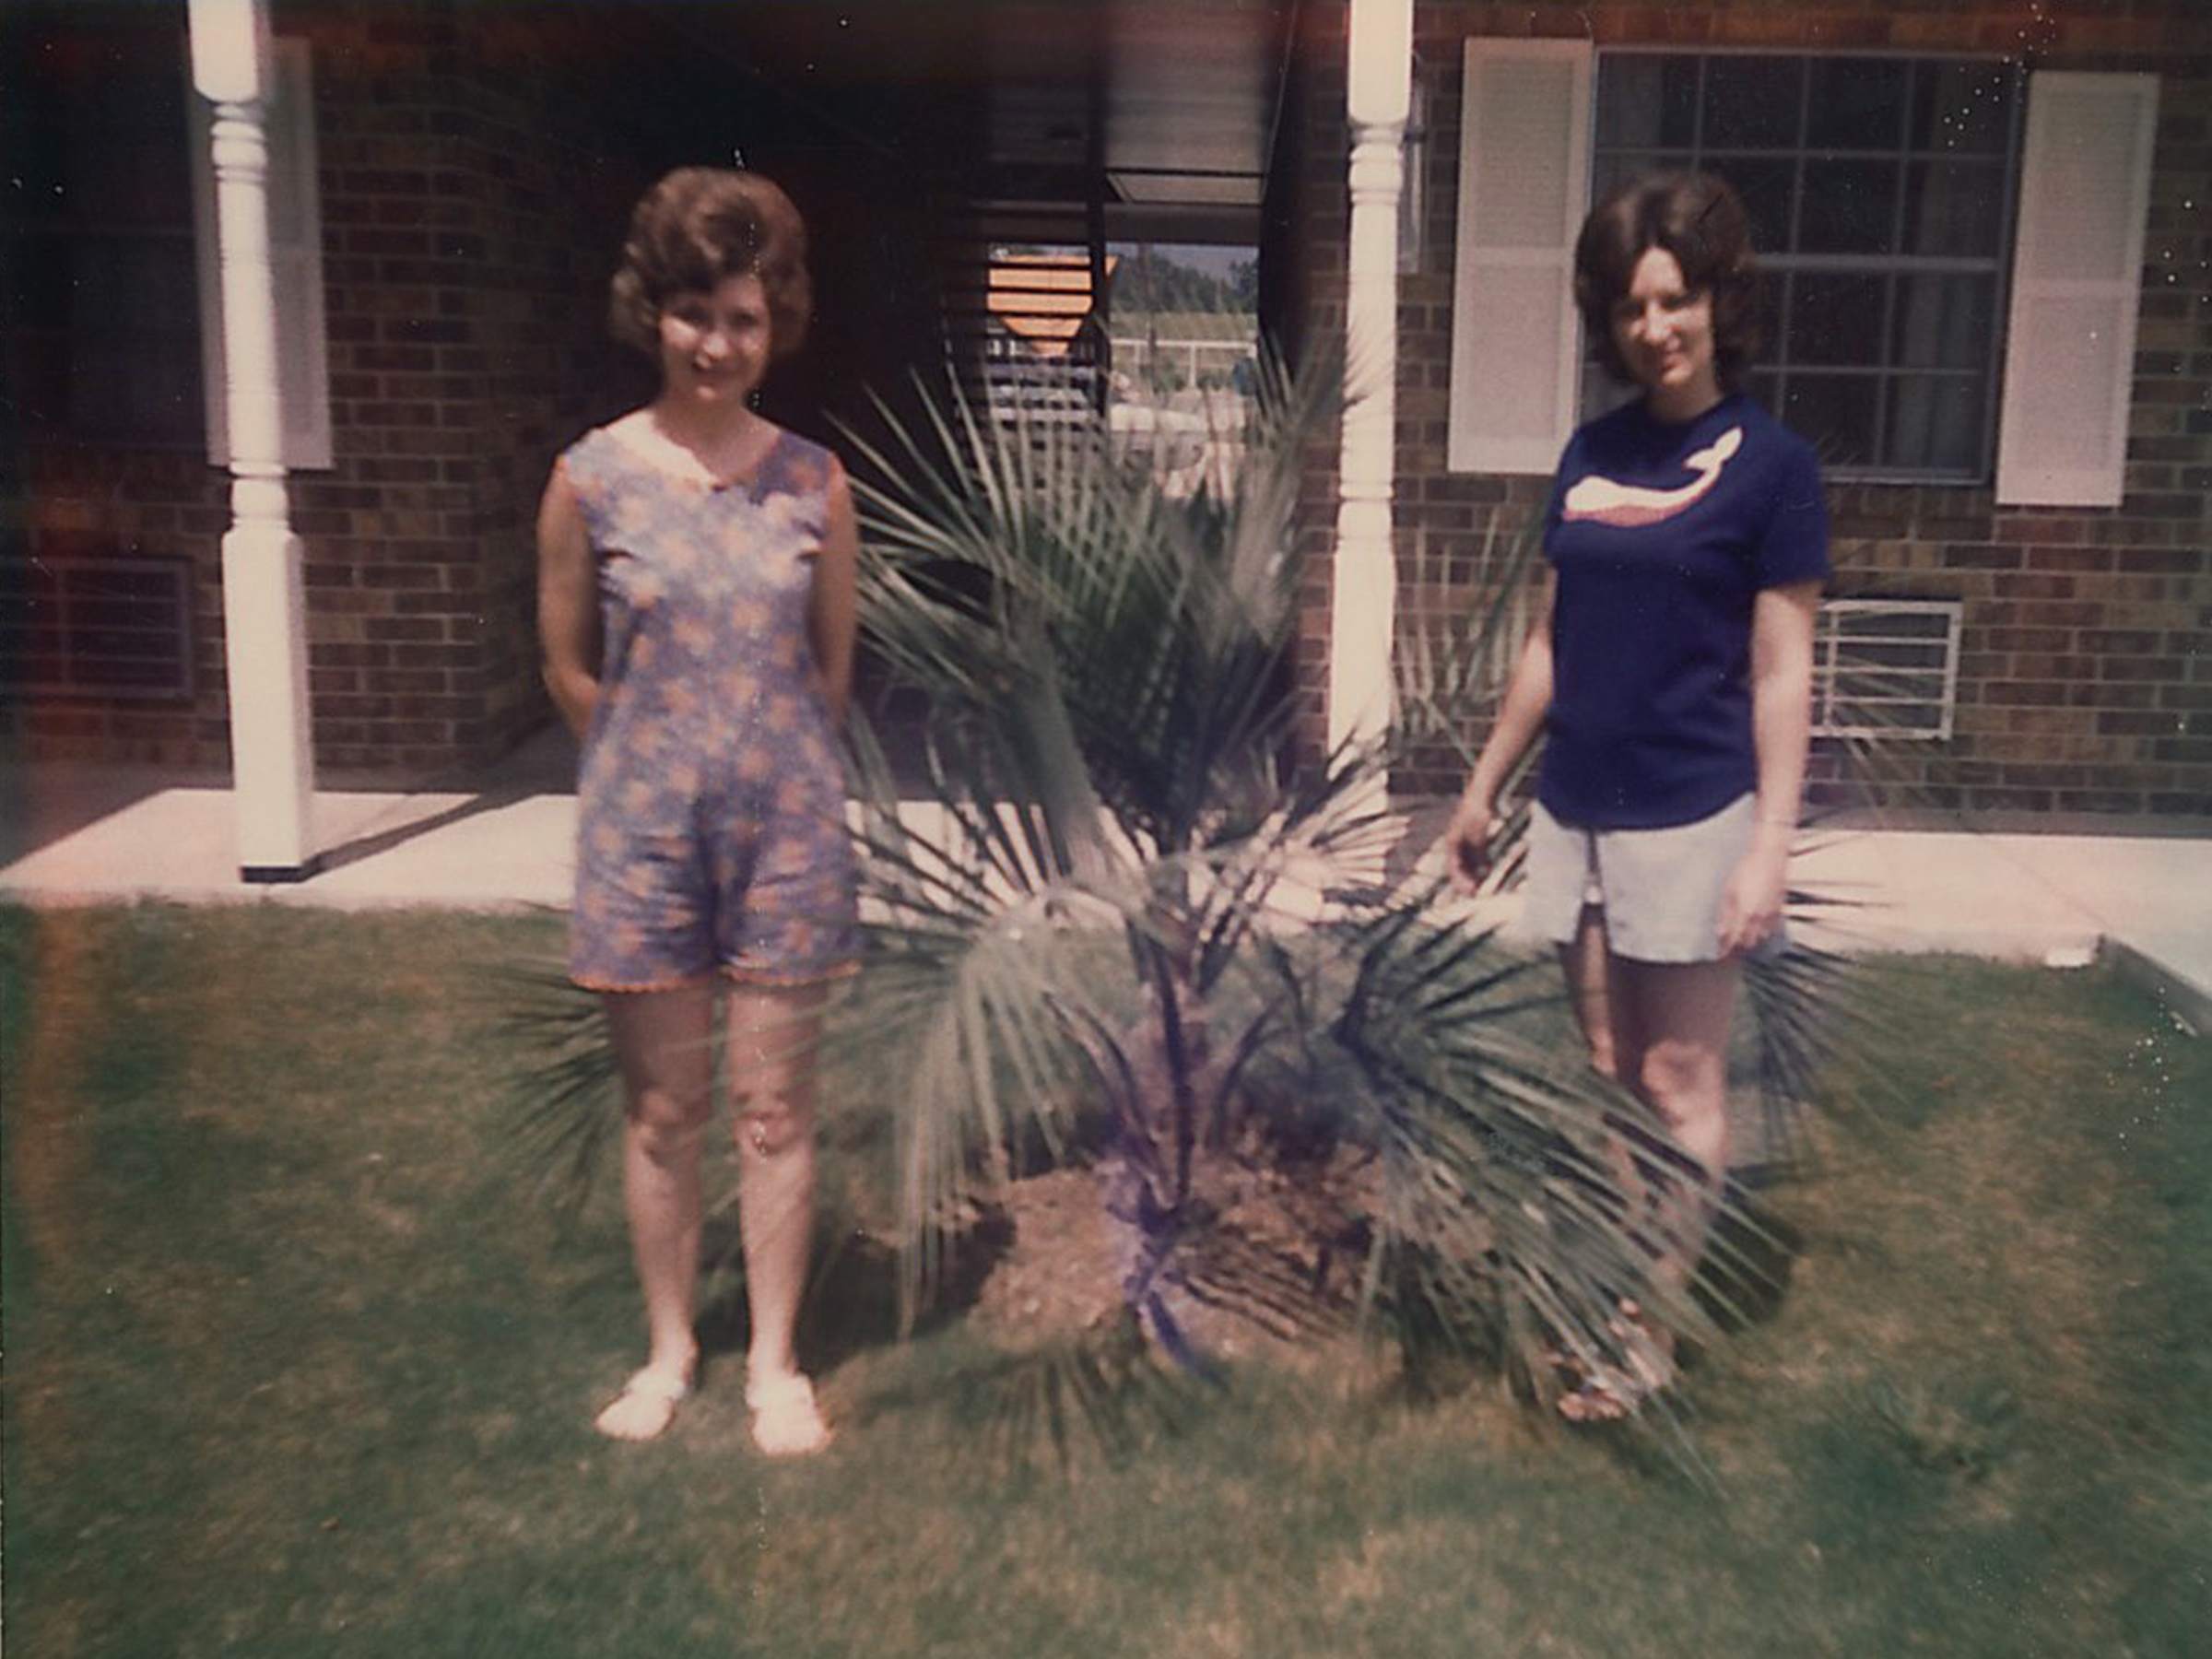
The top two photos are of Jonathan's great-grandmother Eliza and her family, and the bottom photos are of Eliza's daughters -- Linda and Sadie, Martha and Sadie, and Linda, Sadie, Martha, Olivene, Lois and Cass. They are pictured with Eliza's husband and their father, Clovis Yates. 

elizaandhersisters
Elizaandfamily
sadieandlinda
sadieandmartha
sadieandhersisters.jpg

You might notice that the top photograph has some spots and a tear in it. I personally find decaying photographs to be quite beautiful, but as a preservationist, I scan the original image and save two copies -- one in its lovely original state and one that I've restored. The photo below gives an example of how a restored photo can look. This is a pretty simple restoration -- I didn't remove every little imperfection -- I just cleaned up the big spots and fixed the tear. If you have questions about photo preservation and restoration, feel free to contact me directly or leave a comment below!

elizafamilyrestored

a tour of the historic tennessee brewery

The historic Tennessee Brewery in Memphis was built in 1890. During its peak production years, it churned out 250,000 barrels of beer per day, making it the largest brewery in the South. It ceased production in 1954, and it became home to a scrap metal company until 1981. It was saved from the wrecking ball by the current owner in 1999. Despite his many efforts to revitalize the building, it has remained empty and he decided it would be demolished at the end of the summer if he hadn't found a buyer for it by that time. In order to help sell the building, a group of local businessmen decided to showcase its potential by opening a beer garden in the building's courtyard for six weeks. The Brewery Untapped features food trucks, acoustic musical acts and fundraisers for local nonprofits, and has attracted tons of patrons. You can read more about the efforts to save the building here. For more really interesting details about the Tennessee Brewery's past, I highly recommend this article from the Commercial Appeal.

Here are some photos from our afternoon at the Tennessee Brewery:

tnbrewery3
tnbrewery
IMG_4821.JPG
IMG_4820.JPG
tnbrewery5
IMG_4811.JPG
tnbrewery7
tnbrewery8
IMG_4782.JPG
IMG_4793.JPG
IMG_4773.JPG
IMG_4824.JPG
IMG_4785.JPG
tnbrewery12

Isn't the white-washed brick lovely? The windows and arches are really incredible as well. 

 We have been so inspired by the efforts to save the Tennessee Brewery, and we hope this neat old building's story has a happy ending. Memphis has so many abandoned architectural gems. It would be such a big win for our city if they were able to save this building and turn it into a sustainable investment. 

simple handmade graduation card

Everyone knows at least one person who is graduating from school (whether it's preschool, grad school or somewhere in between), so let's make a handmade card in honor of the occasion. Here's what you'll need to join me in the card making fun:

A variety of colored card stock -- I used dark gray, light gray, light blue, pale yellow and goldenrod

An envelope

A cutting mat

An Xacto knife

- A metal ruler

- Paper glue

- Basic scissors

- Markers (Mine are fine-tip Crayola)

- Yarn

-Fabric tape

- Hot glue and glue gun

Use your mat to find the center of your card base (color 6 - 5.5 " for this card), and then score it by running the knife lightly down the center once or twice. Fold in half. I wanted the inside of my card to be a different color, so I did this twice and then glued the sheets together with the paper glue.

photo 1.JPG

Next I cut out the shapes. I cut out an off-center large diamond shape, a rectangle, four small stars, three large stars and three shooting star tails (each 2.5 inches long and slightly curved). I freehanded one large and small star, and then I traced around them to make the rest of the stars. 

gradcard2

Next I made the tassel for the cap. Cut four one-inch pieces of yarn and tie them together with a 3.5 inch piece of yarn. If you want to make a more advanced tassel, don't cut your one-inch pieces -- simply wind them back and forth and tie them off with the same piece of string. It's a little more complicated, but it looks more like a tassel.

gradcard3

For the front of the card, I used the hot glue gun to adhere my shapes because I like the 3-D effect. I also added a piece of fabric tape along the side. 

photo 9.JPG

On the inside of the card, I laid out my three stars. I used hot glue to attach the stars and paper glue to attach the star tails. To pull the design together, I added another piece of fabric tape along the bottom.

gradcard4

This might be the easiest card ever. Happy card-making, everyone!

photo 7.JPG

vintage vacation photos

Summer is quickly approaching, so in the spirit of the season, we decided to pull out the vintage family vacation photos! This week we're revisiting Hardin family vacations from the 1960s. I believe all of these photos were taken during trips to Florida. So much fun...

vacation5.jpg
vacation2
vacation.jpg
vacation4
vacation2.jpg
vacation7
vacation6
buschhorse.jpg