As a child, I didn't realize what a blessing it was that I was able to spend time with three of my grandparents and my great-grandmother. Now I recognize just how special those years were to all of the generations.
My great-grandmother Tina de Forcade passed away in 1991. I was seven years old, but I remember her vividly. She didn't speak to us in English, but that didn't matter. My sister, cousins and I would sit on her bed or in her lap, and she would talk to us in Italian. She had kind eyes and soft skin. She seemed so ancient and wise. I wish I had more memories of her. I hope this post will encourage my family to share some of their memories (hint, hint), so I can share them on the blog.
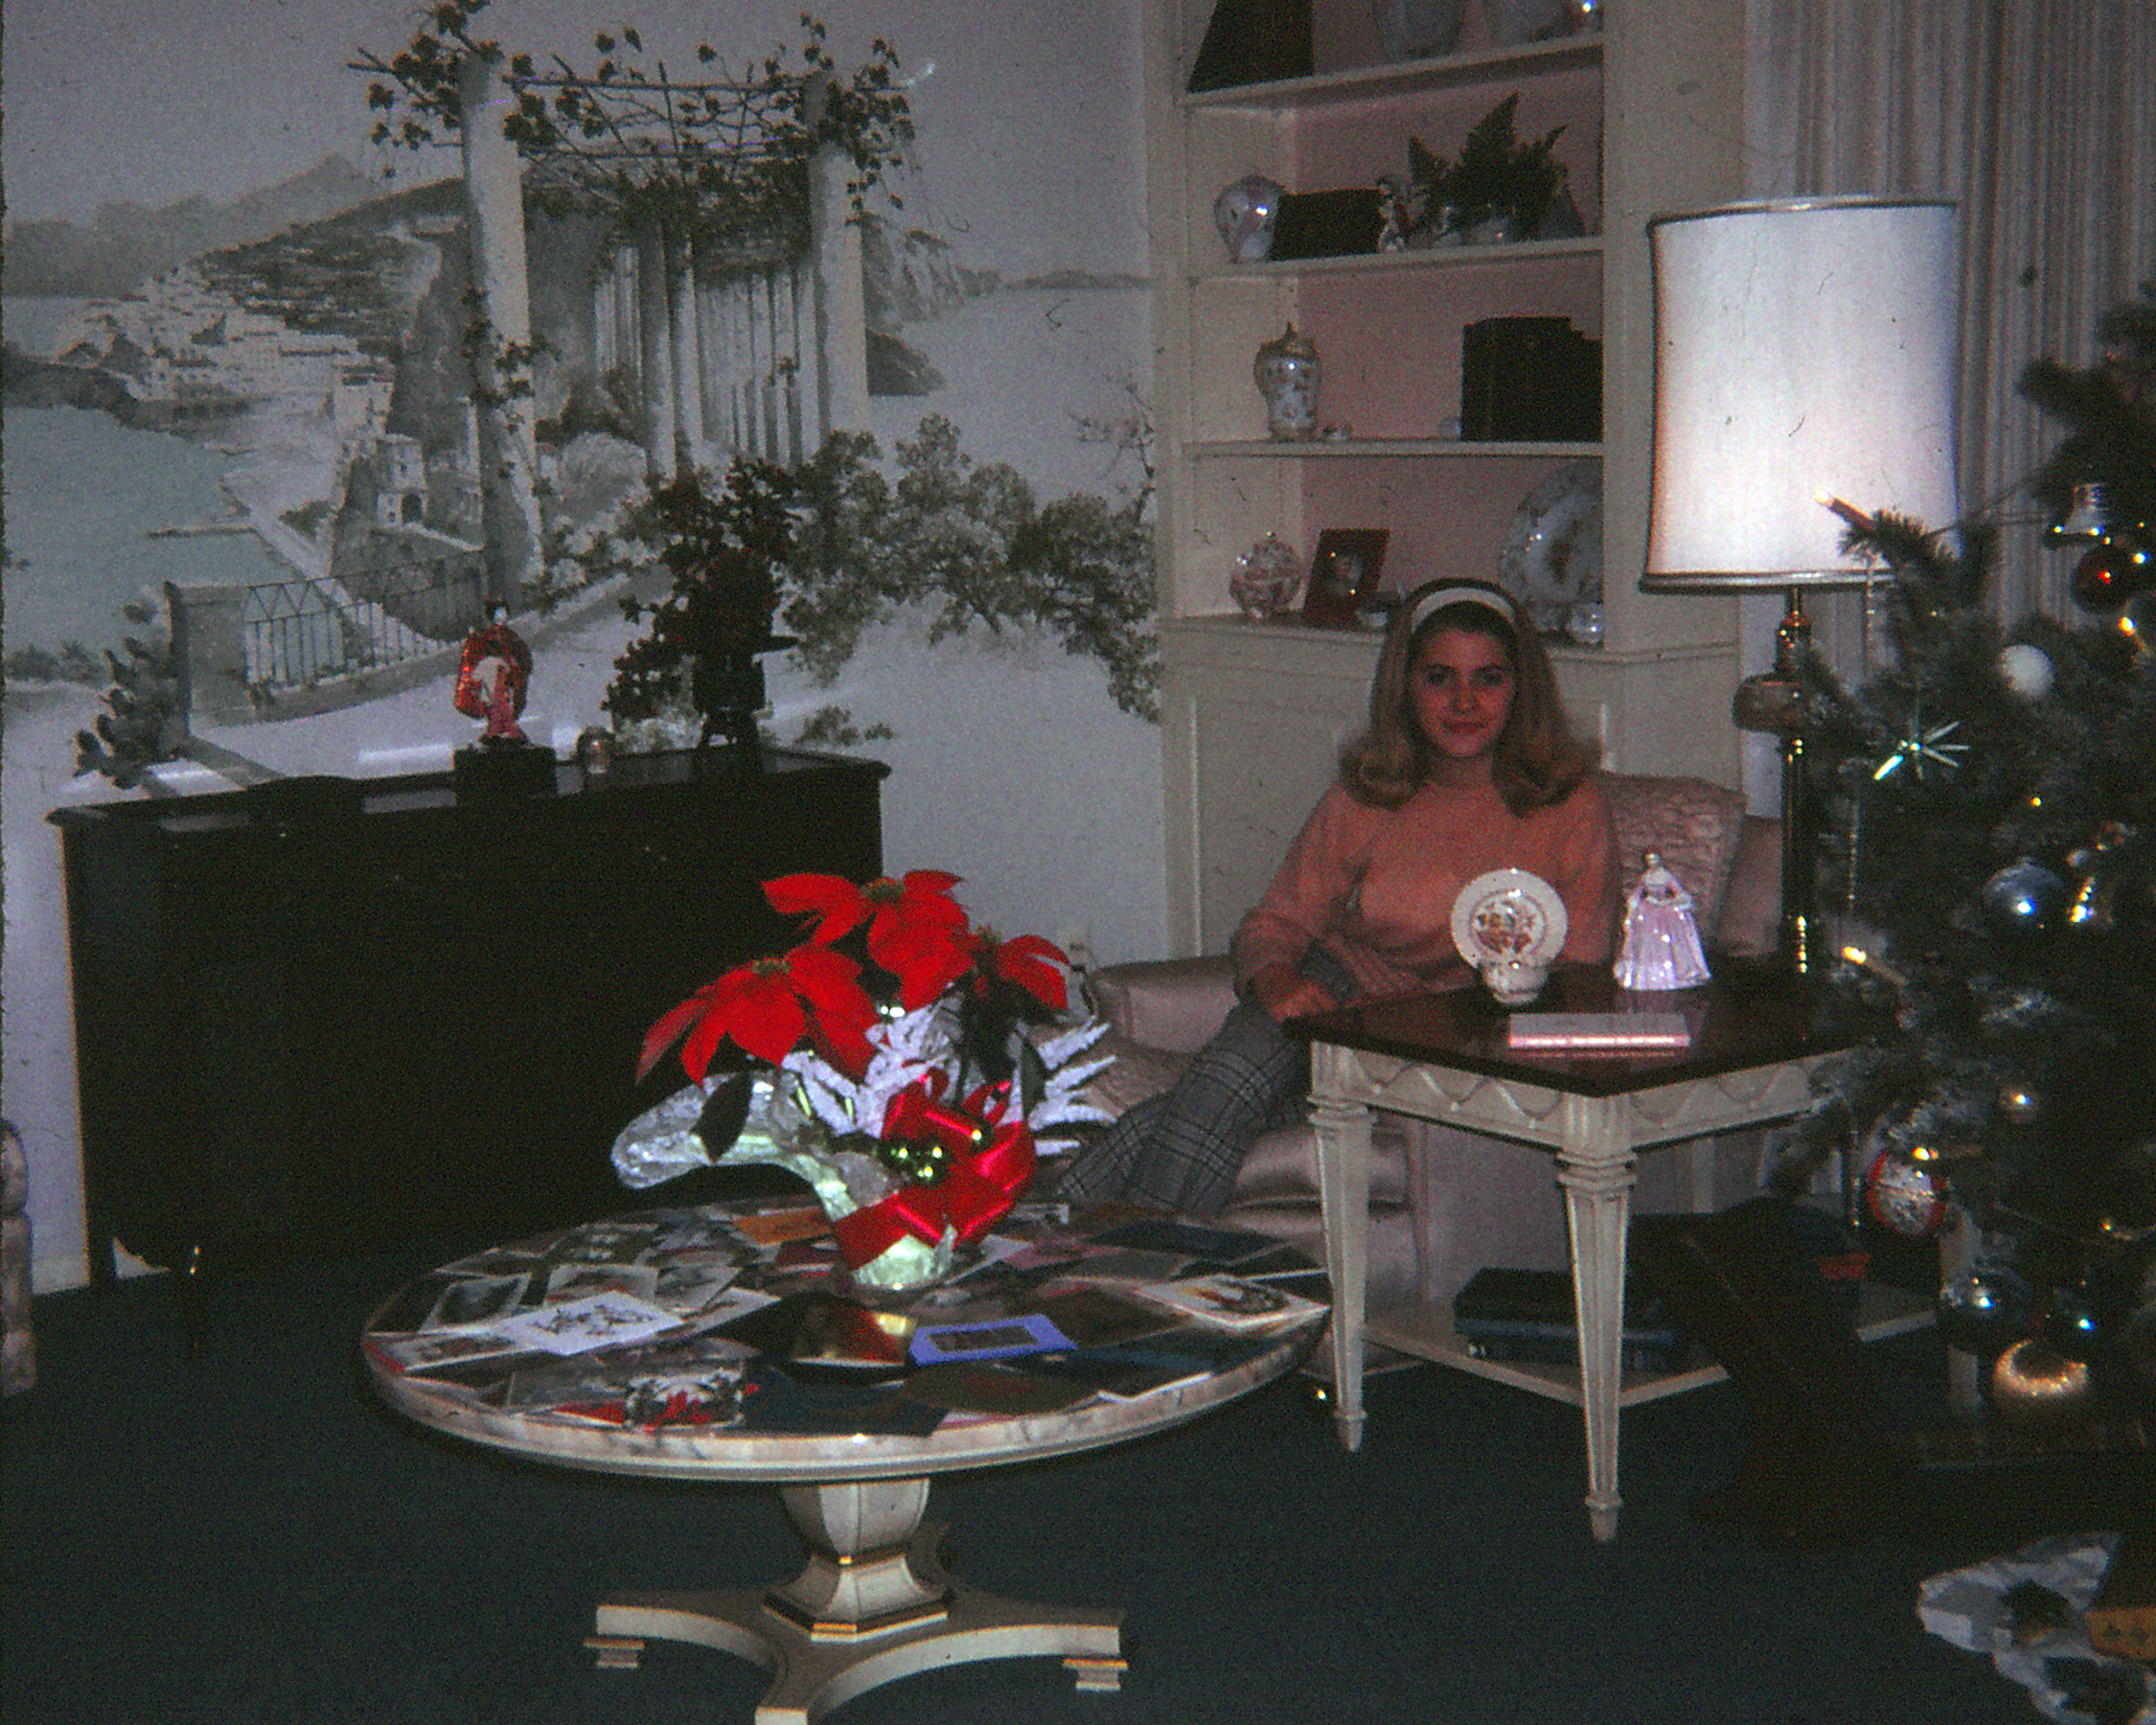
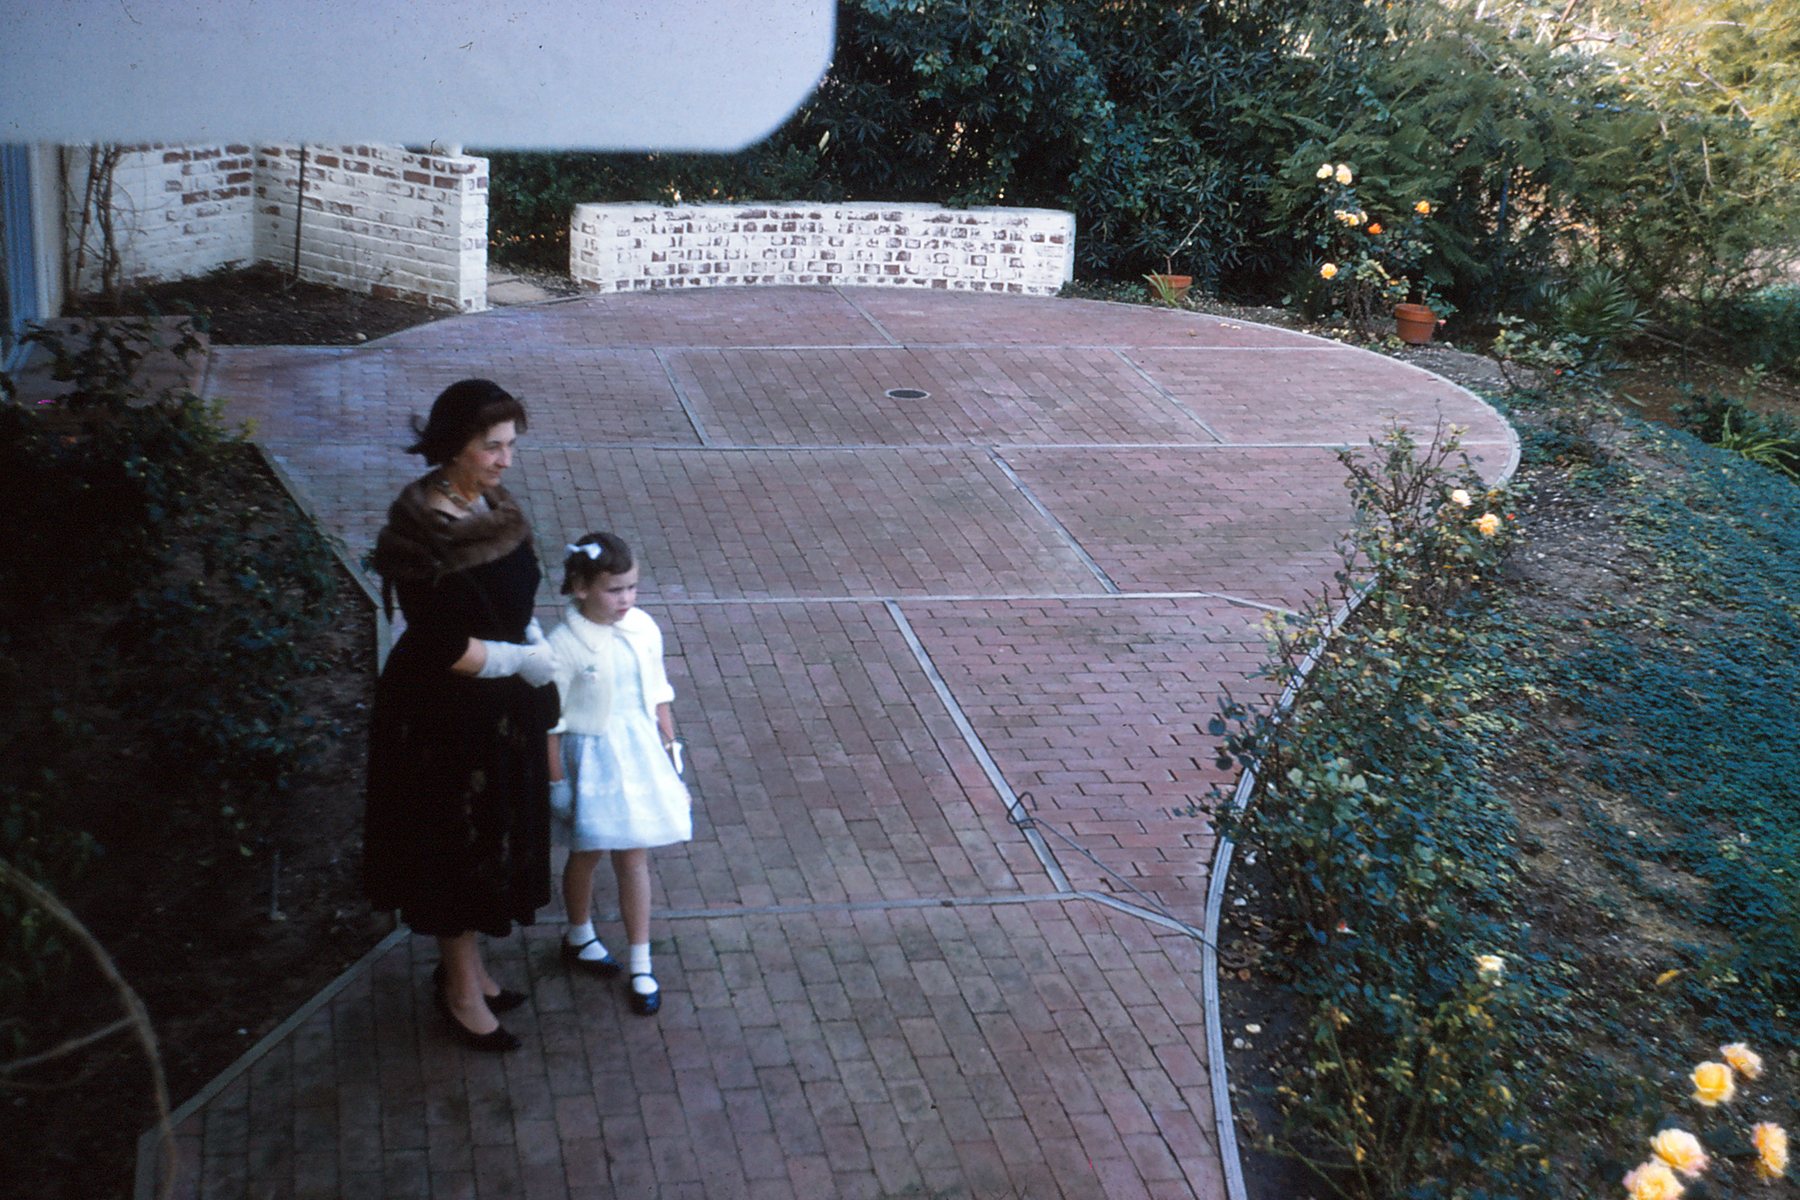
She was a beautiful lady with a timeless sense of style and a lovely twinkle in her eye.


With her daughter Lucy and grandchildren Tina and Fred.

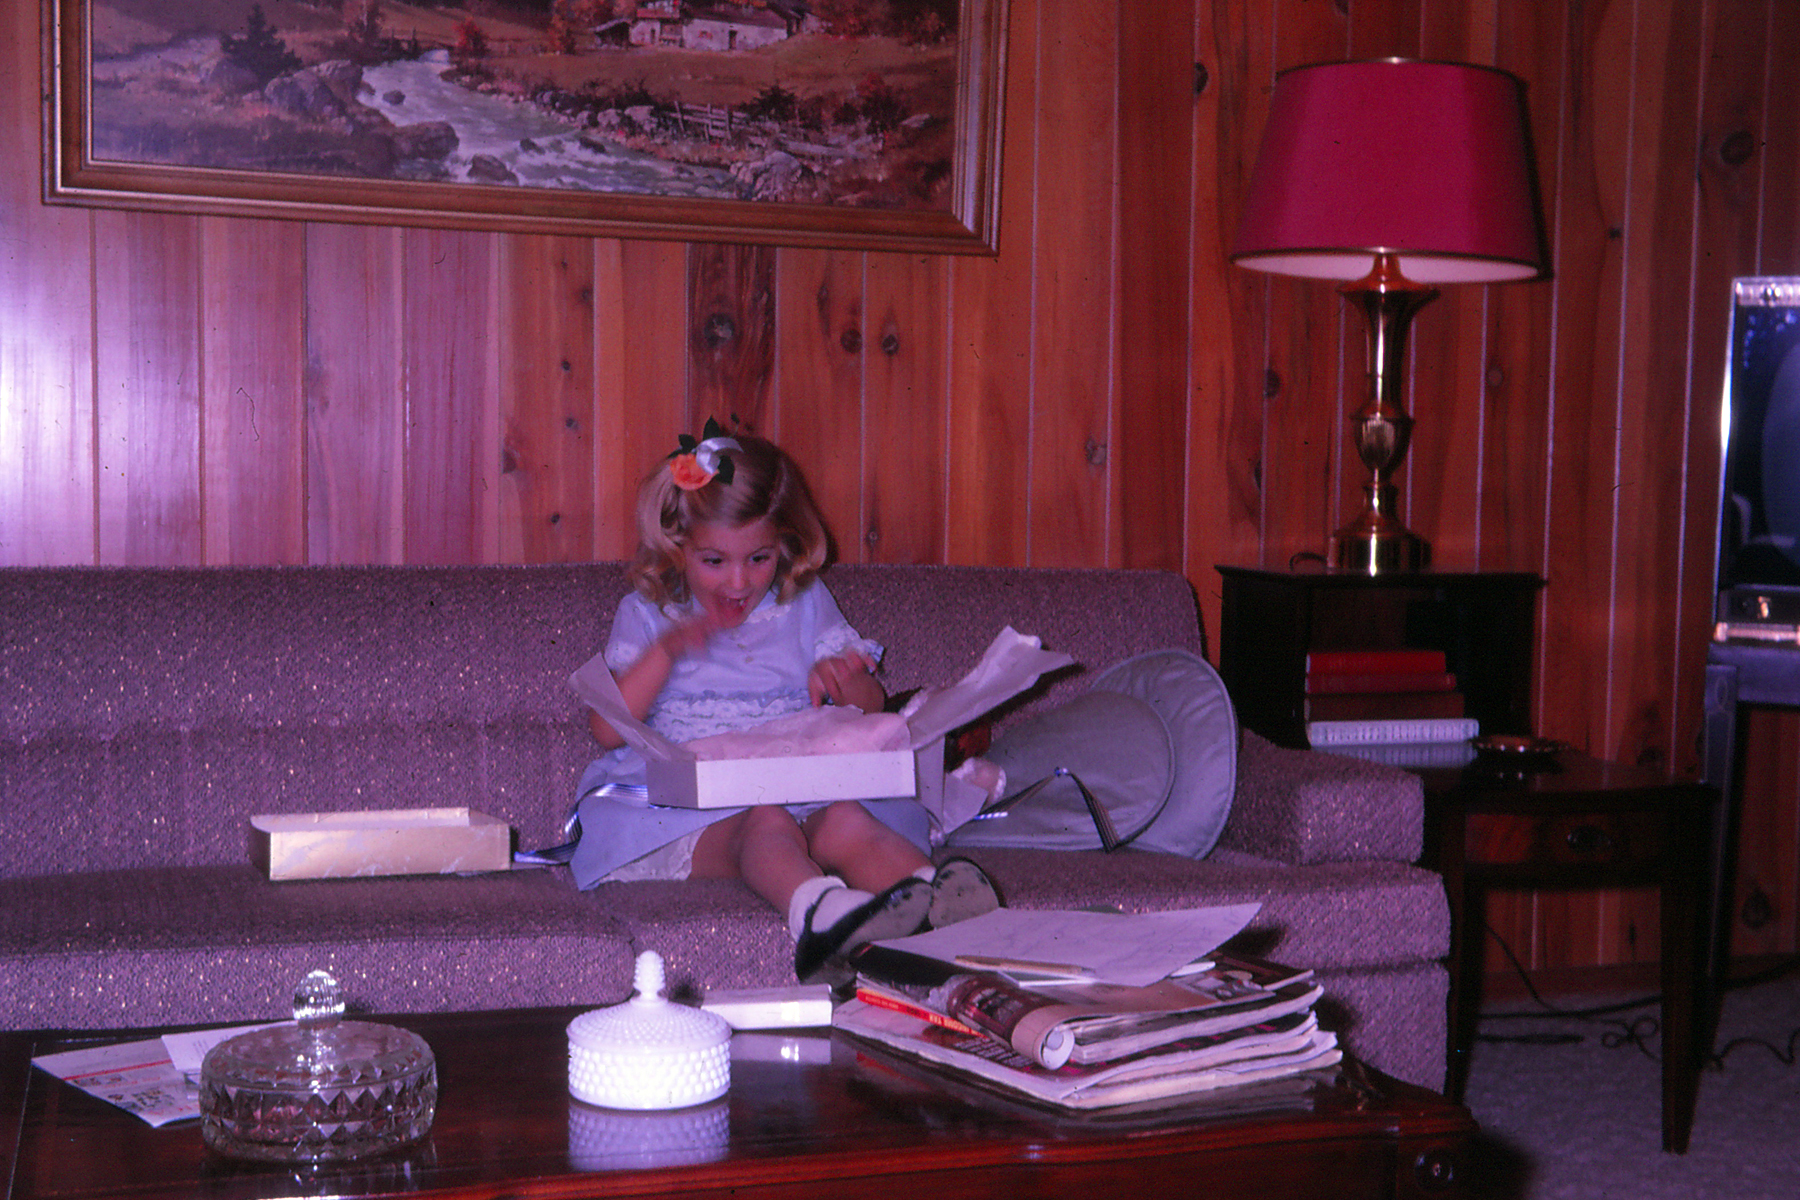
With Fred and a very adorable baby Tina.

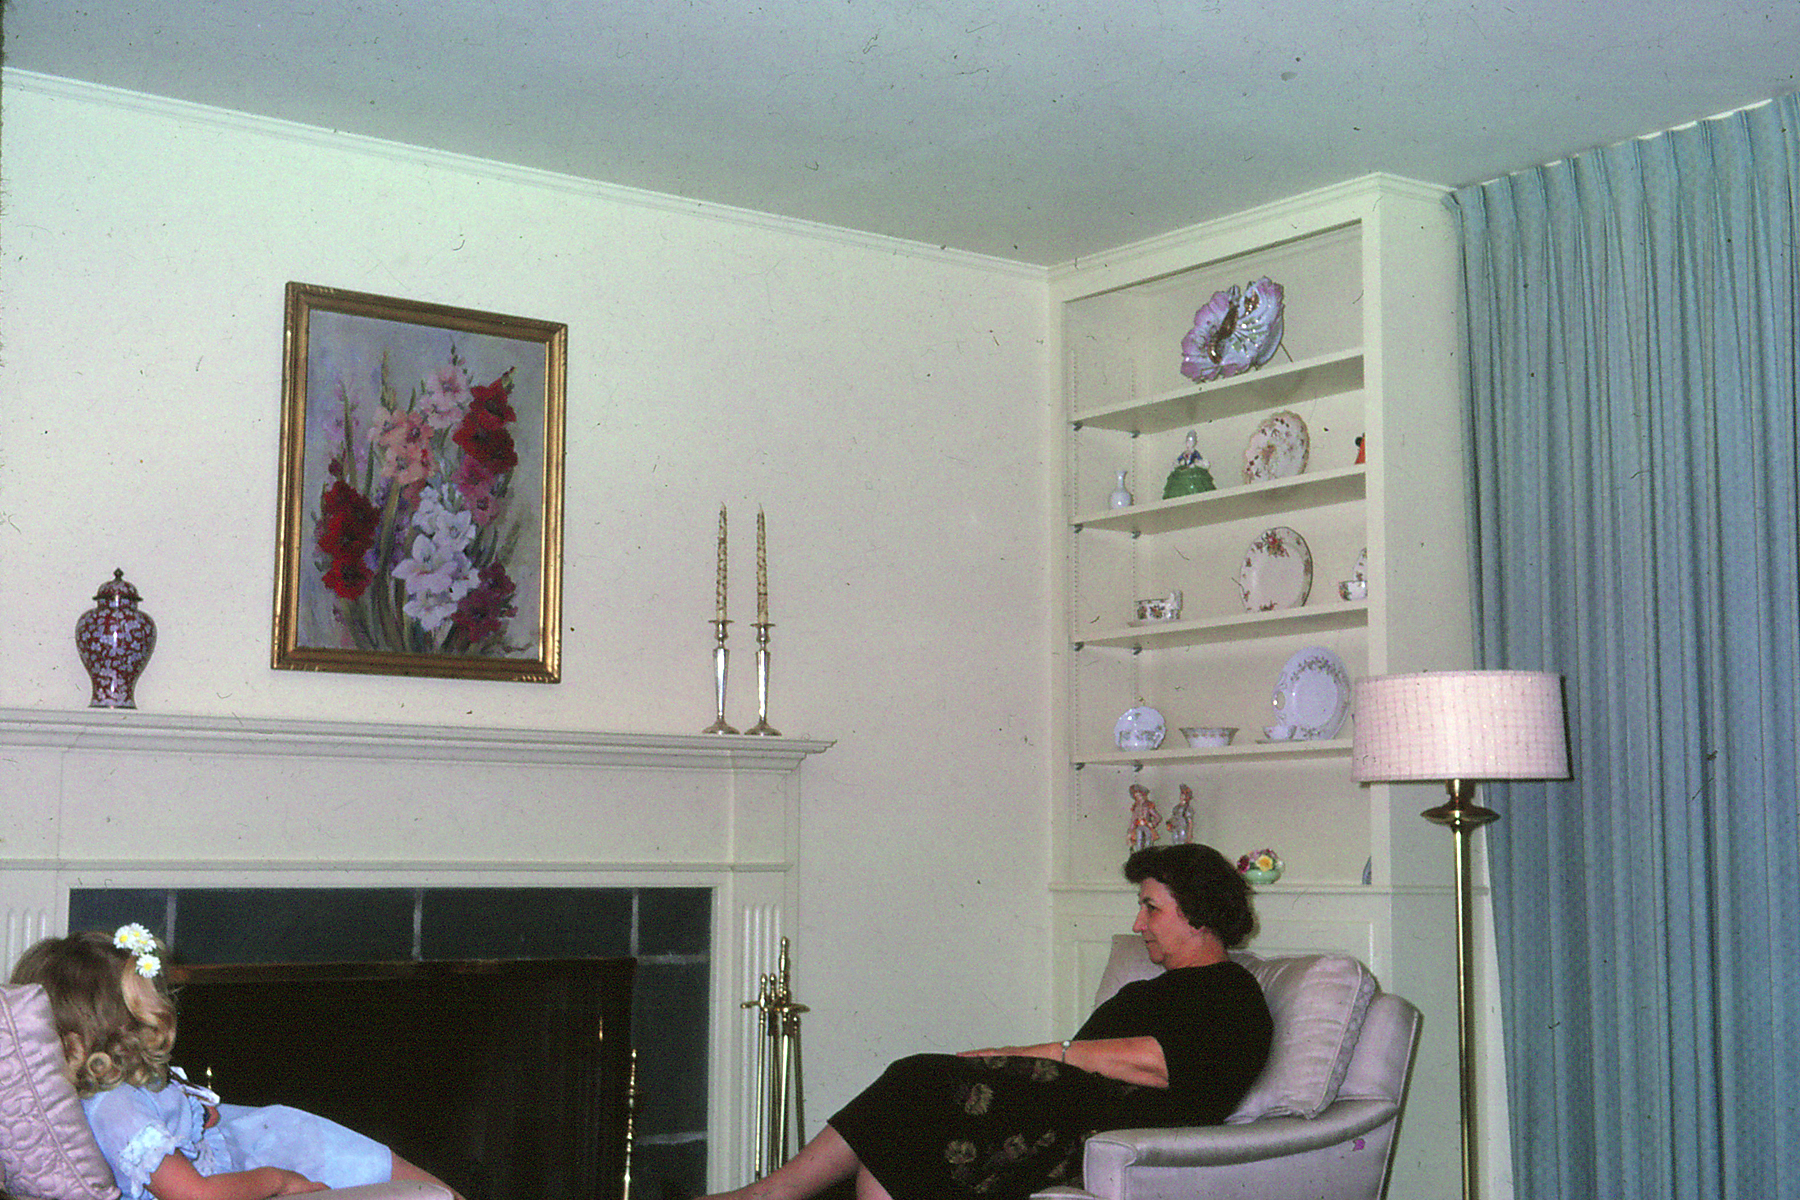
With her two eldest great-grandchildren -- me and my cousin Carlo -- in 1985.